One of my favorite times has arrived again – it’s NEW project time! Just as good as NEW pin day in my book 🙂 This time around, I’ll be performing a repair and service on a 1971 Bally Mariner machine that has made it’s way here from Germany. I’m stepping outside the comfort zone I developed while working on solid state machines and diving into an EM project. All of my Pinball projects to date have been solid state machines that were built between 1979 to 1986. I’m pretty excited about this project as it’s a chance to look at something different and gain more experience with EM’s.
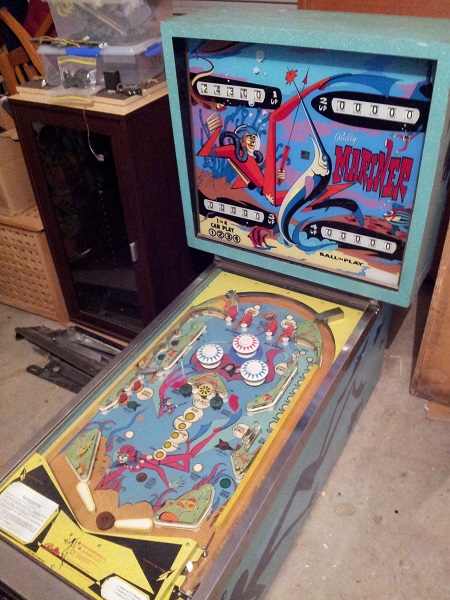
I had been considering taking on an EM project for a few months, but none of the titles that became available during that time really grabbed me. I found the Mariner attractive mainly due to the art style on the backglass and playfield. It’s also got a reasonable playfield layout and only lacks a spinner and drop targets for my ideal playfield. My preference was for a single player machine, mainly because there are less assemblies to deal with – which means less can be/go wrong. But it’s a 4 player, so I’ll deal with the extra challenges. Before committing to an EM project, I did quite a bit of research on working with EM’s and the sort of things to look for in a machine when inspecting it. There is a wealth of information available out there. The more comprehensive is the content at PinRepair EM Pinball Repair.
Also on PinRepair is a private area titled “Pinball Ninja” which you get access to for a certain donation – Pinball Ninja. I’ve found this resource to be amazing as it contains videos and repair write ups on machines from EM’s to DMD’s across many manufacturers. There are some really detailed EM videos which have been useful to get an overview of Bally EM’s and I expect those will come in handy for this project.
The Mariner has been sitting patiently beside Counterforce while I finished it off. My first step will be to go over the machine and make a note of anything that stands out as wrong or will require further inspection. It’s also a good chance to take photos from “day 1″ to look back on once the project is complete. This won’t be a complete restore as I don’t intend to redo the cabinet. The machine will be cleaned up, issues repaired and assemblies given a general service. Some new playfield parts will be added to improve presentation and I’ll set myself a reasonable budget to work within. Time to get down to it.
The machine is in pretty good condition given it’s age. The legs that came with it are a mess and will be completely tossed. I believe this machine should have 28.5” legs (correct me if I’m wrong), so I will need to track some down – second hand will suit fine.
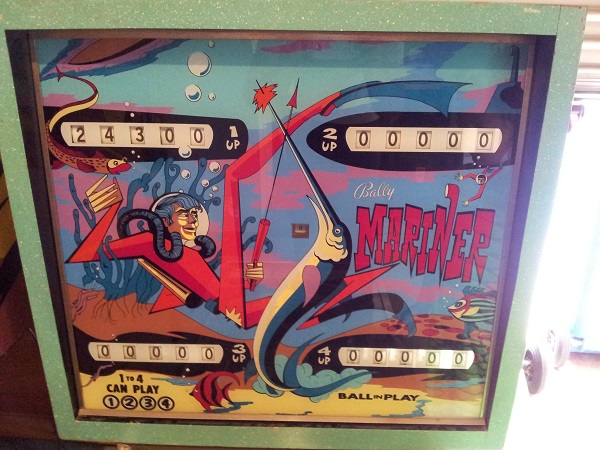
The headbox is in good condition. There are some marks and scrapes on the paint, but for a 44 year old machine it’s not bad. I love the artwork on the backglass. It’s in really good condition too.
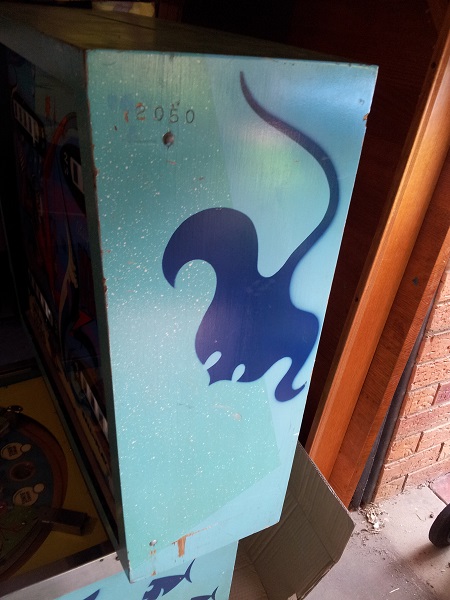
A few scrapes and scratches on the right side, along with a stamped number – 2050.
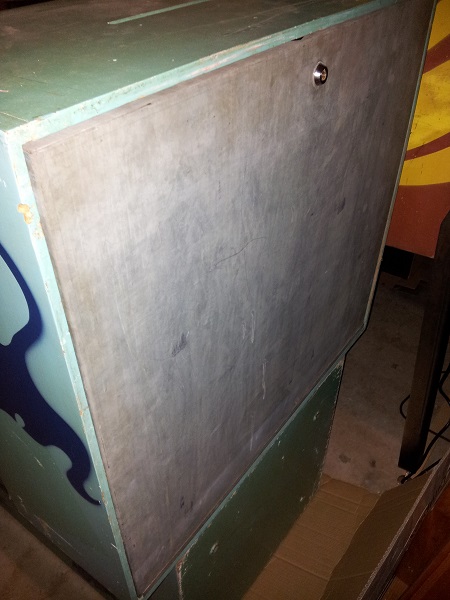
The metal cover on the back is still there. The lock has been drilled out as you would expect. The cover also has a foam lining inside it, which I presume is to help soften the noise made by the steppers and bells.
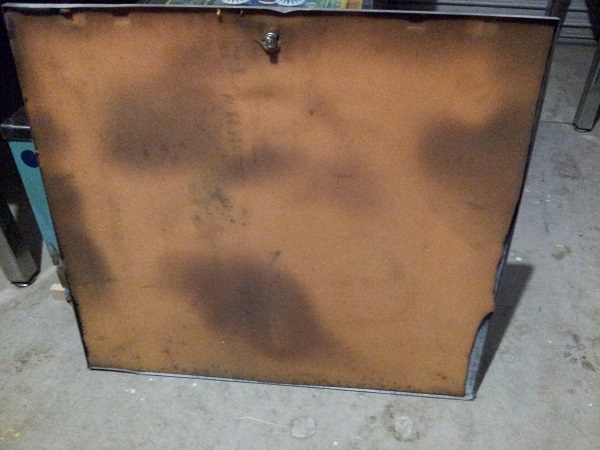
The rear of the backglass shows some minor marks and browning. All 4 sides still have the original metal trim.
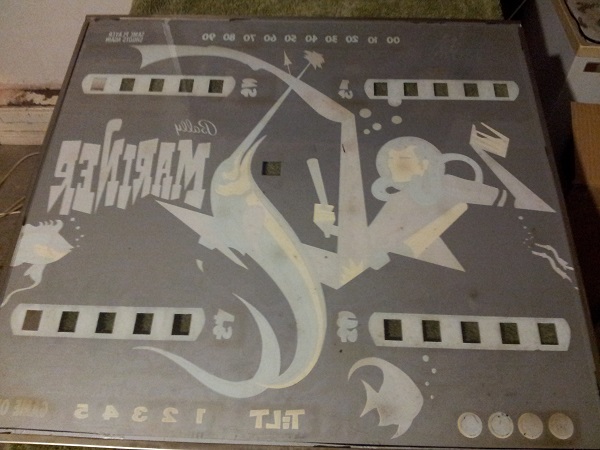
The front panel has a missing shade across the top which lights the match numbers. I’m not sure if I’ll build a replacement yet. I’ll wait and see how the match feature looks lit up first. It if it’s not obvious which match number should be lit, then i’ll build something to sit there. I’m surprised by the number of globes used in this panel, but it should light up nice!
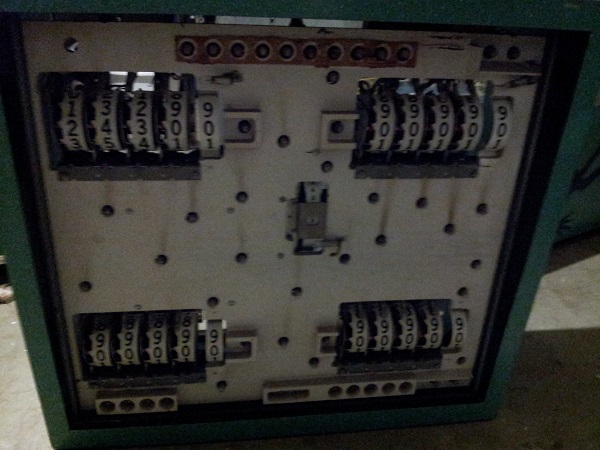
Inside the headbox, it’s pretty clean. A few spider webs to clean off. The score reels are in excellent condition. The bells are missing and i’ll look into those shortly. It’s the one key feature missing from the game.
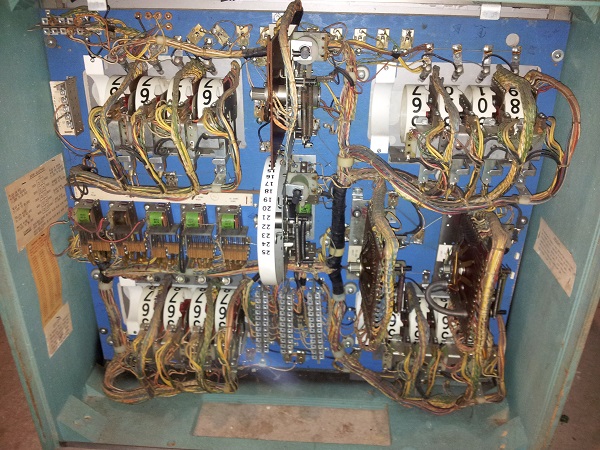
The cabinet body is in good condition for it’s age. Similar to the headbox, it has some scrapes and scratches. But overall, not bad.
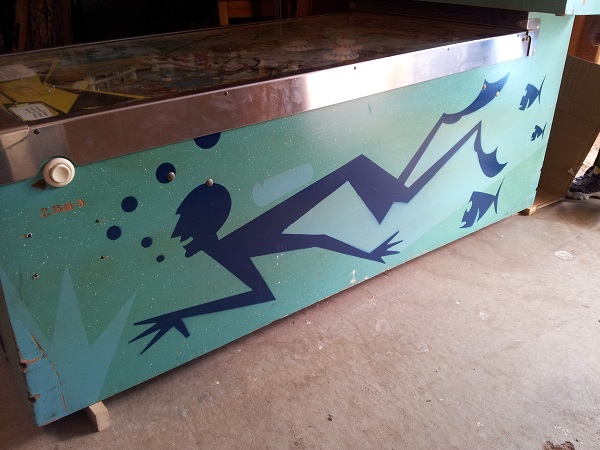
Something interesting here is the id stamped into the cabinet body does not match the headbox. There would have been a small operator plate / serial number plate here at some point in the past. A shame it’s gone – I always love to see some of the history behind a machine.
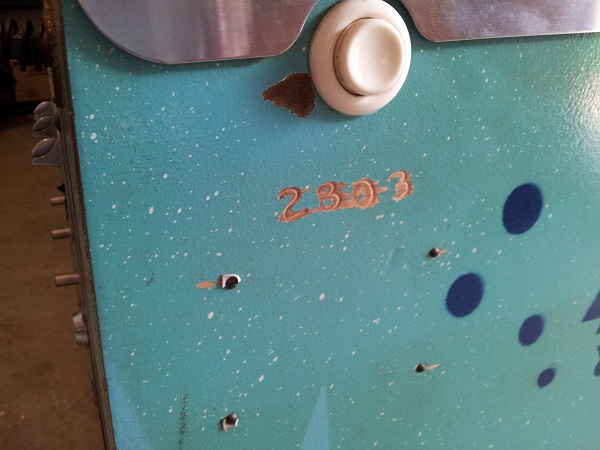
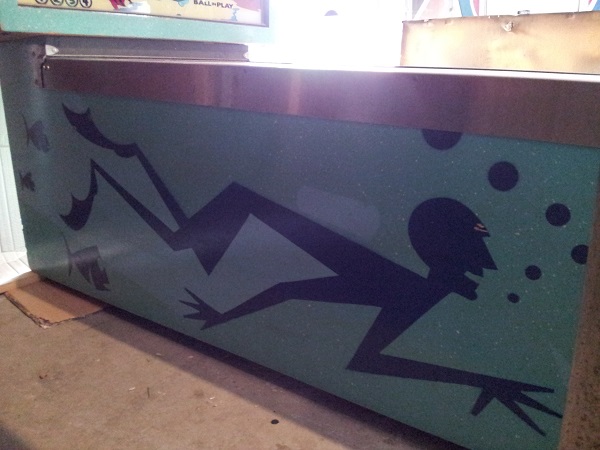
The left side of the cabinet is the same as the right. Can’t really complain about the condition given the age.
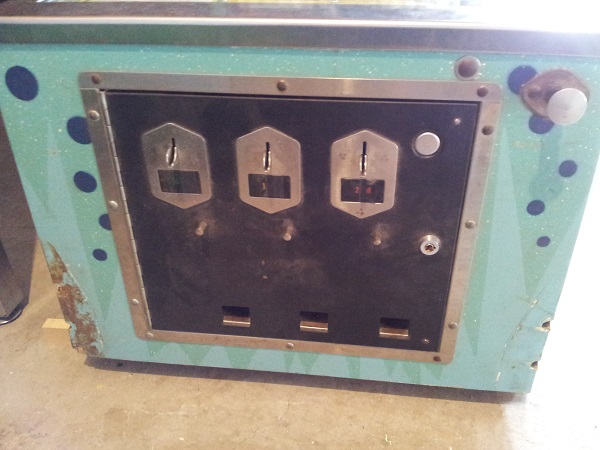
The coin door is complete, although no coin mechs on the inside of the door. Foreign price plates means Australia delivered and home use only (if I’m to believe some Gumtree sellers… 😉 ). This just needs a good clean and maybe some custom free play pricing plates.
Something I thought was pretty cool was how glass is attached to the side rails and they lift up. This allows you to work on the playfield without having to completely remove the glass. There are small metal arms (one on each side of the cabinet) which hold the panel up. To remove the glass, you need to undo some nuts holding the lockdown bar in place.
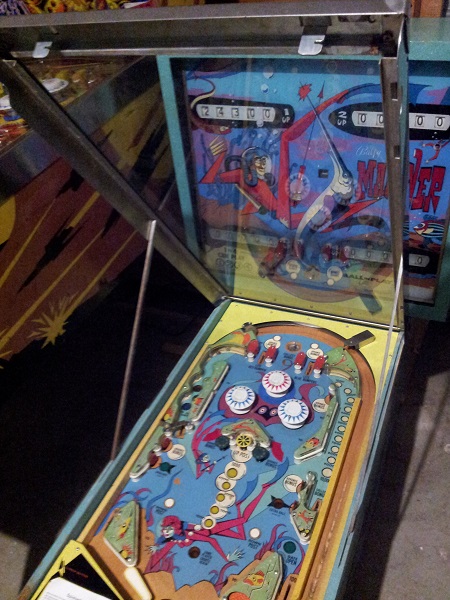
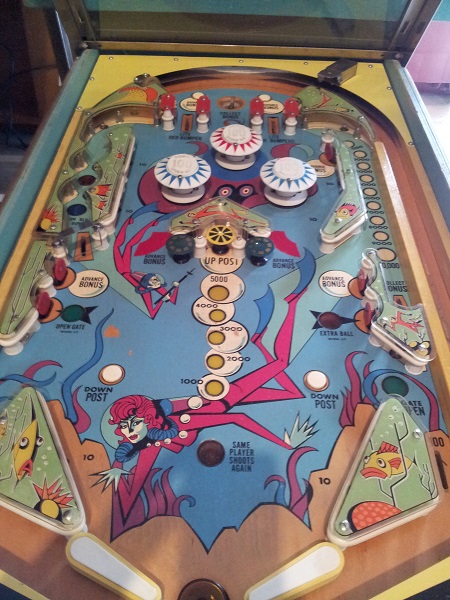
The playfield is in good condition and just like the backglass, I love the artwork. There are a few small wear patches that can be cleaned up and repainted. The rubbers are still very white and the globes are all clean, which makes me wonder how recently this machine was serviced or in operation. The plastics are all there and none appear broken.
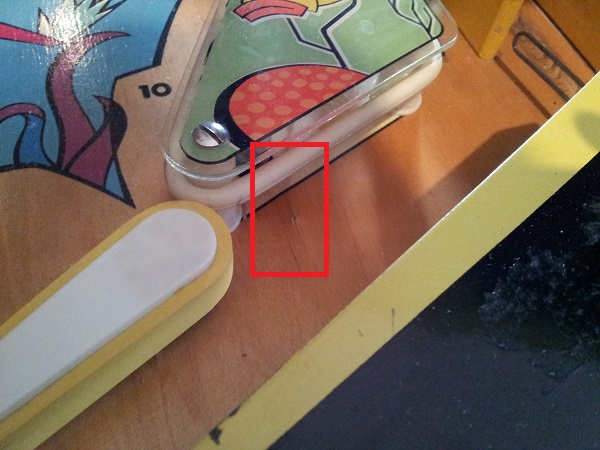
Just below the right sling shot the is some damage to the playfield were a screw has just pushed through the surface. It’s very minor and a shame it’s not 1cm higher under the plastic where no one would see it. Thankfully it’s out of the way and will never interfere with play.
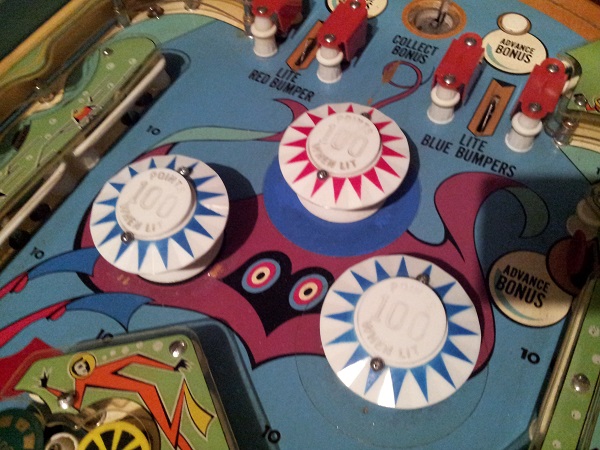
The top pop bumper has a large blue maylar/contact ring around it. I don’t plan to remove this, but will make a closer inspection and decision when I get to that area. There is no mylar ring around the left pop bumper, so once that’s cleaned up and rebuilt, I’ll add one. The clear ring around the right pop bumper looks larger than the ones I’ve recently purchased. I’ll have to look around and see if you can purchase different sizes. Some small amount of paint loss exists around the pop bumpers too and I plan to repair and touch that up.
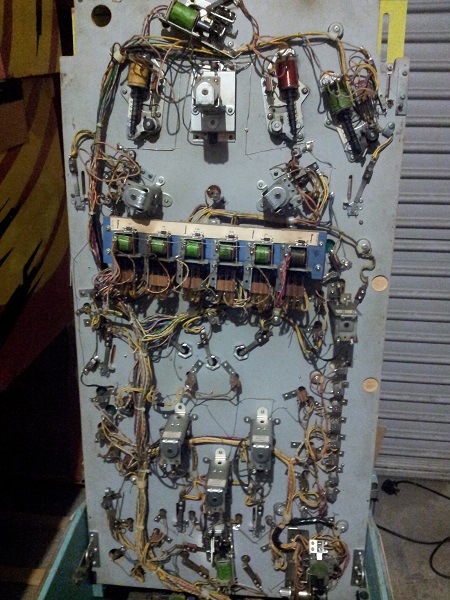
Under the playfield, everything looks to be there. One of the flipper coils is missing it’s wrapper and there is a stressed coil to look at. I plan to go through the assemblies like I normally do and service each one.
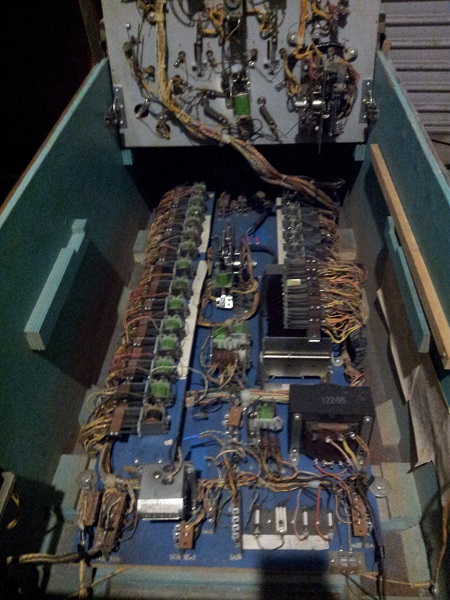
Inside the cabinet it’s very clean. There are a few stressed relay coils I want to take a closer look at. All assemblies appear to be there and the original operator / tech instructions are mostly there too (a few missing from the relays). Just outside the view of the camera is the tilt relay on the left and the knocker on the right.
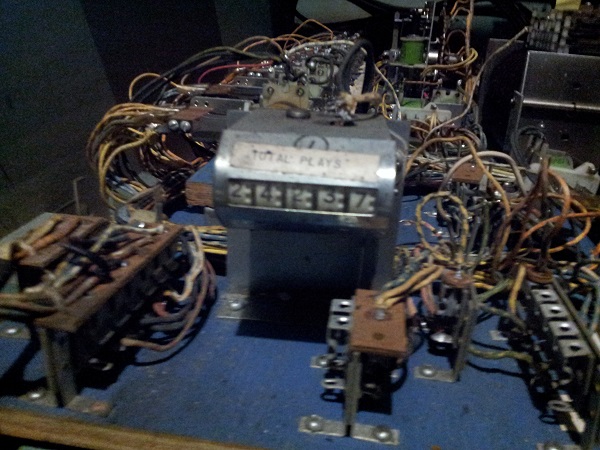
The coin counter is still hooked up and currently sitting on 24,237 plays. Not bad for a 44 year old machine (assuming it hasn’t looped).
So that’s a bit of an overview of the starting point for this project. Because of how clean it is, I’m hopeful it won’t take too much to have it up, running and fully functional. From there it will be down to giving it a general service and clean up. While going over it I did notice a few obvious issues I need to look at before switching it on. I’ll go into those in the next couple of updates. Once those are sorted, I should be in a position to power it on and begin testing and diagnosing any problems preventing it from being a working game.
