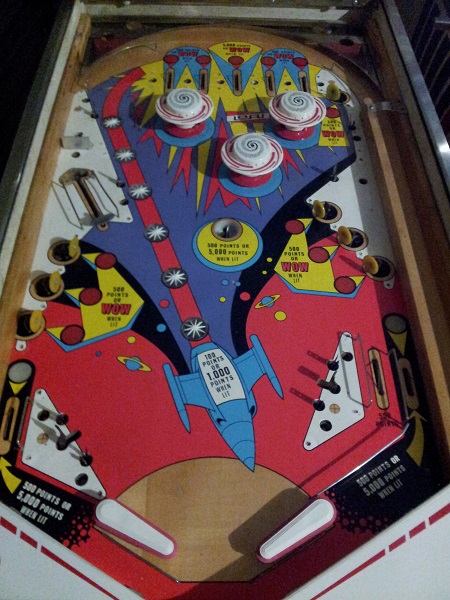
One of the last things I want to do on Space Orbit is give the playfield a good clean, followed by a polish and wax. The playfield layout on these older machines is quite simple, so removing just about everything from the top is not too difficult. The simplicity also makes it easier to get back on again without too many chances for mistakes. I started out by removing all the plastics, star posts, bulbs and lane guards. The pop bumpers, flippers and ball guides can stay though, i’ll clean around them.
All the parts were laid out on another machine – the main reason I did that was to ensure the rubbers and posts colours went back in the correct positions. It’s otherwise obvious where things go.
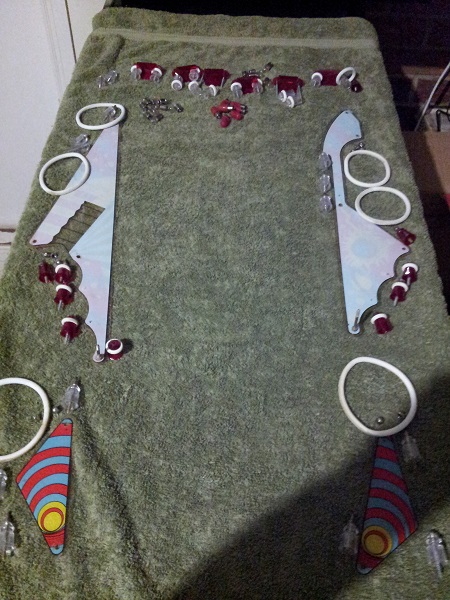
The metal parts like ball guides, vari-target arm and sling shot arms were given a clean with steel wool and a wipe down with isopropyl alcohol. With the metal parts cleaned, the playfield was vacuumed to remove the loose shavings and as much of the floating dust/dirt as possible. I then used eucalyptus oil and a magic eraser to gently clean the playfield surface. Once done, this was wiped down and vacuumed again to remove left over magic eraser particles. I then used Novus 2 followed by Novus 1 to polish the surface up. Lastly, the playfield was waxed with carnauba wax.
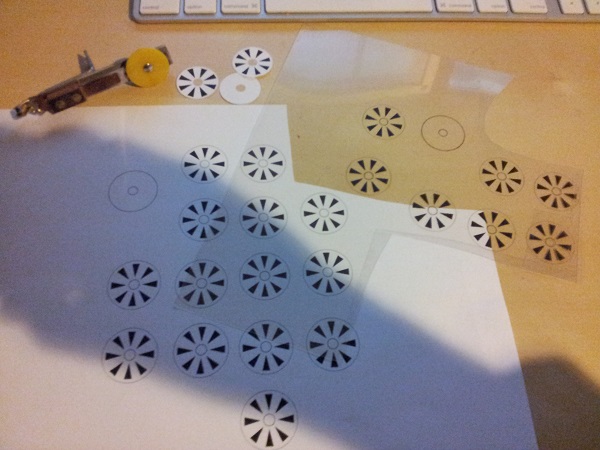
I wanted to pretty up the stand up targets a bit. Being plain yellow looks a little boring. Looking at photos on ipdb, other Space Orbit machines use the Atec printed targets or the wagon wheel. I opened up Inkscape and recreated the Aztec pattern. After a few tests with plain paper, and some adjustments to the size and shape of the arrow heads, I was happy. I then printed to clear decal paper, which was then covered with contact to protect the ink. You can buy new target faces from pbresource, but it would cost $28US + shipping + rivet tool to do all of them. Compare that with $2.50 for the contact and decal paper and you can see it’s much more affordable. The trade off of the cost is quality as the proper target faces do look better. But the results of the budget approach are still good.
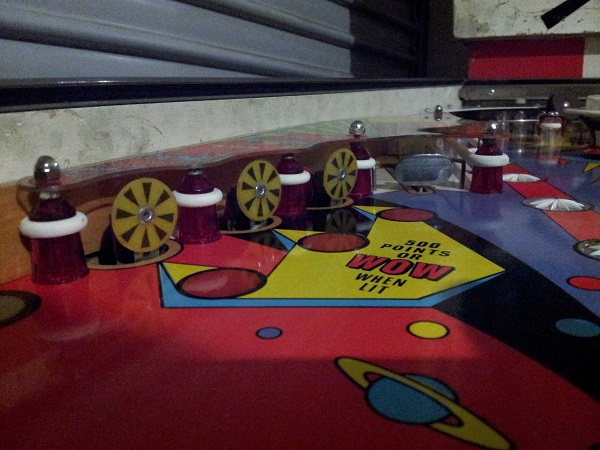
Before installing the plastics and posts again, each plastic was polished up with Novus and the posts given a wipe down. The rubber is still in good condition (less than 12 months old) so won’t need to be replaced. It was given a wipe down to remove any dirt that had collected on it though. Everything was then installed back into the machine. For a machine that was made in 1972, the playfield is in pretty good condition.
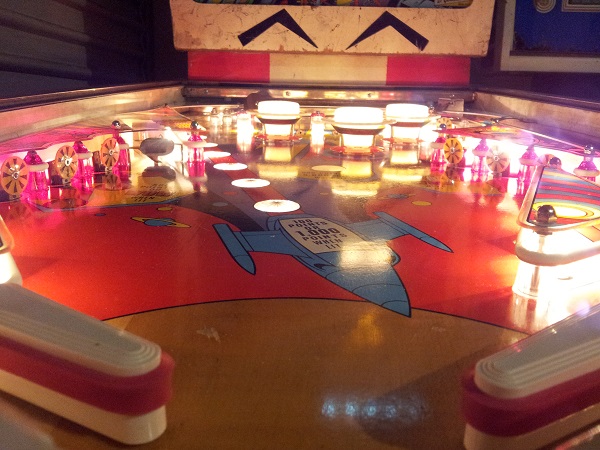
The old ball was replaced with a new one and some games played to enjoy the results of my work. Flattening the raised rollover inserts has had an excellent impact on the gameplay as they are much easier to hit. The frustration of seeing the ball deflect away from them is gone. After playing both modes, I prefer the add a ball mode to novelty mode, but the lightbox feature in novelty would be a great addition to add a ball – especially once you’re rolling the score regularly. I haven’t resolved the issue of the points settings being ignored in novelty mode yet – that’s still to do. But otherwise, I’m happy with the small things done on the machine over the last few weeks to sort out various issues. It’s been great getting some experience with EM’s and I now have some knowledge to build on with my next (and hopefully future) project(s).
