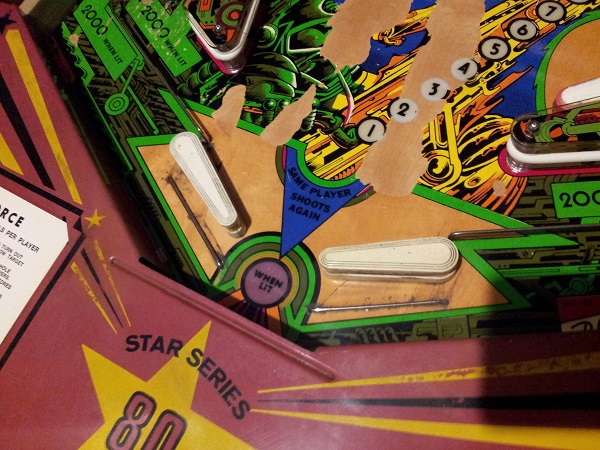
The Counterforce project is now on the home straight. Not much more to do and i’ll consider it a another project completed. I’m looking forward to actually playing it. First (and biggest) task to look at for this update is rebuilding the lower set of flippers. The flipper bats are dirty and will need a good clean. The others came up nicely, so I expect these will too. The rubber is long gone but easy enough to replace. The playfield area around here also needs a good clean, which I’ll do once the bats are removed.
Under the playfield, the flipper assemblies are the same as the ones I previously covered. The only difference here is the coil used. The coils on the lower flippers are more powerful than those on the upper set. These assemblies are well over due for a service. I’ve got a new flipper kit ready to rebuild them with.
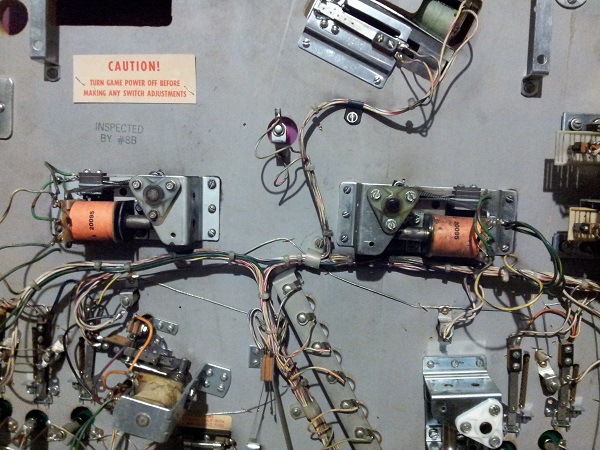
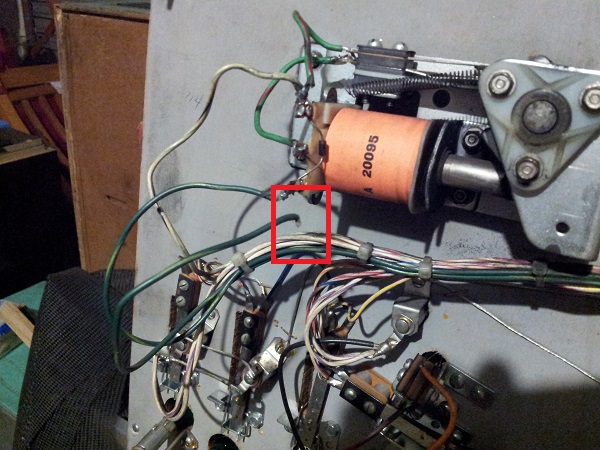
One issue I found here was with the left flipper – one of the wires on the coil was disconnected.
Both flipper bats were removed first and I then began on the right flipper. The assembly was removed from the playfield for cleaning.
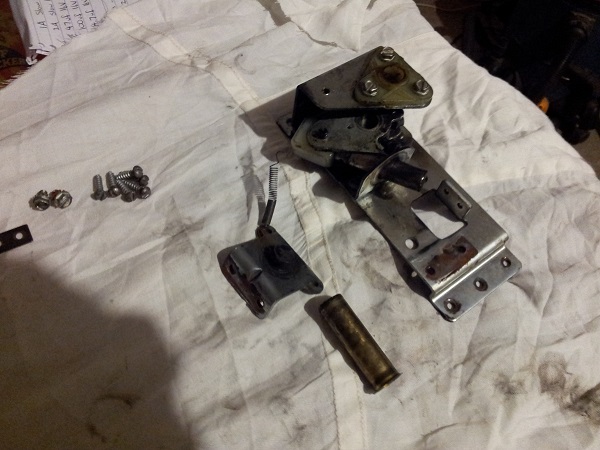
From there, the entire assembly was dismantled into all its components. Lots of wet goo and black powder covering the assembly.
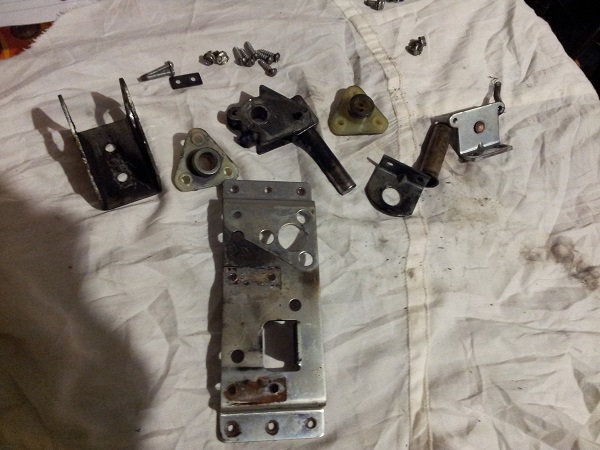
With some cleaning though, it’s come up great. The rebuild kit replaced various parts and the rest were cleaned up with steel wool, isopropyl alcohol and a cloth.
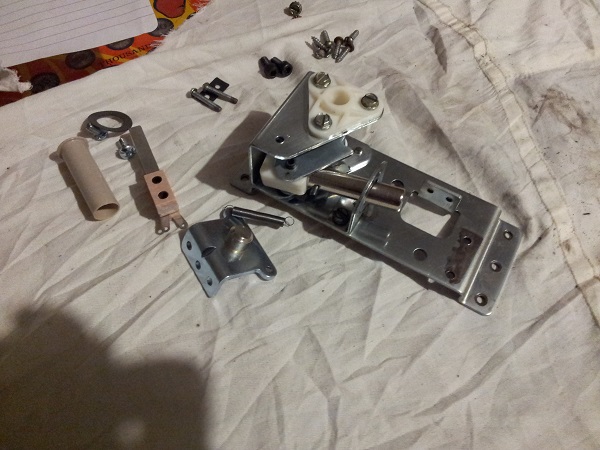
The flipper assembly was then put back into the machine and the new EOS switch installed to replace the old one. The left flipper assembly was then removed for the same service. It’s in a similar condition. This one has been worked on in the past though. I found that one of the bushes was incorrect. This one has the small legs which should be used on the under side of the assembly.
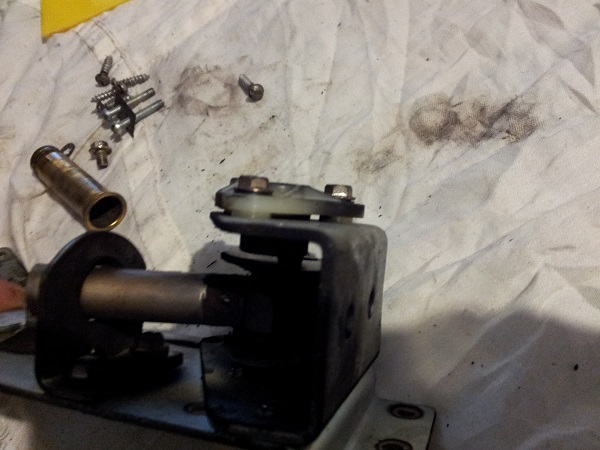
The broken wire on the left flipper was soldered back to the correct lug on the coil. With both flipper assemblies rebuild and installed, it was time to clean the playfield up.
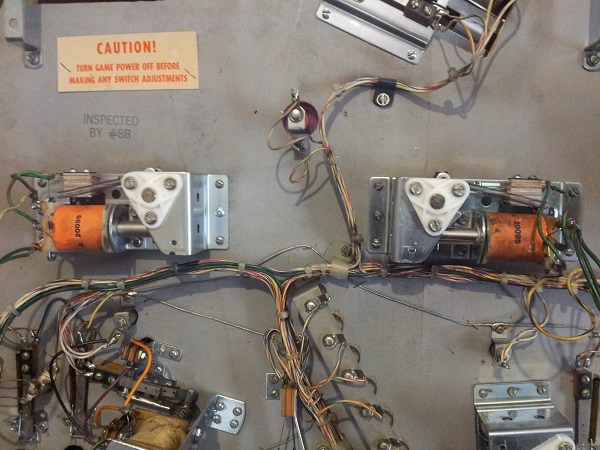
Some crap had collected under the flipper bats over the years. The straight lines of dirt are where the old mylar was positioned before I removed it in an earlier update.
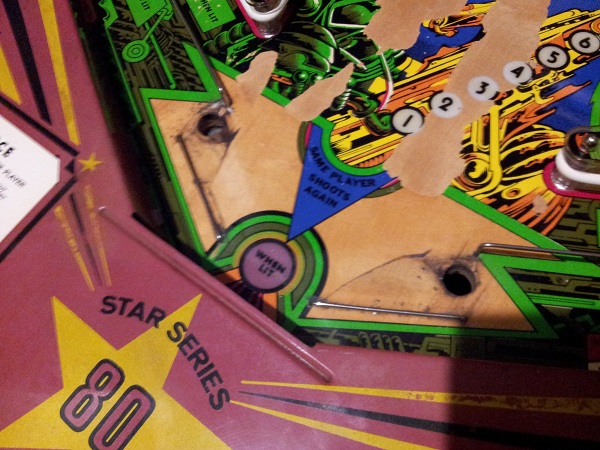
The playfield was cleaned up with magic eraser and eucalyptus oil. Once clean, I used Novus 2 and then 1 to polish the playfield up. It was finished off with some carnauba wax. The flipper bats were cleaned up to remove the dirt and crap that had collected on them over the years. Fresh rubber was also installed.
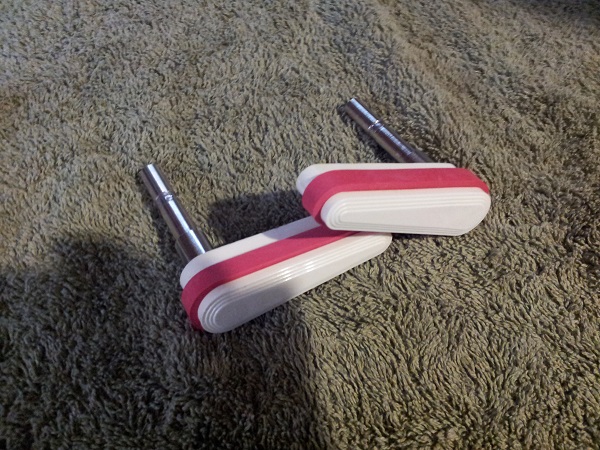
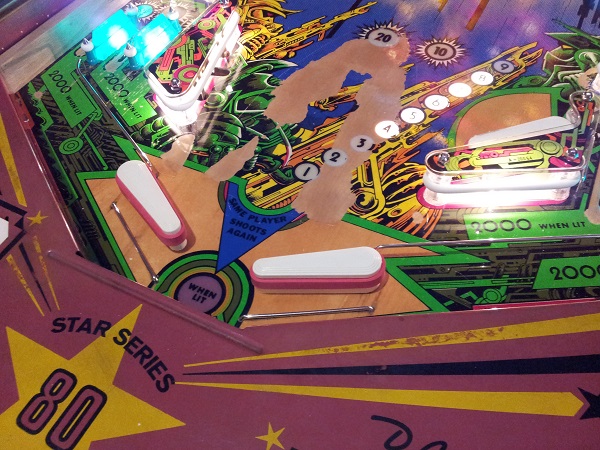
The flipper bats were then installed back into the machine to complete the rebuild of the lower flippers. With both flippers rebuilt and the playfield area cleaned up, the machine was switched on and a new game started. The flippers were tested to ensure they worked post rebuild and the EOS was correctly adjusted. Everything looked good.
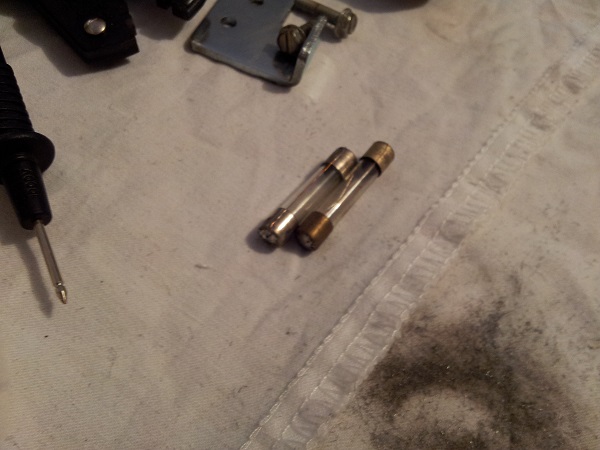
That’s the final playfield assembly to rebuild. There were still some things on the playfield to revisit to complete though. After my work on the pop bumpers in a recent update, I did some more testing on them this week and found a few issues to resolve. First up, after manually rolling the ball at both pop bumpers from various angles, I found the lower of the two stopped working. The top pop bumper continued to work fine. The score switch still worked, but activating the pop bumper switch would result in nothing. I removed the small pop bumper driver board under the playfield for a closer examination. The connector was fine and the transistor tested OK too. There are two fuses just above these driver boards. I checked those and found one of the fuses had blown.
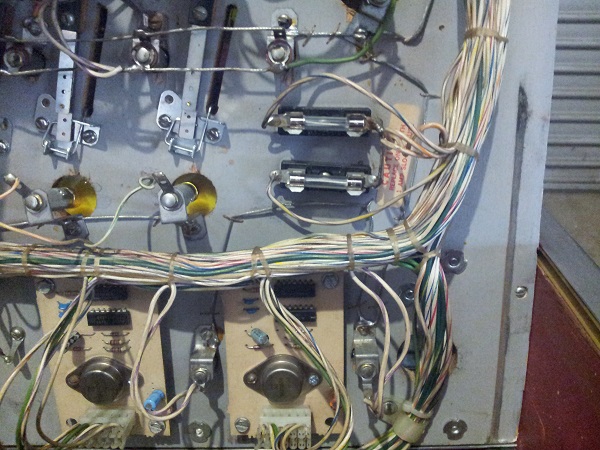
I went back through my notes and found that both of these fuses were replaced a few weeks back. In fact both of these fuses had been hacked to work by soldering wire between the ends.
I got my DMM out and checked the resistance of both pop bumper coils. The upper coil came back with a reading of 2.9ohms. The lower one however came back with nothing – it was dead. Interestingly you can see some heat stress the coil has been under in the past. Both pop bumper coils in fact have this slight burn mark around them. I remember seeing it while servicing them last week. The top coil however is still fine.
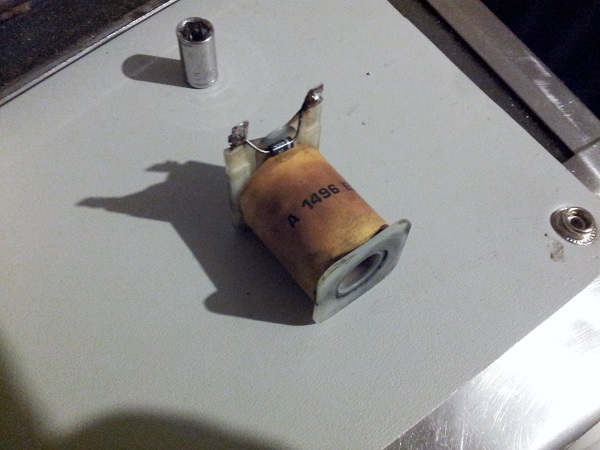
I had a dig through my parts and came up lucky – I had a second hand one spare that had the correct resistance reading. The fuse was replaced and the coil swapped. To be sure, I used my DMM with the replacement coil installed and the old coil removed. The old still gave the same dead reading and the replacement maintained the correct reading. I fired the machine up again and continued to test the pop bumpers. No more blown fuses after 5 or so minutes of rolling the ball around. I made sure to target both pop bumpers and have them pass the ball between each other a few times. One issue was still present though – when the top pop bumper was activated, both pop bumpers fired at once. This was as simple as a switch adjustment on the lower pop bumper. After adjustment, both fired correctly. Next assembly to revisit is the drop target bank.
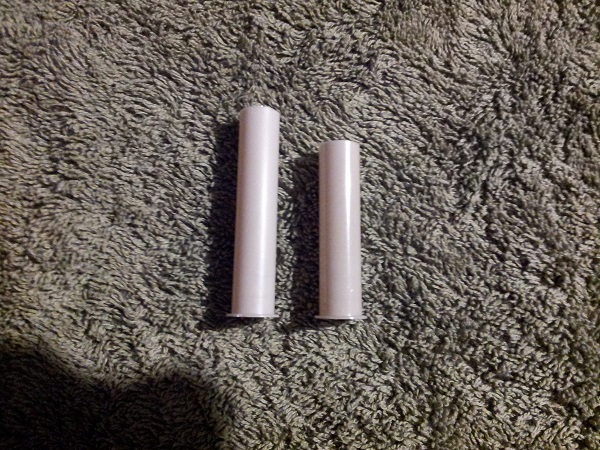
When I recently rebuild the drop target bank, the coil sleeves I used were a bit on the short side. The correct sleeves to use are much longer than the ones I had on hand. In a recent RTBB order I made sure to include a pair of the correct sleeves. As you can see, there is some difference between the correct sleeve and the longest one I had available. I pulled both coils off the drop target bank and installed the correct sleeve. At a cost of 95 cents each, it wasn’t going to break the bank to install the correct sleeves.
With the machine switched on I ran through all the globes (GI and cpu controlled) to ensure all were bright and working. This included the playfield and backbox. Happy the lamps were all good, I checked this off my to do list.
One connector in the headbox that’s been craving attention is the double sided connector on the driver board – J3. This controls the lamps along with the game over and tilt relays. The pins for this connector are not easy to find. I decided to extract each one and give it a good clean. For this I purchased a small fiber glass eraser pen.
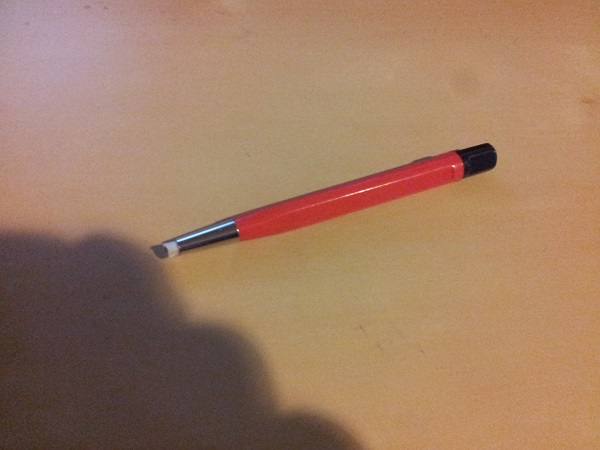
Each pin was extracted and first wiped clean to remove the loose crap and green goo. I then used the fiber glass eraser pen on the pin to clean it up. The pin was then reinserted back into the holder. This was repeated all the way along for each one on both sides of the connector. There are a lot of pins here – roughly 40. This took some time, but in the end will add additional reliability to the machine and should not have to be looked at for a long, long time to come.
That’s all for this update. Next up (probably the final update), I want to clean the legs up and set the machine up for play. This will allow me to give it a proper shake down and report / sort out any issues that arise. Before that though, I need to create some room for it somewhere..
