
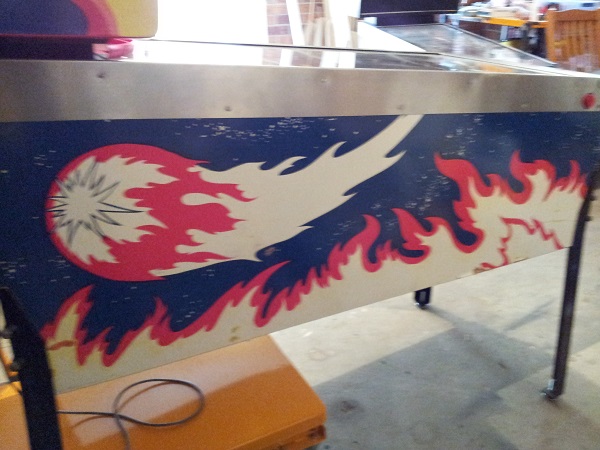
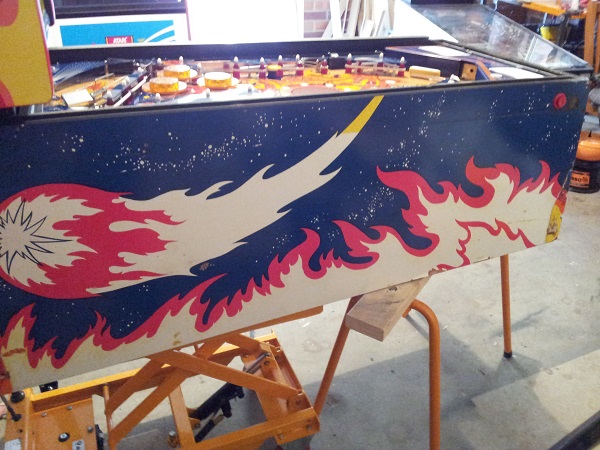
The end is in sight for the installation of my new Fireball Decals. The headbox was completed a few weeks ago. The right side was completed last week and now this week, it’s time to knock the left side over. This includes a new side rail to finish the cabinet off nicely. The left side decal was in a similar condition to the right with the colours badly faded. The condition of the cabinet was better though and less damage to patch up.
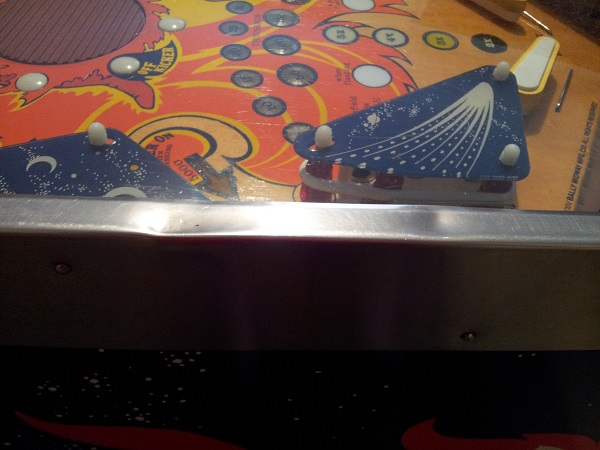
The rail had less damage than the right also, but you can see a few spots where something heavy has landed on it.
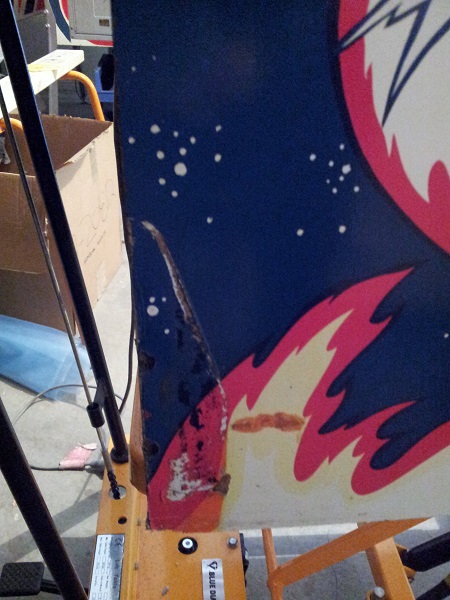
First I wanted to get the legs and rail off as that would then allow me to remove the old decal. There was some damage to the decal because of the legs. As with the other side, I have new cabinet protectors to install here which will guard the new decal against damage from the legs.
Next step was to remove the rail. This was quite straight forward. There is a single bolt at the front, and 8 spiral nails to remove.
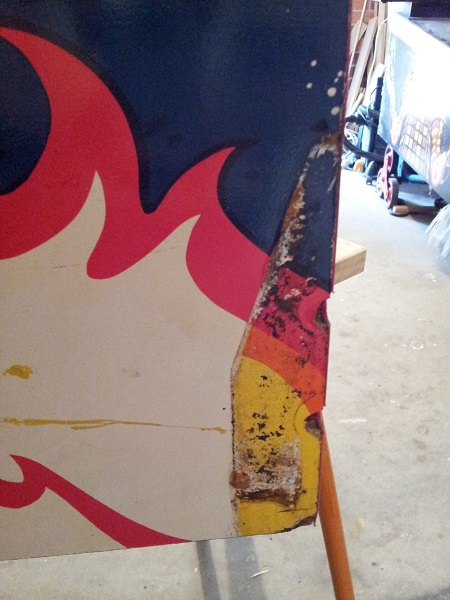
Looks like something got under the front of the rail and left a bit of a mess.
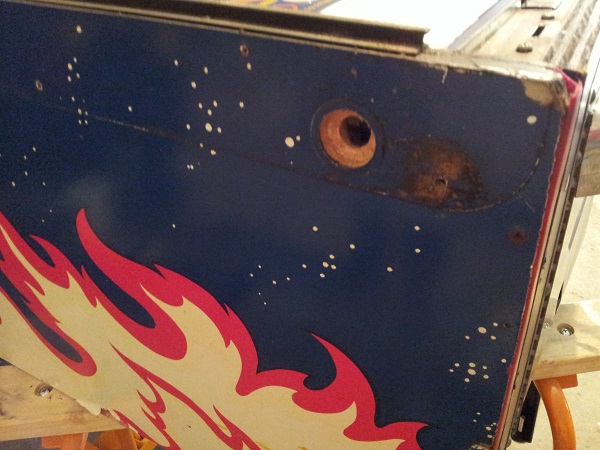
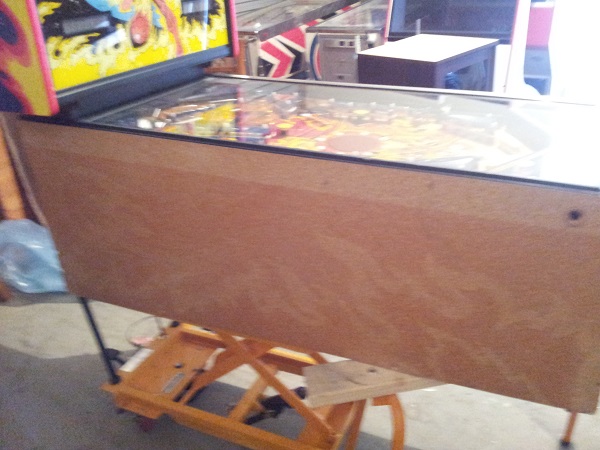
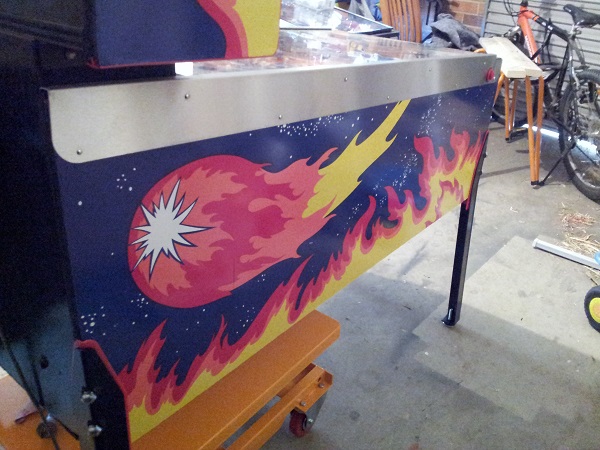
The old decal could now be removed. It came off in a single piece (with a few rips along the way). A bit of a sun tan remains, showing the outline of the old artwork. At this point I also predrilled the new nail holes and patched the old holes up.
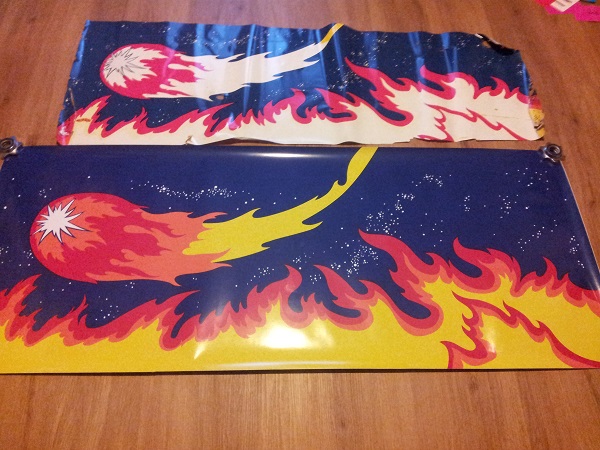
I lined the old and new artwork up so I could resize it a little before installing. Again, the difference is amazing. Something interesting here is the old decal shrunk by about 1cm in width and height in the 48 hours between removal and this photo.
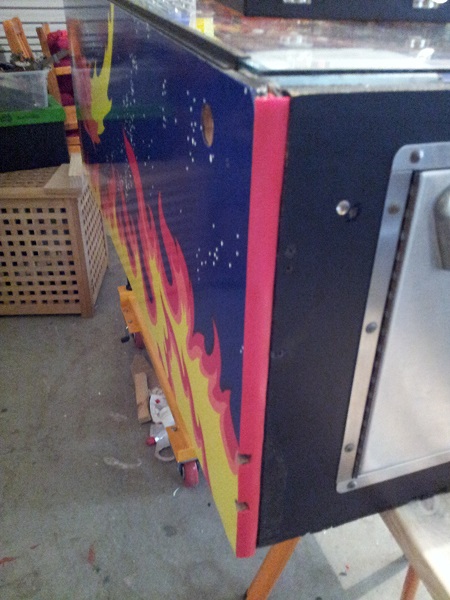
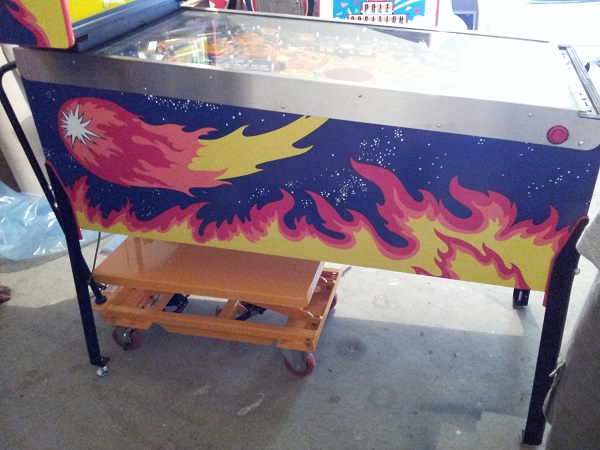
The new decal was then installed and left to sit for 24 hours to allow for any shrinkage. Once ready, I trimmed the excess decal off the sides and the holes for the button, bolt and leg bolts.
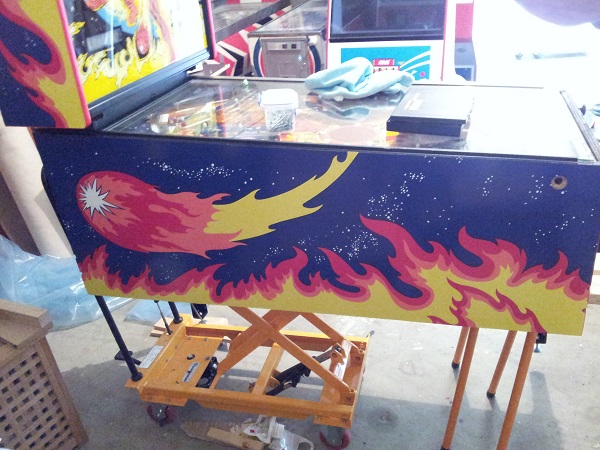
At the same time, I installed the new strip of red t-moulding at the front and the bolt holes cut out of it.
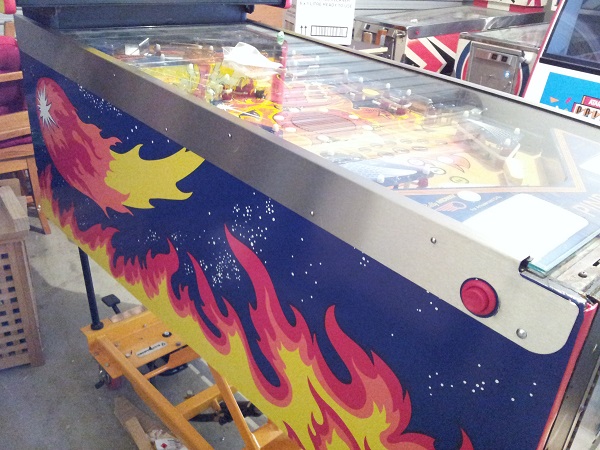
The left side rail could now be installed. New spiral nails were used and a new bolt for the front. A mallet and nail punch were used to hammer each nail in. This proved quite easy to do and took very little time at all.
That just leaves the legs.. As with the right side, both legs had been painted by brush at some point and it showed. Large brush strokes through the paint and not really an attractive finish. This was sanded back and the legs left smooth. From there I gave both sides 3 coats to get a nice finish.
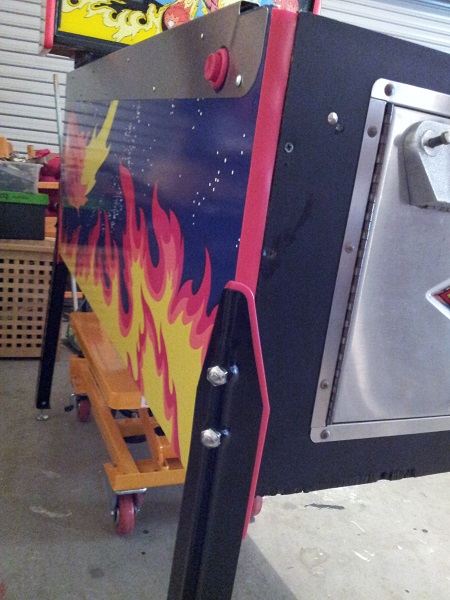
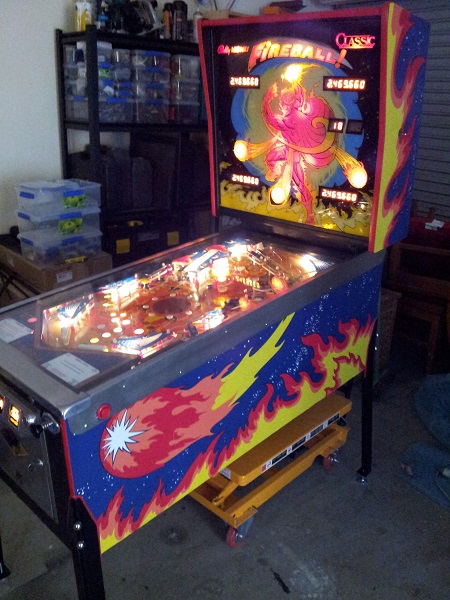
The legs were then installed, with new red cabinet protectors sitting between them and the cabinet. New leg bolts too finish the whole thing off perfectly.
The machine has come a long, long way since I purchased it (about 8.5 months ago now) and has come up better then I’d expected it would.
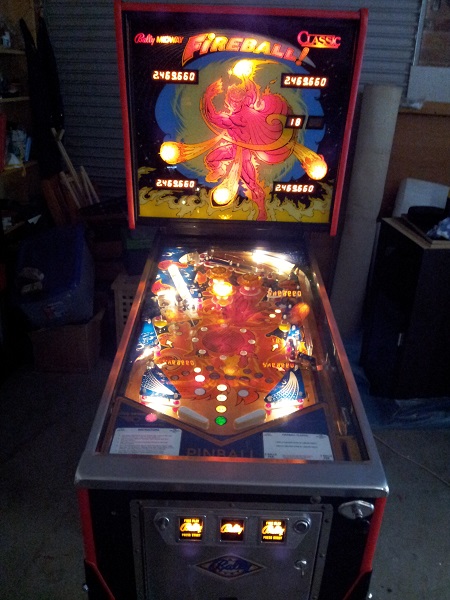
I’m now finished with the presentation of the machine. I could go further no doubt. I could improve the coin door and front panel. I could purchase a new lockdown bar or find a better one. I know of a NOS backglass I could add. I could improve the rear of the machine. But I think you need to draw a line at some point and I’ve reached it 🙂 Is this the end? Not quite. There is a 25 pin connector in the headbox waiting for me to repin. There is the shooter lane return gate that has stopped working and also some ghosting on the pop bumpers and sling shots I’m keen to sort out. So there is still at least 1 more update post for me to make once those are dealt with 🙂