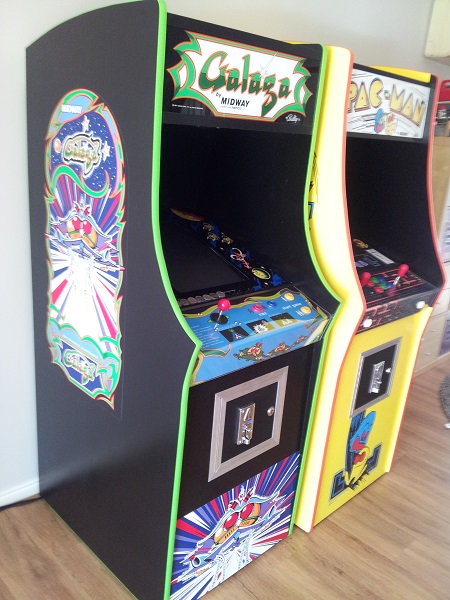
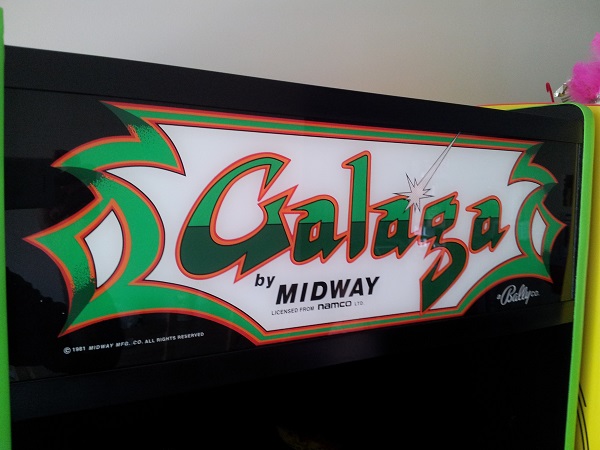
I find it hard to believe I’ve had my Galaga machine now for over 3 and a half years. This machine is where it all began for me. Seems like yesterday I was constructing it and playing it for the first time. Before this project, I would struggle to hang a picture on the wall properly. I’ve since gone on to build and restore several arcade machines and I now find myself wrapped up in Pinball restoration and repairs. Time flies all too fast. Recently I purchased a 4/8 restrictor board to install into this machine and decided to fix up two other issues at the same time.
Over the 3.5 years, the machine has held up really well. Even with two young kids in the house, there is minimal cabinet damage and marking. The coin slot has survived a few scares as the kids loved to insert anything they could find into the slot (and if they were lucky, it would pass straight through and come out the return slot – which made doing it again even more appealing).
There have been two issues I’ve wanted to deal with for a long time and since my attention is focused on the machine, I may as well do them now. Firstly though, I wanted to get the restrictor board installed.
Before installing the board, the very first step was to remove the control panel and set the joystick restrictor plate to 8 way. No point having this board installed if the plate only allowed 4 way 😉 With that done, it was onto the board.
The board is a small PCB that sits between the joystick and the 60-in-1 board (It can be used outside of a 60-in-1 setup also). It’s powered by 12V, which I can run off the switcher. What isn’t included with the board is a switch to toggle between 4 and 8 way modes. People have different set ups and it makes sense to allow the end users to select the most appropriate type of switch desired and wire it up themselves. It also supports a LED to show when the 4 way mode is enabled. Hooking this up is not mandatory, but I decided to make use of it.
To begin with, I sized up a small piece of left over aluminium angle from a past project, large enough to hold the switch and LED. The LED requires a resistor to sit between it and the board, I’ve opted for 1K. Holes were drilled and the two components installed. I cut up some striped wires from scrap arcade wiring I had. White + black stripe for both commons and White + blue for the switch and white + green for the LED.
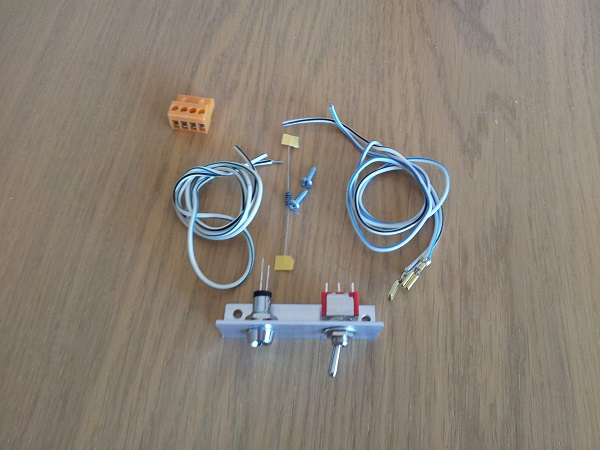
This was then wired up to the 4 pin connector for the switch and LED. After that the 4 wires for Up, Down, Left and Right on the JAMMA harness were cut. The ends of each were then attached to small blade connectors and installed into the plugs that connect to the restrictor board.
I also ran a 12V and ground wire from the switcher to the board. Without the joystick inputs connected, I first tested the LED activated / deactivated correctly based on the switch position. From there I hooked up the IN and OUT connectors for the joystick. I booted into test mode and tried the joystick out in both 4 way and 8 way to make sure it functioned correctly.
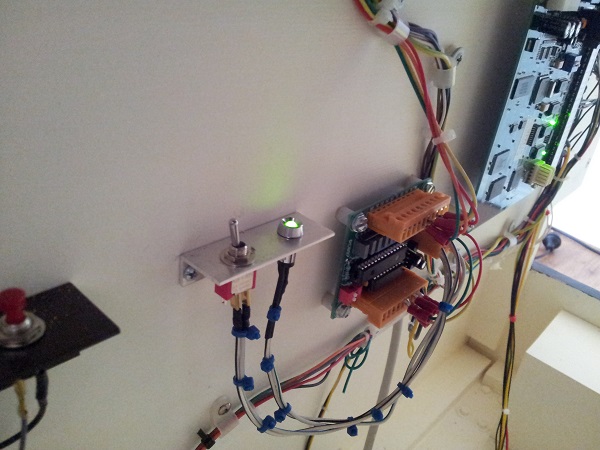
With the board installed and tested, I tidied up the wiring. It was time to look at the two issues I wanted to resolve.
The first is the marquee brackets. These are two pieces of aluminium angle I purchased from Bunnings and cut to size. They’re not as attractive as proper marquee brackets, but they do the job at a fraction of the price. The problem here is the paint job. I didn’t prep the surface properly and the paint was pealing in several places. Here is one of those spots.
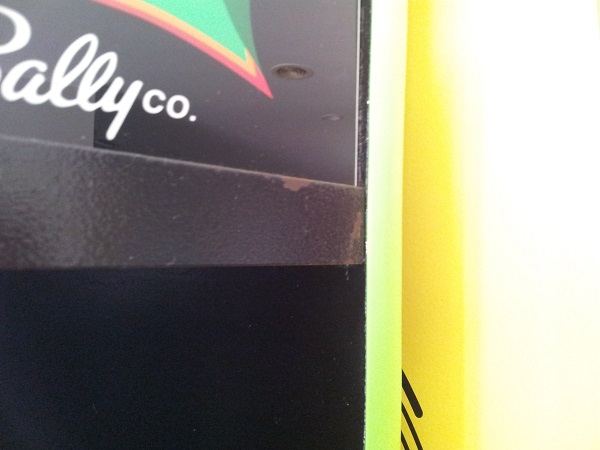
Removing the brackets is easy as it’s simply 3 screws in each. Once removed I removed the existing paint. This actually all pealed up almost in a single piece. Both brackets were then sanded, cleaned, primed and sprayed with a nice gloss black. After three coats, they were how I wanted and then installed back onto the machine and looking better than ever.
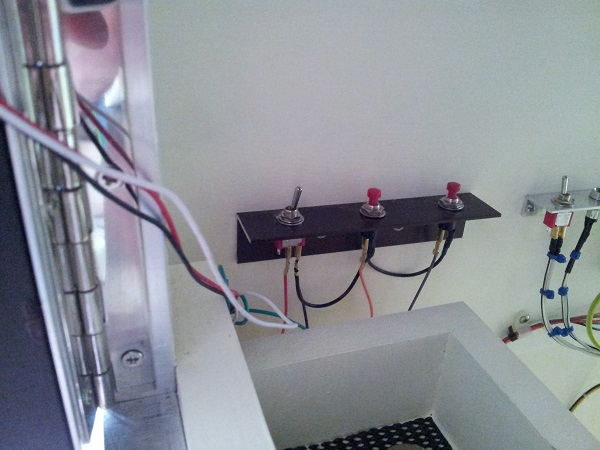
The second issue I wanted to sort out was the test switch. In the machine I have a 60-in-1 board installed. The test switch needs to be held down at start up to enter setup mode. It’s basically impossible to hold this switch down and turn the machine on at the same time. A poor design choice on my part. To fix that, I decided to swap the momentary switch for an actual on/off switch.
Thankfully this was very easy. The neck on the switch matched the old one, so fitted straight into the bracket. The wires were connected via small quick connects and these were also usable with the new switch. I really should have done this sooner given how easy it was.
One last thing to check while I’m here – what’s the coin counter like?
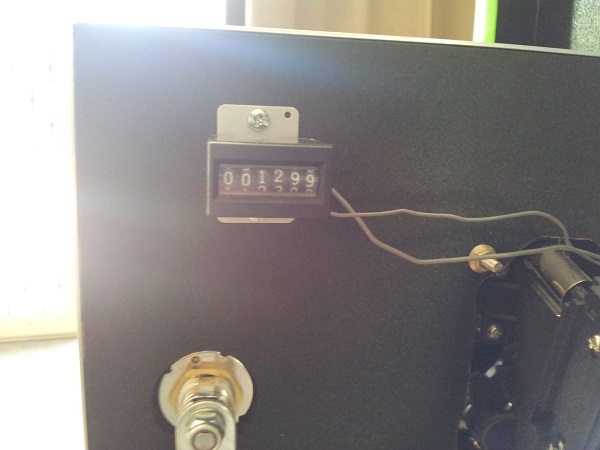
1299 games at 20c per game is a mere $259.80. Still got some way to go before I pay myself back on it 😉
It was good to return to this machine to fix up a few things and inspect my work from years ago. I’ve really loved having it in the house and the kids have also enjoyed it. The new restrictor board should make many of the games more playable too. That’s enough on the arcade side of things, time to get back to some pinball projects…

Awsome job on the machines, they look brilliant, I got into arcade games for the home 3 years back when I got a midway cocktail (with real arcade crt, no lcd rubbish). Now looking at a defender Cab 🙂