With work coming to a close on Corvette, it was time to start giving some attention to the next machine in the queue. Next up is a Bram Stoker’s Dracula. The game was originally released back in 1993, with over 6800 machines made. This one has some great shots on it and plenty to do. I’ll be giving the game a full rebuild, with all assemblies to be removed, cleaned and worn parts replaced. All playfield parts will be removed, cleaned and many new parts added also. There are some additional presentation things to do on the game too, so this one is going to keep me busy. Time to get started!
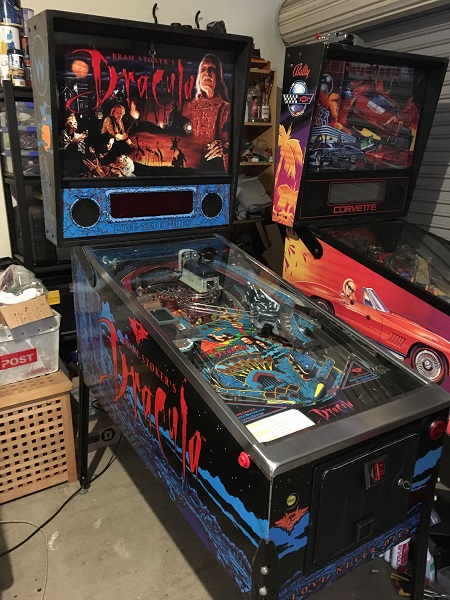
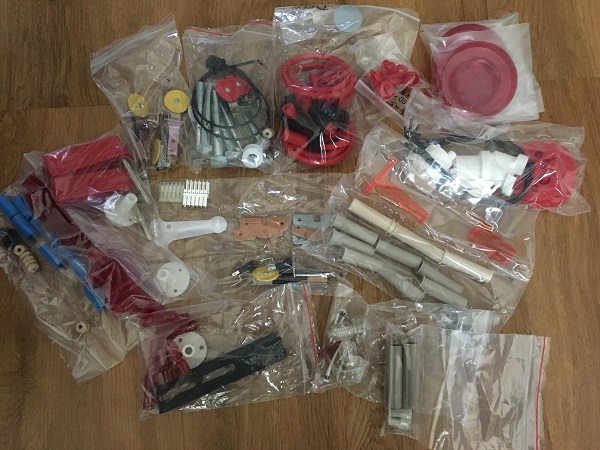
Before starting work on cleaning the game up, I went over it looking at what parts would be needed to help lift its presentation. This resulted in a couple of orders with local suppliers and a nice pile of new parts ready to install. The owner came prepared with a set of red Titan rubbers which he wants installed, along with LED’s for the headbox. Most of the inserts are already lit using LED’s, but the few that aren’t will be converted as I work through the game.
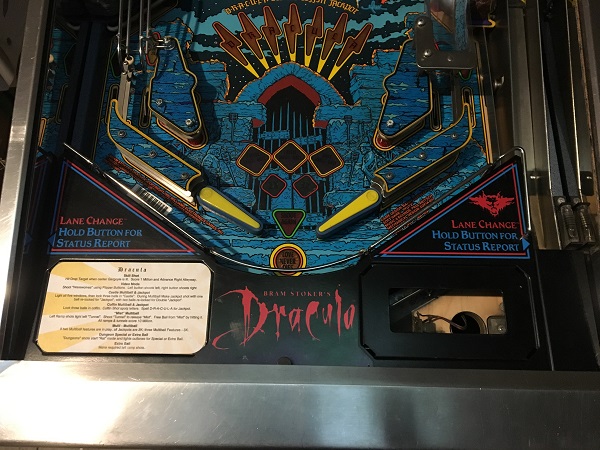
As always, I like to start working at the lower section of the playfield and move my way up. So the first area to get an overhaul is the apron. The metal apron itself is in excellent condition and will only need a slight clean and new apron cards.
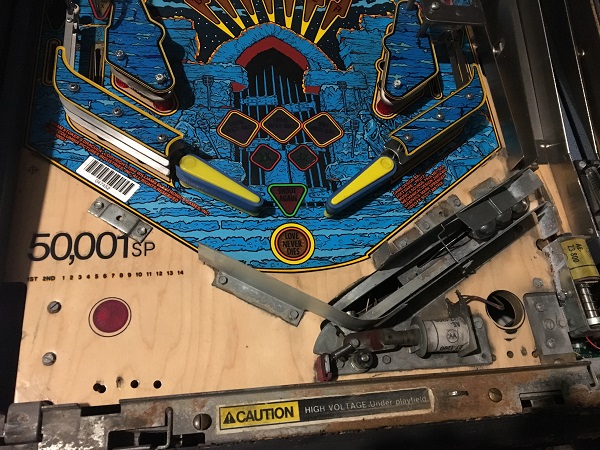
Below the apron I found there was quite a bit of crap built up on all the metal parts. I noticed under the playfield some corrosion and rust on a few lamp sockets and metal parts too. I’ll do what I can to clean it all up though.
There was a thin layer of dust across the surface. I’ve seen far worse than this though and this will wipe away easy.
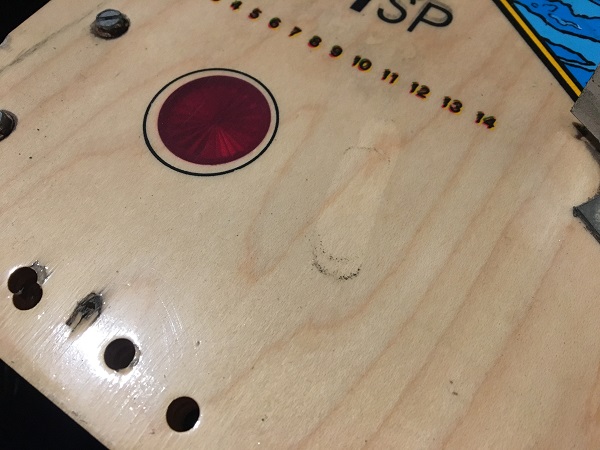
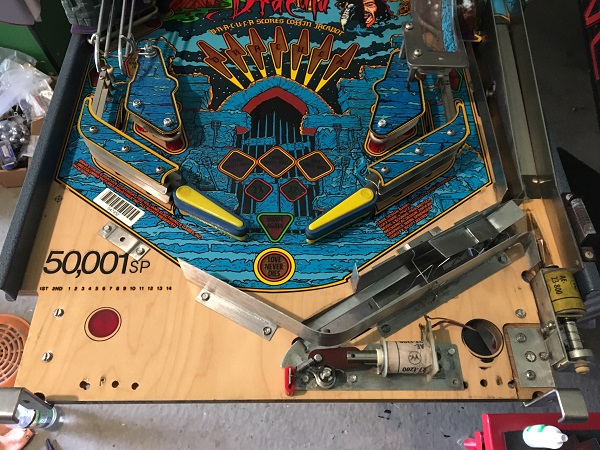
The playfield area under the apron was stripped back, with all assemblies and playfield parts removed. The ball trough was also removed from under the playfield too. Lots of black dust and filth around the outhole kicker and ball launch assemblies.
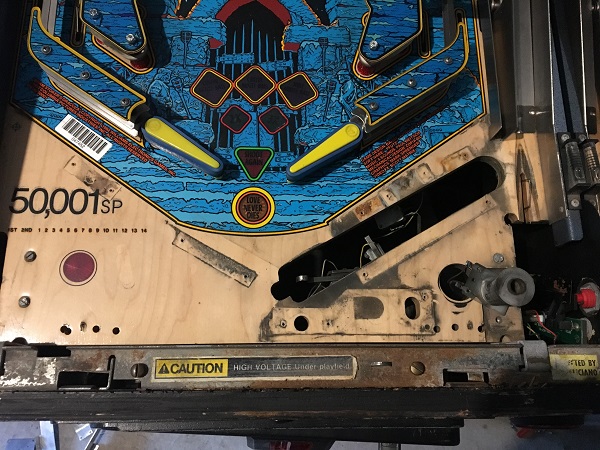
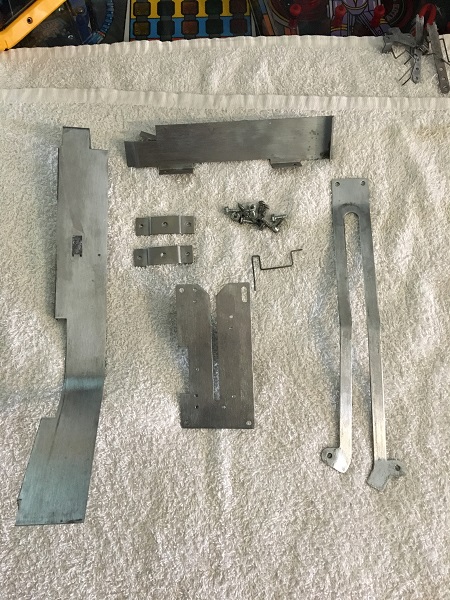
The metal parts from the apron were cleaned. When you compare them to the state they were in on the playfield a few photos back, they are looking much better.
The playfield surface was next to be cleaned. Use of Nifti, Novus 2 and then Novus 1 got through the filth and now has the playfield surface looking great.
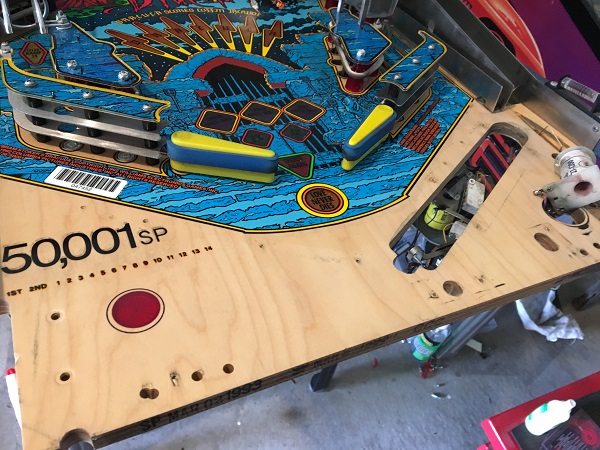
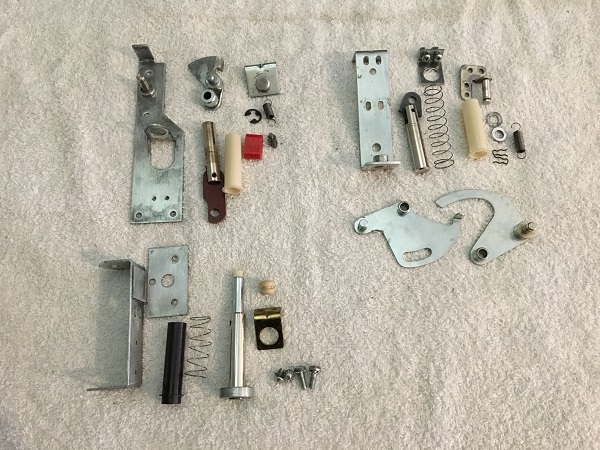
The 3 assemblies from the area were cleaned up next. New coil sleeves and rubber grommets were purchased to replace the old ones.
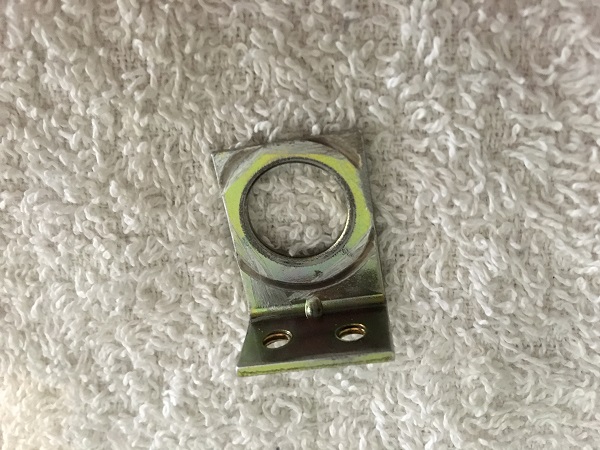
I decided to replace the ball launch coil bracket. These things take a real beating over time and now seemed like the best time to replace the $1 part.
The assemblies were installed back onto the playfield, along with the metal parts making up the trough. Looks so much cleaner now.
When the owner dropped the machine off, he made mention of wanting the lock down bar receiver to get a face lift. It’s certainly seen better days.
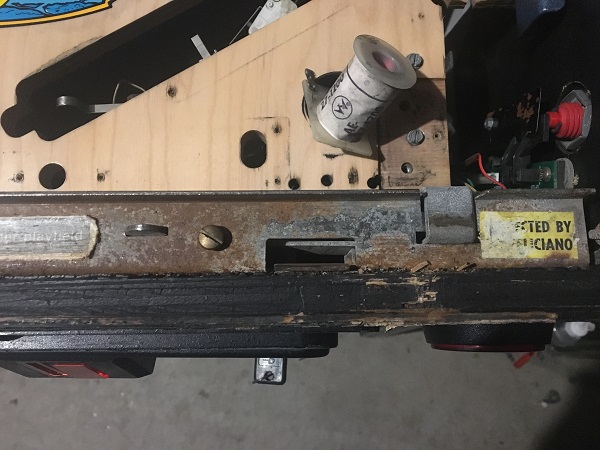
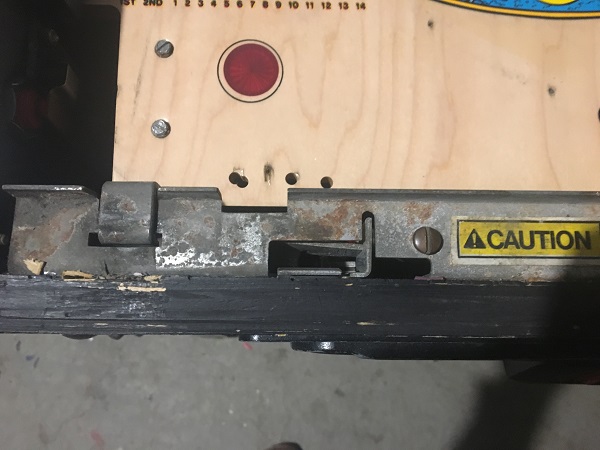
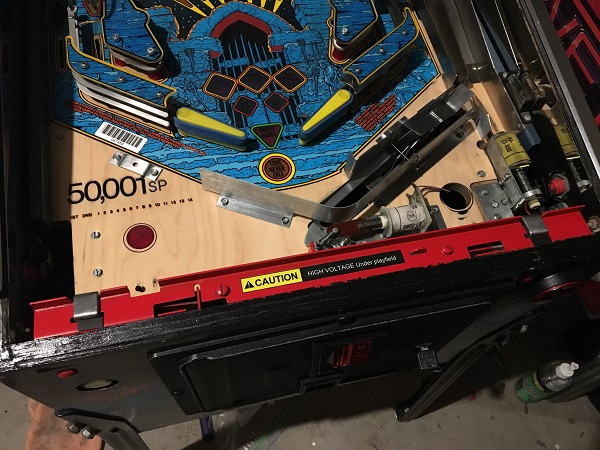
The receiver was removed and the rust cleaned off it. It was then sprayed red and finished with a clear, which I felt works well with the theme. I also printed up a new voltage warning decal. The two metal arms from the playfield that rest in the receiver were also removed and the corrosion cleaned away. It’s a presentation thing that you will rarely ever see – probably only you’re lifting the playfield really – but it’s nice to be greeted with when you do.
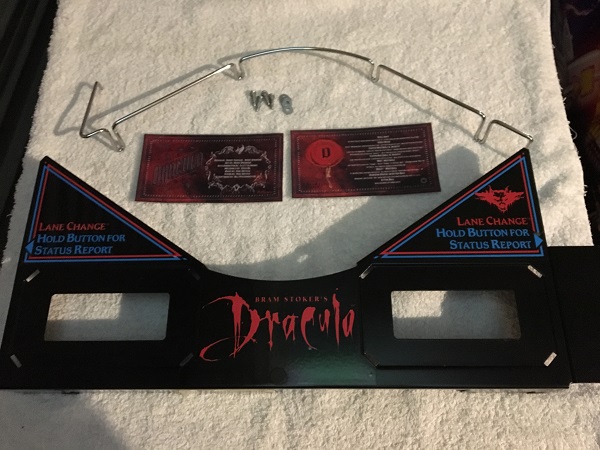
The apron itself was cleaned up next. The metal bar removed and scrubbed clean. New apron cards were printed up and laminated.
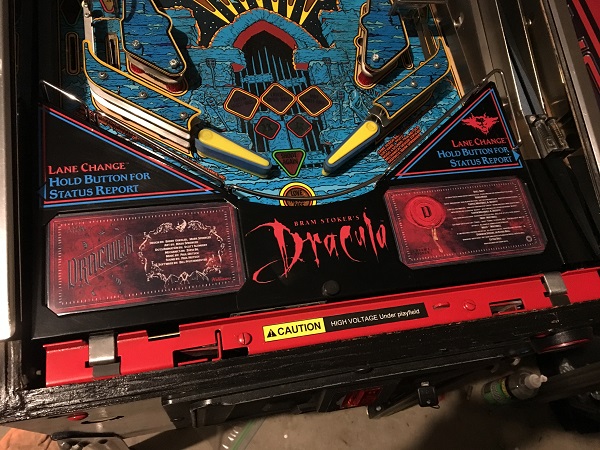
The apron was then installed back into the game to complete the work on the apron area.
I wanted to shift away from the playfield for a moment and look at the coin door. Since we had some nice weather, it seemed like a good time to freshen this up before the wet weather continued on again.
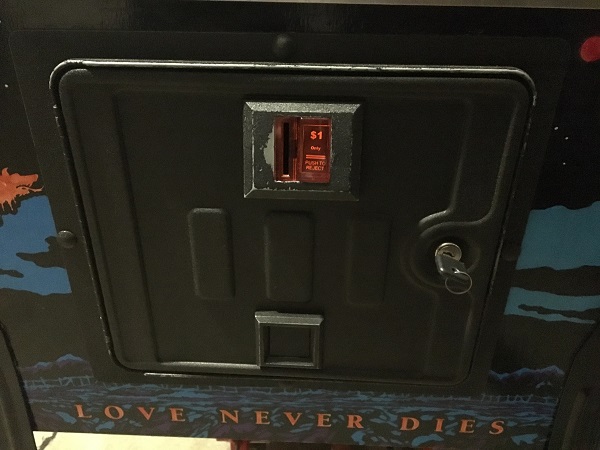
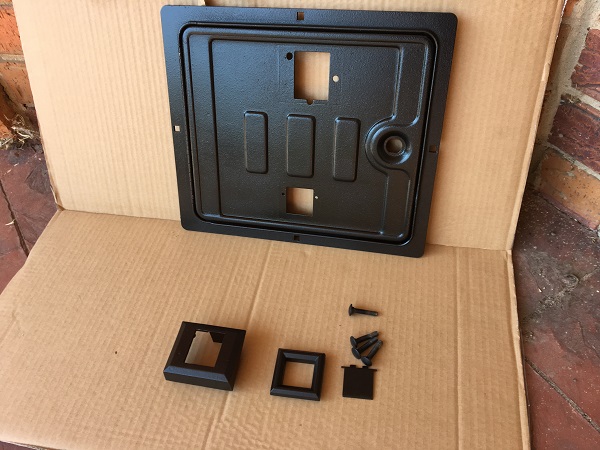
The door was disassembled and removed from the game. It was then given 3 coats of satin black and two coats of clear.
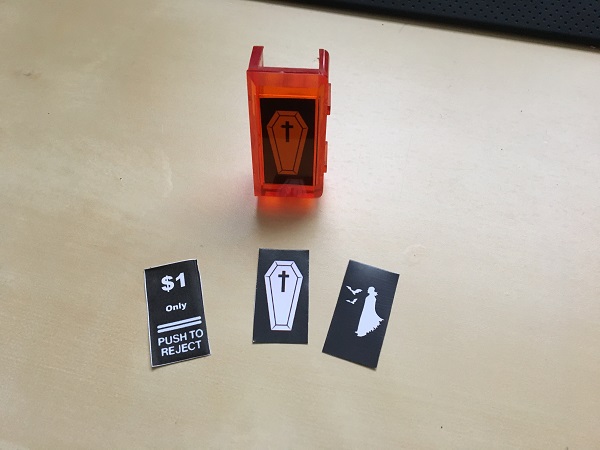
I love adding custom pricing inserts to the coin reject buttons. It’s a little something that helps a game stand out from others. After making up a couple, they were printed and installed.
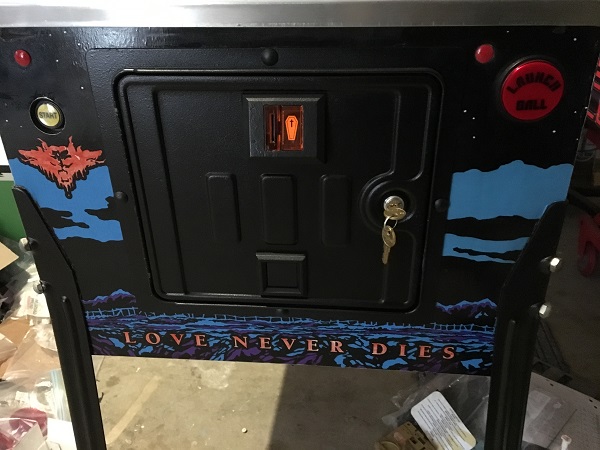
The coin door was then installed back into the cabinet and reassembled. The two red bolts are for the lock down bar receiver. I decided to do these in red to try and bring a little more colour to the front panel.
Time to switch back to the playfield. Next up will the flippers and sling shots.
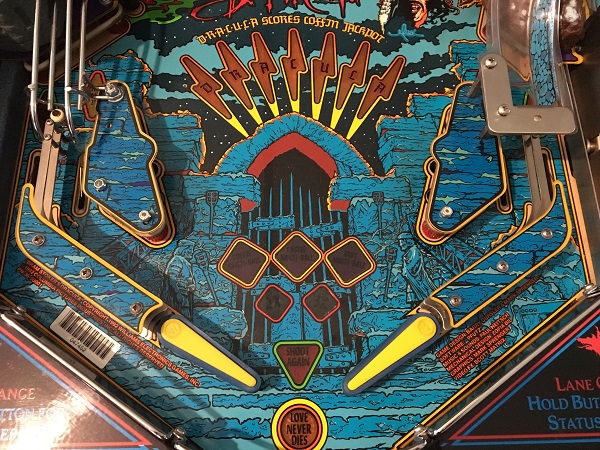
The plastics and return lanes were removed first. The rubbers are begging to be replaced.
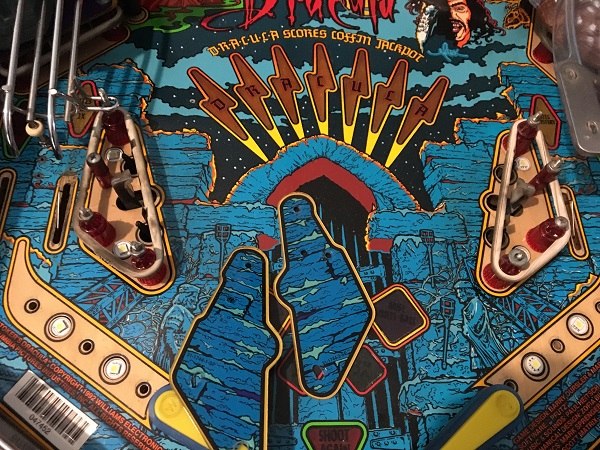
The lower playfield area was stripped with both the sling shot and flipper assemblies removed from the playfield. All posts and rubbers were removed too. The playfield surface is pretty clean, with just a thin layer of filth covering it.
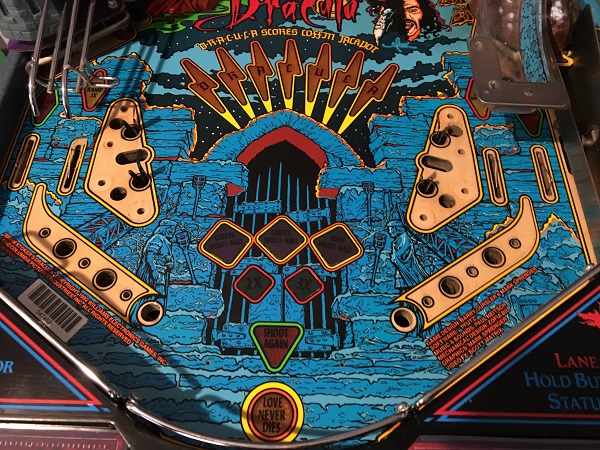
The flippers assemblies were up next for cleaning. New flipper bats, rubbers, plungers, sleeves, grommets and bushings were purchased to replace the old ones. When removing the assemblies from the playfield, I noticed that one of the EOS switches had already been replaced recently. So I only purchased one new EOS to replace the remaining old one.
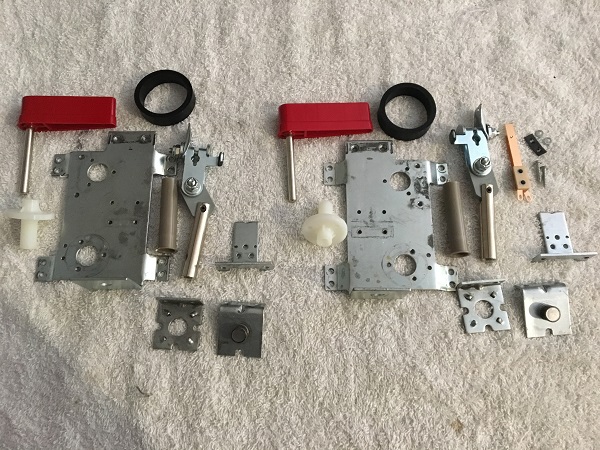
It was the sling shot assemblies turn for cleaning. Metal parts went through the tumbler and new sling shot arms were purchased. The old arms both had some damage, so I felt it best to just replace them as they get a lot of use in game. New coil sleeves were also purchased.
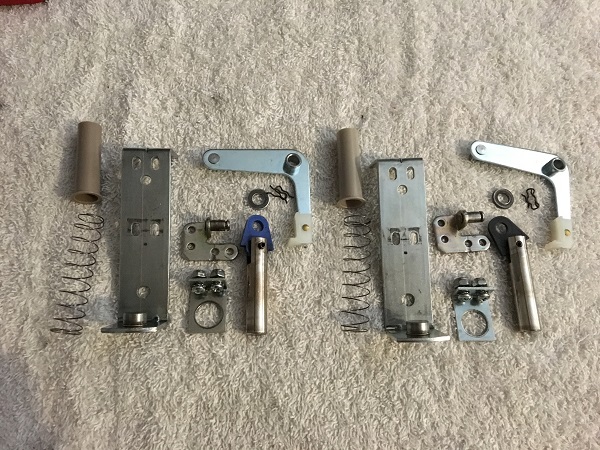
The playfield parts were next to be cleaned. All metal parts went through the tumbler. New star posts were purchased to replace the old ones.
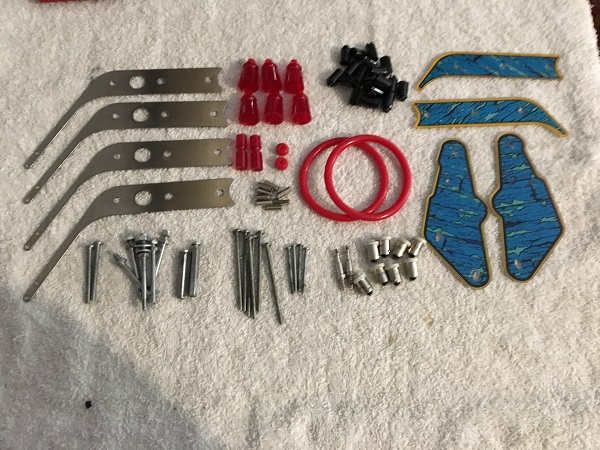
The playfield surface was cleaned and then finished with Novus 2 and 1. I then started rebuilding the playfield. I also added clear washers at the pop bumpers to protect the plastics.
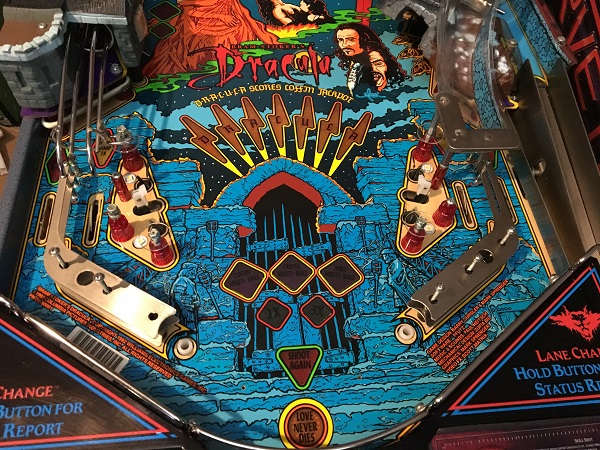
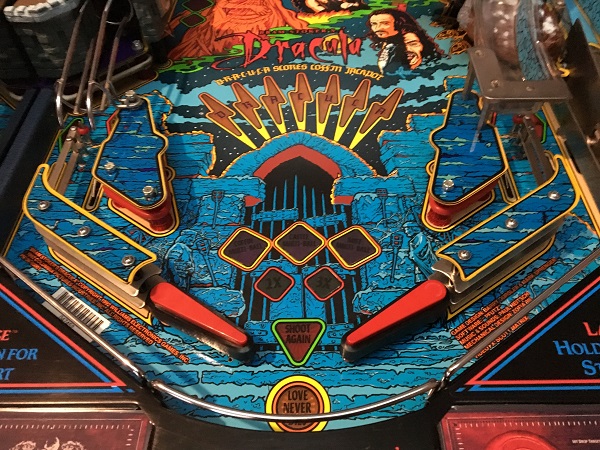
The red Titan rubbers were installed, along with the cleaned plastics. The flipper bats also went on to complete the work on the lower playfield.
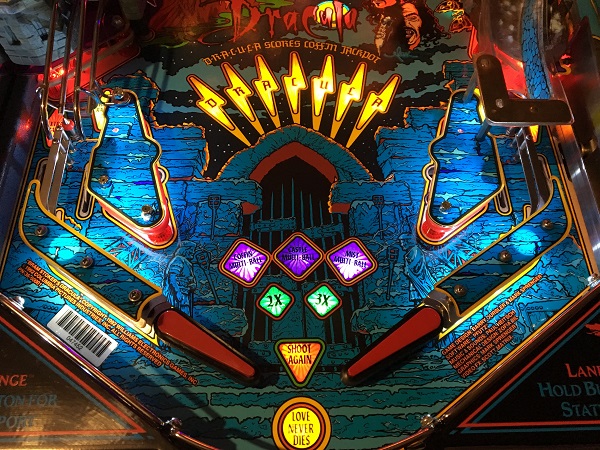
The owner requested back lit flipper buttons to be added to the machine, so I made up a new set up.
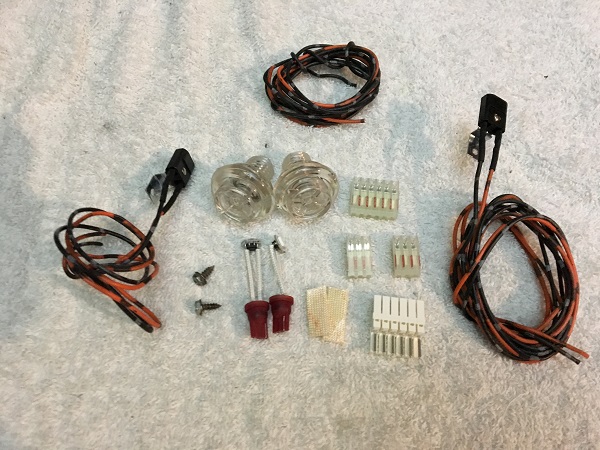
They draw power from the coin door lamp. Once installed they light up nicely.
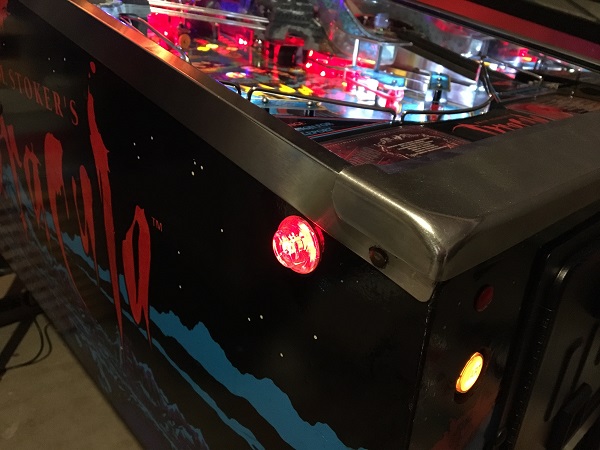
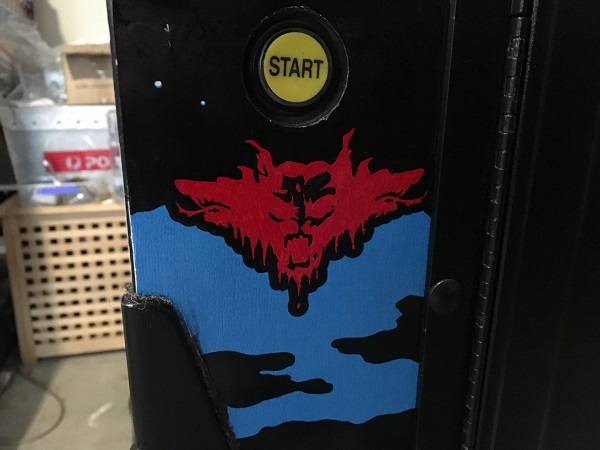
Although the red on the sides of the cabinet is still good, the front panel was a different story. The red on the logo and “Love Never Dies” text had faded quite a bit. I decided to touch it up. Here I had done half of the logo and you can already see the improvement.
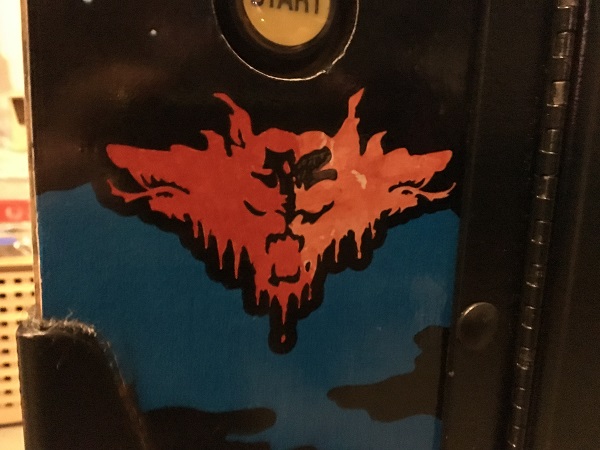
I continued on and once complete, it was looking a nice deep red again.
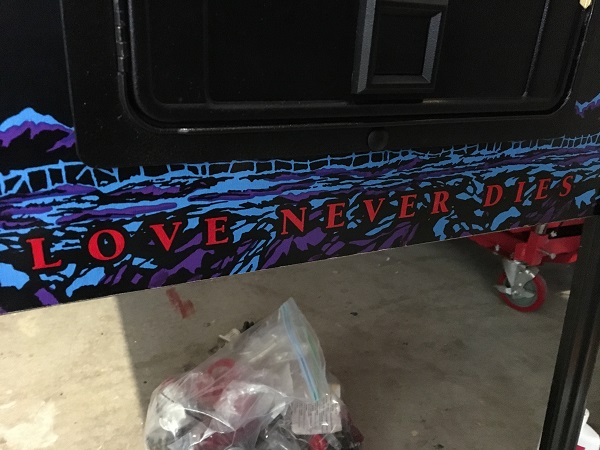
The “Love Never Dies” text below the coin door had been hit just as bad (if not worse) from fade.
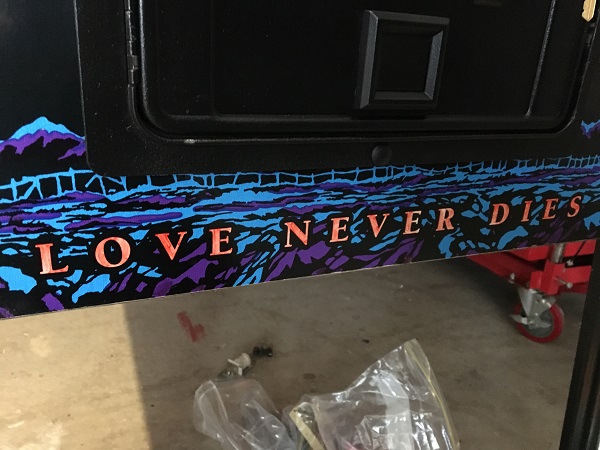
This was touched up to bring back a nice deep red. It makes a HUGE difference.
It’s amazing how much filth collects on the rear side of the translite over the years.
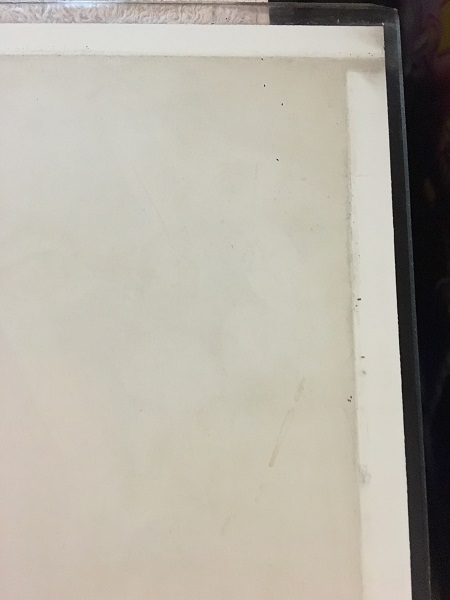
The translite was removed from the class and gently cleaned to look white again. The glass and black trim were also cleaned.
To finish up this first update, I wanted to get the headbox LED’s installed that the owner dropped off. I made two small changes, with a blue LED where the Williams logo is and an orange LED where the off colour moon is.
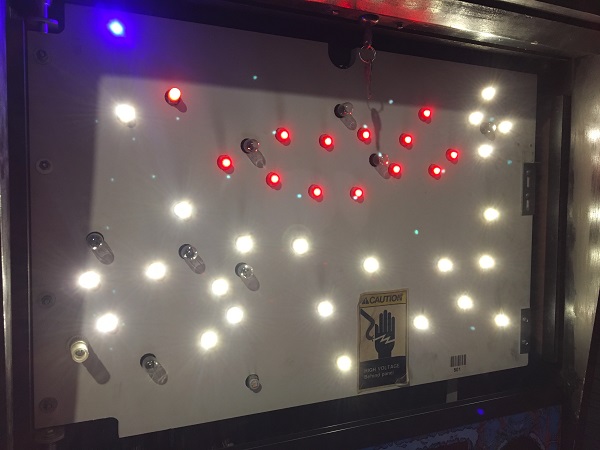
Lit up, the translite looks excellent. There are a few small marks on the translite that keep it from being perfect, but they are minor. I need to return to this area in a future update and paint the black areas around the headbox to give it a nice clean gloss finish.
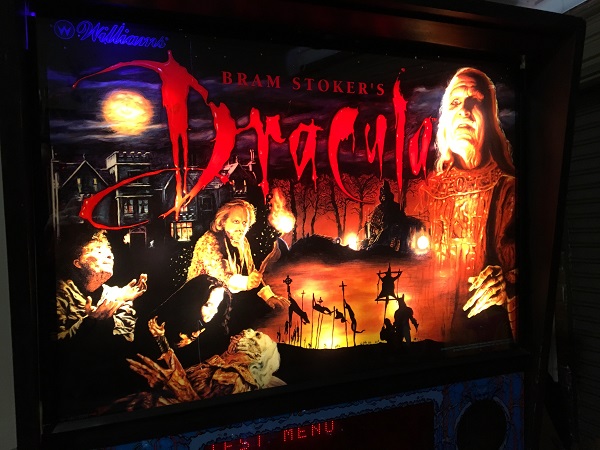
That’s it for the first update on Dracula. Next up I’ll be removing the ramps and rails to access the middle playfield section and then continue on up the playfield to the pop bumpers. I also want to clean the lamp boards below many of the inserts, along with cleaning the underside of each insert. I had hoped to squeeze that in to this update, but it missed out. Another thing I need to look at in the next update are the two subway ramps under the playfield. They are in the way of a few things, so I may as well remove those and clean them up next too. Still quite a bit of work ahead of me as the to do list grows every time I look at the machine. But it’s progressing nicely so far – so, until next time!
