Time for the final update on Corvette so I can get it back to its owner. At the end of the last update, I had removed everything from the pop bumper area and cleaned the playfield. The leaves just the upper left section of the playfield to strip and clean. This section is home to the engine. It’s an interesting feature as the engine revs during game play by rocking left and right. It’s used in a few different modes and also you can use the flipper buttons before launching the ball to have the game rev the engine. Beside the engine is also the 3 ball lock. It’s normally covered by a large plastic engine piece, but I had removed that weeks ago so I get the rails and ramps off the playfield.
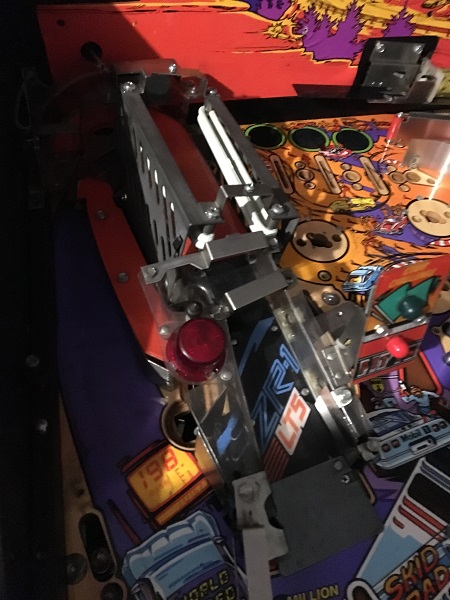
The cage around the engine is attached to a metal frame and is removed via 4 screws. You have to remove the cage to remove the ramp that makes up the rest of the engine area.
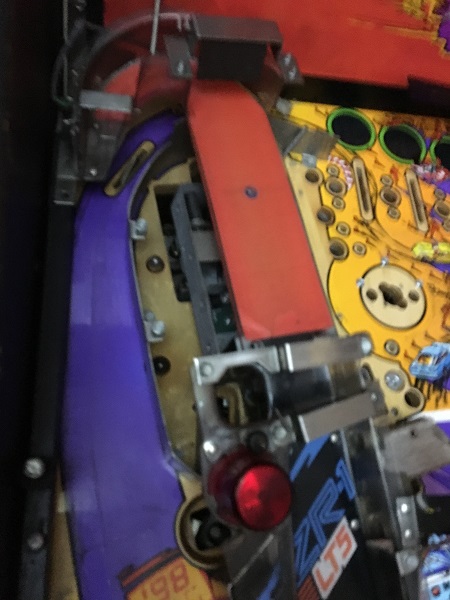
The ramp was removed next, along with the metal rails, posts and globes. The playfield is quite filthy but there is no wear or damage.
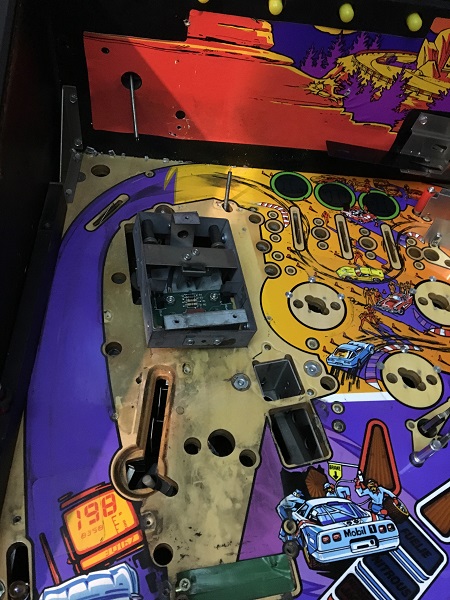
Now that everything had been removed from the playfield, I decided to clean it. The usual steps of Nifti, Novus 2 and Novus 1 made light work of it and the surface was looking clean again.
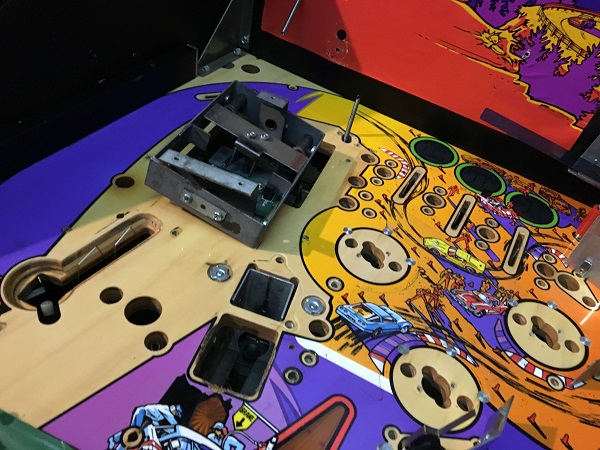
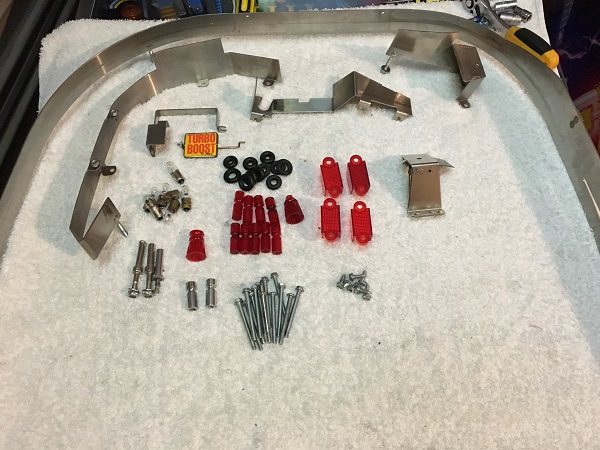
The upper playfield parts were cleaned next. New red posts, lane guides and rubbers were purchased. All small metal parts went through the tumbler while the large rails were cleaned by hand.
Only a few assemblies left on the playfield to deal with. First up for this update is the ramp diverter.
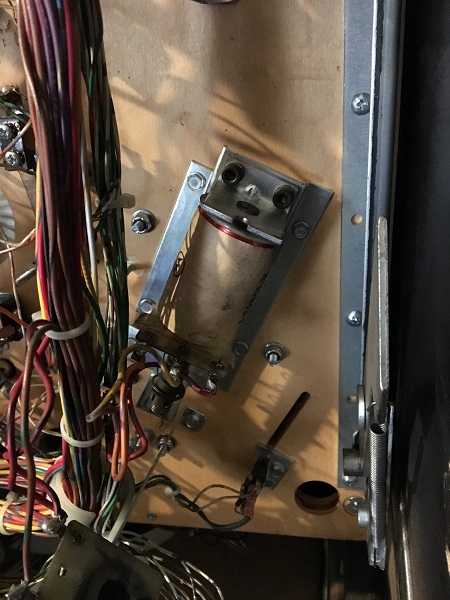
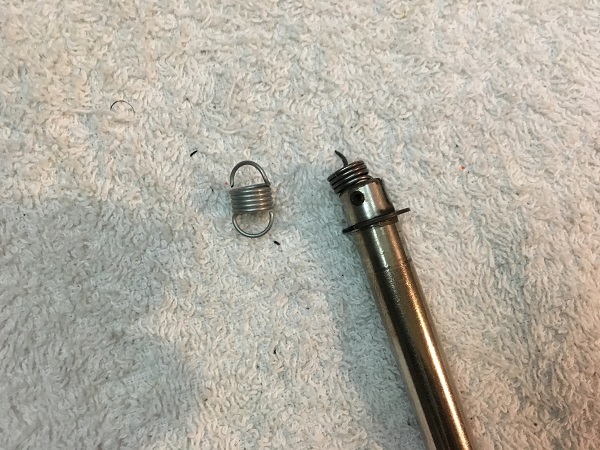
The spring on the ramp diverter arm was broken, so a new spring was purchased. To replace it, the roll pin needs to be tapped out just enough to get the old spring out and the new one on.
The assembly disassembled and cleaned. A new coil sleeve and bushing were purchased. It was now ready to go back into the game.
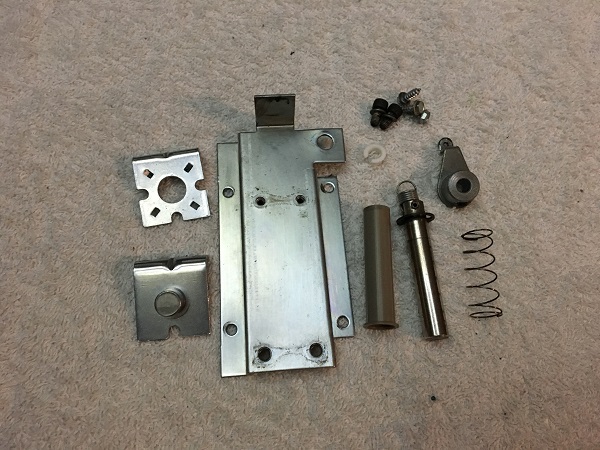
The VUK assembly from the pit stop was up next. This was disassembled and cleaned. A new grommet and coil sleeve were purchased to replace the old ones.
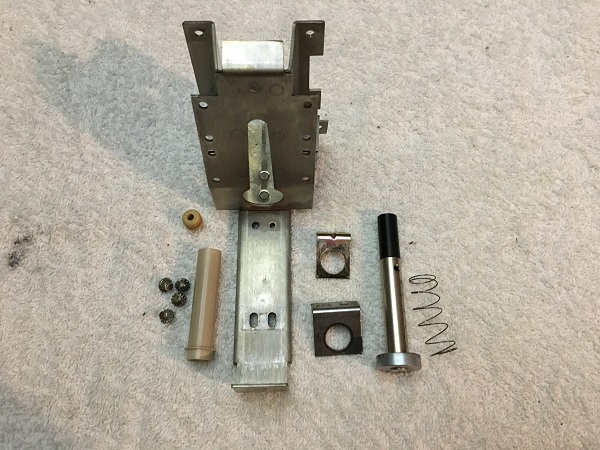
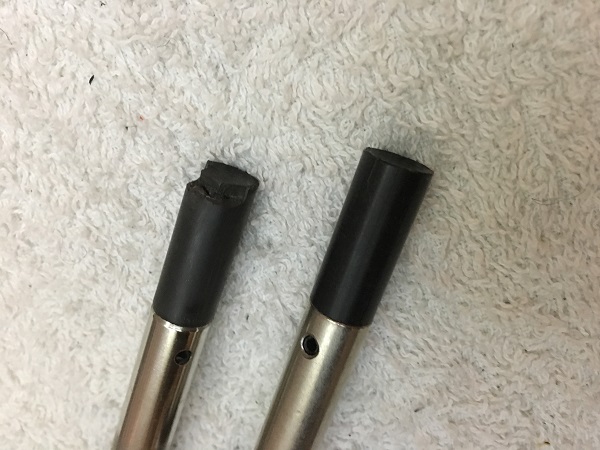
The plunger also needed to be replaced as the tip was cracking, with a section already broken away.
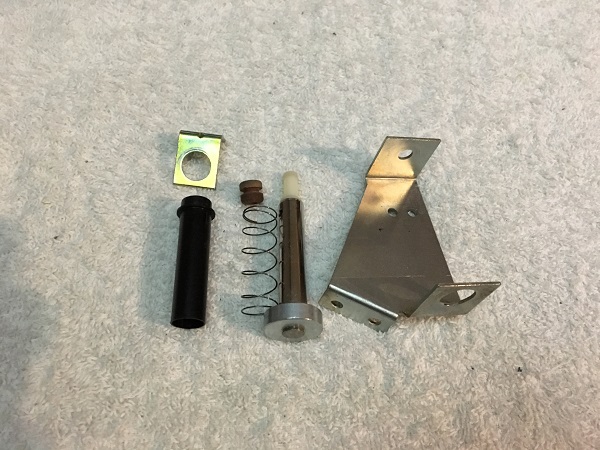
The small kicker from the ball lock was up next. The metal parts were cleaned by hand and a new grommet and coil sleeve were purchased to replace the old ones.
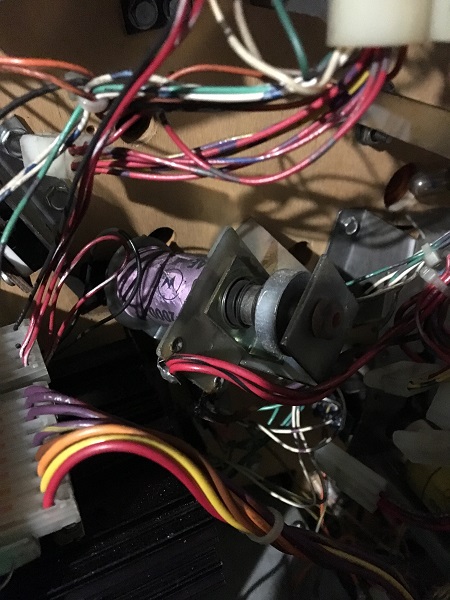
With all the assemblies and playfield parts out of the way, it was time to deal with the pop bumper assemblies. All metal parts went through the tumbler for cleaning. New bodies, caps, skirts, lamp socket, sleeves and yokes were purchased. I’ll be putting LED’s in the pop bumpers as they are more durable and it can be a real hassle to replace bulbs in pop bumpers that are covered by layers of ramps and rails. Interestingly, one of the pop bumpers does not have a lamp socket. This is by design as it’s mostly covered by a large red plastic piece.
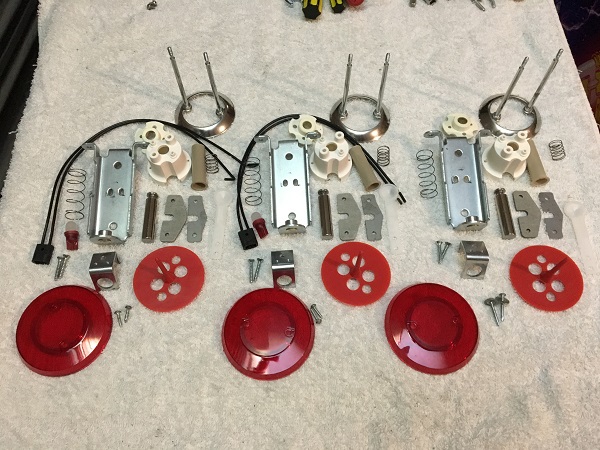
The playefield parts from the upper section of the playfield were installed back into the game. The pop bumper assemblies were also installed back into the game.
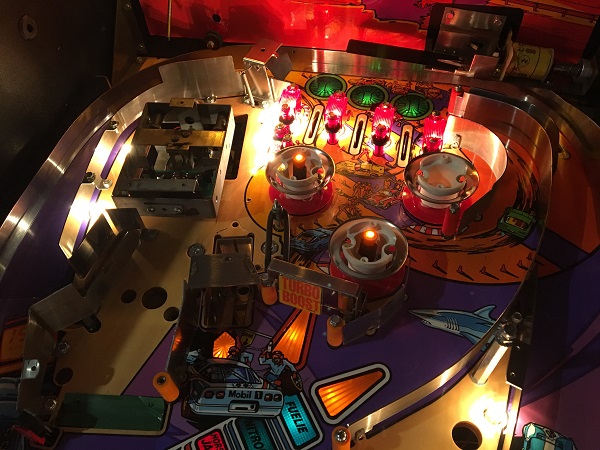
The engine cage needed a bit of a clean, so I wanted to look at that next.
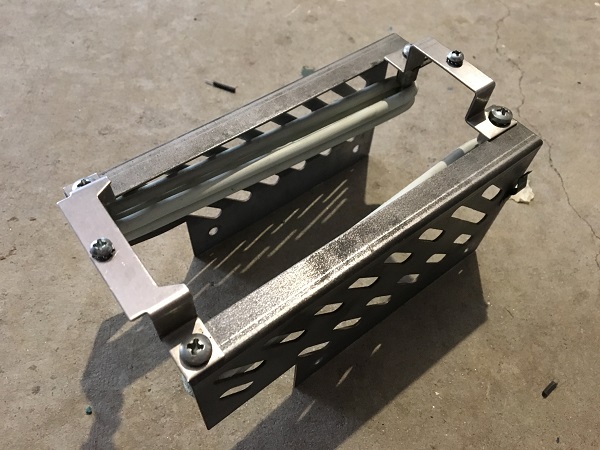
The small metal parts went into the tumbler, while the large parts were cleaned by hand. New rubbers were sourced to replace the old ones.
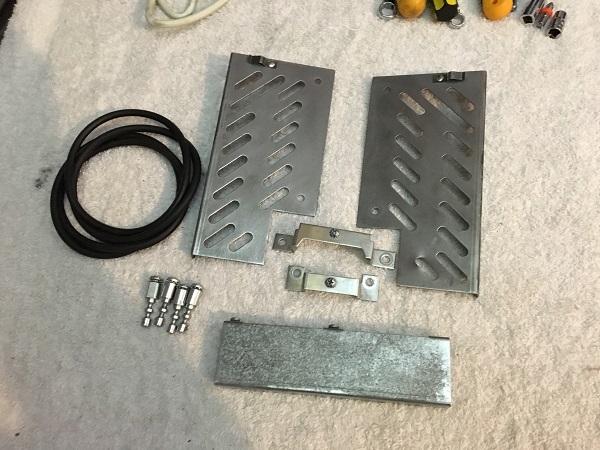
Now we’re getting down to the final parts for cleaning – the ramps. First up is the skid pad ramp that sits opposite the upper left flipper.
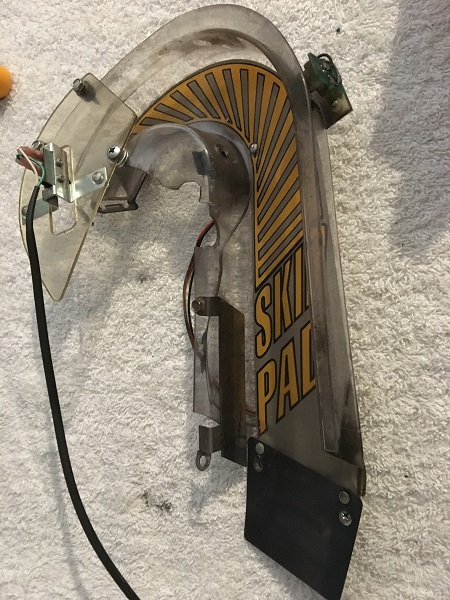
The ramp was disassembled and cleaned.
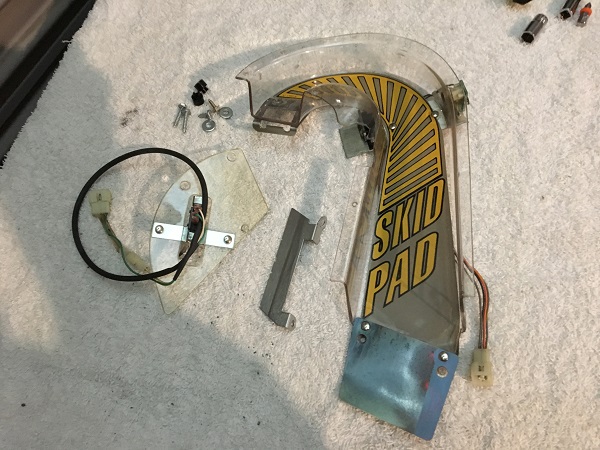
The large ramp was next up for cleaning. It too was disassembled and all parts cleaned.
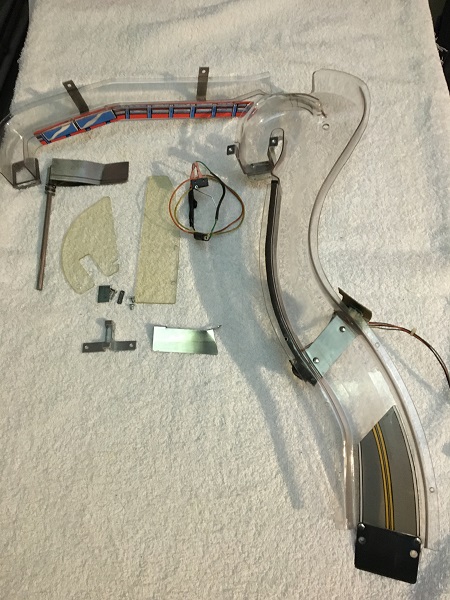
The plastics from the upper playfield area were cleaned next with Novus 2 and 1.
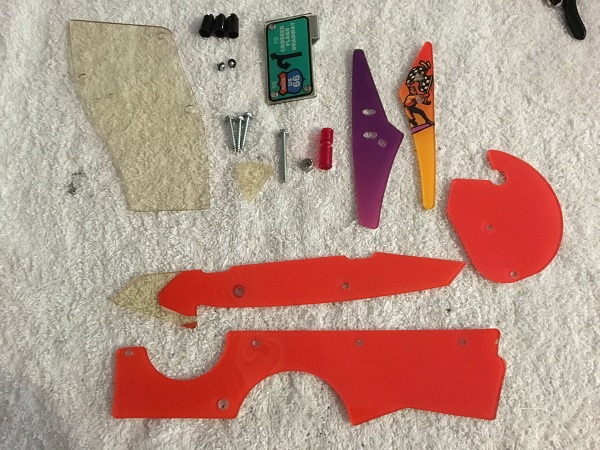
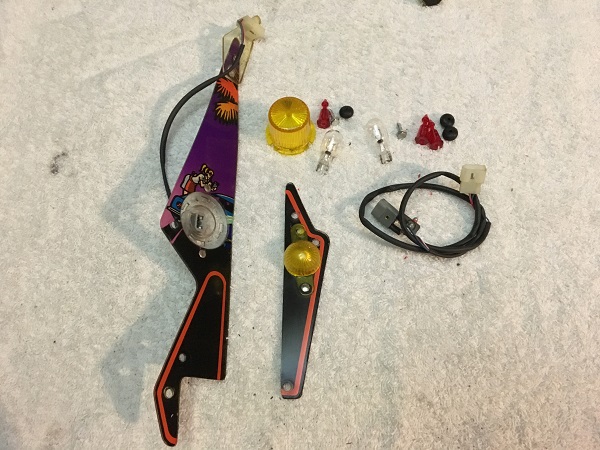
The two plastic pieces from the middle playfield section were up next for cleaning.
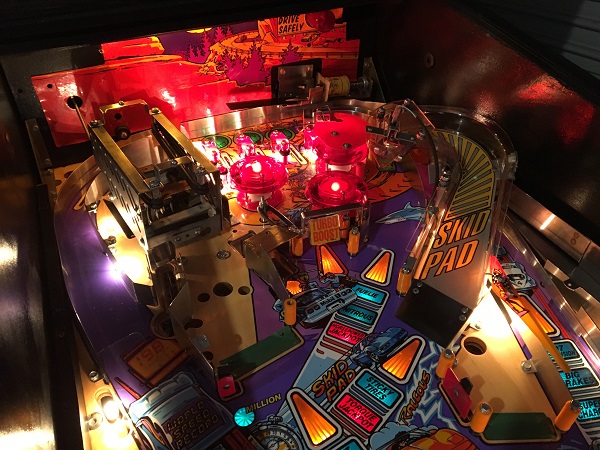
The engine cage was installed back onto the playfield, along with the skit pad ramp.
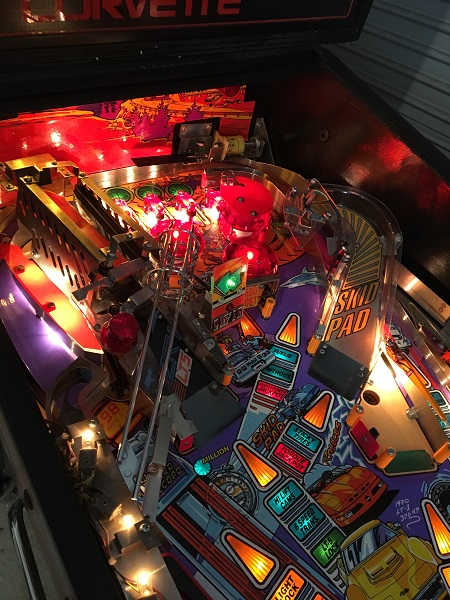
Then the first metal guide (from the pit VUK) was installed, along with the engine ramp. Now it’s starting to take shape.
I noticed at this point that the red pit stop lamp was not lighting. I began by checking the obvious things like the bulb, the socket and connector. All looked good. I decided to put the game into single lamp test mode and have just the pit lamp triggering. As I cycled through the lamp numbers, I noticed that in several cases there were 2 lamps lighting. That’s certainly not right and means something is shorting. I disconnected the Pit lamp and that fixed the issue of multiple lamps triggering. The molex connector on the pit lamp looked fine and no chance of shorting there, so I disconnected it and removed the whole wire. Then I spotted it – right at the very edge where the heat shrink on the wires ended was a nice cut through 3 of the 4 wires.
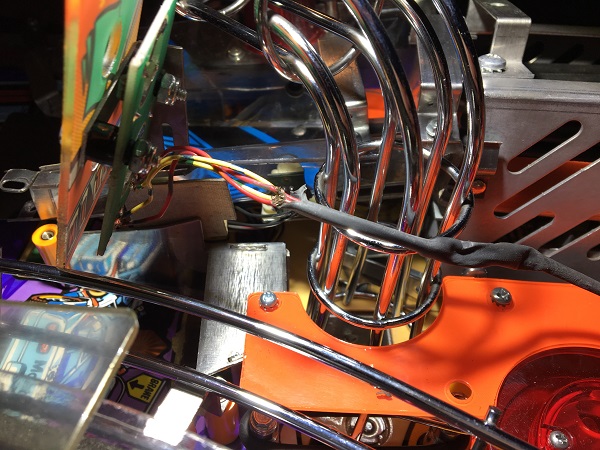
I removed the lamp board and wire from the playfield to fix. There were 3 exposed wires – one of which was barely hanging on.
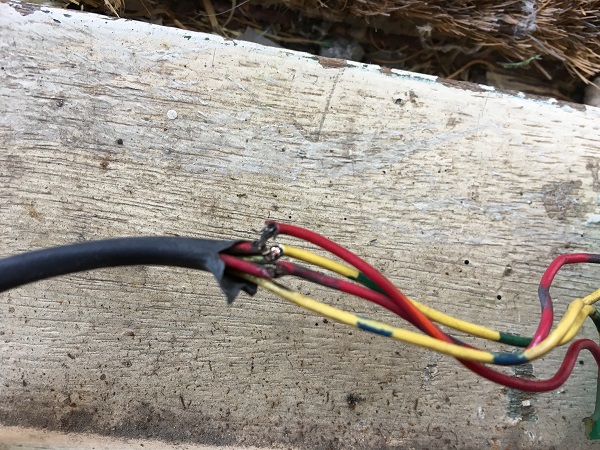
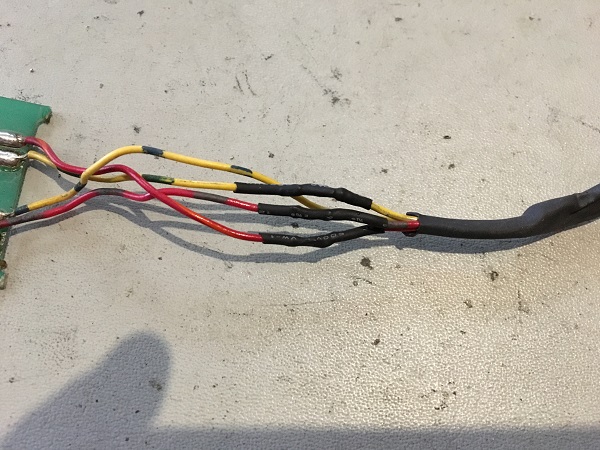
The wires were cut, stripped, soldered and covered with heat shrink. I also changed how the wires fed below the playfield to ensure they would no longer be wedged between the ramp and metal rail.
The race lamps were the last piece to be cleaned.
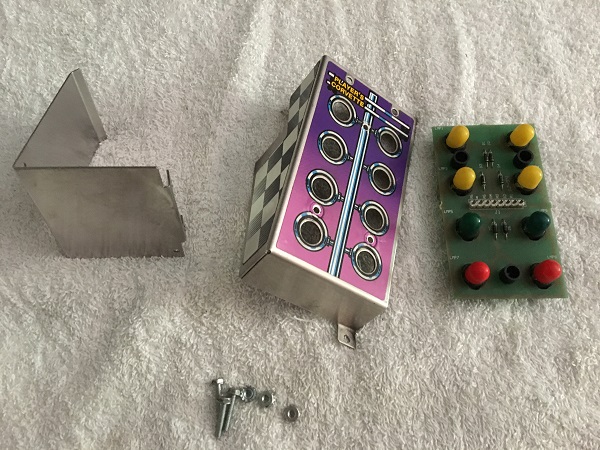
With that, the final pieces were installed back on to the playfield and the game was ready for testing.
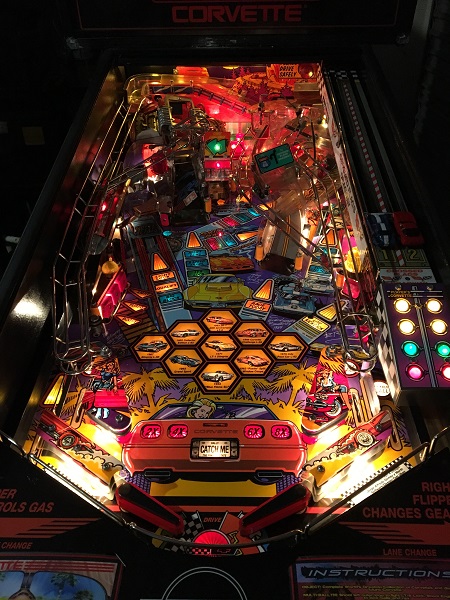
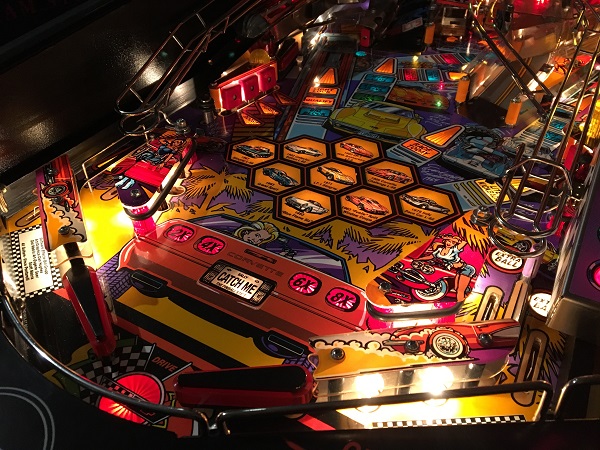
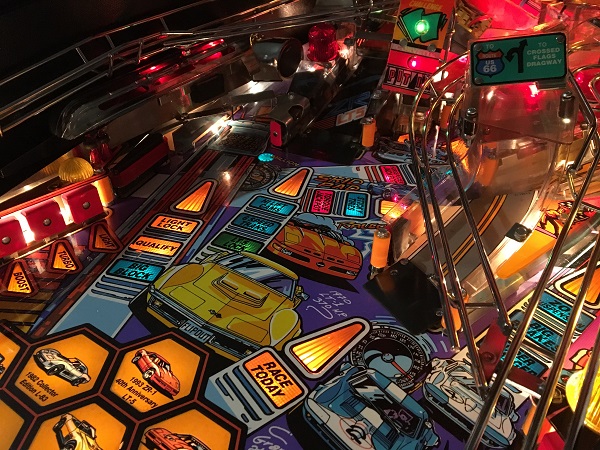
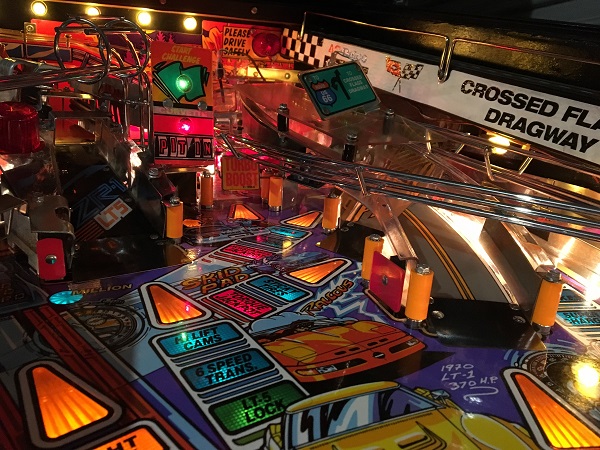
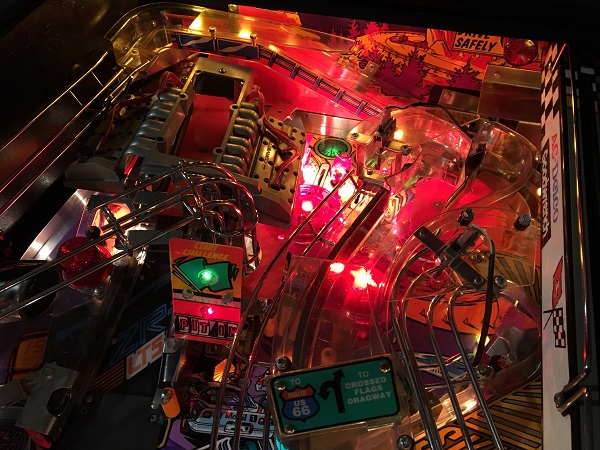
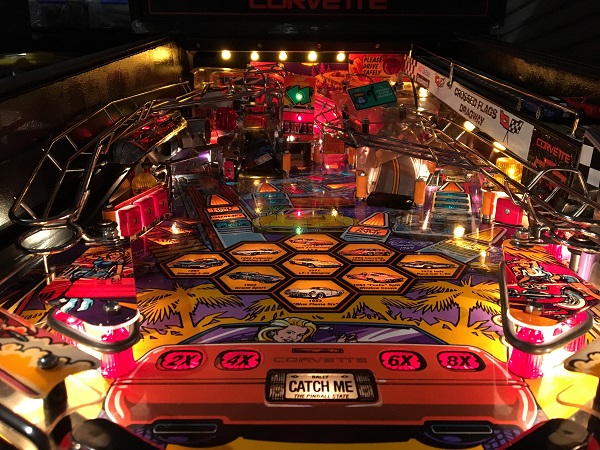
The game has cleaned up very nicely. I also repainted the black around the headbox with gloss black to freshen it up as it was looking tired. A few test games were played and a couple of small issues were found. Some switches needed slight adjustments (mainly the left sling), but other then that, the game was playing nicely. I’ll give the game some more testing over the next few days and if everything stays good – it’s ready to go home.
