I’ve been busy over the last few weeks, working away on giving this lovely Corvette an overhaul. That means it’s time to pause and give an update on the progress so far. In this update I’ll be starting with the apron area and touring my up the playfield with pit stops at the flippers, slings, upper flipper and middle playfield. I’ll try and squeeze in some work on the upper playfield area too. Time to get started. First up – the apron.
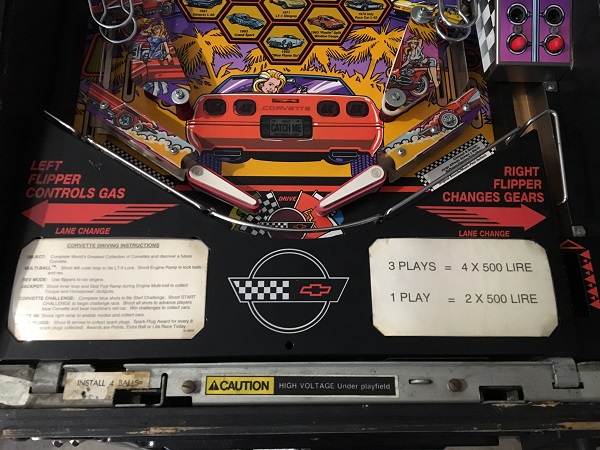
First step was to remove the apron and see what lay beneath. There is a thin layer of dust across the surface that’s not easily visible in the photo. Overall though it’s looking in good condition with minimal corrosion on the metal pieces.
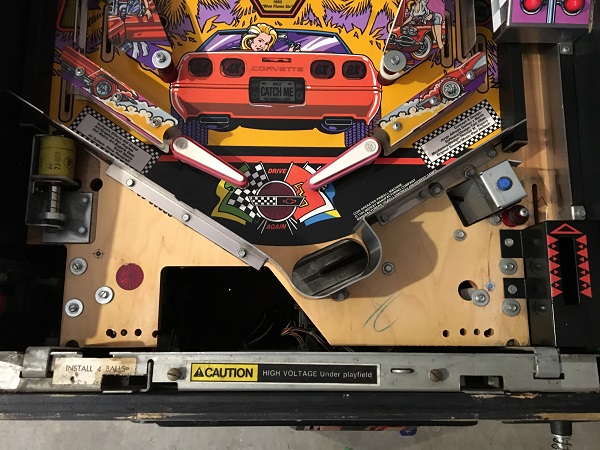
The next step to was remove all the assemblies and parts from the apron area for cleaning. This includes the ball trough from below the playfield.
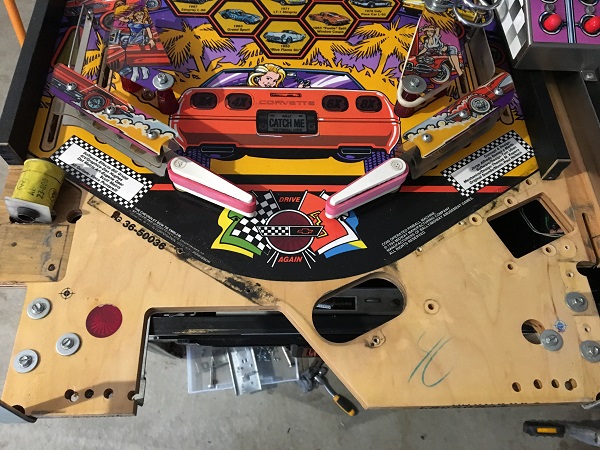
With everything removed, the playfield surface was cleaned. The loose filth was removed by vacuum first. Then the surface was cleaned with Nifti and finished with Novus 2 and then 1.
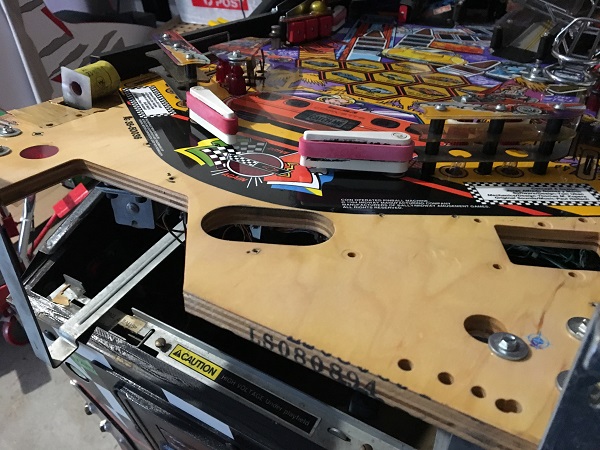
The first apron assembly to get a clean was the ball save kicker. A new coil sleeve and rubber grommet were purchased to replace the old ones. The rest of the parts were cleaned by hand or tumbler.
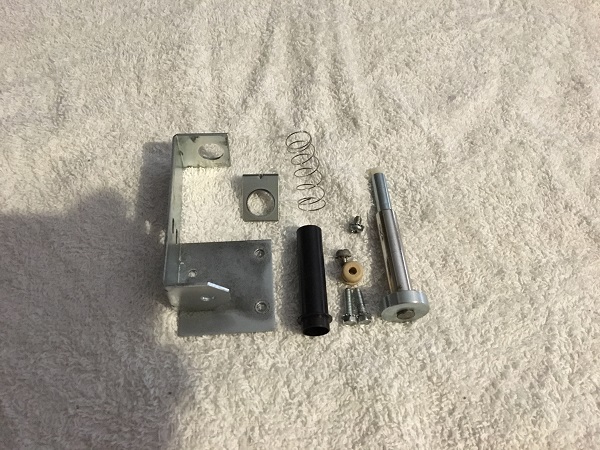
The ball trough was next up. First the trough was dismantled and each part cleaned. A new coil sleeve, rubber grommet and blue rubber disc were purchased to replace the old ones. Anything small enough for the tumbler went in for a clean while the larger metal pieces were cleaned by hand. A new star post and rubber ring were also purchased to replace the old ones.
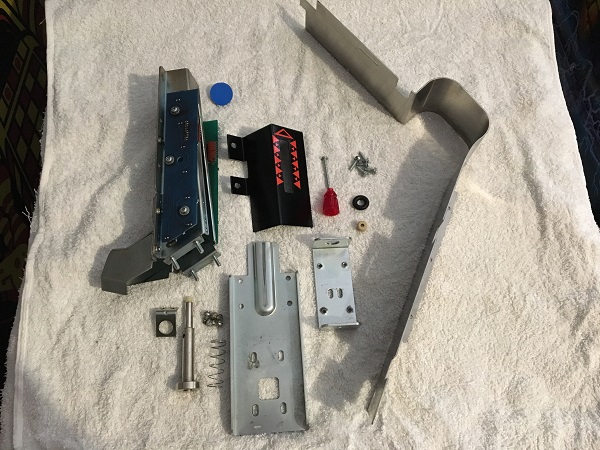
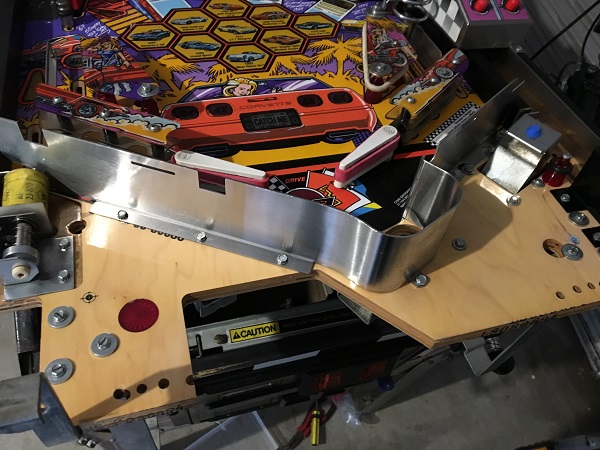
Now that both the playfield and assemblies were cleaned, it was time to rebuild the apron area.
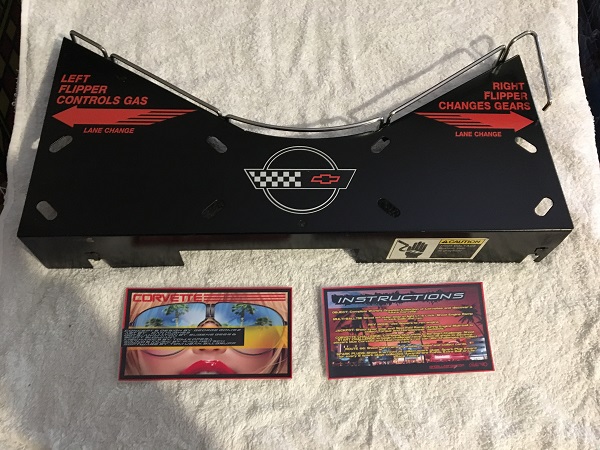
The apron itself was cleaned up and a new set of apron cards from pinballcards.com were printed up to install. The apron was installed back onto the playfield to complete the section.
My journey continues up the playfield, with the next stop being the flippers, slingshots and return lanes.
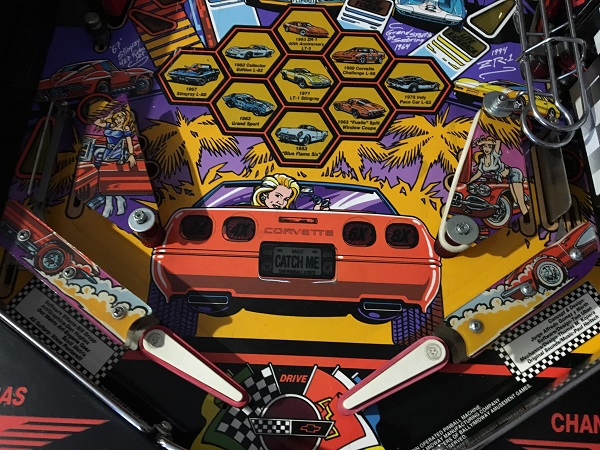
Something dropped on the playfield many years ago, shattering the glass and also damaging the left sling shot. One post is completely missing and the sling shot plastic badly broken on both corners. The metal rail that return the ball to the return lane was also damaged with one of its legs snapped. What ever hit it, hit hard. This is off for repair now. I’ll need to source a new metal post for the star post, along with new sling shot plastics.
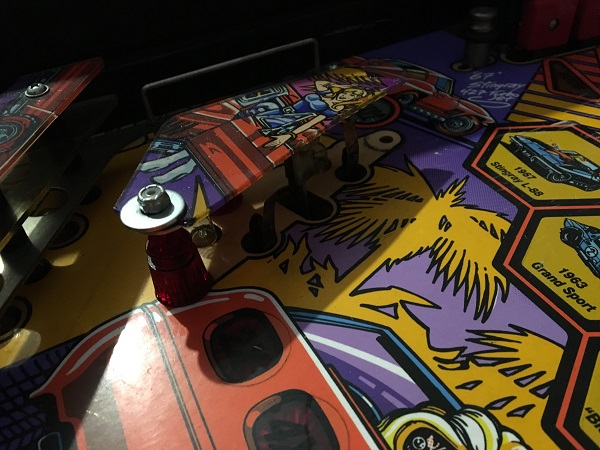
The sling shot and return lane parts were removed from the playfield for cleaning.
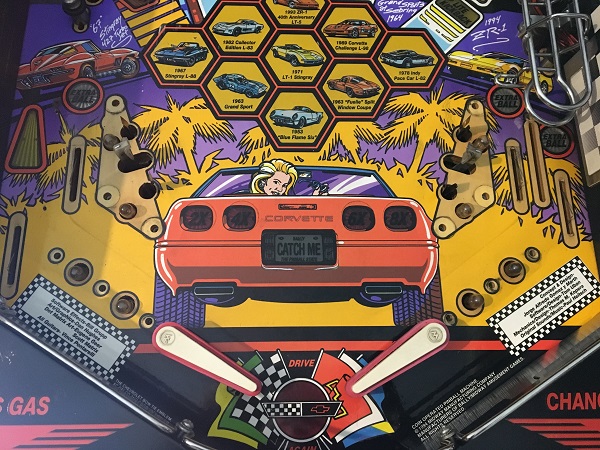
The sling shot assemblies were set aside for cleaning. The small metal parts from the sling shots went into the tumbler for cleaning. New coil sleeves were purchased to replace the old ones. All other parts were cleaned by hand.
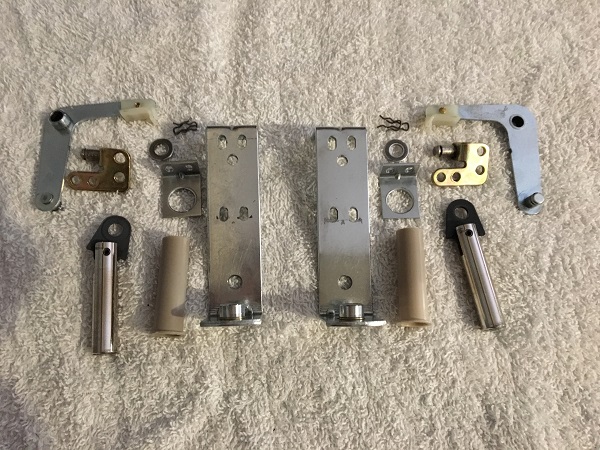
The return lanes were up next for cleaning. All small metal parts went into the tumbler while the large ones were cleaned by hand. New rubbers and star posts were purchased, along with the missing metal post. A new set of sling shot plastics from a CPR set were purchased too. The other plastic pieces were cleaned with Nifti and finished with Novus.
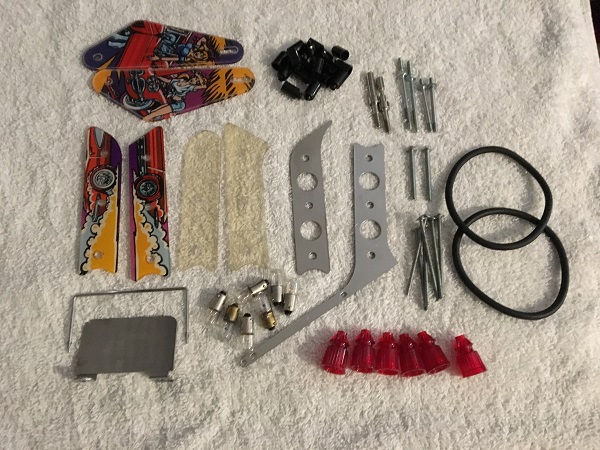
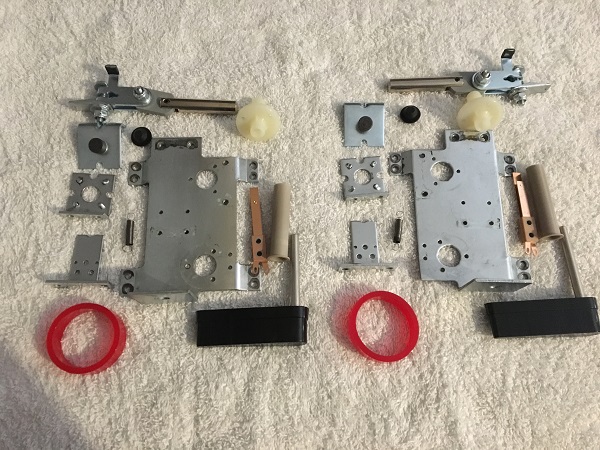
The flippers were removed from the game and the assemblies cleaned. Again, all small metal parts went into the tumbler and the large ones cleaned by hand. New flipper bats, rubbers, bushings, plungers, sleeves and EOS switches were purchased.
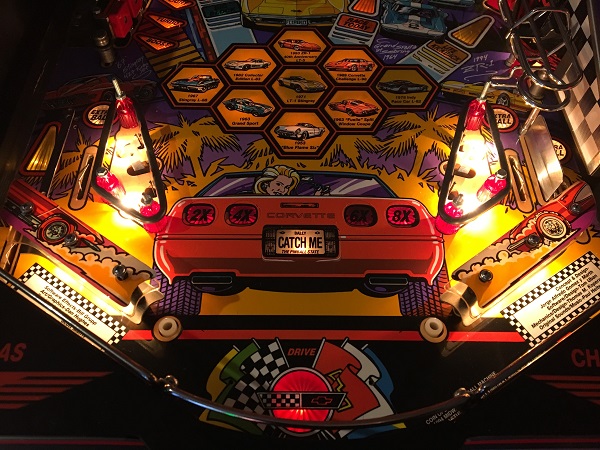
The lower playfield area was cleaned and then the parts assembled back onto the game.
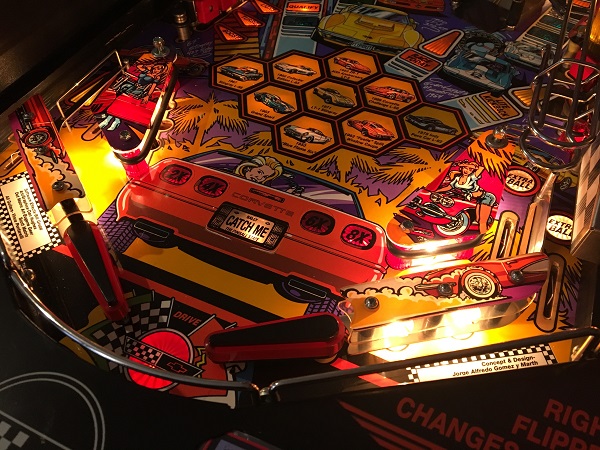
Finally some clear washers were installed on the sling shots along with the plastics.
Working on the apron and lower playfield areas was quite easy as you have immediate access to everything. But to start working on the middle and upper playfield sections, I need to start removing things. The first item to remove will be the large drag strip on the right side of the playfield. It comes away in two parts. The lamps make up the first part, and the strip with the cars is the second.
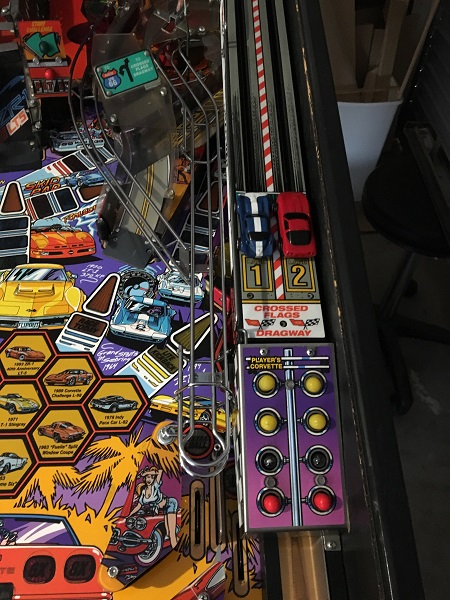
The left side has a small ramp that the ball save kicker sends the ball up and spits it out just above the upper flipper. It’s actually a pretty neat little ramp and sets up a nice ramp shot. This will need to be removed next.
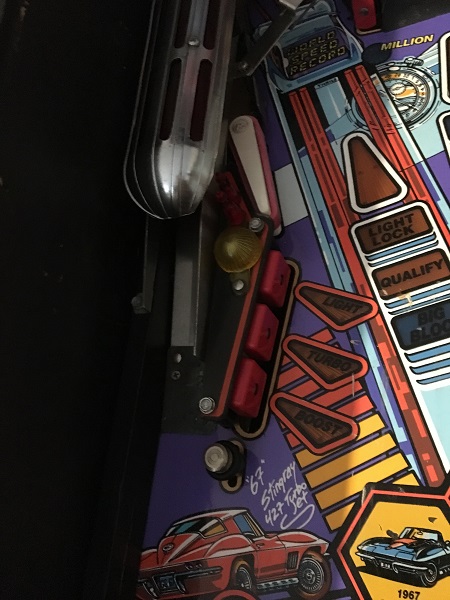
The drag strip was removed, which gave me access to some areas below. There are still two layers of ramps and a metal guide to get through before I have clear access to the playfield though. All these layers can make a game fun to play – but a real pain to work on!
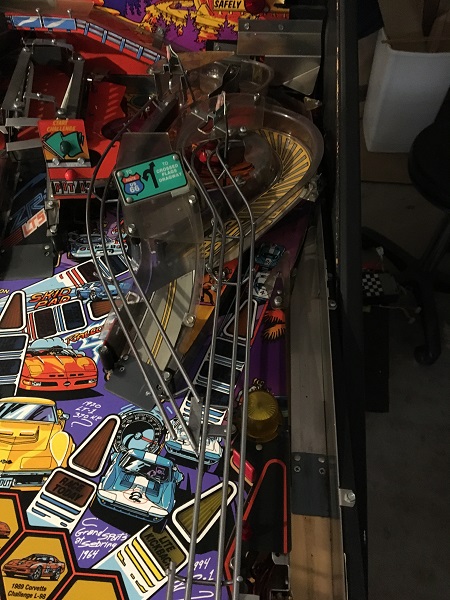
The playfield in these areas is quite dirty, so it’s good to strip this all back for a clean.
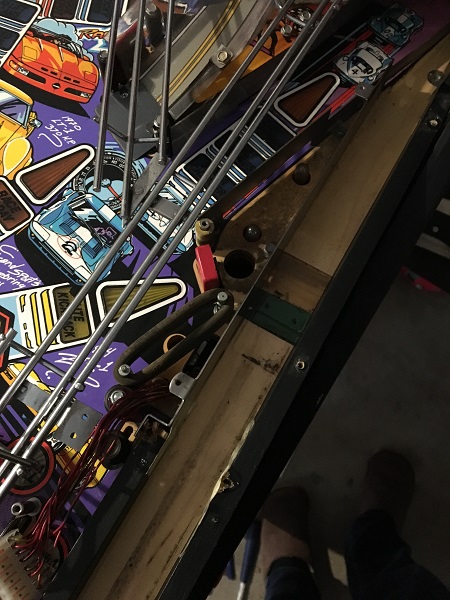
The left side is the same and I’m looking forward to wiping away that filth.
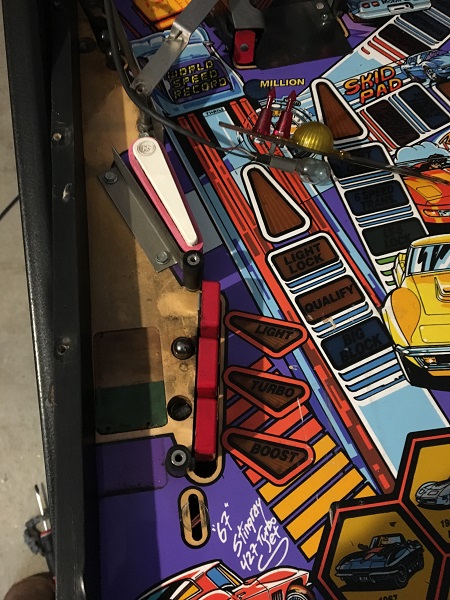
As I remove things I continue to find more and more bits of glass. Here some has found its way into one of the lamp sockets.
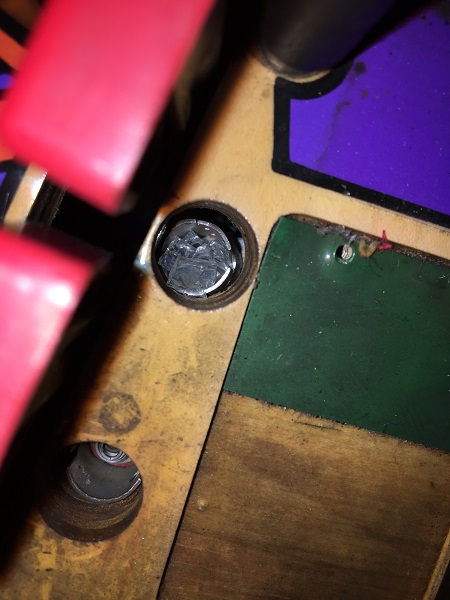
I finally had the middle section of the playfield stripped back, ready for cleaning.
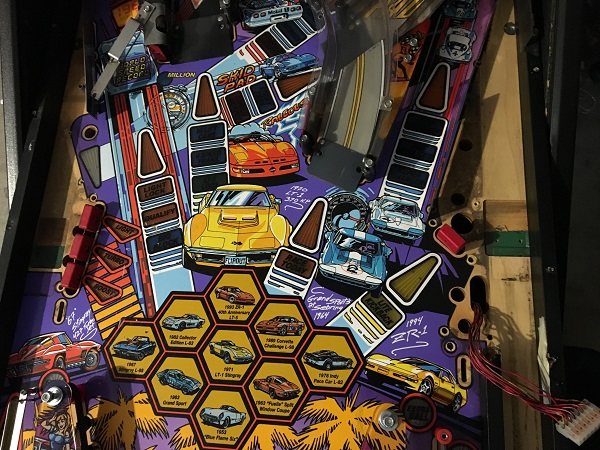
A vacuum, Nifti, Novus 2 and Novus 1 work wonders and have the playfield looking clean again.
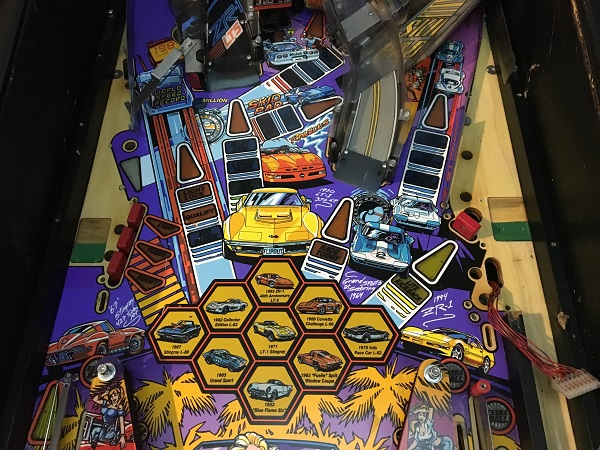
The first assembly from this section of the playfield up for a clean is the upper flipper. As with the other flippers, a new coil sleeve, stop, plunger, EOS switch, grommet, bat and rubber were purchased. The other parts were cleaned up and it’s ready to go back into the game.
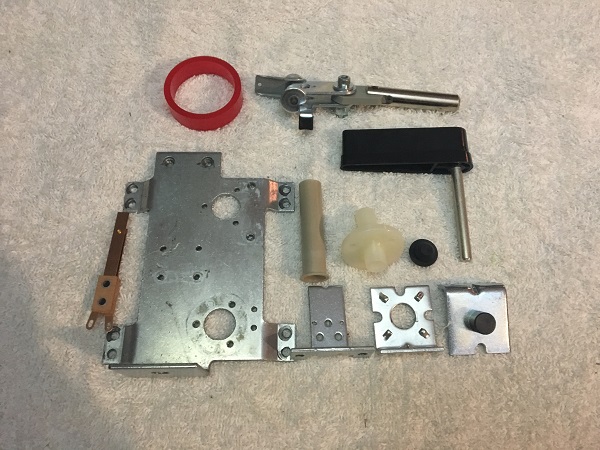
The large metal ramps and rails were cleaned by hand, while the smaller pieces went into the tumbler. A new star post was purchased, along with new sleeves and rubbers.
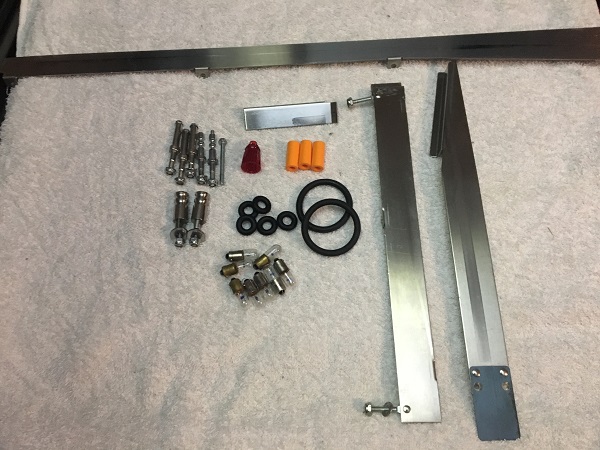
I wanted to remove two of the 3 ramps on the game. One of the opto switches has had its connector hacked so the wire is soldered directly to the pins on the female connector. I’ll have to cut this for now so I can get the ramp off the playfield and return later to fix this up with new connectors.
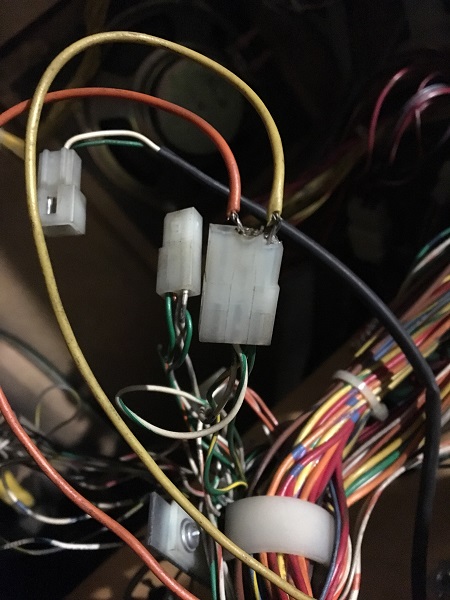
Having two ramps removed now gives me clear access to most of the upper playfield. Lots of filth to clean up, especially around the orbit shot.
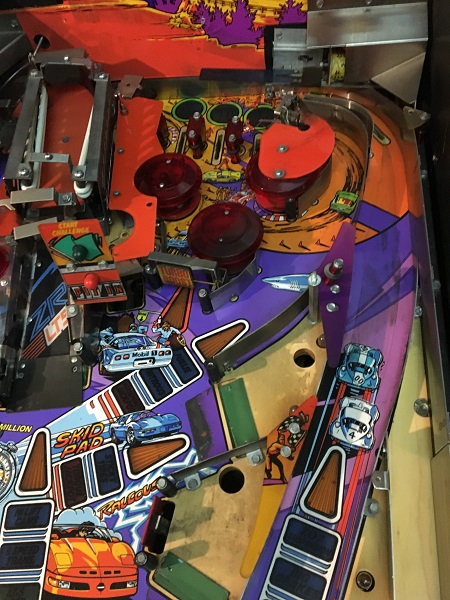
The kick assembly at the rear of the playfield was loose, which is due to a screw missing that would normally be holding the assembly tight against the rear panel. I should have a spare one to replace it with.
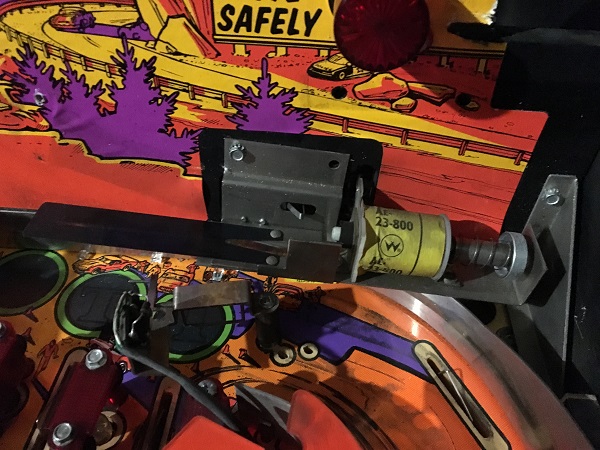
The metal rails and posts around the ramps were removed and set aside for cleaning.
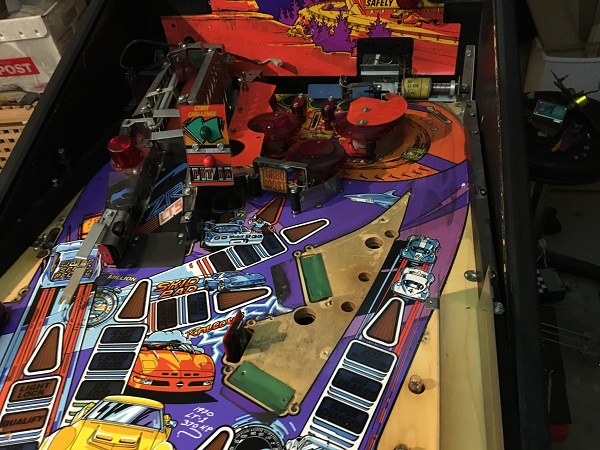
The playfield area was cleaned up, removing all the filth and ball trails.
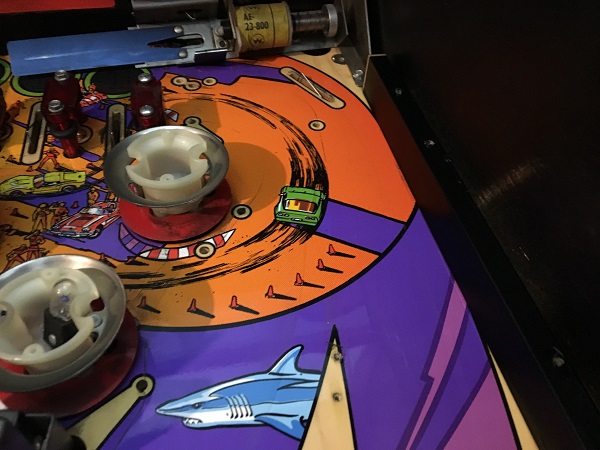
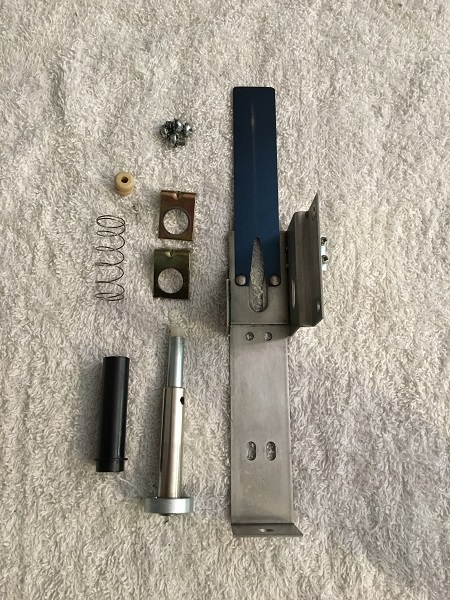
The kick assembly was cleaned up and set aside to go back into the machine shortly. A new coil sleeve and rubber grommet were purchased to replace the old ones.
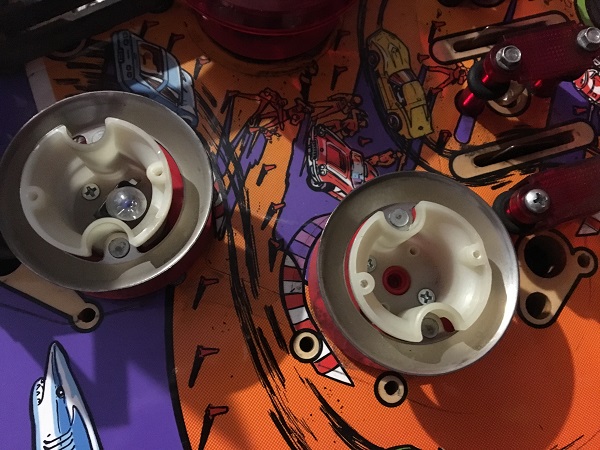
It’s interesting to see one pop bumper with no lamp inside it. There is a large red plastic piece which sits over the pop bumper cap, which would probably hide most of the light. So i’m guessing they didn’t bother to add a socket for it.
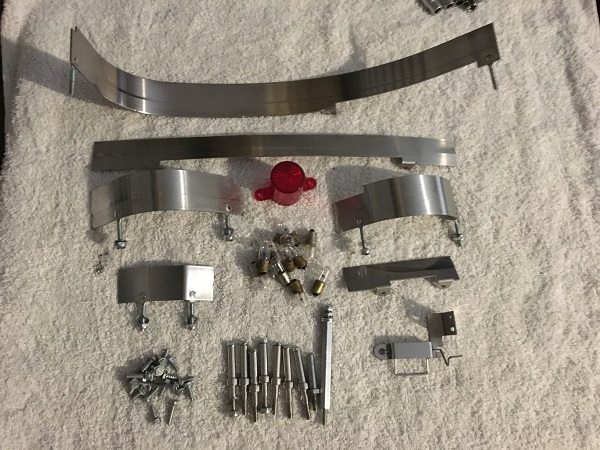
The metal posts and rails were cleaned up ready to go back onto the playfield. As per the routine – small parts in to the tumbler and large parts cleaned by hand.
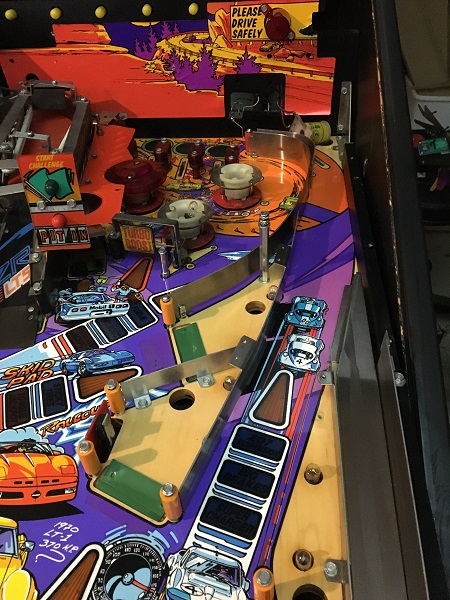
The playfield area around the ramps was rebuilt with new rubber sleeves installed. It’s looking much better now!
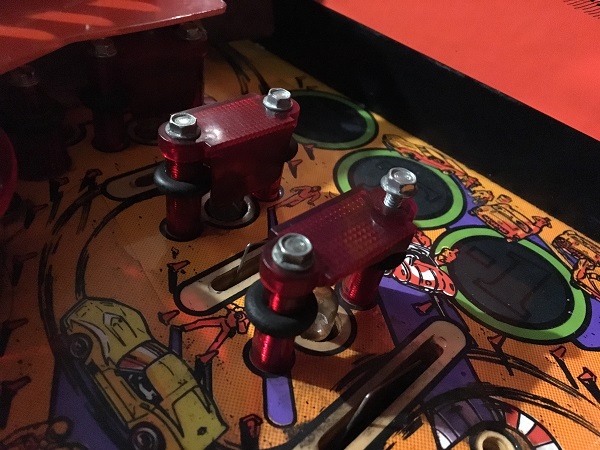
At the top of the playfield are 3 lanes to spell ZT1. The red lane covers here are broken, with some parts of the side flap broken away.
The pop bumper area was stripped, ready for cleaning.
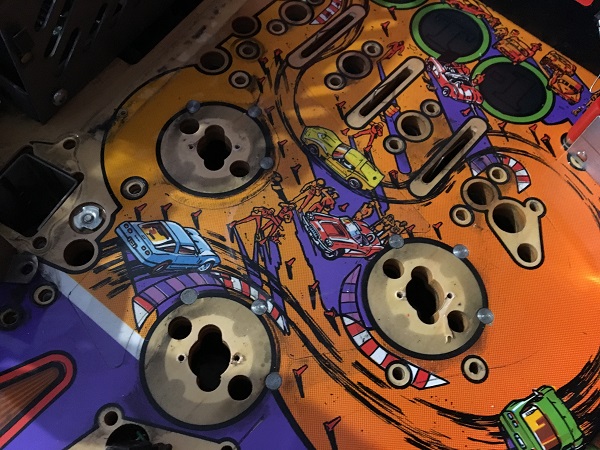
The playfield area around the pop bumper and lanes was cleaned up. As with before a combination of the vacuum cleaner, Nifit, Novus 2 and 1 are used. Now it’s looking nice!
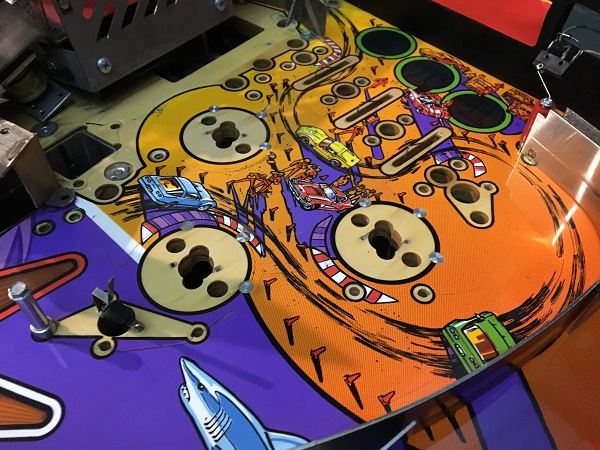
That’s it for the second update. Normally I like to complete a section before finishing an update post, but this one is big enough already. Next up I’ll get the final ramp off the playfield and remove the last of the upper playfield parts for cleaning. The pop bumpers will be rebuilt and the playfield put back together for testing.
