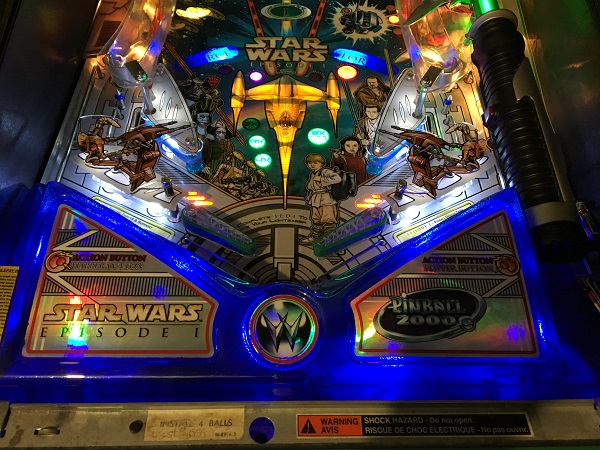
I managed to locate some extra pockets of time (from somewhere) over the last couple of weeks to continue making progress with my SWEP1 service. In this update, I wanted to focus on the apron and lower playfield areas. That way I wouldn’t need the game to be offline for long periods, allowing me to continue playing. First up will be the apron area. SWEP1 has an awesome transparent blue apron. The decals are in excellent condition except for one small spot on the shooter power gauge.
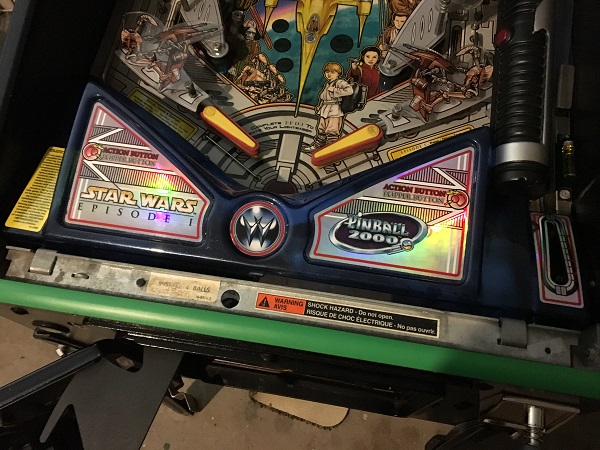
The apron removes easily enough and the playfield surface below is reasonably clean. A very thin layer of dust covered the surface, but not much. The main area for cleaning will be inside the ball trough. I want to get all the metal parts off this section of the playfield though for cleaning.
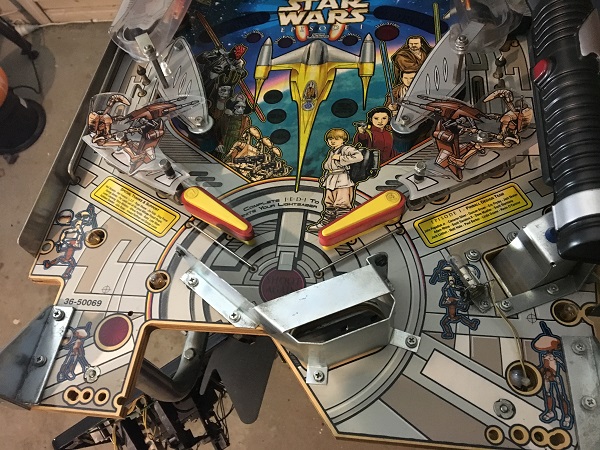
The only assembly that lives under the playfield in this area is the ball trough. It’s fairly straight forward in design and is very simple to remove. There are opto boards on either side to detect the presence of balls, so no switches. I love how the coil disconnect with the spade connectors, so you don’t have coils dangling around inside the machine while their assemblies are removed.
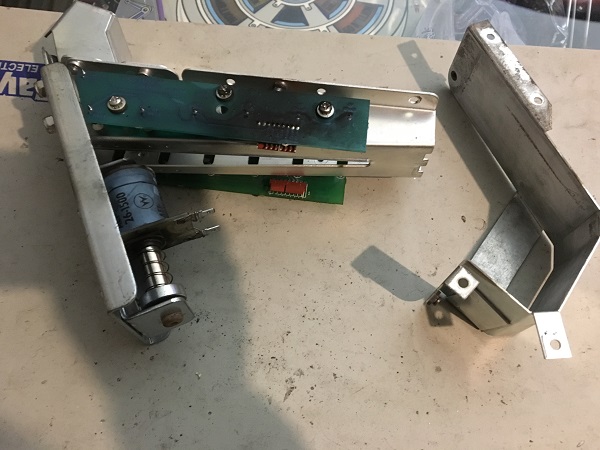
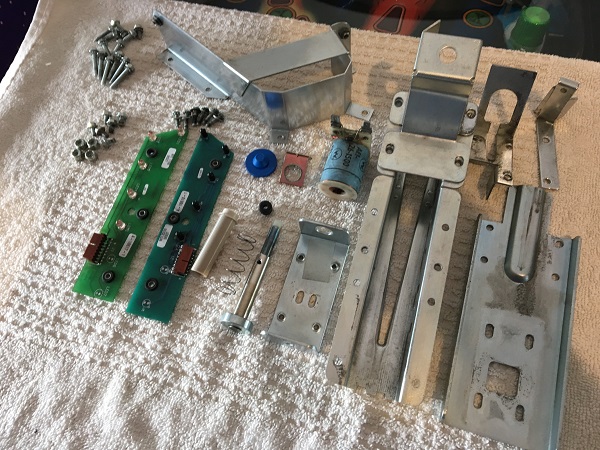
The trough was completely disassembled and all parts cleaned. A new blue rubber pad was purchased to replace the old one, along with a new coil sleeve and rubber grommet. All other metal parts were scrubbed clean by hand with steel wool to remove all the filth that had collected on the surface. Some markings still remain on the surface, but since it’s all hidden under the playfield, i’m not fussed. The goal is to remove the filth that tends to collect here and be pushed around the playfield.
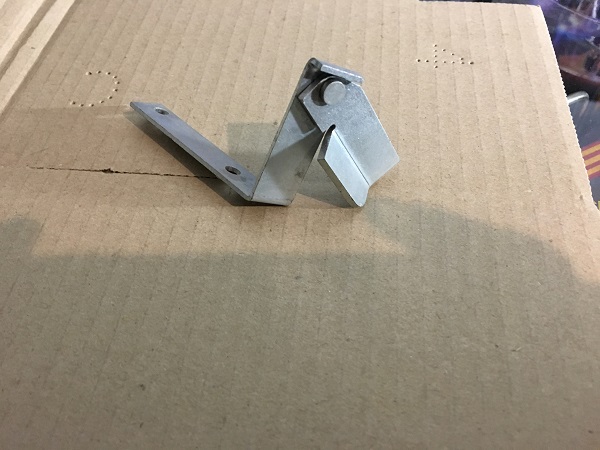
One of the really cool little features on pinball 2000 machines is the gate which sits in front of the ball trough. This closes when the playfield id lifted up, covering the trough exit and preventing the balls from spilling out. How many times have we (and continue to..) lift the playfield without removing the balls, only for them to go spilling out! Such a small piece of metal and basic design, but very welcome. I’m not sure why it took so long for companies to add one!
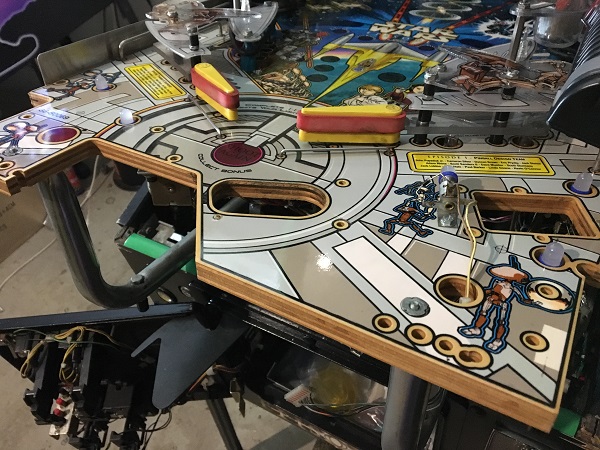
Since the playfield surface under the apron was now clear of metal parts and assemblies, it was wiped down and cleaned up to give it a nice shine. The bulbs were replaced with frosted blue LED’s which should light up the transparent blue apron nicely.
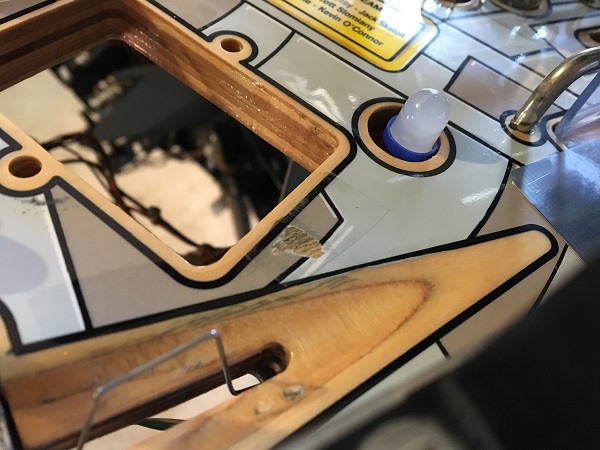
There is a very small wear patch just at the exit of the ball trough. After the area was cleaned, a small mylar patch was installed to help protect against further damage.
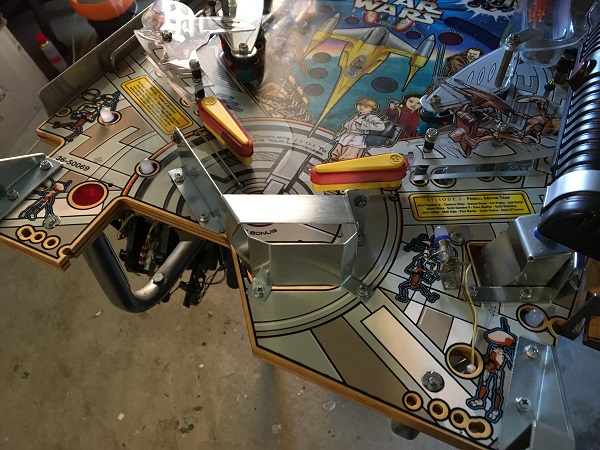
The apron area was rebuilt with the ball trough and guides installed once again.
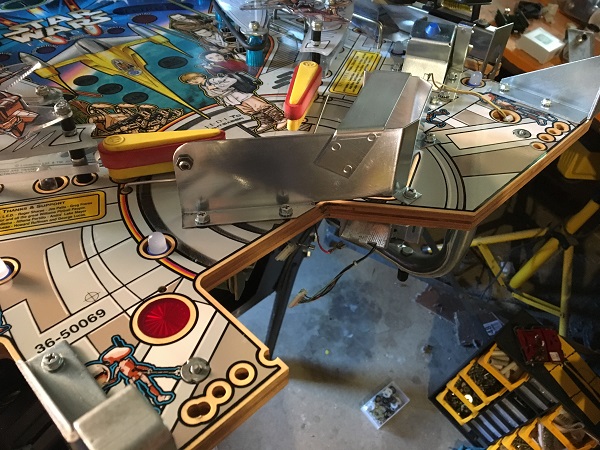
With the apron area complete, the next step was to turn my attention to the playfield area above the apron and look at the flippers and sling shots. The first step was to remove the return lane and sling shot plastics. The lower corners of the sling shot plastics had snapped off some time in the past, but I have purchased new ones to replace them.
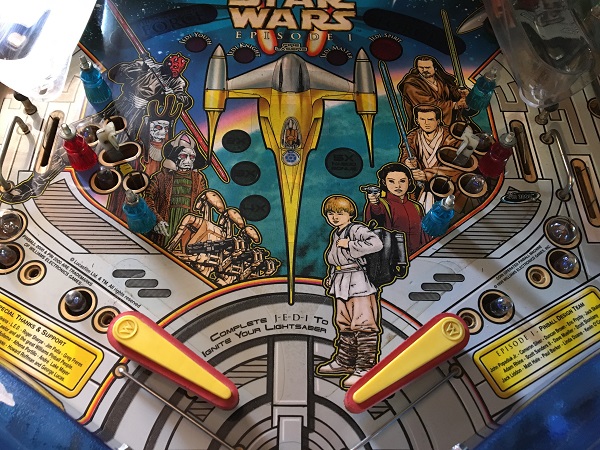
The flipper assemblies were next to be removed from the game for cleaning. The flippers still have plenty of strength, but are really filthy so will get a rebuild. Since I had a spare rebuild kit, I decided now was a good time to use it.
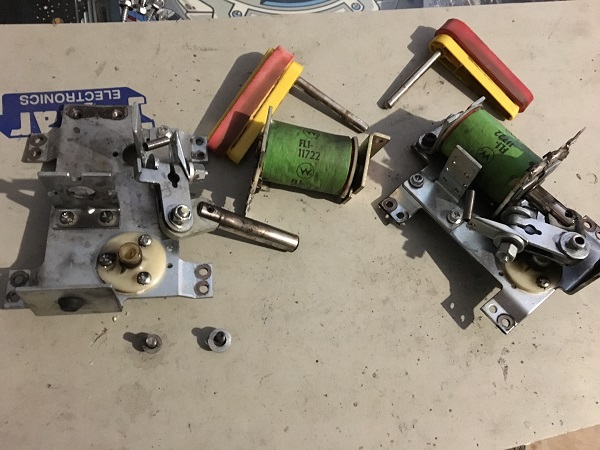
The flipper assemblies were completely disassembled and the flipper kit used to replace several of the parts. New transparent flipper bats will be used to replace the old ones, along with new green Titan flipper rubbers. The remaining metal parts were cleaned up, ready to be rebuilt.
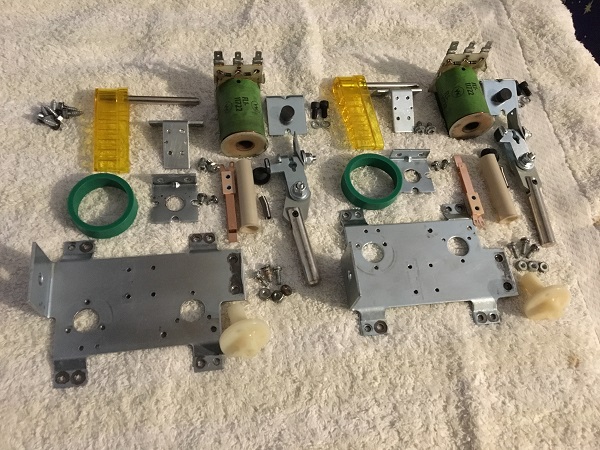
The flipper assemblies were rebuilt and set aside to be installed again shortly. The sling shot assemblies were next on my hit list and both were removed from the game for cleaning.
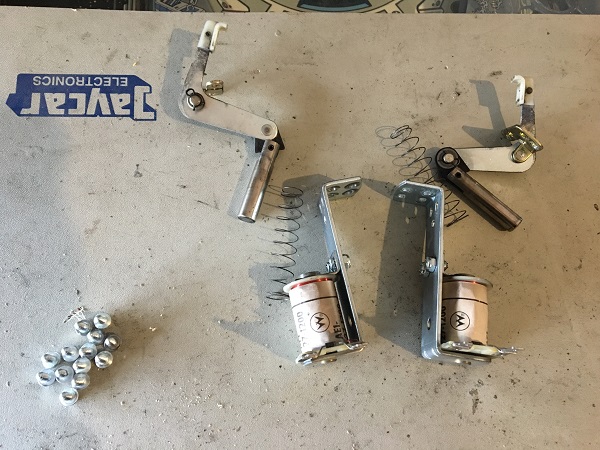
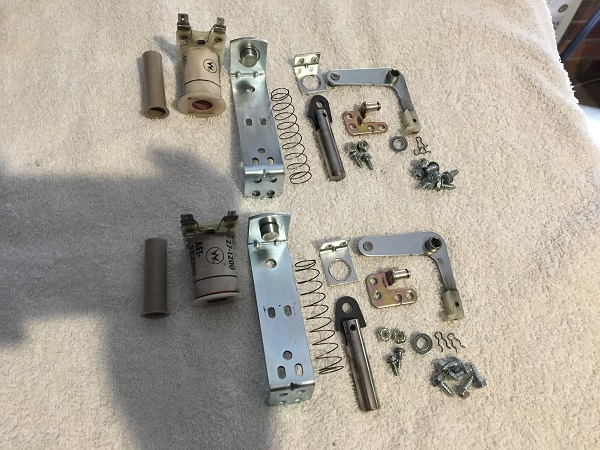
Both assemblies were disassembled and the parts cleaned. A new coil sleeve will be installed on each assembly. Everything else cleaned up fine though and there were no broken parts to replace.
Before I start putting the assemblies back into the game, I wanted to clean the playfield up. There was a thin layer of filth across the playfield surface.
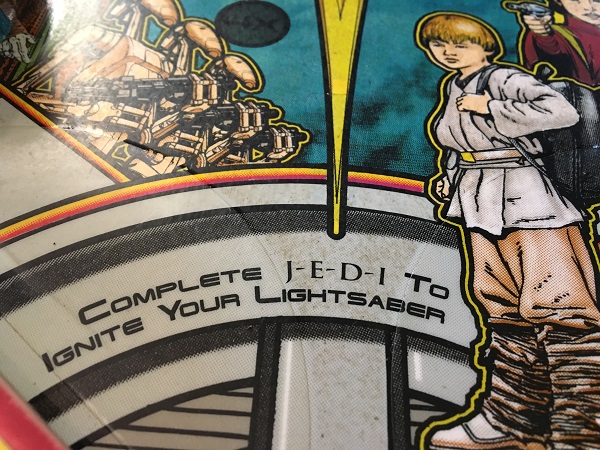
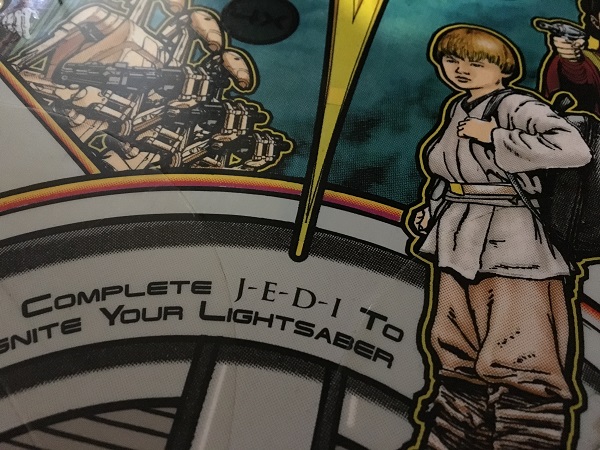
With a gentle clean, the playfield surface cleaned up nicely.
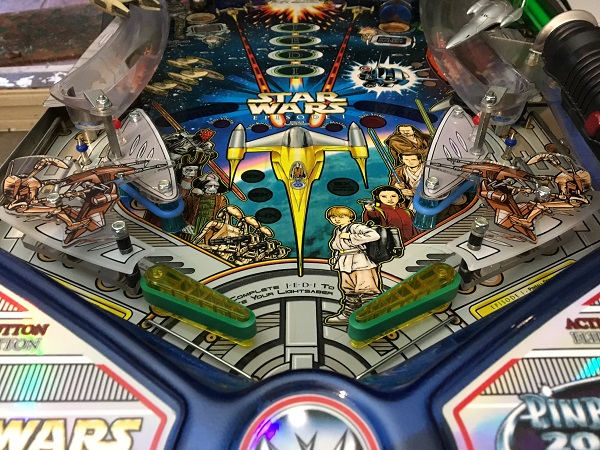
The sling shot and flipper assemblies were installed once again. New star posts and light blue titan rubber rings were installed. The metal posts were all cleaned and went for a session in the tumbler before being installed. Clear washers will be used on the sling shot plastics to protect them from damage. White frosted LED’s were installed into the GI sockets and two orange flashers were installed on the return lanes.
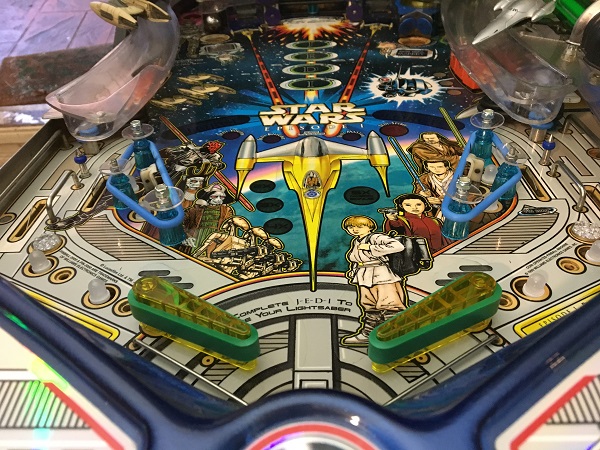
The return lane plastics were cleaned up and installed again. The broken sling shot plastics were replaced with a new set. The old lock nuts were replaced with new ones too. I didn’t order enough light blue mini post rubbers on my last Titan order, so have had to use some spare dark blue and red min post rubbers until I do my next Titan order.
The game has two saucers to lock the balls in, one on each side of the playfield. There is a random reward for locking a ball in each one and they are also used to achieve one of the two primary multiball modes in the game. Both assemblies are working fine, and only need a clean. The assemblies were removed from the playfield and like everything else on the game, disconnect easily to get the whole assembly out.
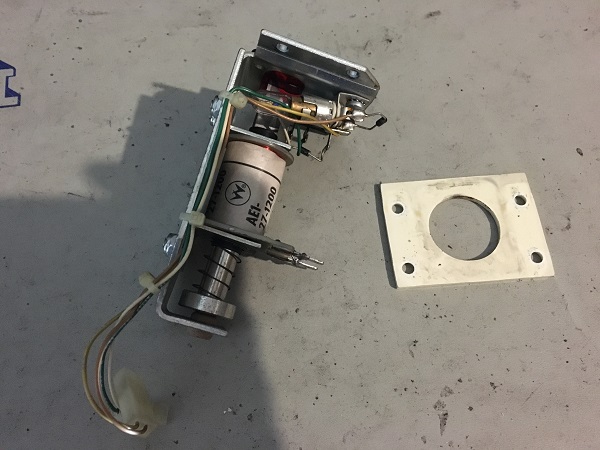
Both saucer assemblies were removed from the game and disassembled for cleaning. The transparent red bases are riveted on to the frame, so can’t easily be replaced. Thankfully they are not broken. New coil sleeves and rubber grommets were purchased to replace the old ones. Everything else was cleaned up.
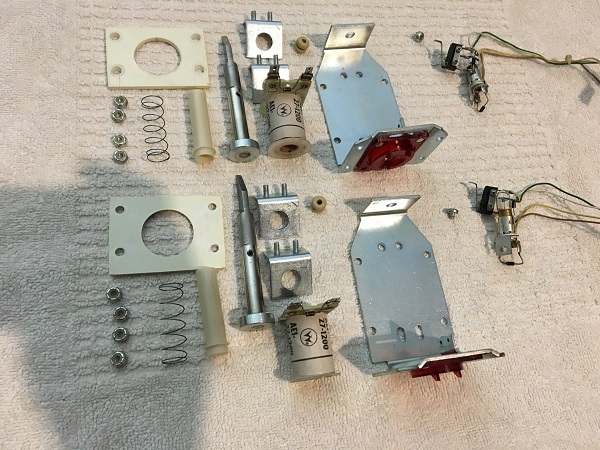
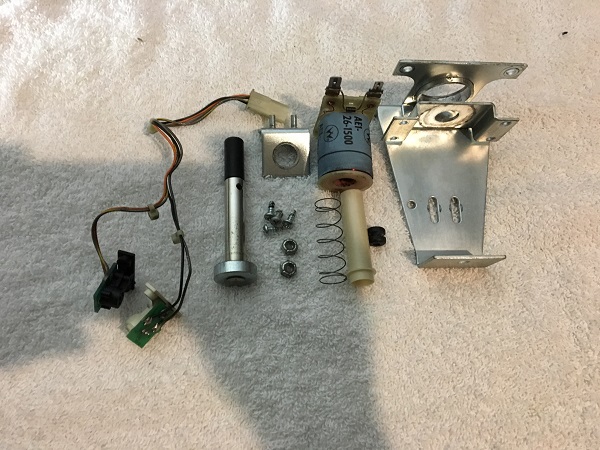
The last assembly to look at in this update is the VUK, which lives just behind the shield assembly (which I covered in the previous update). This is working fine and only needs a clean.
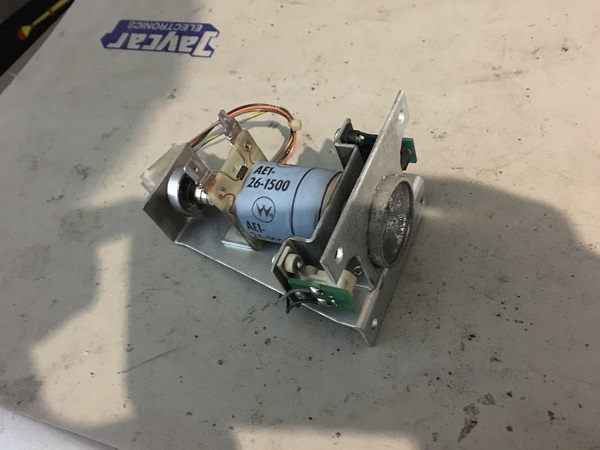
The assembly was disassembled and the parts cleaned. A new coil sleeve and rubber grommet were purchased to replace the old ones.
The last thing to do for the playfield in this update was convert the inserts to using LED’s. I’ve had great success with using the premium non ghosting LED’s from Pinball Life, so have again gone with these for SWEP1. I had a batch of the PL LED’s left over from converting other games of mine, which is good as it means less to buy. After going though the game and working out what I had and what I needed, some LED’s were ordered. Something important to note is on P2K machines, putting an LED into the game will be reported as an error in the diagnostic menu even though the lamp works correctly. As I went through installing the LED’s, I also took time to clean the underside of the inserts. Many of them were filthy, with black dust covering the underside of the inserts.
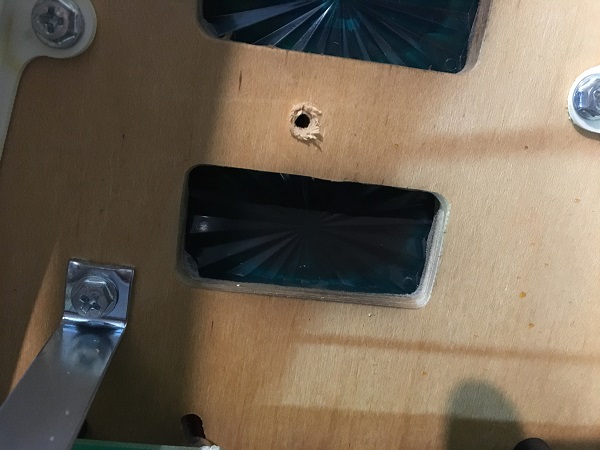
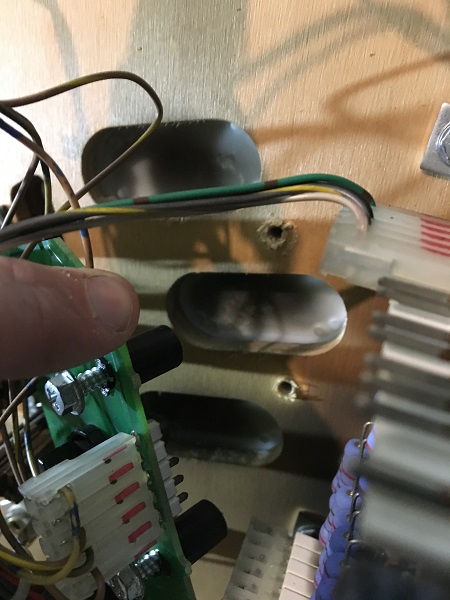
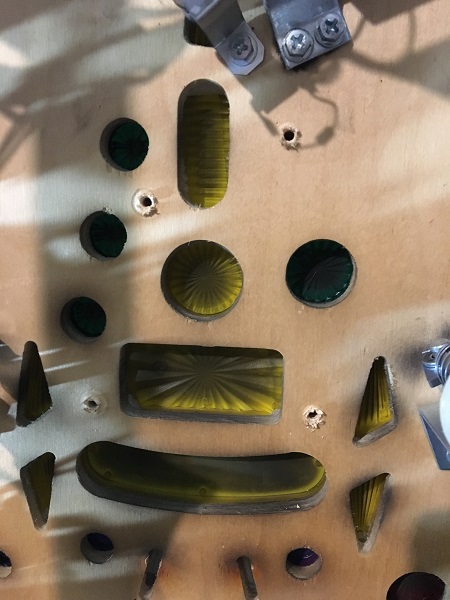
The surface of the lamp boards were also covered in the black dust.
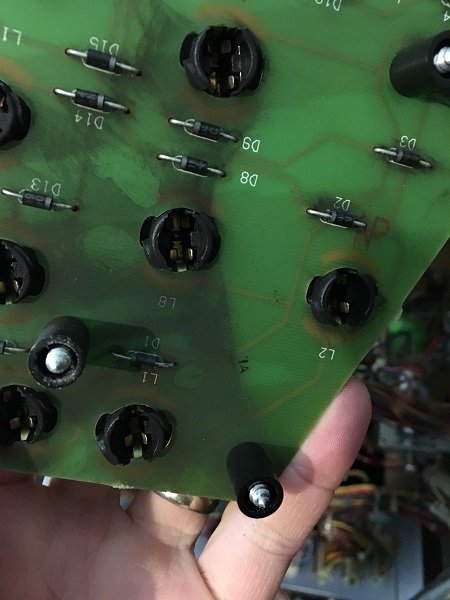
Spending a few extra minutes here is well worth it as the inserts and boards both clean up nicely and will let more light through.
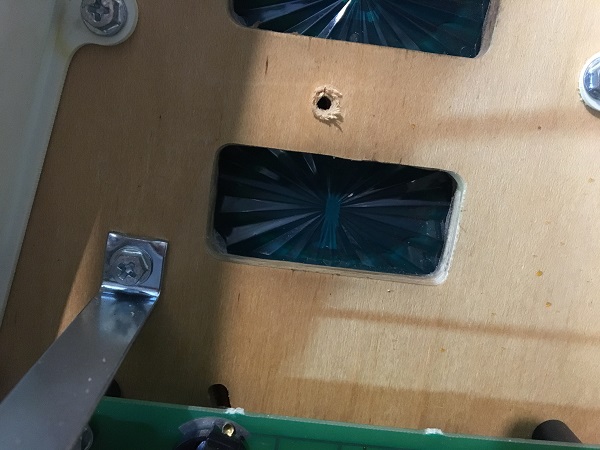
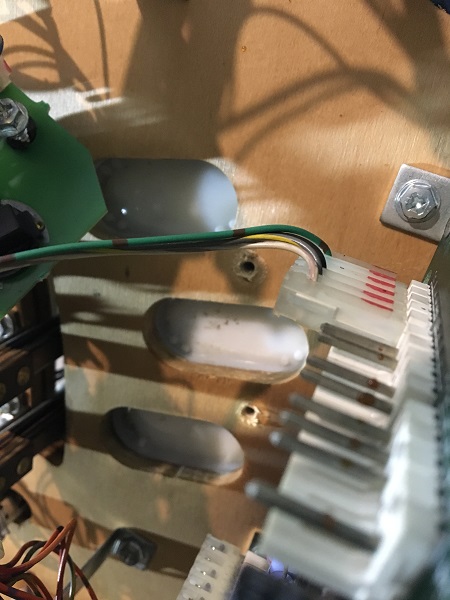
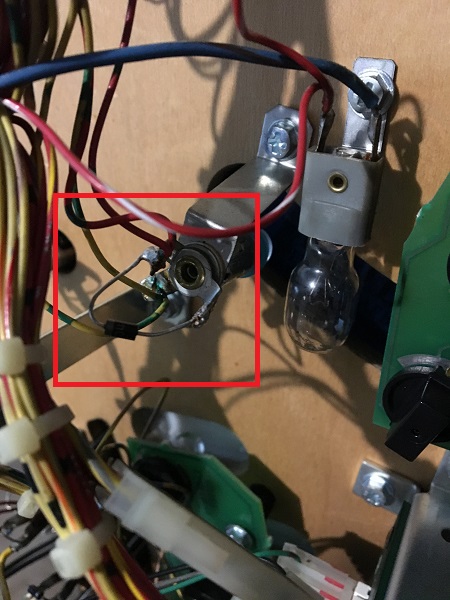
During play I had noticed that the hotdog insert on the left side of the playfield was dimmer than the one on the right. I hadn’t got around to looking at it yet, but since I was swapping the globes over, now seemed like a good time. My first thought was the globe, but the error report from the P2k diagnostics didn’t show any issues. Watching the globe while the game was in attract mode showed that it wasn’t lighting up. The socket was missing the diode that sits between two lugs and looked like they had been bent together in some sort of dodgy fix.
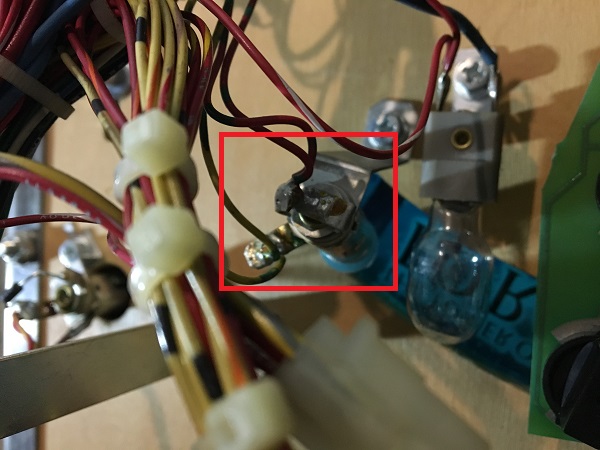
I fished through my components tub and turned up a spare diode. The game was switched off, the solder cleared away and the lug bent back into position. The diode was installed and then the game started up again. Now in attract mode, the lamp lights up and functions correctly.
The apron is a really nice transparent blue and looks great lit up with frosted blue LED’s for the GI. I decided to add an additional 4 LED’s to give the apron even more glow, mainly through the middle and rear sections as the standard GI is mostly along the front of the apron. These were hooked into the nearby GI sockets using some spare sockets and wiring I had.
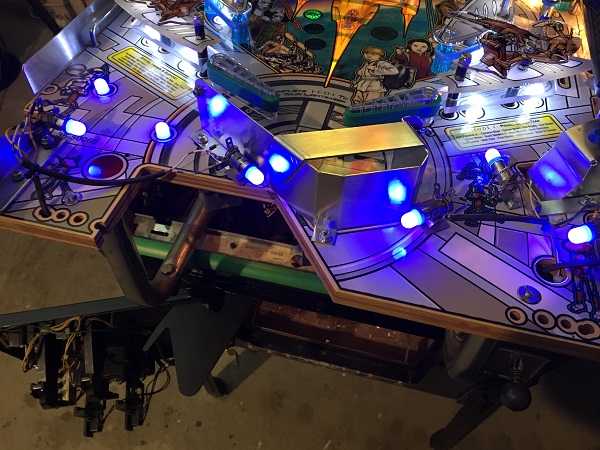
The yellow flipper bats weren’t winning me over, so I switched to a crystal set I also had. With the LED’s installed and cleaned inserts, the game was looking nice and bright. I still have GI to switch across through the middle and upper sections on the game, which i’ll do once I remove the ramps in the next update.
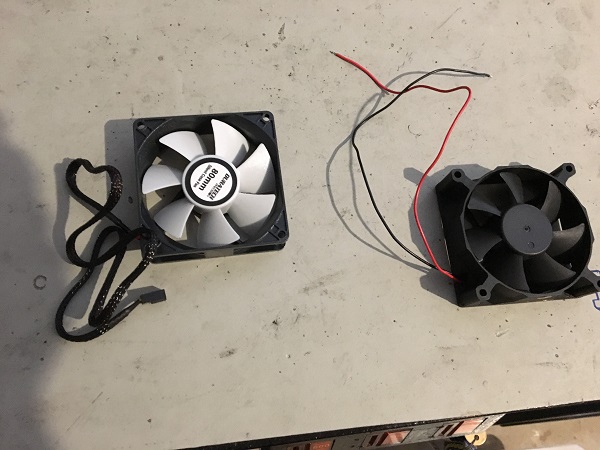
In the last update, I replaced the noisy CPU fan which was on its way out. It’s now time to replace the loud power supply fan. When you turn the game on, it sounds like the machine is sitting in the middle of a run way and preparing to take off. I went to Jaycar and picked up a new low noise fan as a replacement. The old fan was removed from the power supply and the new one installed in its place. It’s so much quieter now that I’ve removed the rear panel a few times after turning the game on just to make sure the fan was actually working!
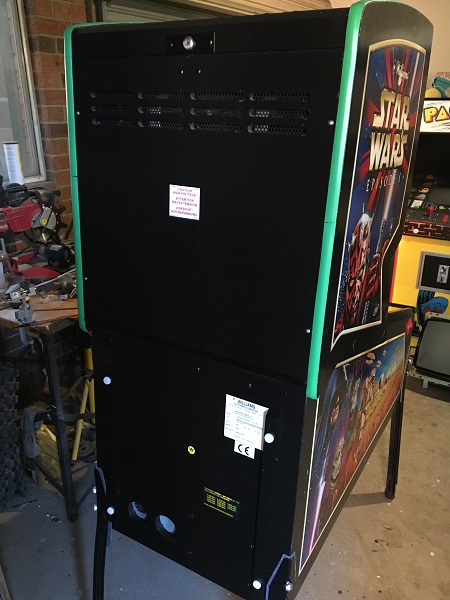
The final thing I wanted to cover in this update is a little bit of work I did to the rear of the game. It’s not in terrible shape, but can certainly be improved. There is a little bit of paint damage, some rust showing on the door bracket and those old gliders can be replaced.
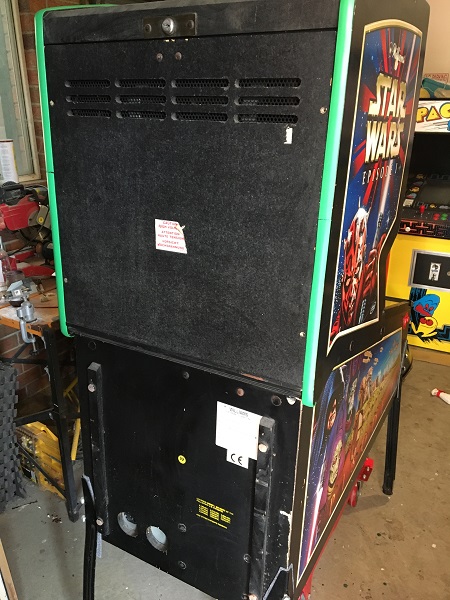
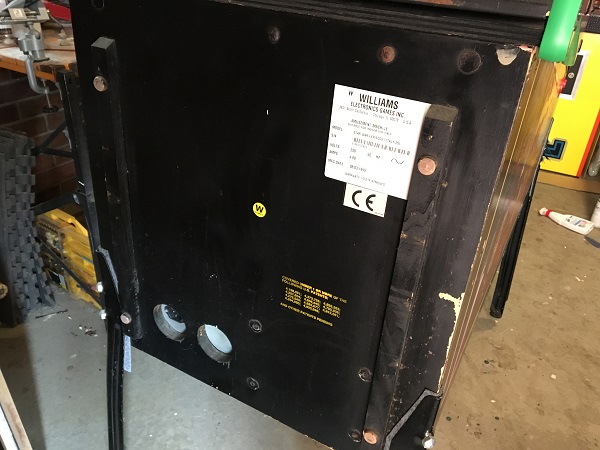
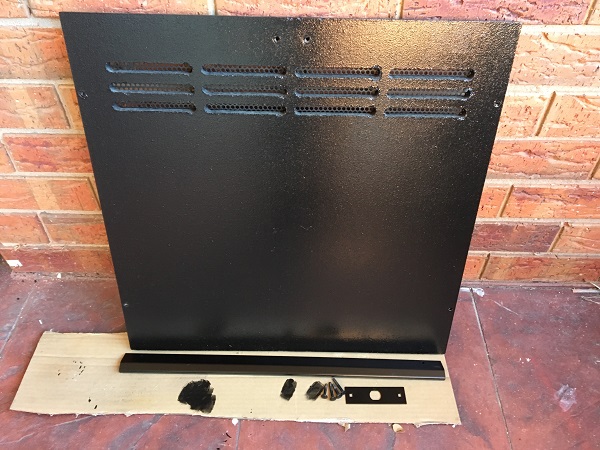
The door panel was painted with two coats of gloss black. The metal resting bracket and bolt heads had some small rust sections sanded and then sprayed with satin black. The lock plate was sprayed with satin black too.
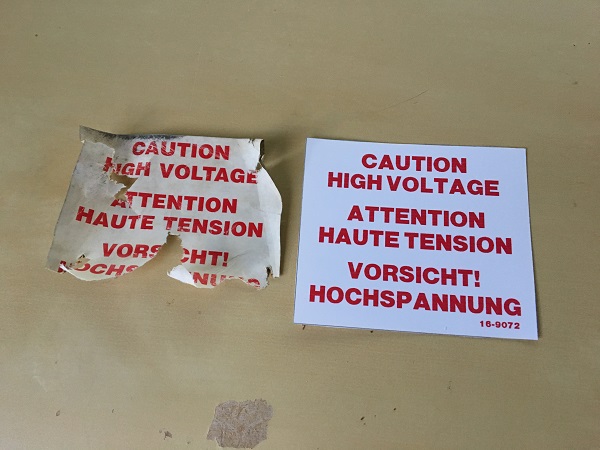
The warning label on the door had been coming off and was unfortunately damaged in a few spots while trying to carefully remove it before painting. I decided to recreate it. To match the font I used a small app on my phone called “Find My Font”, which allows you to take a photo and then have it match selected letters to return a list of possible font matches. I then downloaded the font and recreated the decal in Inkscape.
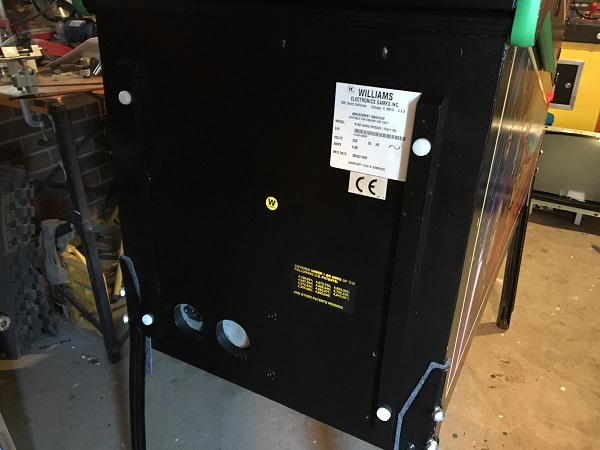
The rear of the cabinet was masked up and a few small holes filled, along with the rough spots sanded. It was then given two coats of gloss black. The old gliders were replaced with new ones and the bolt heads painted separately. The warning label was stapled onto the door and the lock installed again. I plan to clean up the legs too, but will leave that for a future update. The rear of the game was now looking much nicer. A bit of effort for something that faces a wall and no one ever sees – but it’s worth doing and a good example of making improvements on a game without having to spend much.
That’s it for the second update on my SWEP1 progress. The last assemblies to look at on the game now are the pop bumpers. To get access to these I’ll need to remove the ramps, which means I may as well clean through the rest of the playfield at the same time. So I’ll be taking the game offline for a week or two while working on the rest of it. Thankfully the playfield isn’t cluttered, so working through it won’t be a long process and may even mean I have it all completed in the next update. There’s been a small hold up on the Harley progress, but that should be sorted out shortly and a new update planned soon. Until next time!
