Having already made good progress on my SWEP1, I was keen to keep going and complete the remaining work. It’s no good having a half clean machine, so I made the decision to take SWEP1 offline for a couple of weeks to address the remaining playfield areas and assemblies. The lower playfield area around the apron and sling shots was covered in the last update and now I need to look at the middle and upper sections of the playfield. This means taking both ramps off to get access to everything on the playfield in these areas. The only assemblies I need to look at are the pop bumpers, so most of the work is cleaning at the playfield level and getting the parts back on.
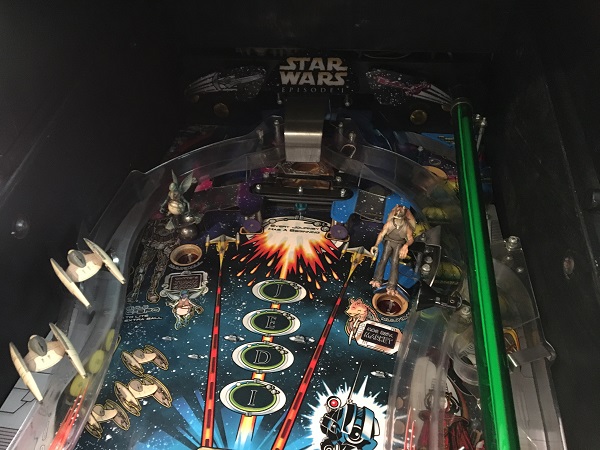
First step was to get the light saber and shooter lane ramp off the playfield. There was some filth under the lane guard, which should clean up no problems.
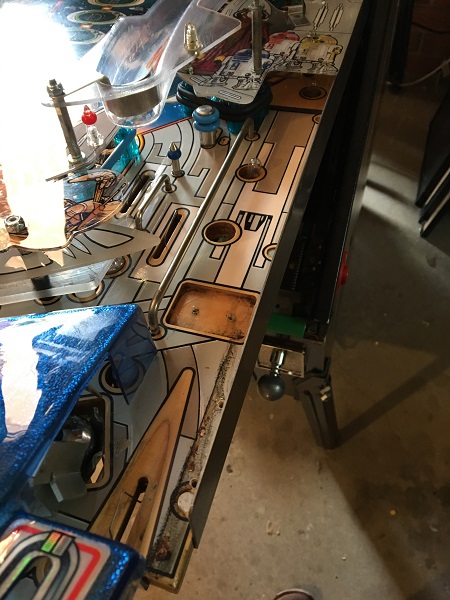
Next to be removed was the main ramp that runs almost the length of the playfield. There are a couple of connectors that needed to be removed and some screws. It was pretty simple to take off the playfield and now gave me access to the blue ramp and plastics.
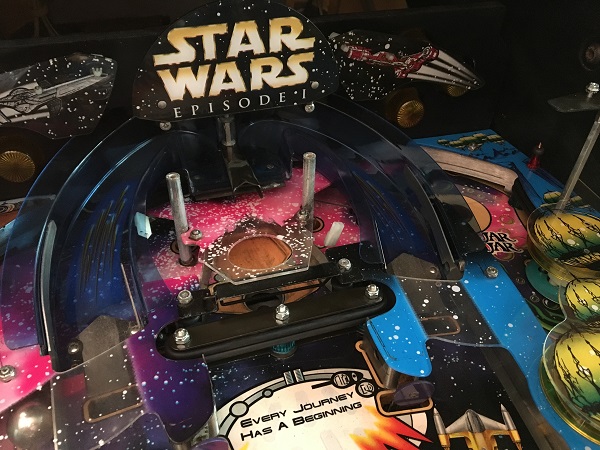
Removing the plastics was the next step. The left side of the playfield was first up. The star post group in this section has two rubber rings around them, but it should only be one. The playfield surface isn’t too dirty and will only need a light clean. The foam pads on the targets will need to be replaced.
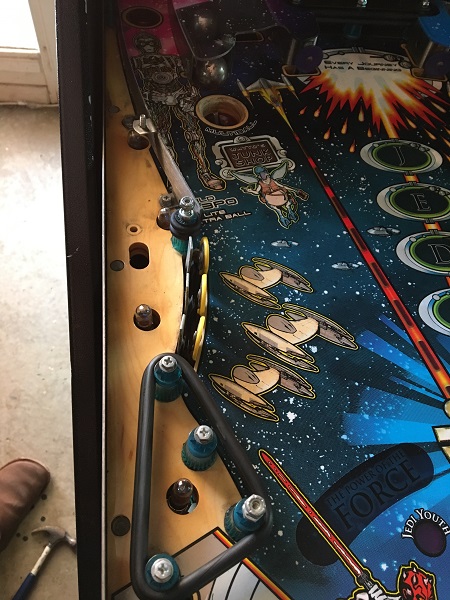
The right side of the playfield had its plastics removed next. The star post group on this section also have two rubber rings on them, but should only be one. Again the playfield isn’t too dirty and will only need a light clean. I’ll be replacing all the bulbs with LED’s when I start putting everything back on to the playfield.
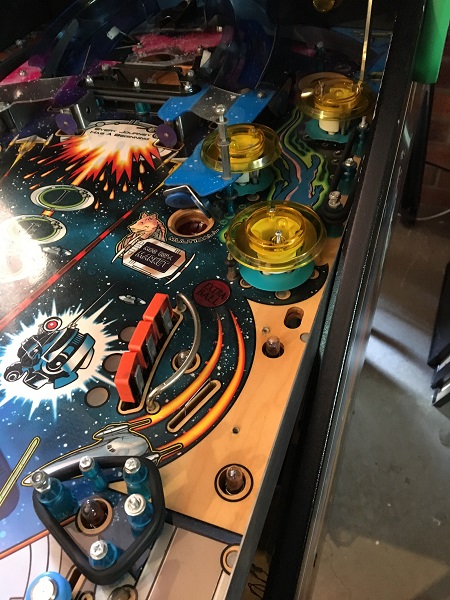
At the top of the playfield, the blue ramp was next to be removed, along with a few more of the plastics and star posts.
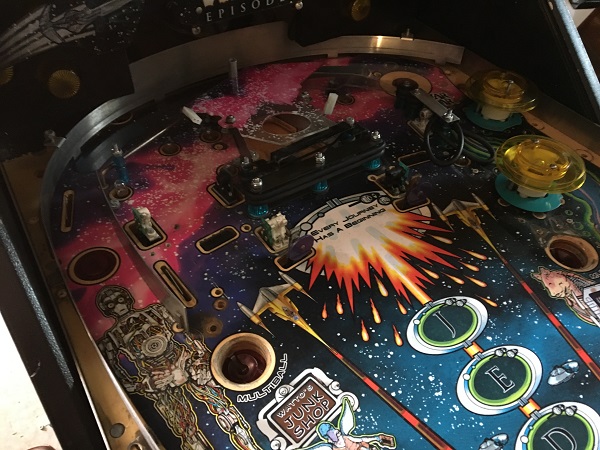
Last to be removed were the metal rails and the remaining star posts. Everything was now off the middle and upper playfield areas except for the pop bumpers and shield. I’ve already sorted the shield out in an earlier update, but the pop bumpers i’ll deal with shortly.
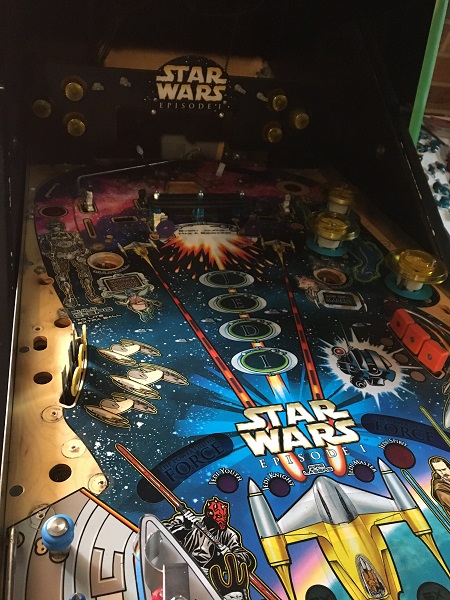
Around the top sections of the playfield the surface is a little more filthy. Nothing too bad though and I expect a light clean will get most of it up. Before cleaning the surface however, I got the vacuum cleaner out and sucked up all the loose bits and dust.
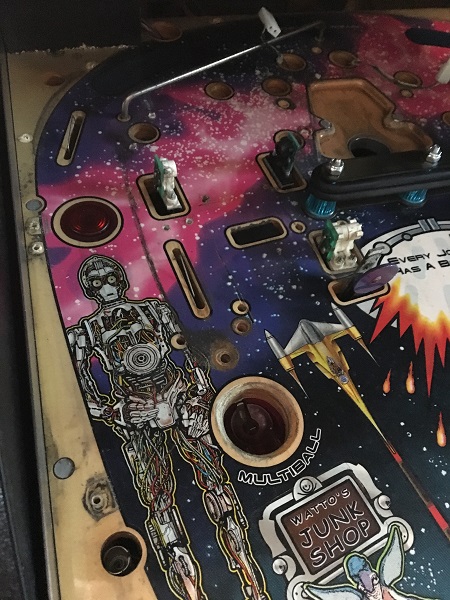
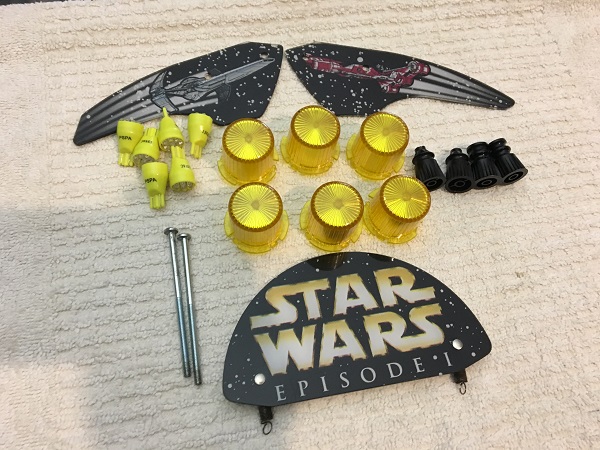
With the playfield stripped and ready for cleaning, the first area to receive attention was the rear panel of the playfield. It was given a fresh coat of black paint. The plastics were removed and cleaned. New flasher domes will be installed, along with yellow #906 LED’s. The black posts and screws were cleaned up. Once the paint dries, these will be rebuilt and installed again.
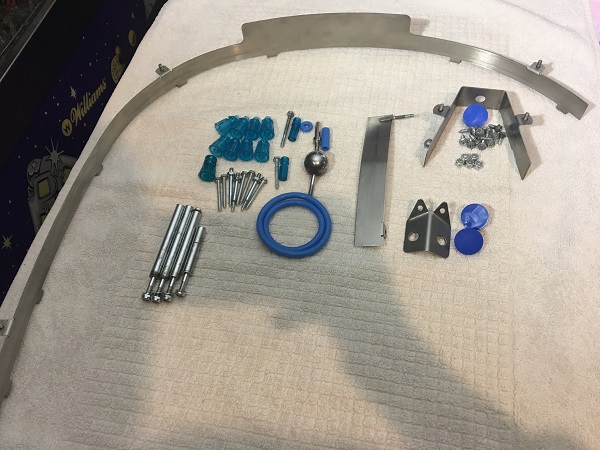
Several metal posts and rails went into the tumbler for cleaning. New blue rubber pads were purchased, along with light blue Titan rubbers. New light blue star posts will replace the old ones. The large metal orbit rail was scrubbed clean too.
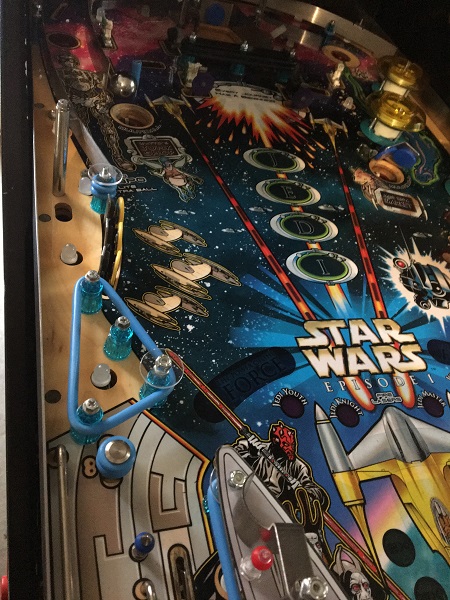
Before I could install anything back onto the playfield, I gave the surface a clean to remove the filth that had collected there. As expected, it lifted easily. The star posts were installed back on to the left side of the playfield, along with the rubbers and clear washers to protect the plastics. Fresh black pads were installed on the stand up targets. The metal ball rails were also installed again. LED’s were installed to replace the globes. I’m keeping it pretty simple with the GI LED’s in terms of colour. I always use the frosted style for GI lighting. I’m going with cool white under most of the plastics, and I’ll be using warm white around the top where the display to minimise any clarity loss of the glass display. The only other GI colour will be blue under the rear ramp.
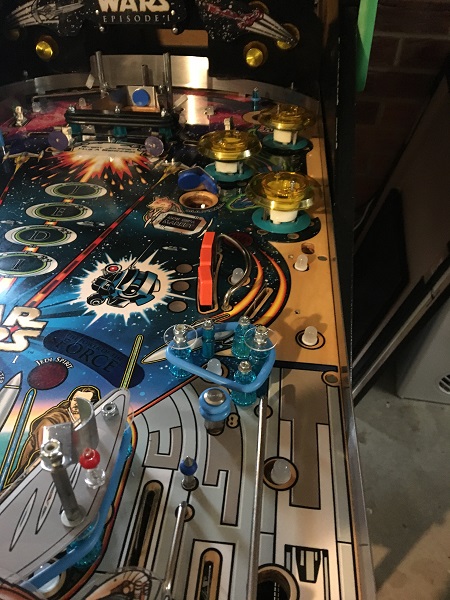
The right side received the same treatment. New star posts, rubbers and clear washers were installed after the playfield was cleaned. LED’s were added too. The orange stand up targets were cleaned and polished.
The blue ramp was next up for cleaning and the smaller metal parts went through the tumbler. The larger ones were cleaned by hand. Some of the upper playfield plastics were also cleaned.
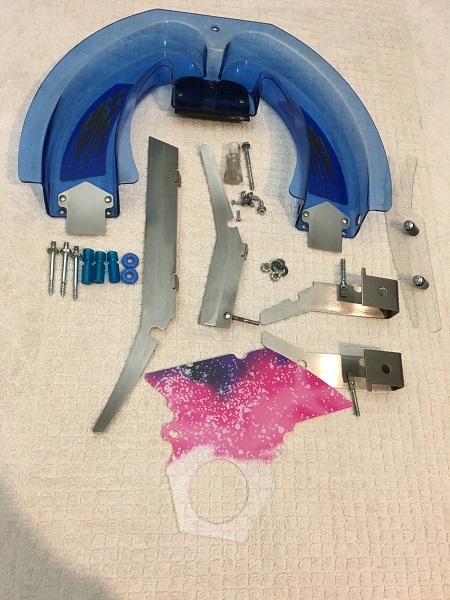
The remaining upper playfield plastics were cleaned and polished, ready to go back onto the game.
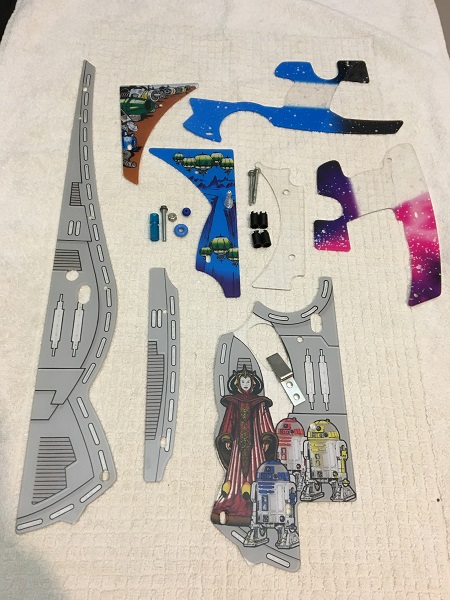
More posts and rubbers went back onto the playfield, along with the blue ramp. It was starting to come together again, looking nice and clean.
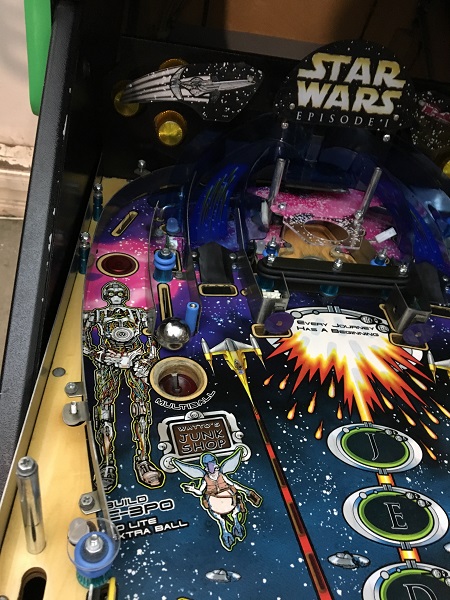
More parts were cleaned up, ready to go back onto the game. New rubbers from Titan and new star posts. All small metal parts went through the tumbler for cleaning.
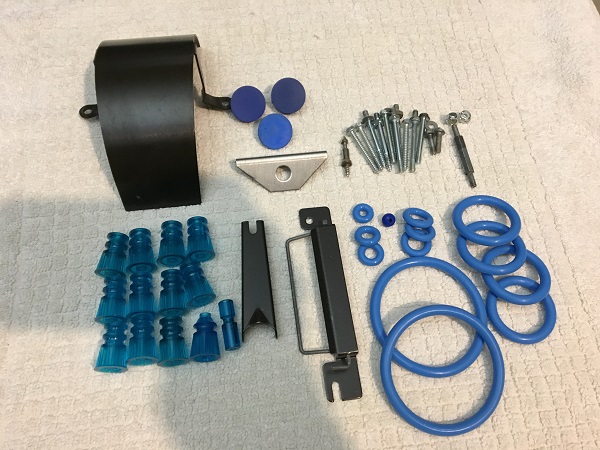
I had to stop putting parts back on to the playfield and take care of the pop bumpers at this point.
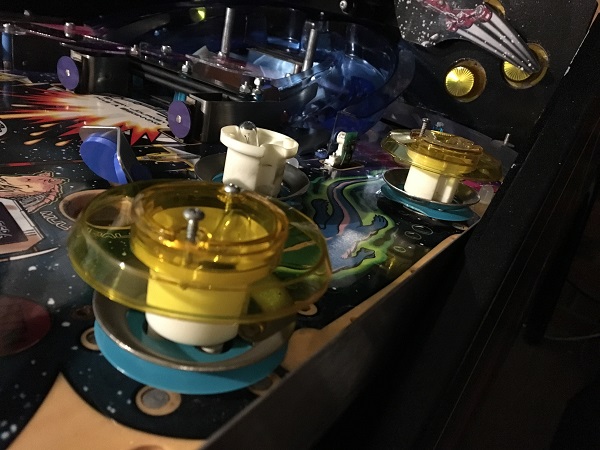
The pop bumper assemblies were removed off the playfield and set side to clean shortly. I always start with the coil bracket under the playfield first, as that then clears the way to unsolder the pop bumper lamp wiring. The playfield surface was cleaned up to remove the filth and ball trails that had collected. Thankfully the area is covered with a mylar patch that has protected the area from any damage over the years. Overall the playfield on this game is in excellent condition, with very minimal damage.
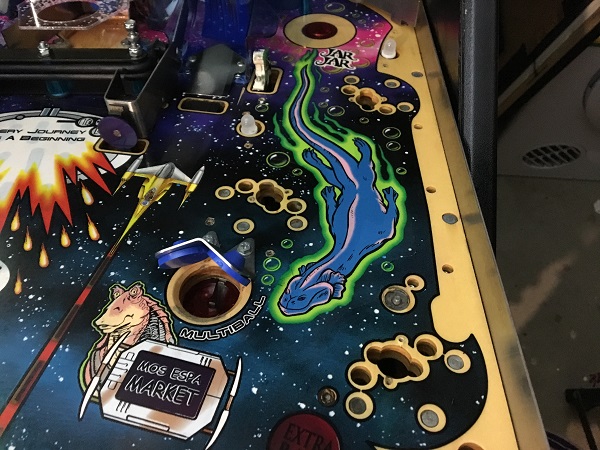
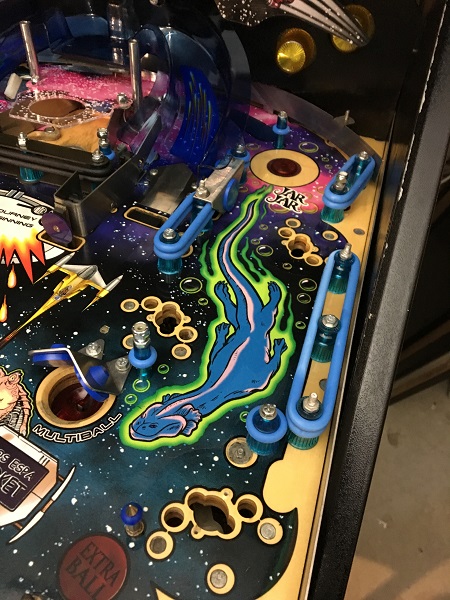
With the area cleaned, the new star posts and rubbers were installed again, leaving the area looking like new.
It’s now time to look at the three pop bumper assemblies that were removed from the playfield. Spade connectors make it easy to remove the entire assembly at once without the coils left dangling around under the playfield.
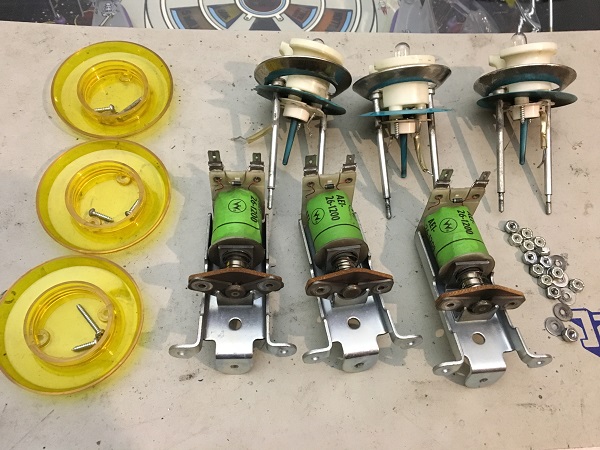
Two of the metal yokes were snapped in half, although still managing to stay in place. This is pretty common and I always replace these regardless as they are a cheap part and get heavy use.
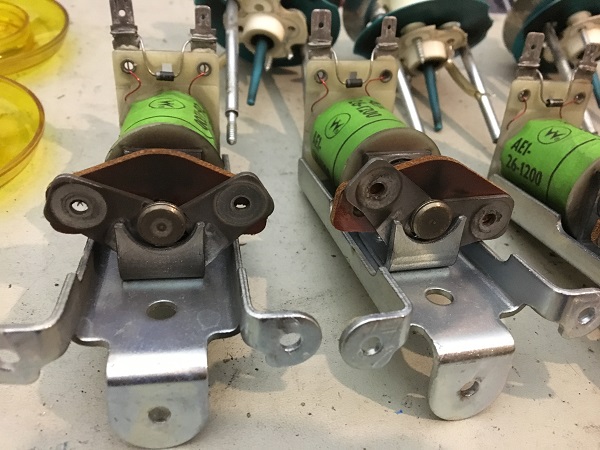
Two of the skirts have also had some chunks snapped off from years of use. As a rule I always replace these too as they are another cheap part and brand new skirts always look nice. When I was working on a Whitewater a little while back, I had accidentally purchased some teal skirts to use on the pop bumpers when ordering parts. I ended up ordering white ones and then putting the teal ones on the shelf in case ever needed. They will come in handy here!
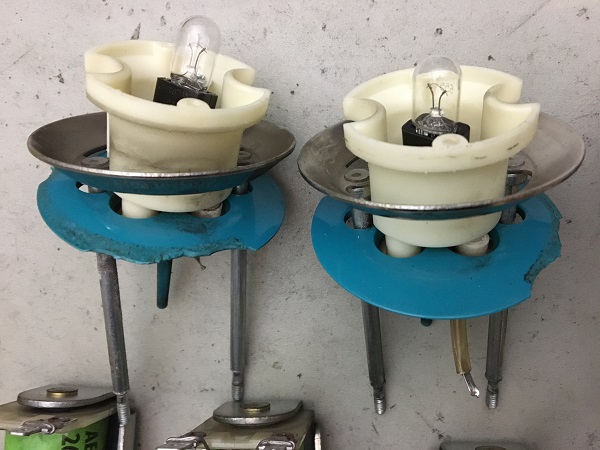
The metal parts went into the tumbler for cleaning. New metal yokes, fiber yokes, spoons, caps, bodies, coil sleeves and lamp sockets were sourced to replace the old ones. The pop bumpers were now ready to be rebuilt and installed back into the game.
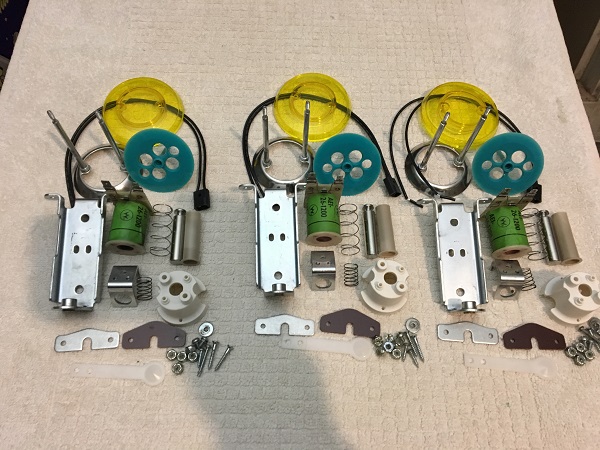
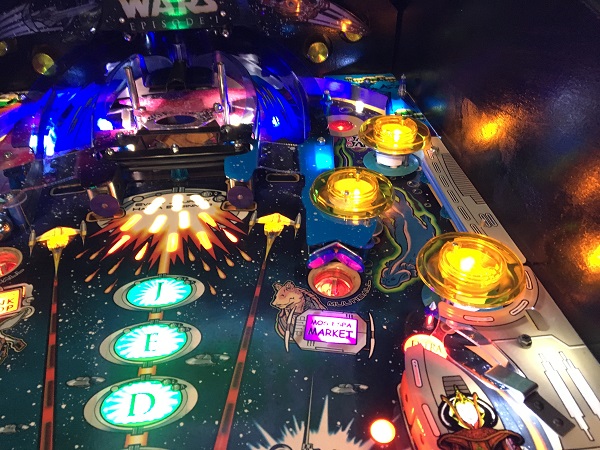
The pop bumper assemblies were installed back on to the playfield and many of the plastics were installed again too. Lit up, the game is really looking nice!
The inside panels of the cabinet were given fresh gloss black paint which helps lift the presentation of the game.
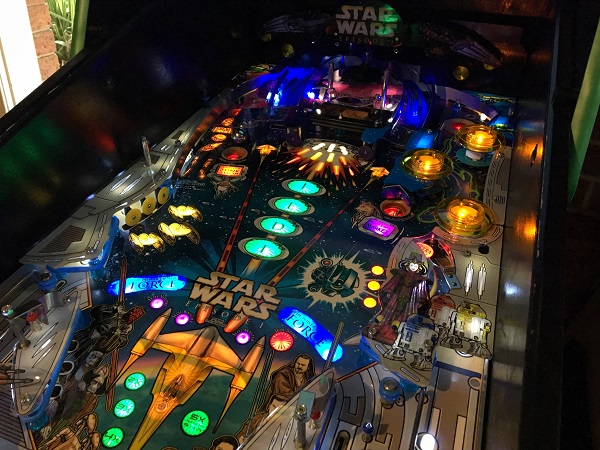
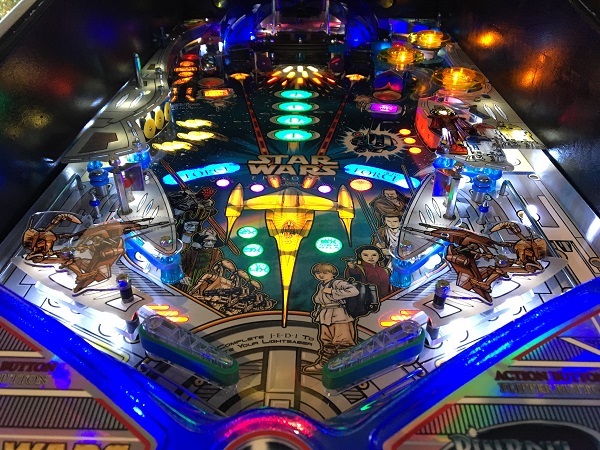
The playfield was really coming along nicely and not far off being done. Next up is the main ramp and shooter lane ramp. They were completely disassembled for cleaning. The small metal parts went through the tumbler. All plastics were cleaned and polished.
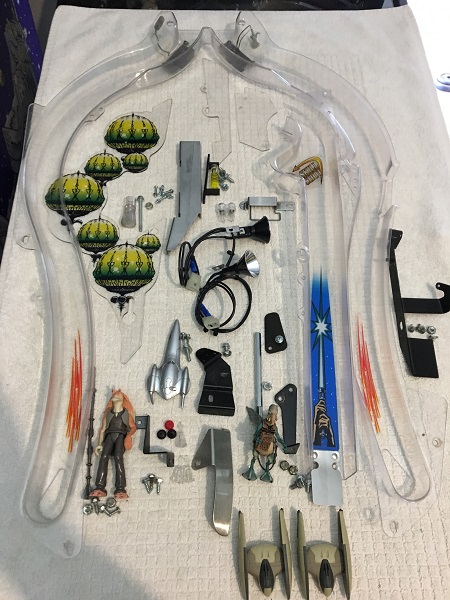
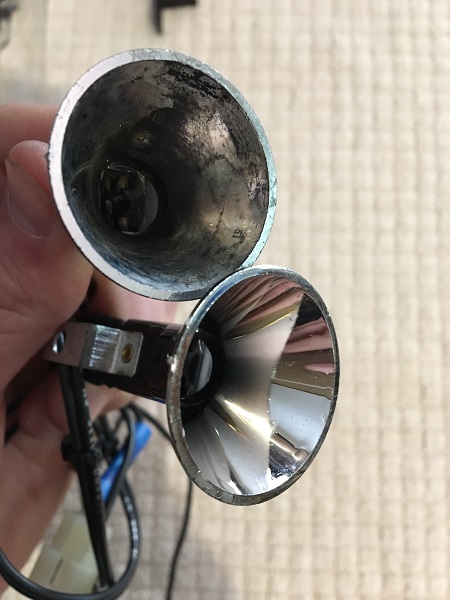
There are two lamp shades on the game. Each one is attached to the main ramp just below where the Jar Jar and Watto characters are attached. The old ones look quite crappy. The wiring was cut from the old lamps and transferred to the new ones.
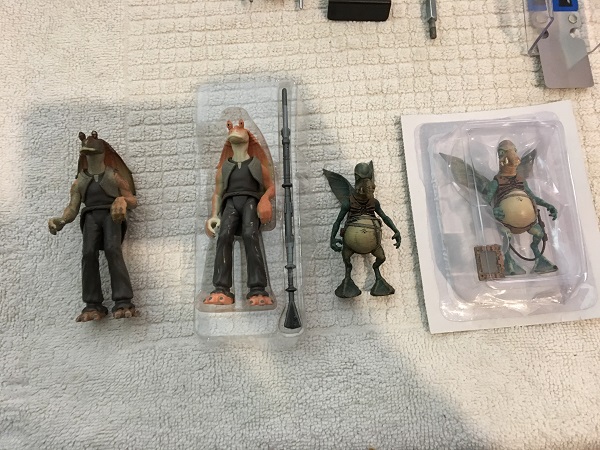
The old characters were looking dirty and tired, so new ones were sourced. You can still buy them quite cheaply. It seemed like a great chance to remove Jar Jar off the playfield, but I decided to leave him since he sits above the market ball lock and just outside Gungan city. It is tempting to look for a Darth Maul figurine though to install somewhere on the playfield. Both figures come with an accessory to hold, which i’ll use some hot glue on to attach as I expect they will be knocked loose within 10 minutes of play otherwise.
A minor annoyance with the apron is a mark on the shooter lane decal. I had originally planned to leave this alone, but it was starting to bug me enough that I decided to do something about it.
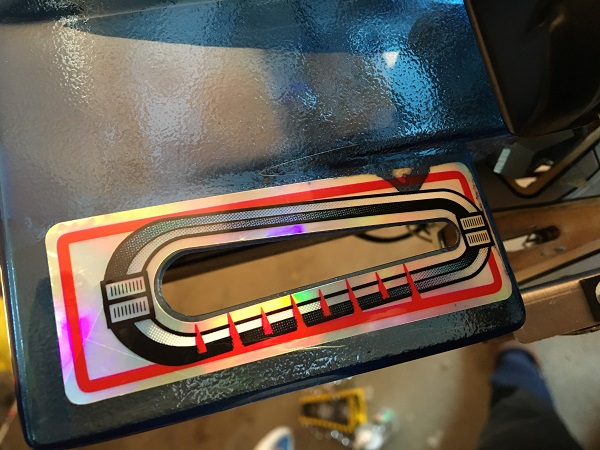
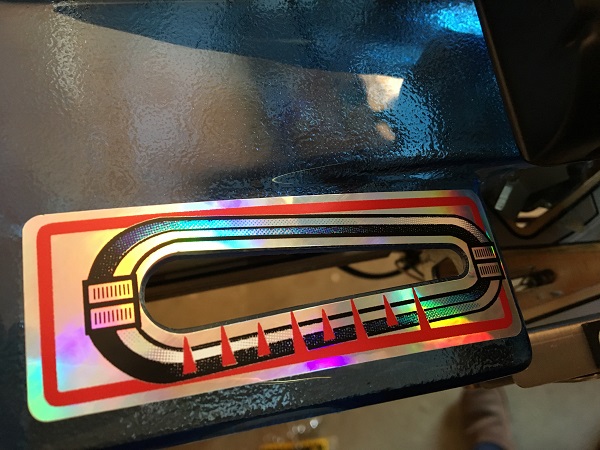
The decals can still be purchased cheaply, so a replacement was organised. The old decal was heated up and removed. The surface wiped clean and then the new decal applied. I sometimes wonder how many people actually look at the gauge to judge their ball launch. Personally, I always go on feel.
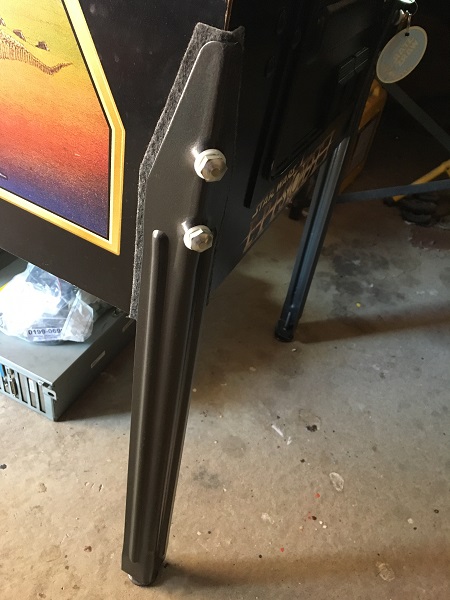
The final cabinet thing on my to do list was clean up the legs. The legs were removed, rough spots sanded smooth and then resprayed with 3 coats of hammertone black. Nylon washers were added.
The ramps and light saber were installed back on to the playfield and the wiring connected up again. Any old screws and lock nuts were replaced with new ones. Finally the game was back together again and ready to play
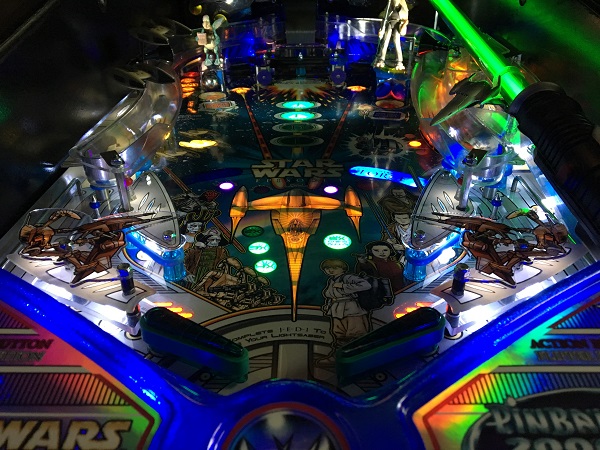
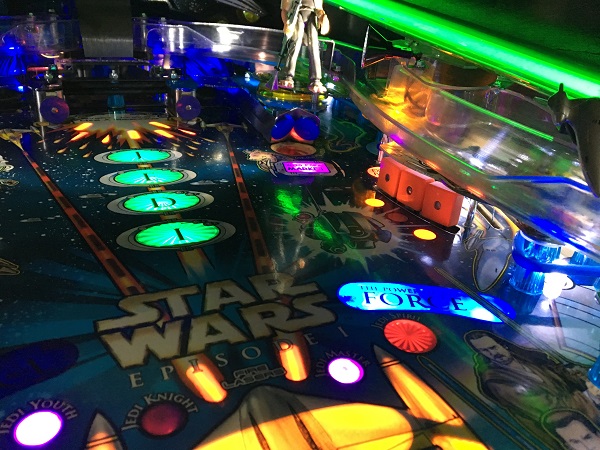
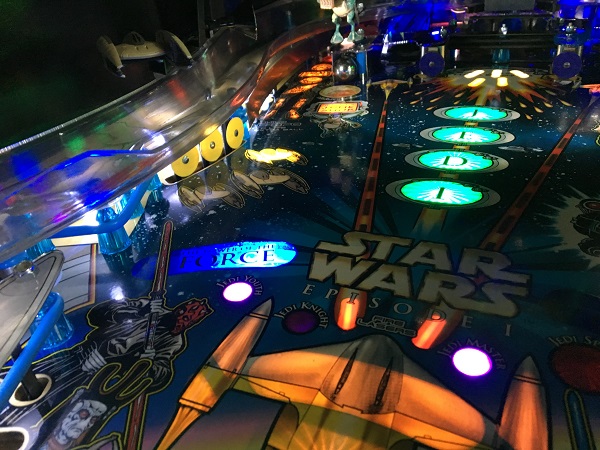
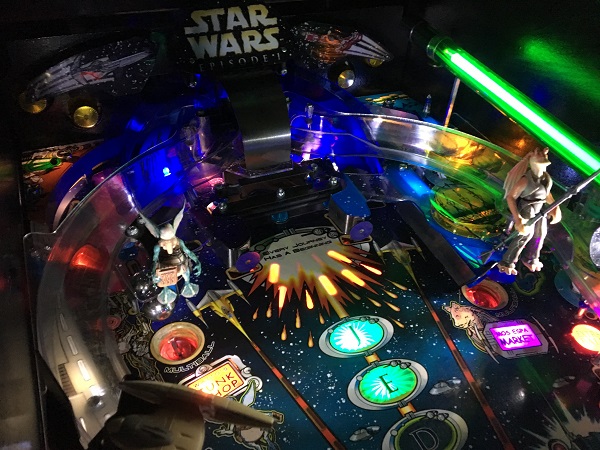
For comparison, before and after:
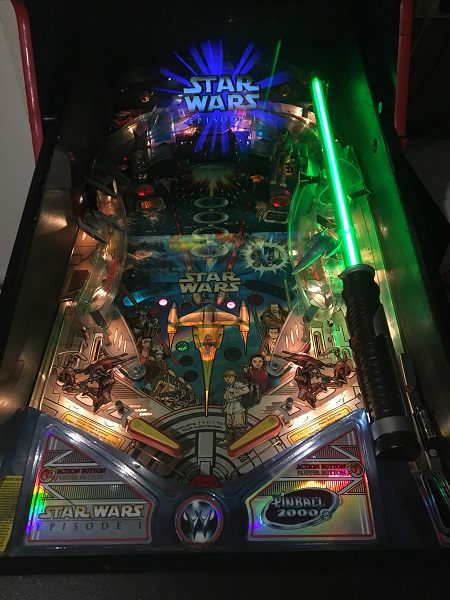
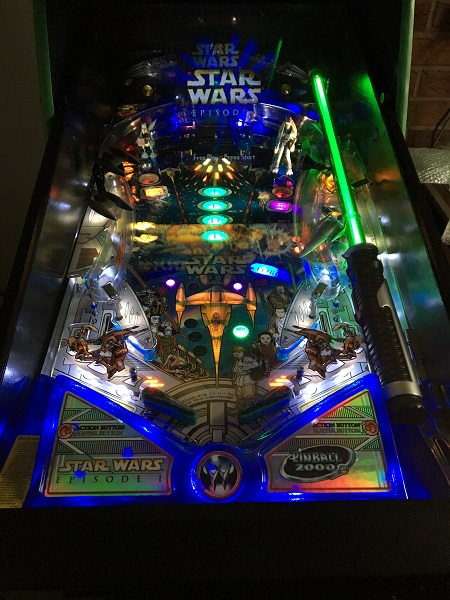
With the game fully back together, I spent the next few days playing to test out all the work done. One switch on the right sling shot needed adjustment as it was too sensitive and one of the out lane switch arms also needed a slight adjustment. Otherwise, the game held together great and continues to play without issue. The game is a lot faster now, which increases the difficulty. That concludes my work on SWEP1 (..until something breaks of course). Progress came along very smoothly, thanks to the simple playfield layout and also having many of the parts on hand. The only other thing I may do is tweak the brightness and/or contrast settings on the monitor to improve the image quality. It’s not terrible, but I know it can be better. If it’s already on my mind, it’s only a matter of time before it bugs me enough 😉 I have to say that SWEP1 is a fun game that probably doesn’t get enough credit due to the movie tie in. If you haven’t checked out P2K yet – give it a shot. There’s only the two games in the series, but both are very enjoyable and something a bit different to play.
