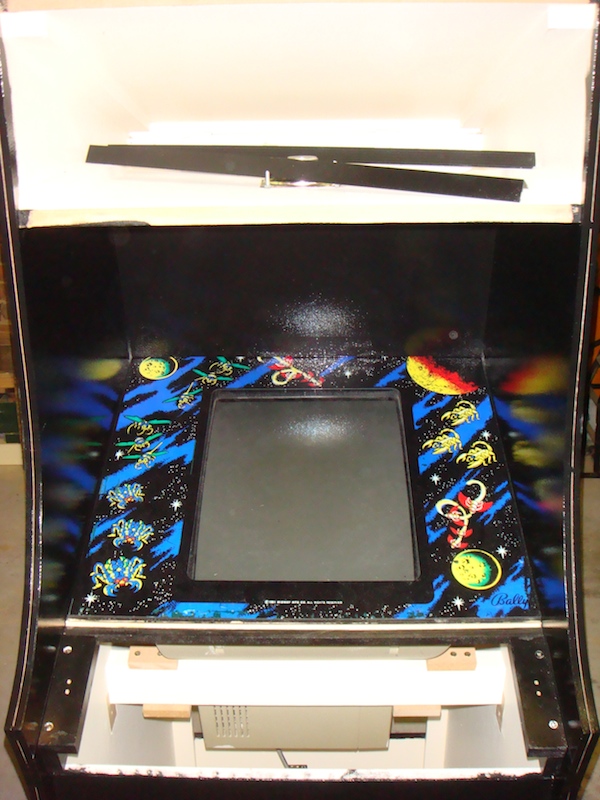
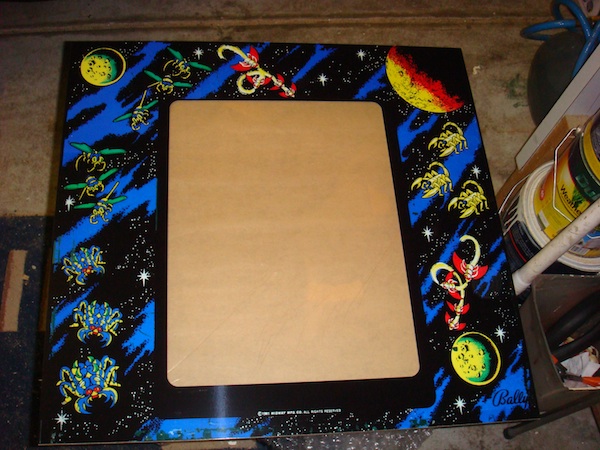
Some good progress was made tonight. The big milestone. The cab has power! (and nothing blew up!). But first up, the screen has been installed. The monitor has been moved into it’s final position, and the acrylic overlay and artwork can now sit on top. A cross bar (bit of pine) sits at the base and has been cut to put some pressure against the base of the acrylic. The control panel will sit on the other side, and the join will be hidden with some black t molding I have.
Galaga Arcade Cabinet
Building a Galaga arcade cab fram scratch
I have been working on and off at night after the kids are in bed. Getting in an hour or two here or there is helping things along. The printer completed the screen artwork late last week (just after Easter). So I had a quick drive out to pick it up Saturday morning. I’m really happy with how it has come up. He has laminated it on to the acrylic, so it’s ready to go 🙂
Last week I went back to AB Plastics to get a new quote on some perspex or acrylic to use for the marquee, screen and control panel. The new quote was much better (given the correct dimensions ;). I decided to go with them as I felt they were reasonably priced and the guys there were very easy to deal with.
– The two pieces for the marquee were $10 each (3mm thick) – so $20 total.
– The screen was $35 (4.5mm thick).
– The control panel protection was $12 (3mm thick).
– Labour was $20 (mostly to get the bend in the control panel).
The guys there were great to deal with and cut the lot while I waited. I can highly recommend them if you are looking to get some perspex or acrylic cut for your cab.
AB Plastics
3 Carl Court
Hallam, Victoria
3803
Phone: 03-9796-4030
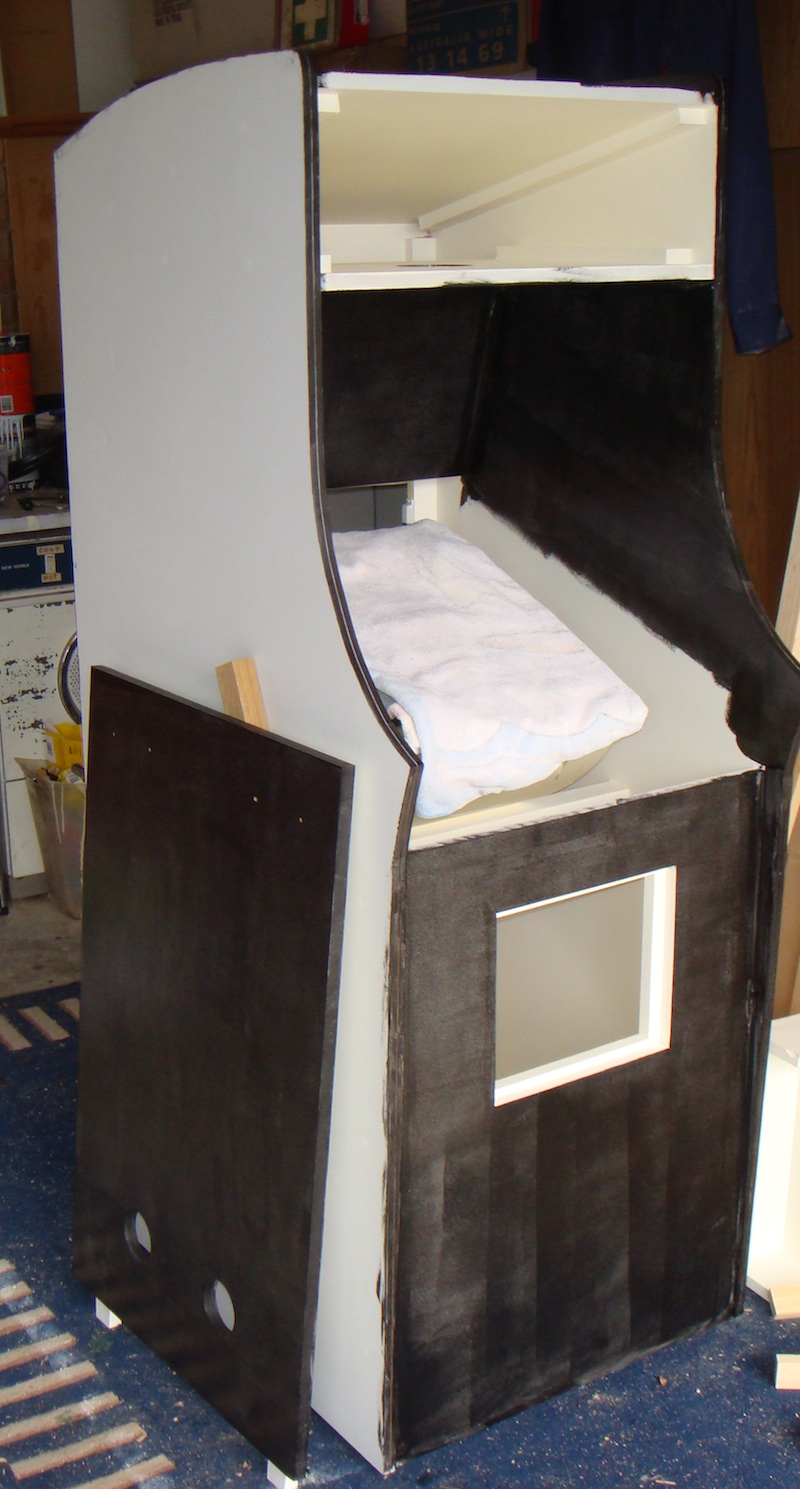
I started out day 3 by giving the outside some paint attention. The first coat was very light, but the second coat started to give some good results. There is plenty of paint, so I have a feeling I will end up doing 3 or 4 coats to give it a nice finish. For the moment, the sides are not going to be painted until I’m 100% happy with the position of the monitor.
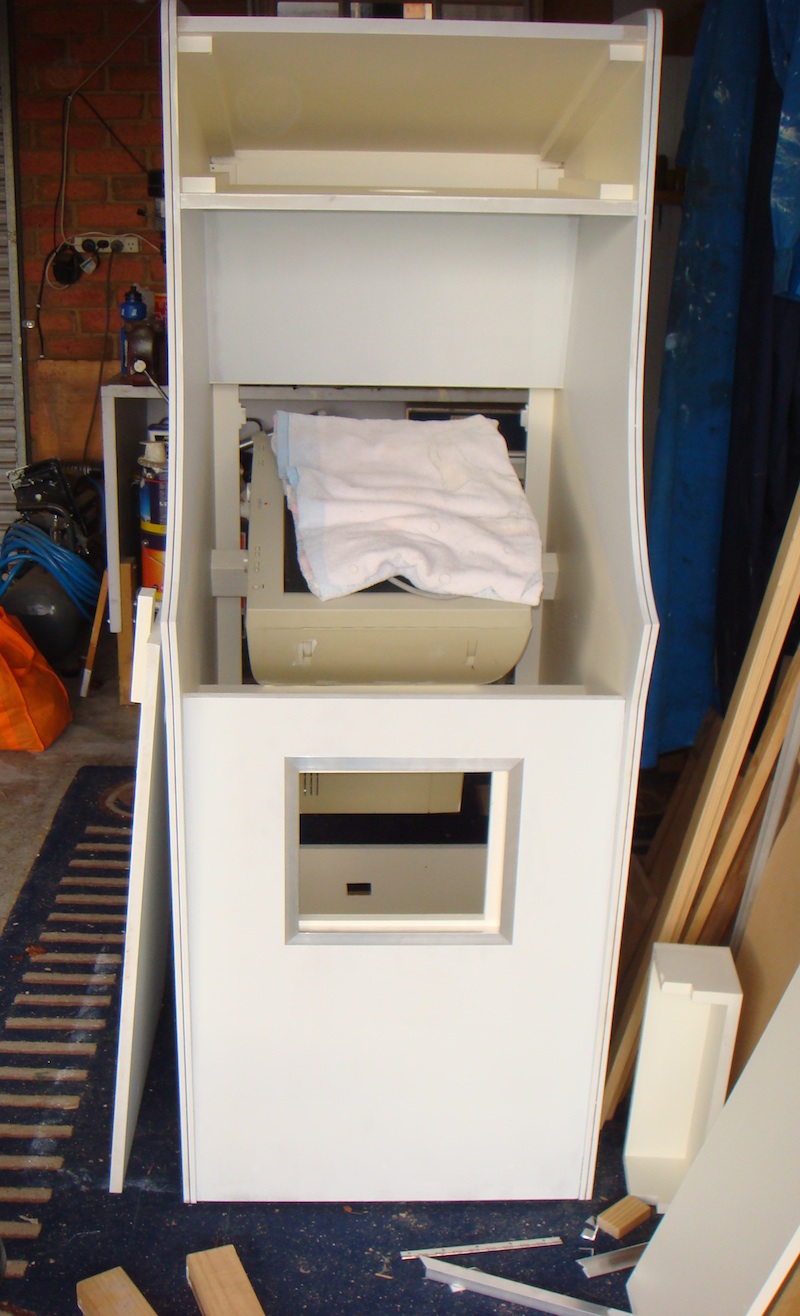
I decided to spend some time painting at night since it was holding progress up. The inside of the cab was given two coats and the outside a single coat of primer. Painting was done with brush and roller, although next time I will investigate spraying / blasting it for better results. The inside is a flat white – gives it a nice ‘clean’ feeling 🙂


