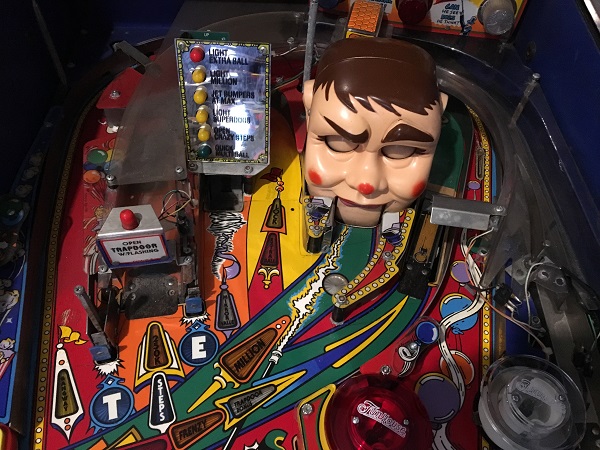
Welcome to the fourth installment on the repair and service of a Williams Funhouse. With the lower and middle playfield sections completed in previous updates, this one will be focusing heavily on the upper playfield area. I want to get a few cabinet touch ups done too as they have been on my to do list for awhile. So far the machine has been coming long great and I’m looking forward to getting it all back together for some testing. The upper playfield area is quite dirty, but everything is there so a good clean should bring it up nicely.
painting
All posts tagged painting
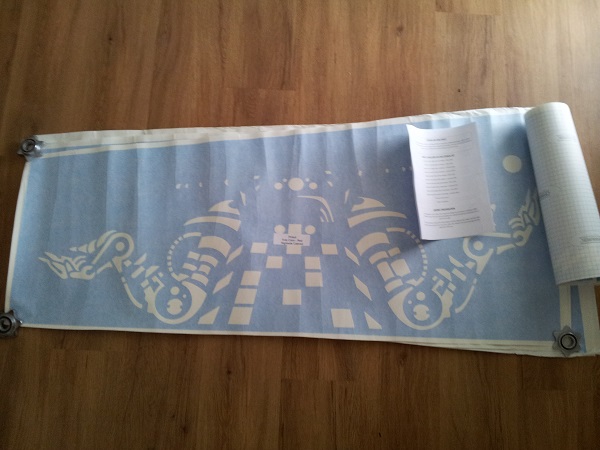
This update took much longer than I expected it would, but finally the headbox has been patched and repainted. Outside of some cosmetic damage, the headbox is in good condition. While the artwork was faded in parts and there was some minor damage to the wood, it was at least strong and stable. Unlike the Fireball Classic I recently restored, the Pinbot cabinet artwork is painted on with the use of stencils. A full set are available at TwistedPins and Santa managed to deliver a set to me during the Xmas period and it was time to put them to use.
I’m going to break the process up into two parts. Firstly i’ll do the headbox, which will then be followed by the cabinet. To begin with, I removed the stencils from the packaging and flattened them out. There are two stencils per side – one for the red/orange colour and the second for the yellow. It also comes with a set of instructions which are not complicated – just common sense really.
Today, I finally completed the project. After having the machine split in 2 (thus unplayable) for so many months, I put the finishing touches on the front half today and joined it all back up for a game.
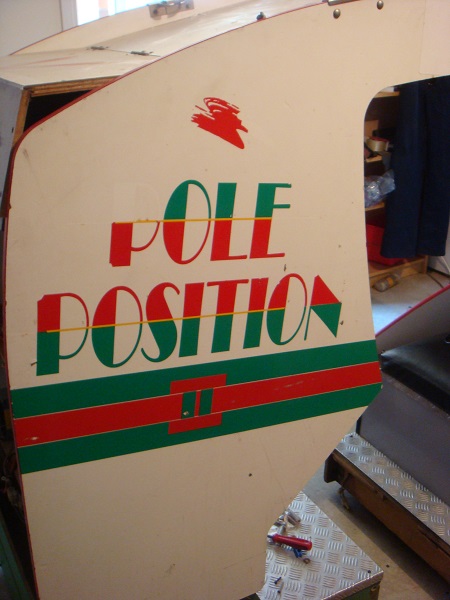
The first step was to remove the existing decals from both the left and right front panels. As it was, some of the decals had already come off. In some places there were chips missing from the side panels and even what look like burn marks (assuming cigarette).
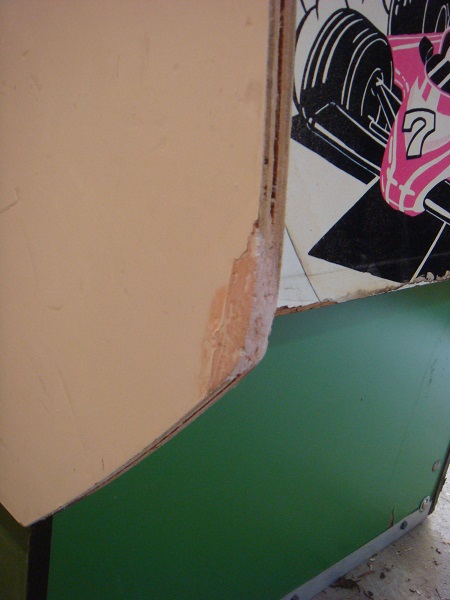
It’s been awhile since my last update on my Pole Position cockpit restoration. With some Christmas holidays on my side, I decided to start working towards completion. Over the last few months I had been gathering the last bits I needed to complete the project. The artwork arrived, the paint was purchased and a few minor parts were sourced. There was still quite a bit to do on the machine, so I decided to split the remaining work into two sections – basically the front half and back half of the cockpit.
To start with, I decided to focus on the back half of the cockpit and get that 100% complete.
The first step was to fix up the broken corners on both side panels. These had broken off at some point in the past – maybe by vandals, maybe just from movement between owners or locations. Anyway, some builders bog came in handy here to redo the curved corner. Once it had set, I used the router to cut a new t moulding slot (not shown).
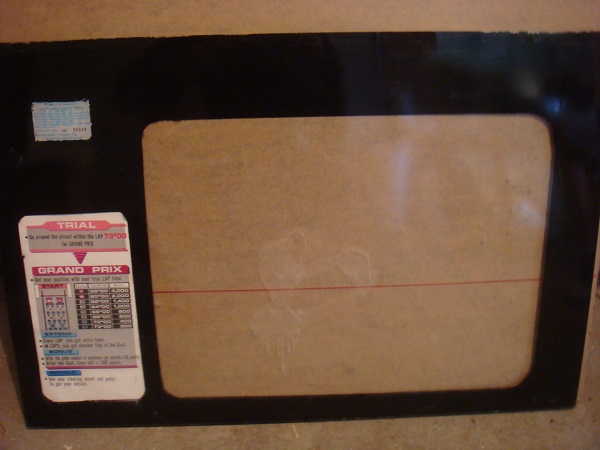
One of the first issues I noted with the pole position machine was the condition of the screen acrylic and it’s lack of proper artwork. I wanted to address this as a priority, but it has taken a little bit of time to get around to it. This was the state of it when I first picked it up: