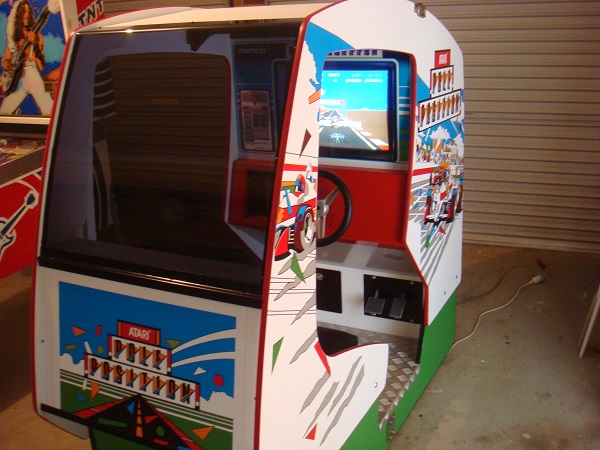
Today, I finally completed the project. After having the machine split in 2 (thus unplayable) for so many months, I put the finishing touches on the front half today and joined it all back up for a game.
The first step was to remove the existing decals from both the left and right front panels. As it was, some of the decals had already come off. In some places there were chips missing from the side panels and even what look like burn marks (assuming cigarette).
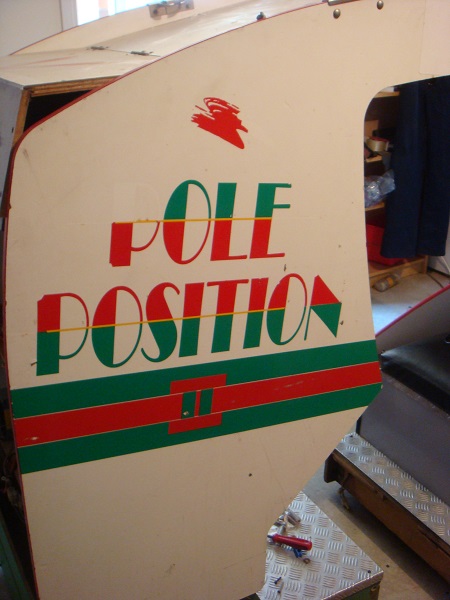
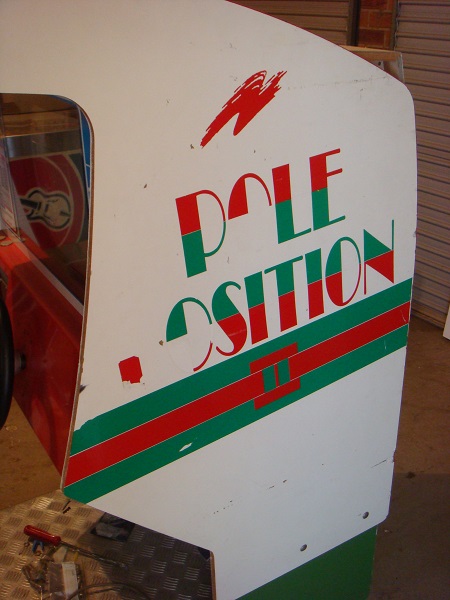
The decals on the back half were a real pain to get off and I was expecting the front to be as difficult – but thankfully it ended up being easier. Both side panels were now ready to be filled, sanded and repainted. The t-moulding was also removed.
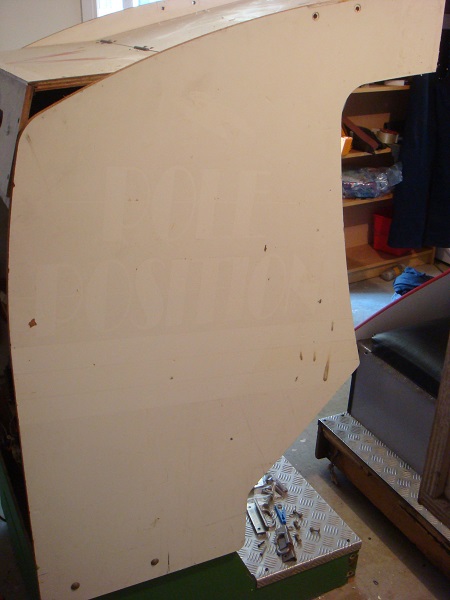
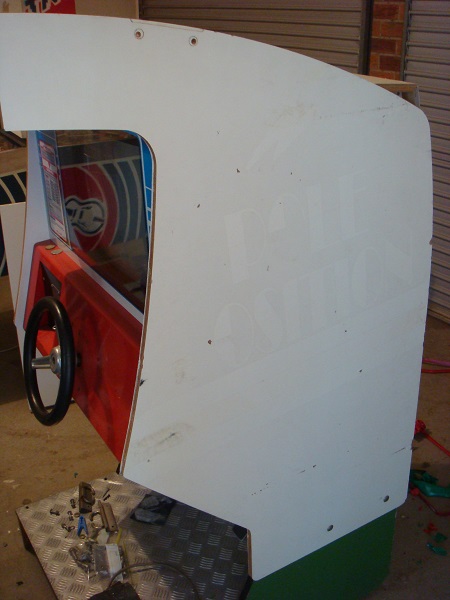
I filled in all the holes, sanded the panel and then repainted with 4 coats. This was done to both sides.
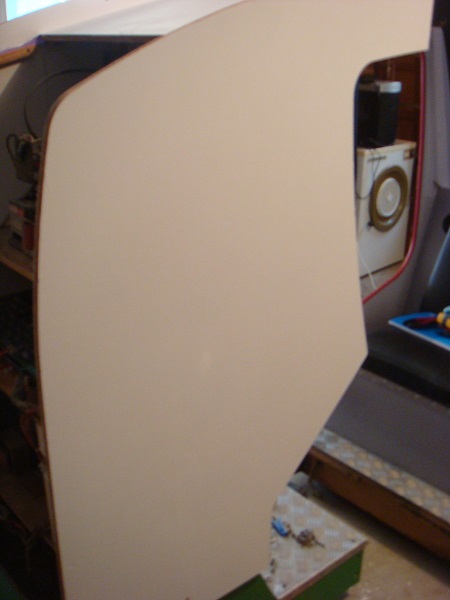
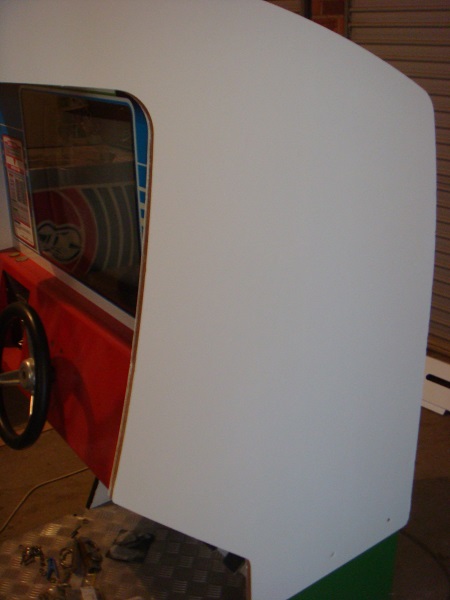
Meanwhile, I was also giving attention to the base. The base had seen better days. Several large chips out of both sides – very similar to the condition of the base on the rear half before I started.
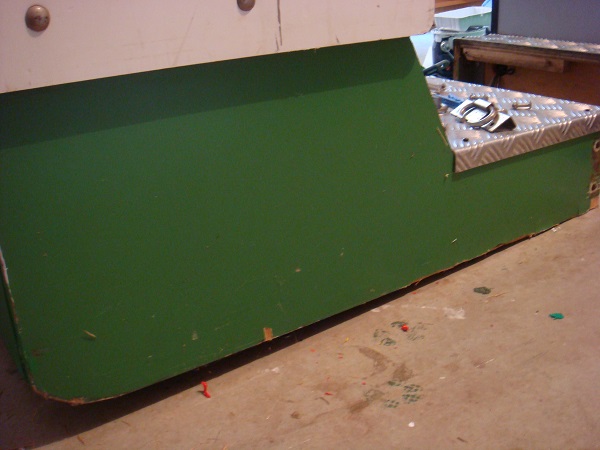
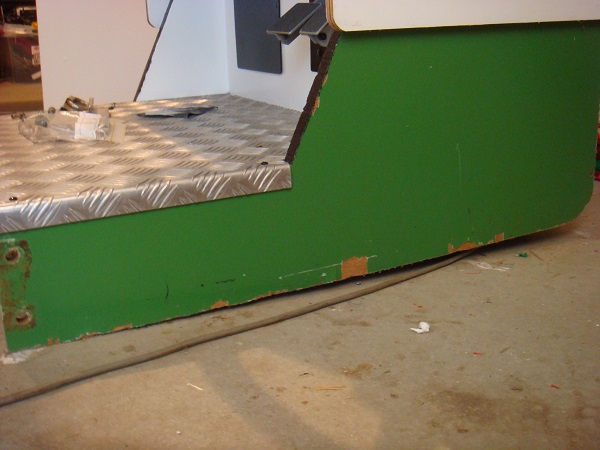
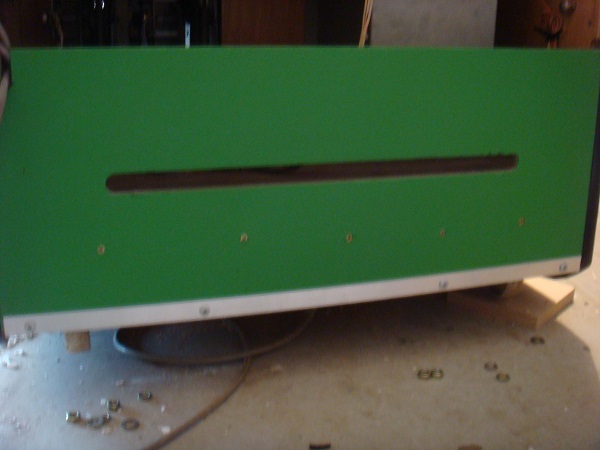
I removed any loose chips, sanded and filled. This was then repainted with 4 coats of matching green. I also cut a slot for a strip of black t-moulding to help protect the base against future damage – most of which I think was done while the machine was moved around over the years.
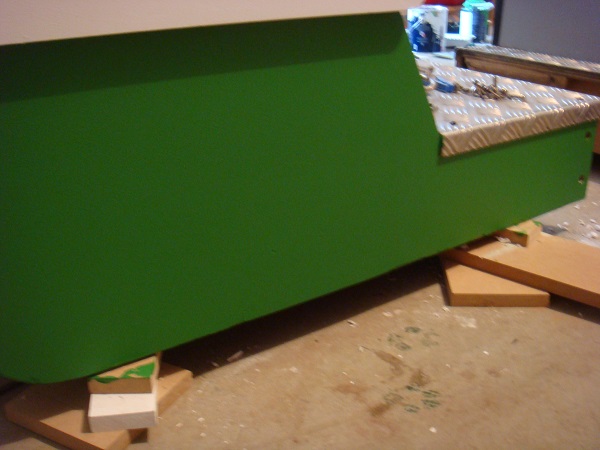
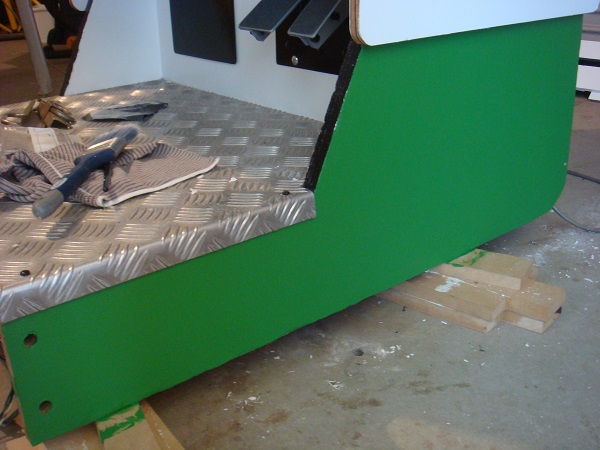
While working on the base, I needed to give some attention to the base panel around the back of the machine. This too had received some damage over the years. I couldn’t add t-moulding to this, but I could add some aluminium angle along it to bare the brunt of any force against it. I also added the black t-moulding to the base at this point since it was ready. Replacing the t-moulding is far cheaper (and easier) than having to repair (or worse – replace) the base panels.
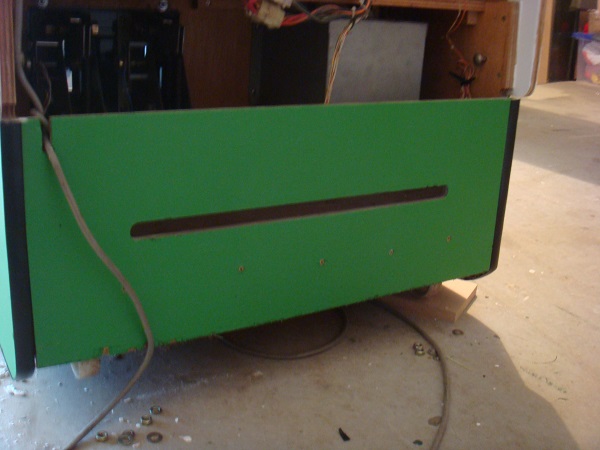
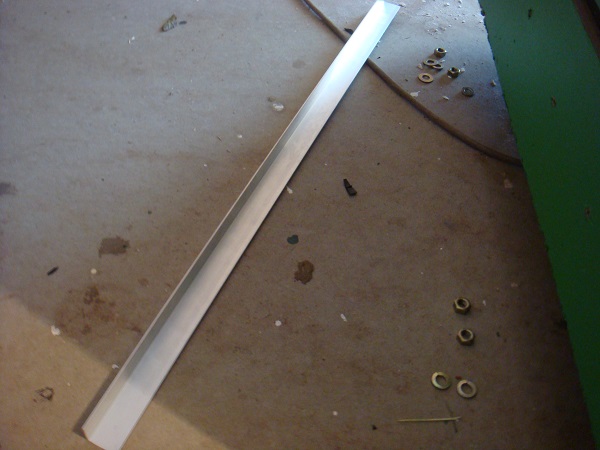
I had some aluminium angle on hand from a previous project, so cut it to size ready to install. Installing it was straight forward and should help proect the base against future damage.
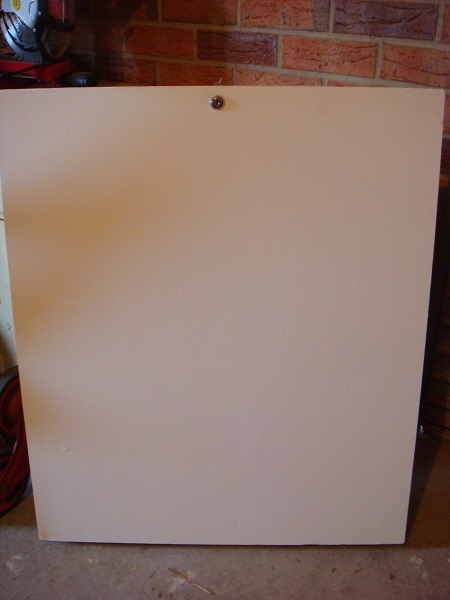
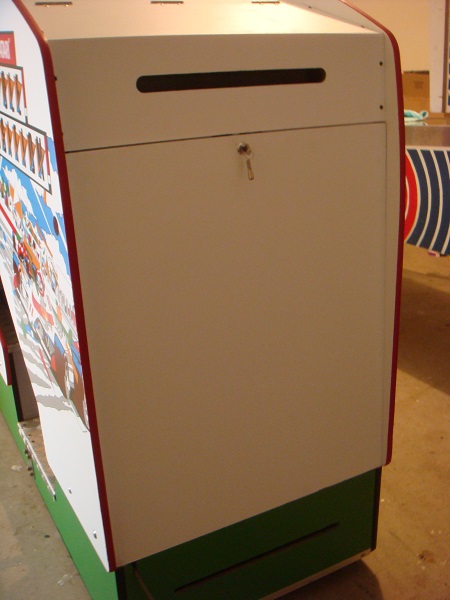
While all this was going on, I was also giving attention to the door (and my wife tries to tell me I can’t multitask – HA!). First step was to sand and repaint the outer side. This was also given 4 coats, along with a new lock (which was missing when I purchased the machine).
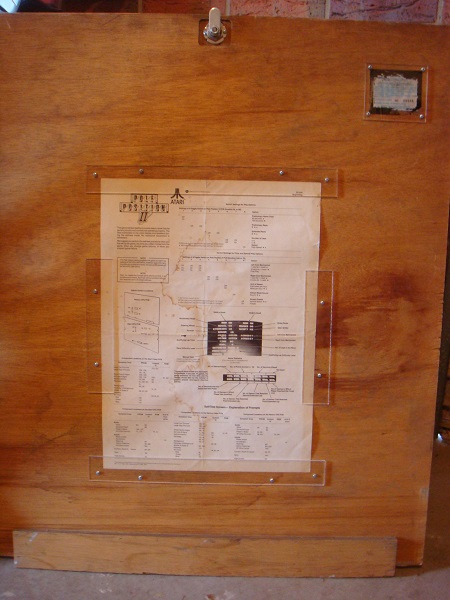
On the inside of the door, I wanted to add the instruction sheet that came with one of the manuals. I didn’t want to use staples on it and damage it, so purchased a few small pieces of clear acrylic to hold it in place. I also purchased a small piece to sit over the 1997 license sticker that was originally in the screen bezel. With that done, the door was ready.
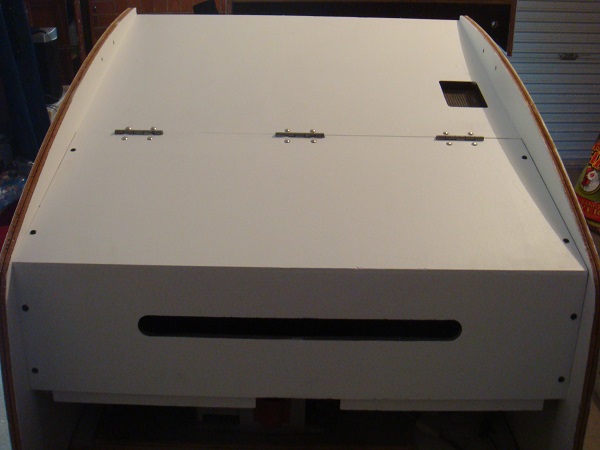
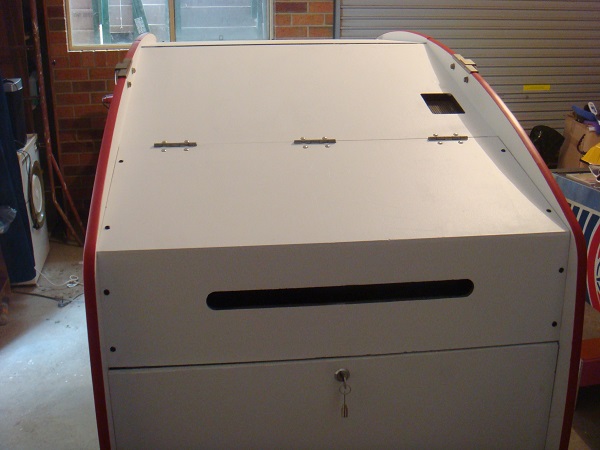
Part of the top panel is a flip top, attached using 3 hinges. The bolts on these were rusting and dull. Since I was wanting to paint the top, I figured this was a great excuse to pull it all apart and remove the flip top completely. This made painting much easier (no masking required for the bolts and hinges) and I could also give the bolts some polish to bring them back to life. I removed the flip top, sanded, and repainted. I also fixed a huge chunk that had been taken out just above the door lock. I’m assuming at some point the keys to this were lost, so someone hacked away at it (or maybe some wanted to break into it..) – either way – the damage was fixed with some builders bog. I also repainted the vent area black which made it stand out much nicer.
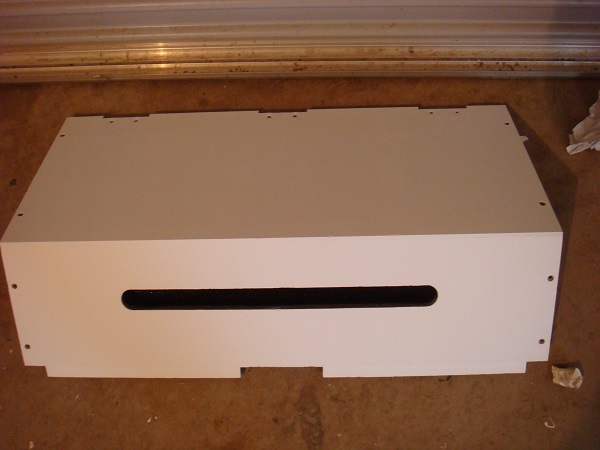
With the flip top painted, roof painted, bolts shining, I reinstalled the flip top. The black screws had their heads sanded and resprayed as they too were rusting and very dirty.

I was now ready to get the side art applied and red t-moulding added.
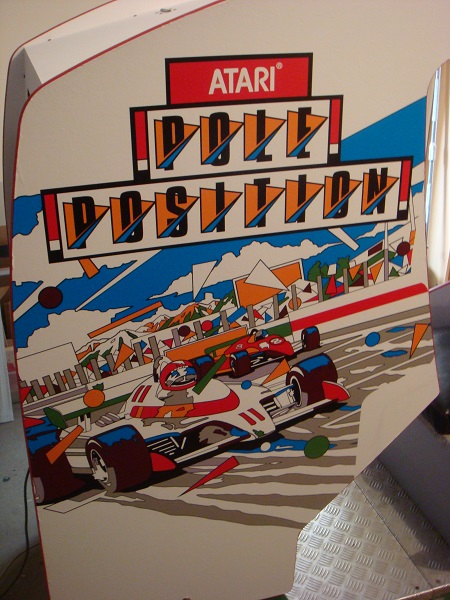
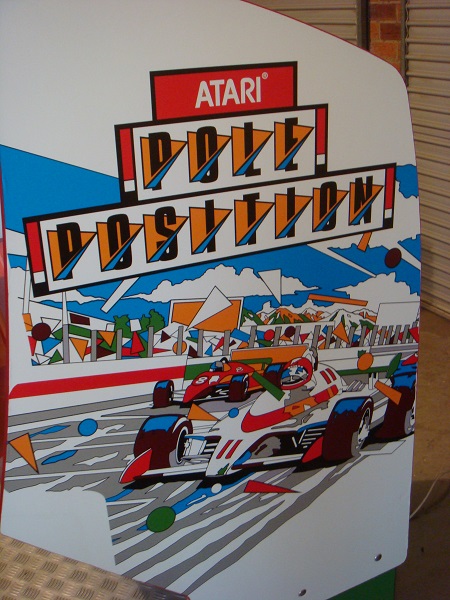
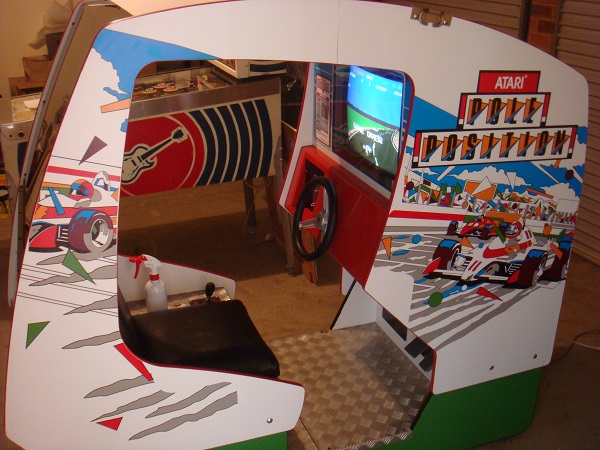
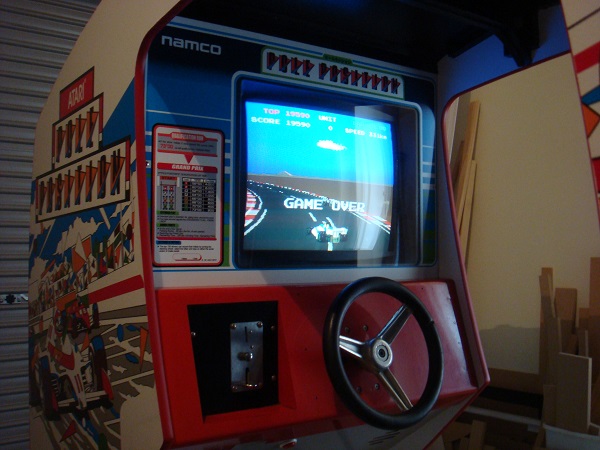
Then came time to join everything back up together. I split the cockpit up so long ago, so have been looking forward to this day! It was a difficult task on my own as the front half is very heavy and trying to get both lining up so I could install the metal brakets and bolts on my own required much juggling. But after about 30 minutes, it was done – completed! I powered it on in to test mode – checked everything was all good – then sat down, put a coin in… and failed to quality 😉
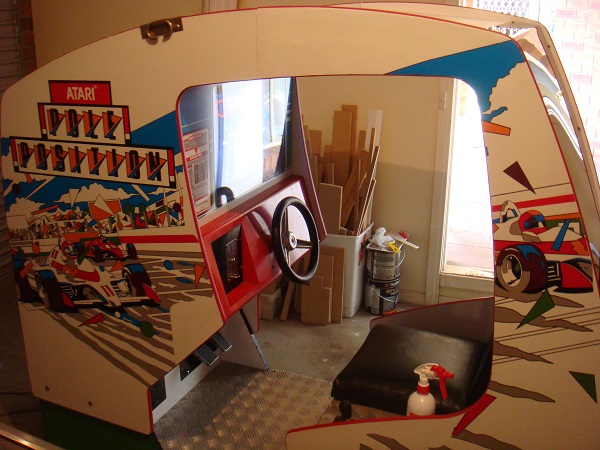
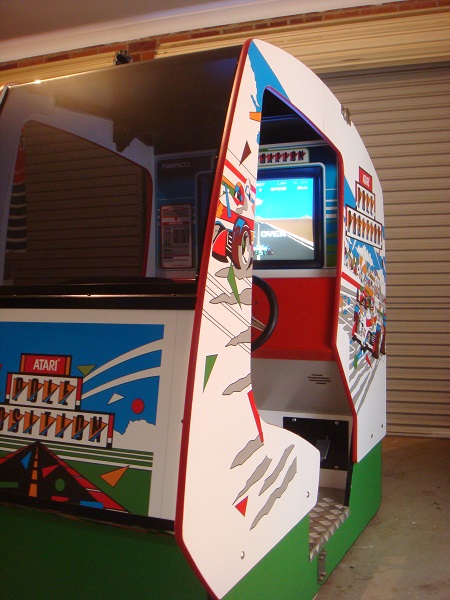
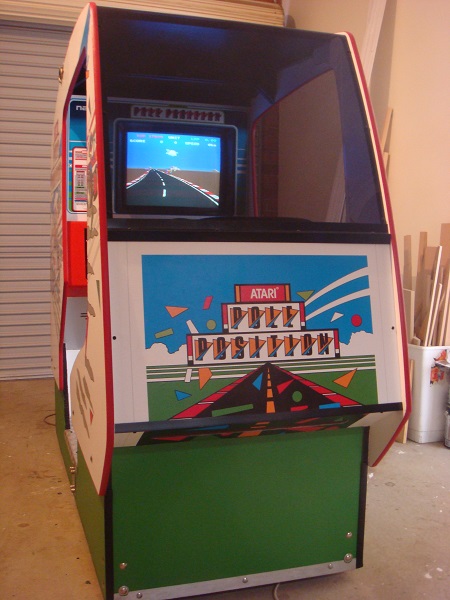
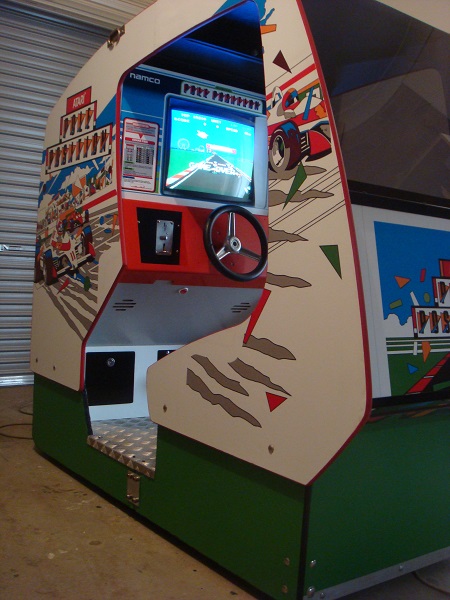
Some shots of the top and back door:
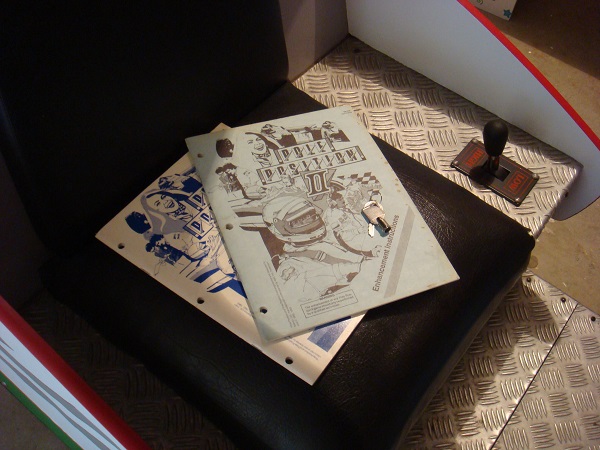
and finally – the keys to the coin box, rear door, original operators manual and original enhancement instructions.
Just for a quick comparison, here is a before and after shot joined together. While it doen’t highlight the amount of work I’ve put it – it’s still interesting to look at. The before and after text aren’t really required – but my lovely wife put this together for me while I was having a game 🙂
With both halves joined up again, it was a pleasure to sit inside the cockpit and enjoy a few games The kids were also excited and enjoyed having a turn.
Looking back on the project, it took longer to complete than expected (approx 5 months according the dates on my photos. This was mainly due to adding too many other projects to my plate, although the machine ended up needing more attention that I originally thought. It’s OK, I’ve learnt a lot over the course of it all and it’s been a new experience working with original hardware.
I also blew my restoration budget by about $250 – I’ll never get it back when I go to sell it, but the final result wouldn’t have been the same.
One thing I didn’t end up doing was making a reproduction of the plastic dashboard. The cost and time required to create one was not reasonable and sadly I couldn’t locate one for purchase (if someone has one or knows of one available – please contact me). Now that I think about it I should have asked #dragonlee today. If I can source some sort of dashboard decal, I would be happy with that also.
Using the Atari artwork was a compromise since the Namco artwork is not available anywhere – it has come up looking alright – I really love the colours in it.
I’m pretty happy with the result. There are a few things I’d like to have done better – but it’s been an experience, and I look forward to working on an original machine in the future again.

hi were did you get your replacement artwork from, i have the same cab and am currently looking for the new artwork, thanks mart
A US based company called This Old Game (www.thisoldgame.com). The bezel I had reproduced and printed locally.