I’ve been a bit quiet on my Nugent lately – more playing than tinkering.
I’ve got a batch of parts arriving in a week or so to fix up a few more things, so will hopefully have more work to report shortly.
I have been meaning to get under the apron for awhile and check it out, so decided to do it last night.
The apron itself isn’t in bad shape. There are a few marks across the “for amusement only” text and some very minor scratches around the edges. But overall it’s clean, solid and the artwork clear.
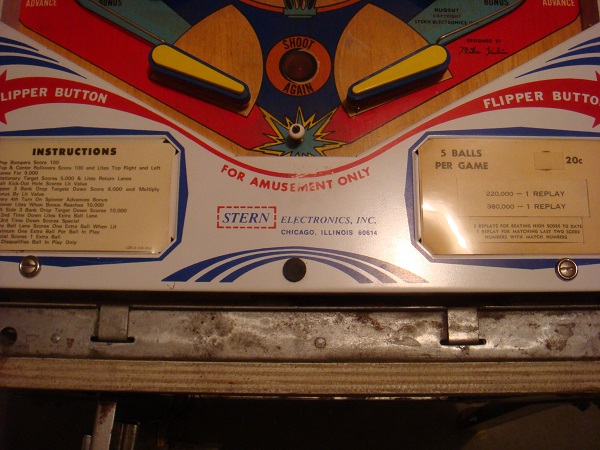
I was directed to a website that has stern apron decal available for purchase. While mine does not require one yet, it’s handy to know about. You can find the page here.
Before getting under the apron, I wanted to pull the instruction cards out and clean away any dirt on the plastic protector and anything that had collected underneath. I started with the price/replay card. This looks like an original to me given the colouring of the paper. It’s in decent condition and only has some excess glue of some kind over what looks like a price value. The plastic cover has coloured a bit but it’s not too bad. I gave the plastic a wipe down and cleared away dirt and dust that had collected under the paper. I may look at replacing these plastic overlays in the near future.
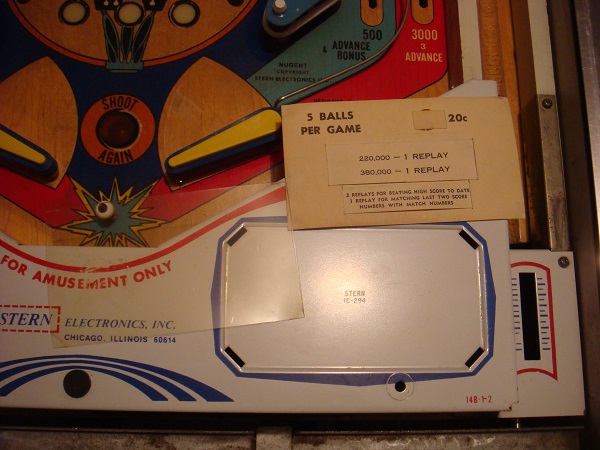
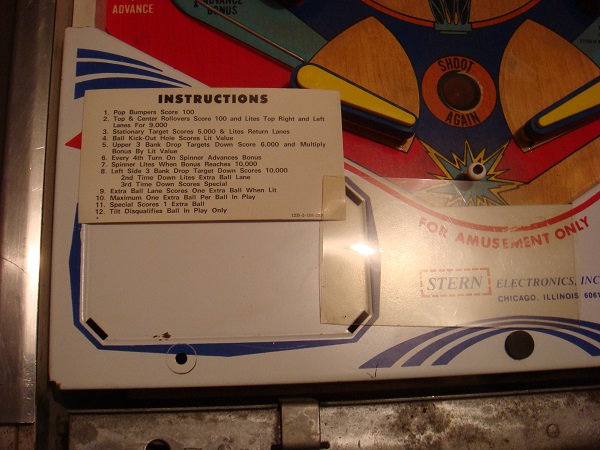
I then moved onto the instruction card. The paper for this one feels a bit different – slightly thicker – and hasn’t coloured like the other. Not sure if that means this is a repro or NOS, but it’s in better shape – although showing some signs of age. The card actually has printing on two sides. The plastic cover on this side has the same aging signs, although is still very usable. I gave everything a wipe down as per the other side and then put it back together. Something to note that’s different on this side is some minor scratching under the card.
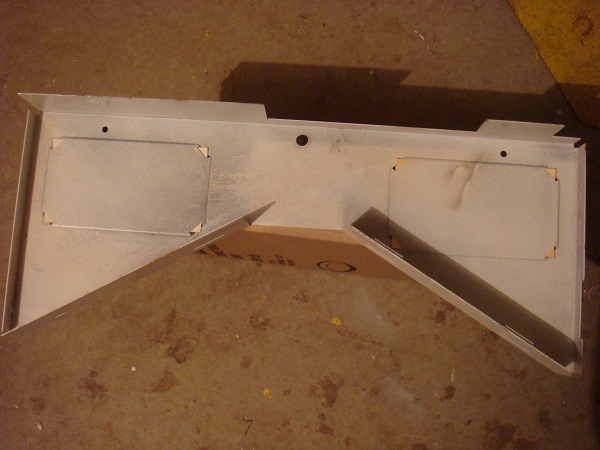
Then it was time to remove the apron. The photo probably doesn’t show it well enough, but there was some serious dirt and crap that’s been hidden here for who knows how long. The white coating on the large washers was very flaky and leaving dust everywhere when moved. A nice later of dirt/dust covered the playfield under the apron. The solenoid and plunger were covered in black dust and dirt had collected around the metal rails/frames.
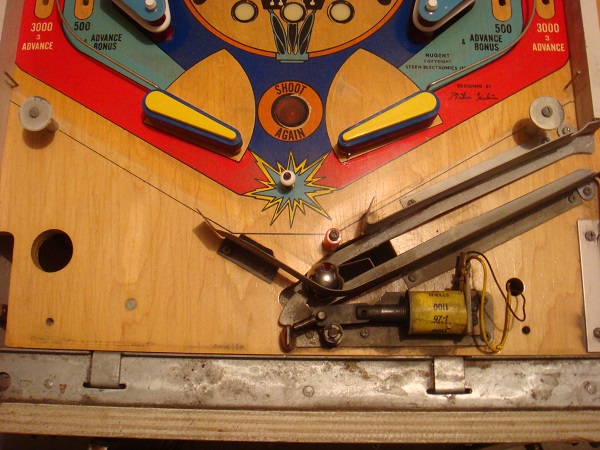
One thing I noted was the kicker uses a metal “foot” (I have no idea what to call it ) to kick the ball out. Should this have some rubber or something over it to avoid damaging the ball? Those with an eagle eye will also note the new looking red rubber on the post in this photo. I noticed early on that when the ball drained down the centre, it would often hit this post. The post was covered in dirt and I was concerned about the metal ball hitting a metal post at speed with no protection. Without removing the apron I was able to clean the post and slide on a rubber sleeve to protect the ball. I’m not sure if anything should be on this post, but it made sense to me to protect the ball to minimise damage to the play field.
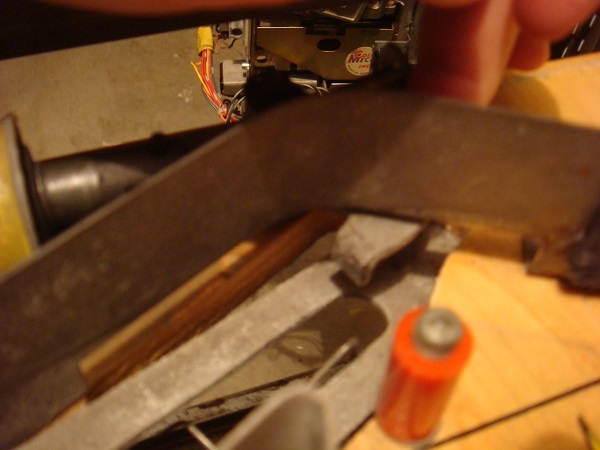
Because there was dirt build up around the base of the metal rails and fences, I wanted to remove as much as possible. I also removed the metal cover that sits over the shooter. After removing all but two parts I got to cleaning as much as I could. I only had limited time to
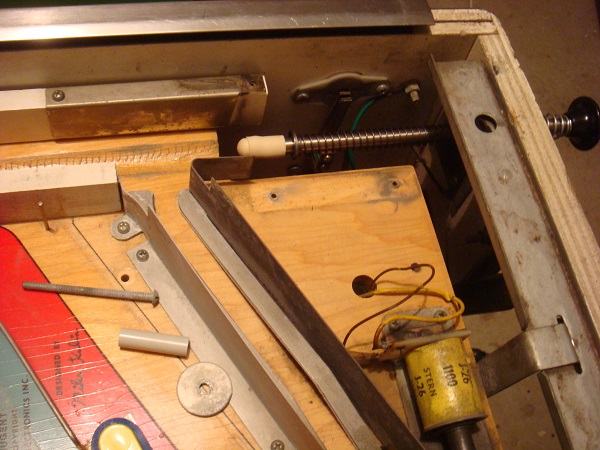
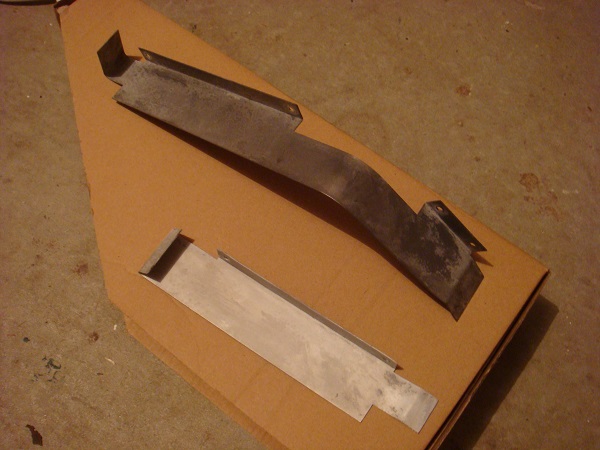
Given the amount of crap around the solenoid, I decided to detach it so I could give it some attention too.
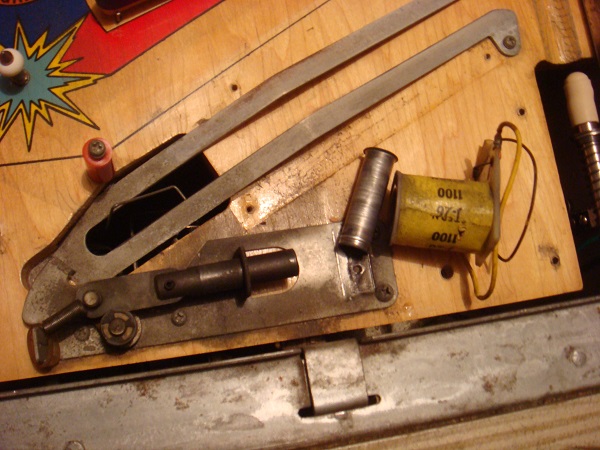
With pretty much everything removed I cleaned the parts as best I could. I was wondering what the best method for cleaning the metal is? Steel wool and brasso? I’m not too worried about it looking flash since they live under the apron and no one can see them – but I’d like them to have minimal impact on the condition of the ball – any thoughts?
Anyway, once the parts were given a good clean and the playfield cleaned up also, I reassembled everything. I suspect I’ll be back under the apron in the near future to give it some additional attention. I’m really interested in how to best look after the metal ramp and kicker to prevent (or at least minimise) damage to the ball.
Something else I’ve been wanting to do for awhile is re-replace the ball shooter. In my last post I showed how I rebuild the shooter, which included replacing the rod itself. The reason I replaced the original rod is because it was no longer smooth and had seen much better days. I have read that some people recommend sanding it to smooth it out – but given how used it looked, I wanted to get a new one.
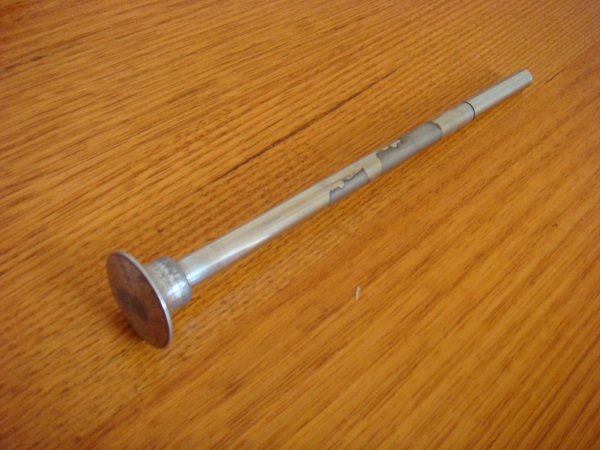
The problem with the replacement rod is it’s a generic rod – which turns out to be roughly 10mm shorter than the original rod. While this doesn’t sound like much, it resulted in the rubber tip on the rod only just connecting with the ball when it’s at rest in the start lane. Size does matter and 1cm can make all the difference.. 😉
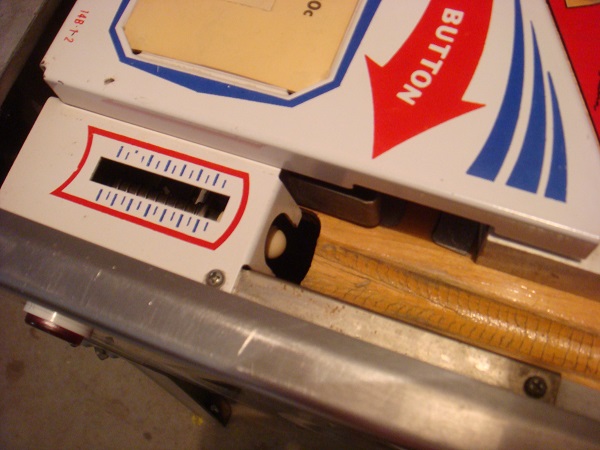
This actually has an impact on the start of each ball as I could easily hit the bonus roll over and land the ball in the 9000 point lane by pulling pulling the shooter as far back as possible – every time – there was little skill required. It also meant the power of the shot was much less. Because the shot was less powerful too, it also never rebounded with enough power to hit a small target at the top. The target is only worth 10 points, but I don’t like the fact part of the game was removed and part of it was made easier.
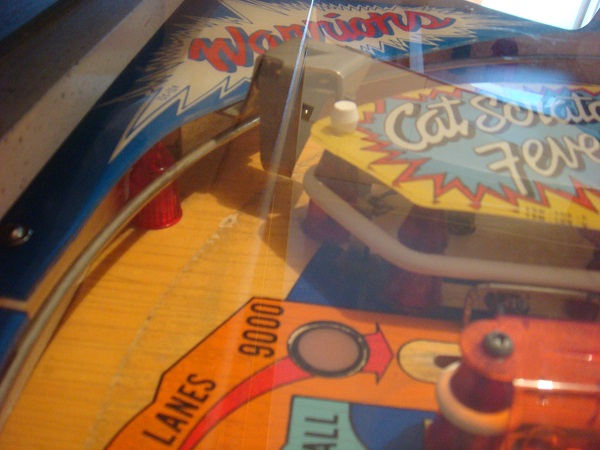
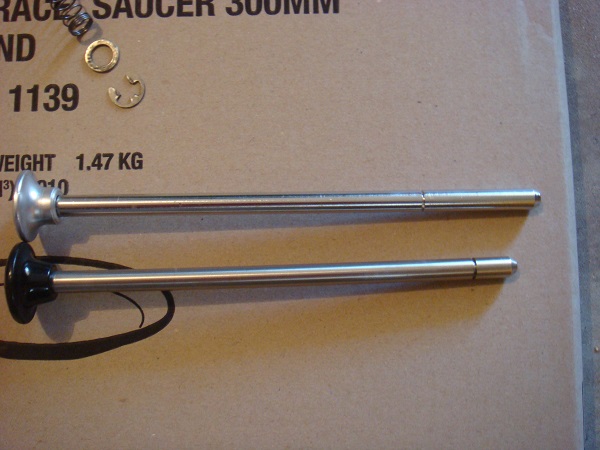
First step was to dismantle the shooter assembly. As you can see in this picture of the two rods lined up, there is a difference of roughly 10mm.
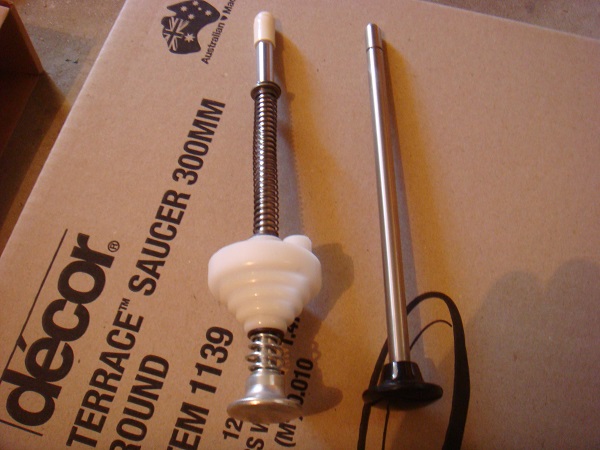
With that done I substituted in the new rod and reassembled.
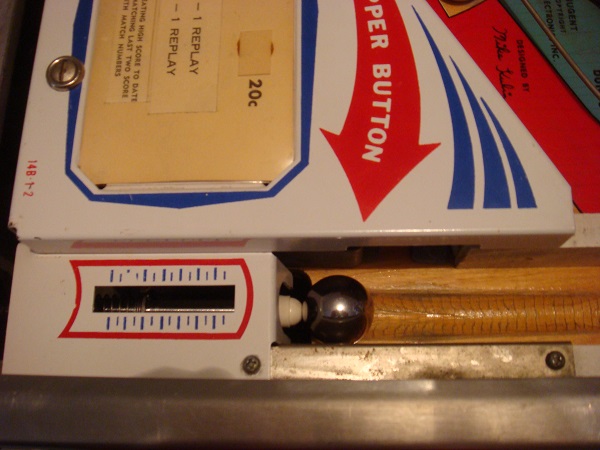
Then it was back into the machine. The shooter tip now sits that 10mm higher, making better contact with the ball and it also does a much better job of putting the ball into play.
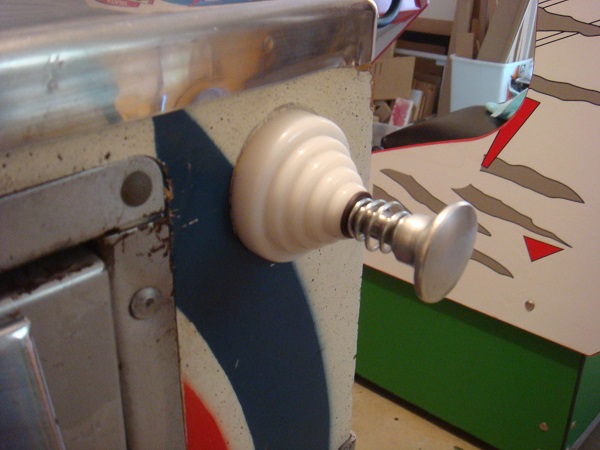
I did like the black handle – but I think the metallic look of the new one will grow on me. I think it’s closer to the original anyway I’m glad to have finally got around to sorting this out. It was quite tough to find a rod that was the correct size – most places I came across only had the generic kind or shorter.
I should have more to report in the next week or so. I’ve got some replacement bats on order which will let Rod sleep better at night I will also be doing a service of the 3 pop bumpers and 2 drop target assemblies too. They have all shown a few issues – but I suspect most it will be resolved with some cleaning and reflowing solder. I’ve also got a small custom mod in the works – but more on that next time.
