It’s been awhile since my last update on my Pole Position cockpit restoration. With some Christmas holidays on my side, I decided to start working towards completion. Over the last few months I had been gathering the last bits I needed to complete the project. The artwork arrived, the paint was purchased and a few minor parts were sourced. There was still quite a bit to do on the machine, so I decided to split the remaining work into two sections – basically the front half and back half of the cockpit.
To start with, I decided to focus on the back half of the cockpit and get that 100% complete.
The first step was to fix up the broken corners on both side panels. These had broken off at some point in the past – maybe by vandals, maybe just from movement between owners or locations. Anyway, some builders bog came in handy here to redo the curved corner. Once it had set, I used the router to cut a new t moulding slot (not shown).
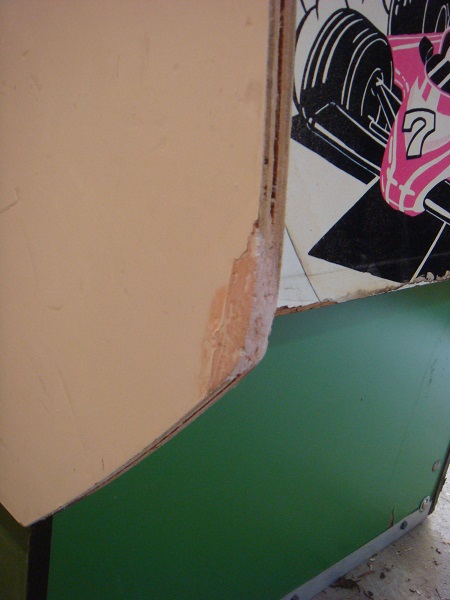
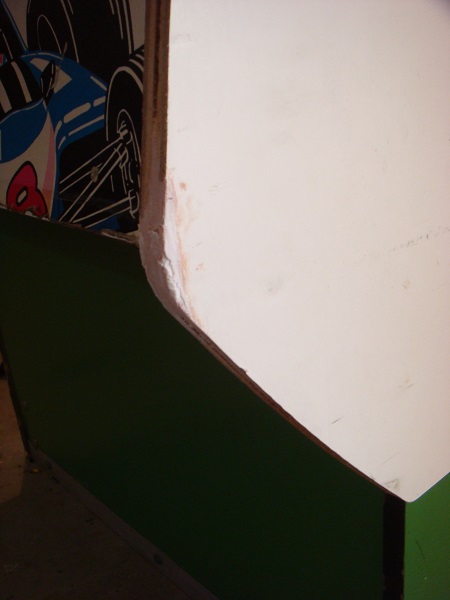
The next step was to remove the existing decals. These were stuck on very strongly and took quite a bit of effort to get off. Slowly but surely they were removed. I found them easiest to remove after applying some heat to the surface. Note that the white has been completely sanded back at the top of one side. This is how the machine was when I receieved it, although this top section had been covered with some thin white contact of some kind. It stood out in a big way (see some of the original images in previous posts) so I was glad to finally get rid of it.
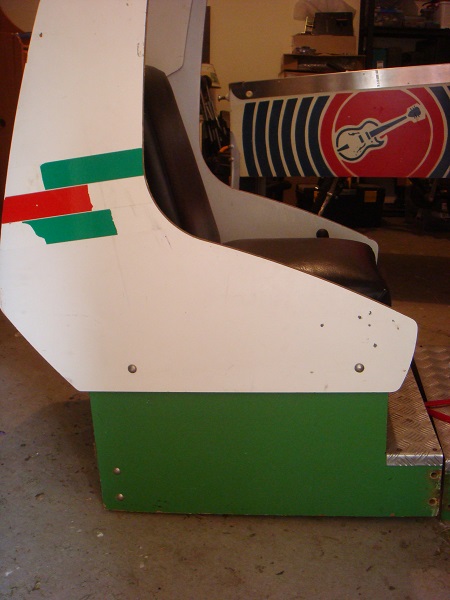
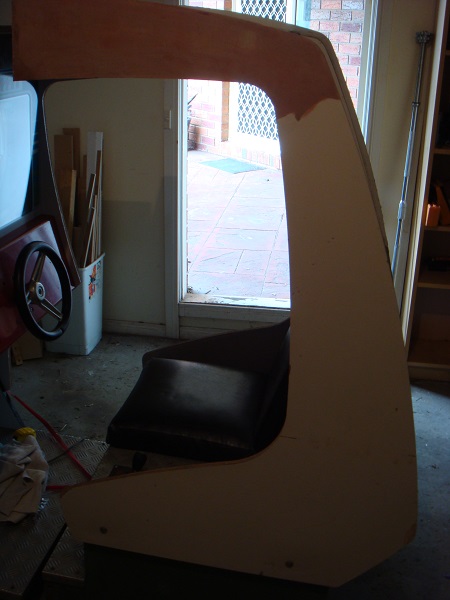
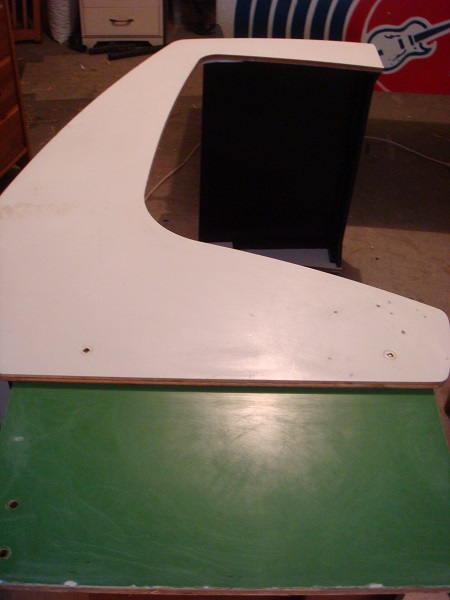
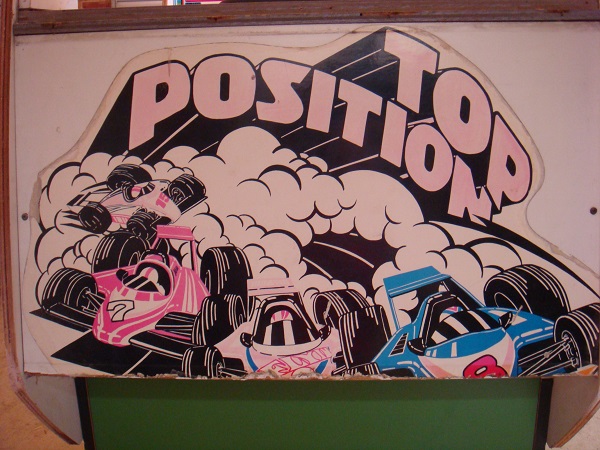
The side panels were not the only thing that required attention. The base was also damaged, with chips missing in some sections, the bolts were dull and scratched, the rear artwork was for “Top Position” instead of Pole Position and most of the edging was pealing and already chipped off.
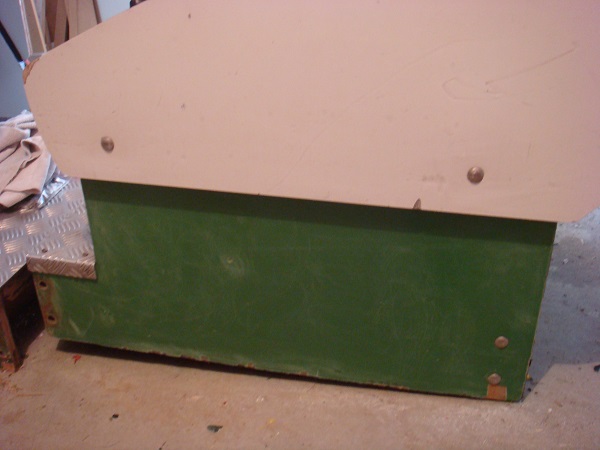
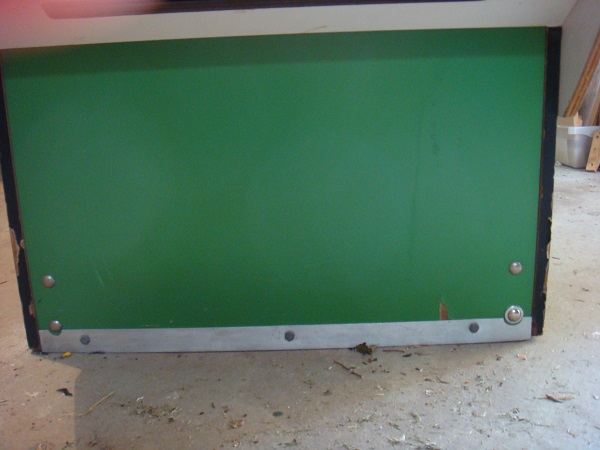
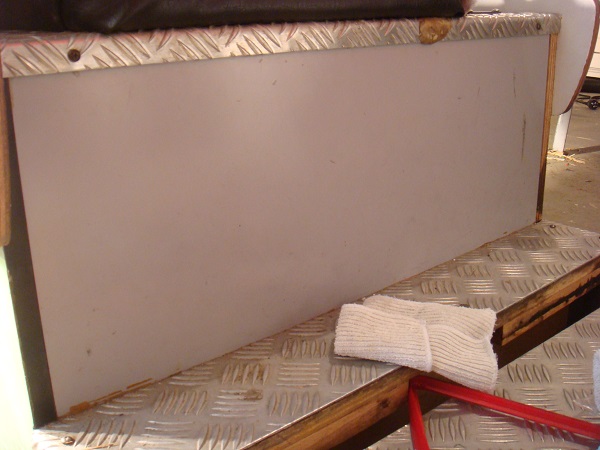
Inside the cockpit required repainting too – the last lot of paint was being scratched off and didn’t look the best.
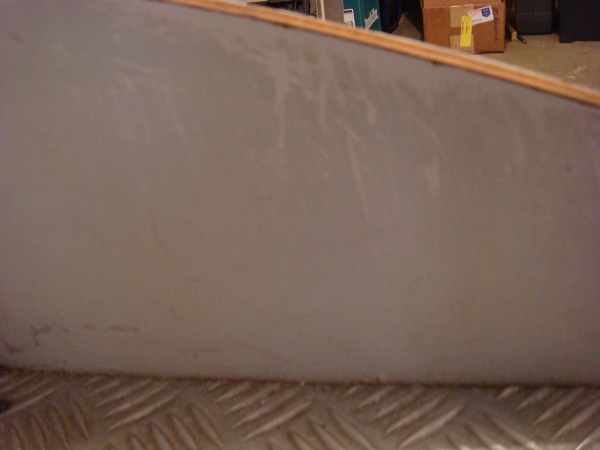
The top of the cockpit was very dirty, had lots of scratches and even burns, so there was going to be no harm in sanding this and repainting to give it a new lease on life.
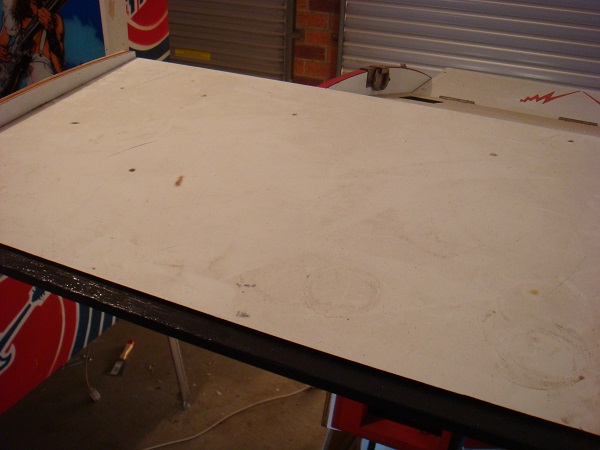
So the first few days involved a lot of prep work. Sanding away at panels, removing decals, stripping remaining edging and getting each surface ready for some love. I also got the router out and cut a tmoulding slot into the base panel (i’ll go into more detail on this shortly). Once ready, painting began. I got white paint matched to the artwork and repainted the surfaces. I purchased green paint matched to the base and repainted the base. I ended up doing four coats – mainly because I was going to be left with excess paint, so decided to give it a really decent coat.
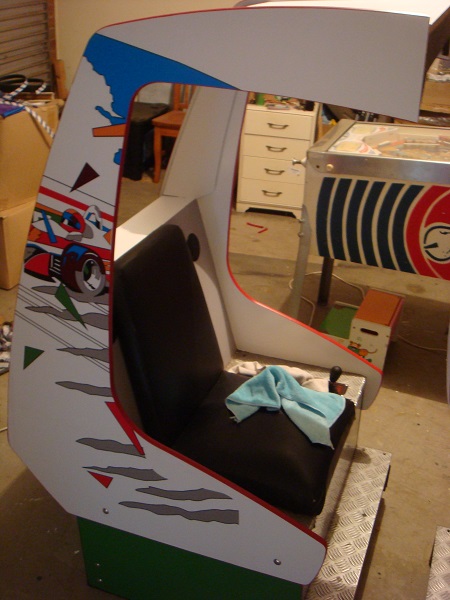
Once both side panels, rear, top and base were all repainted I applied the side art. I also put the bolts into my drill and attacked them with some steel wool and then brasso to get them shining. I also added black t-moulding to the base.
A bit more on this t-moulding – One thing I noticed when going over the machine was the state of the base panels. They had received some rough treatment over the years with a number of chips showing and damaged corners and split edges. I wanted to try and give the base panels a good chance at surviving future movement between locations and owners. I decided one way to do this would be to install t-moulding around the base – this way, the t-moulding cops any damage and can easily be replaced (and cheaply too).
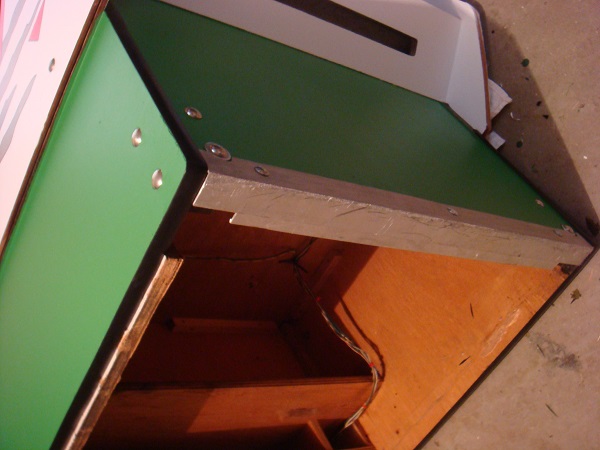
The black actually looks quite nice against the green, so adds some visual sugar to the cockpit. Hopefully it helps prevent further damage to the base.
Since the side art has been applied and the painting complete (inside and out), I wanted to get the red t-moulding installed. I purchased 60ft to cover the whole machine, and I should have a few feet to spare at the end. It was pretty straight forward to get the t-moulding installed and only about 20 minutes to get both sides complete.
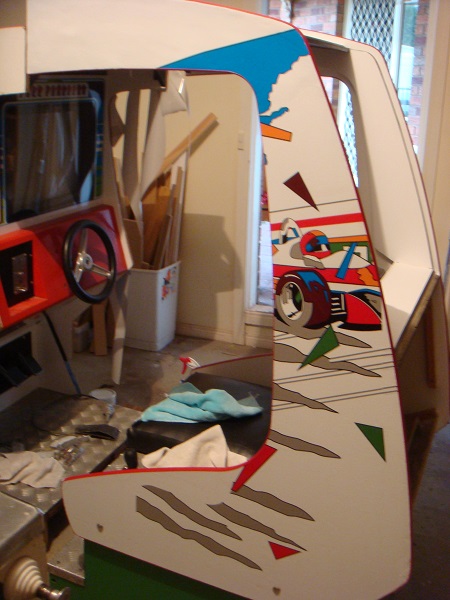
For those with eagle eyes, they will note that he artwork is for Atari Pole Position and not Namco (which would match the screen bezel). This was unfortunately something I had to compromise on for the project. The Namco artwork just isn’t available anywhere and the Atari screen bezel didn’t suite this machine (the Atari machine is not as wide). So, I’ve had to go with Atari side art, which isn’t designed for this machine and I’ve had to make it work as best I can. It’s come up looking really nice, but wanted to mention it for those who spotted it. The other option was to leave the existing decals on, but yeah – look at the final image in this post and you will see why that isn’t an option worth considering.
Here is a shot from the top, which shows how much better the top looks compared to before. With the t-moulding added, it looks great.
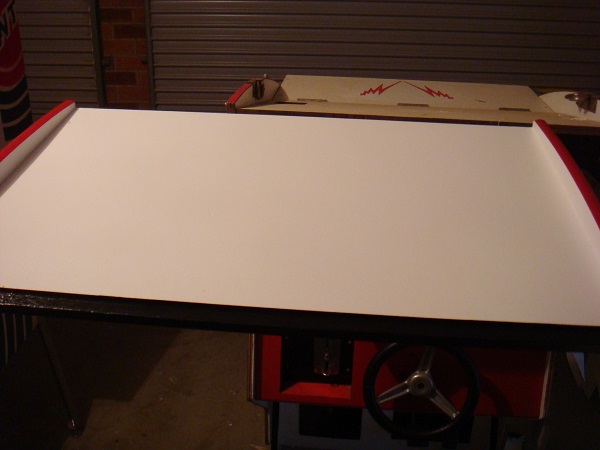
I’ve had a brand new tinted piece of acrylic ready to install for a long time. The piece that came with the machine had some initials scratched into it and a few other random scratches that some jerk(s) felt the need to add. Now was the time to install it. I had removed the old edging that was against the wood as it was pealing and chipped and replaced it with new black edging. Once that was applied, the acrylic was installed over the top. Each screw was sanded to remove rust and then resprayed with gloss black (see a previous post) – I was finally able to start using these screws I preped awhile back!!
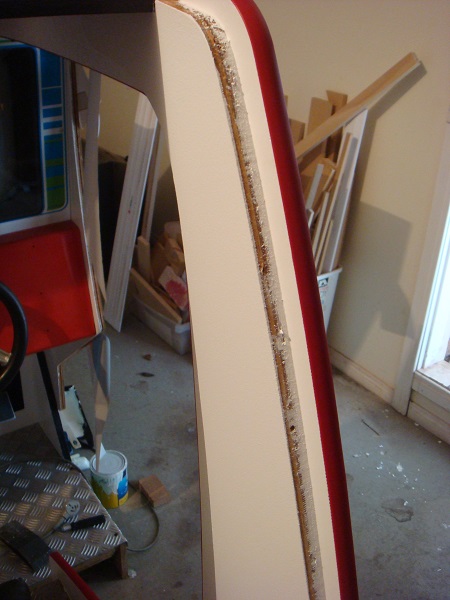
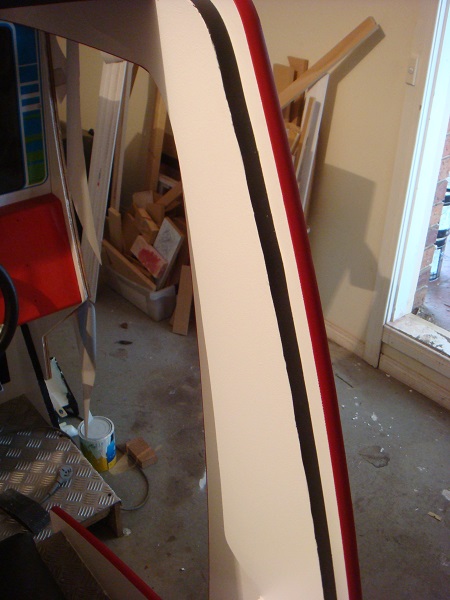
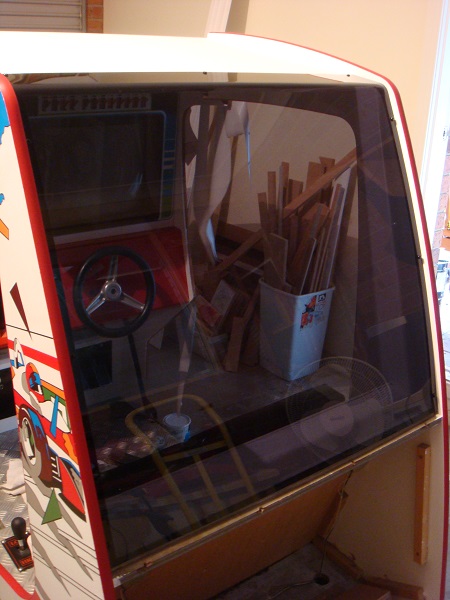
Other edging was also replaced. Had the pleasure of removing a large wad of chewing gum too – BLAH!
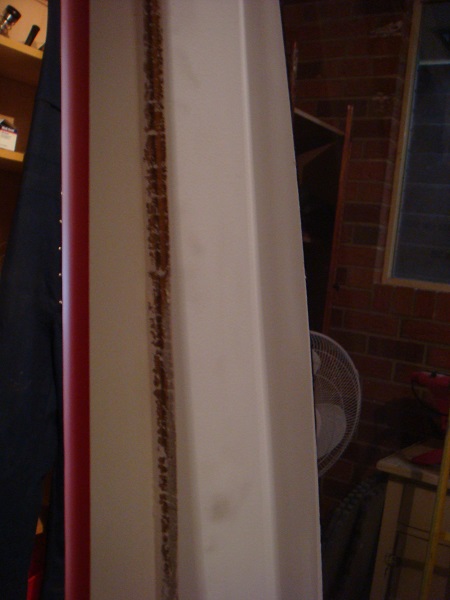
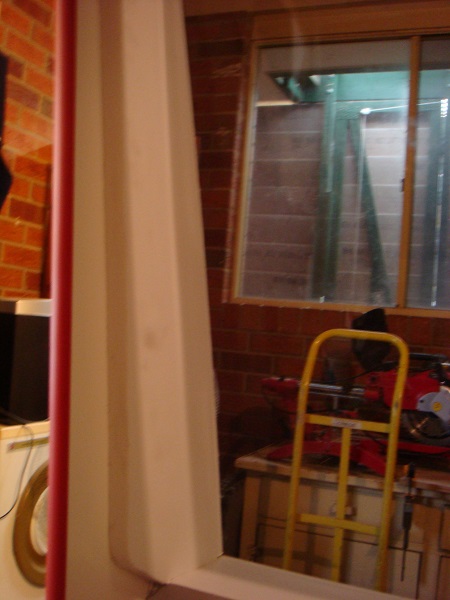
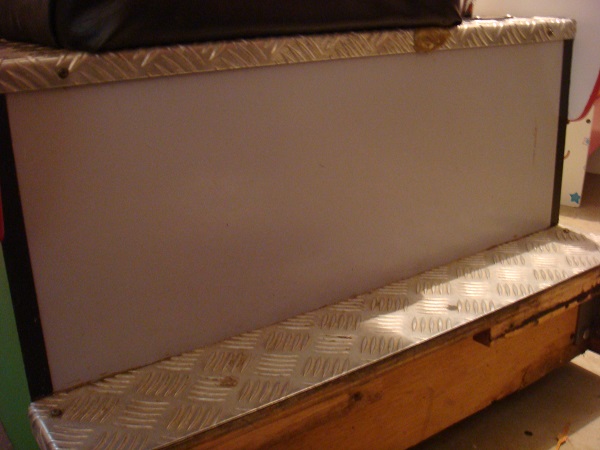
The end was now finally in sight for the rear of the cockpit. Many months ago, I removed two metal brackets and screws and prepped them with sanding and new gloss black paint. It was time to reinstall them. The rear panel was installed (with artwork) and the brackets added.
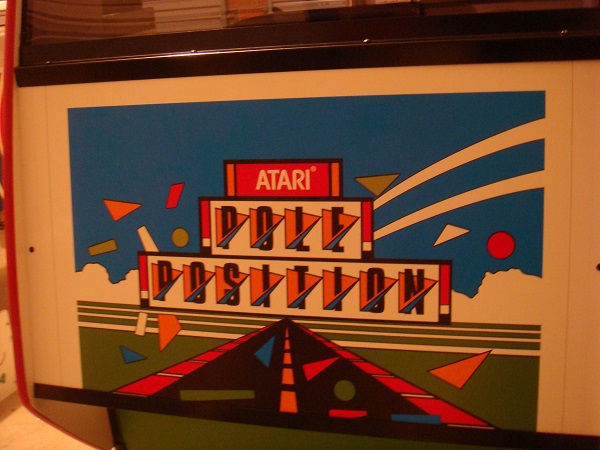
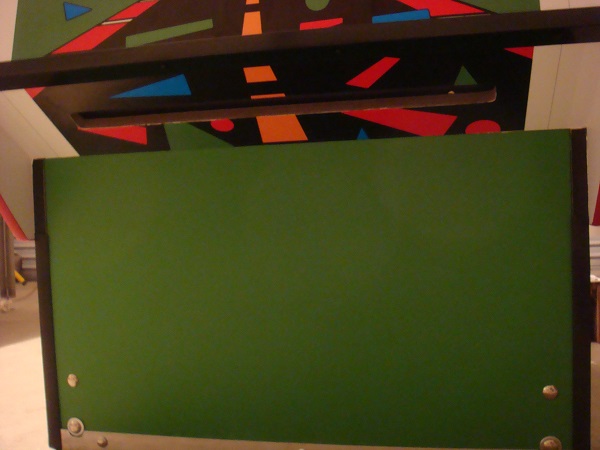
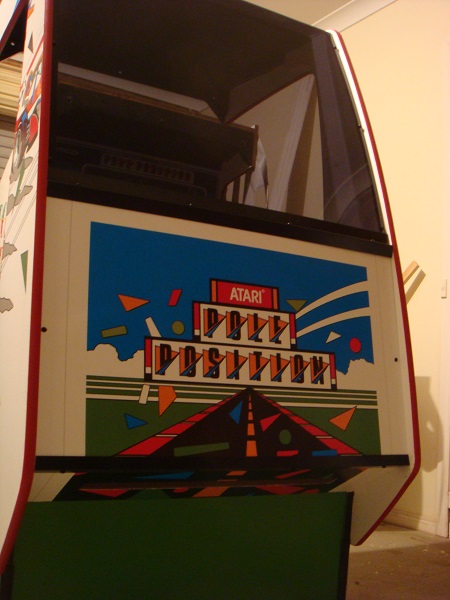
This was one of the most satisfying parts of the last weeks worth of work on the machine. The parts I had removed and prepped so long ago were finally going back on – it meant I was finally getting somewhere with it.
…and that was it – the rear of the cockpit complete.
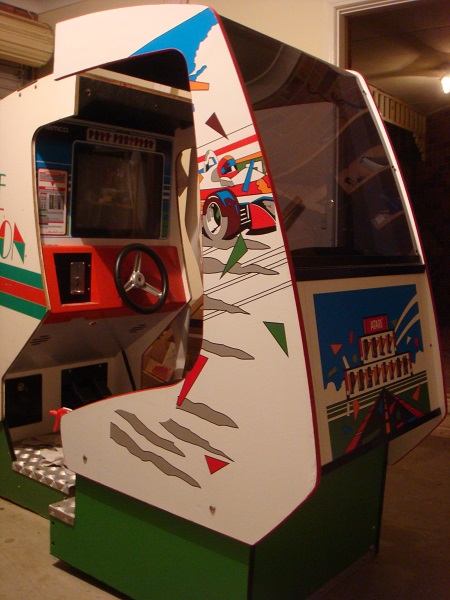
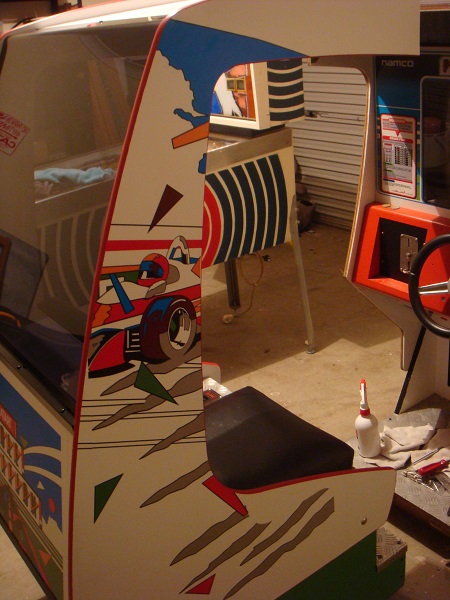
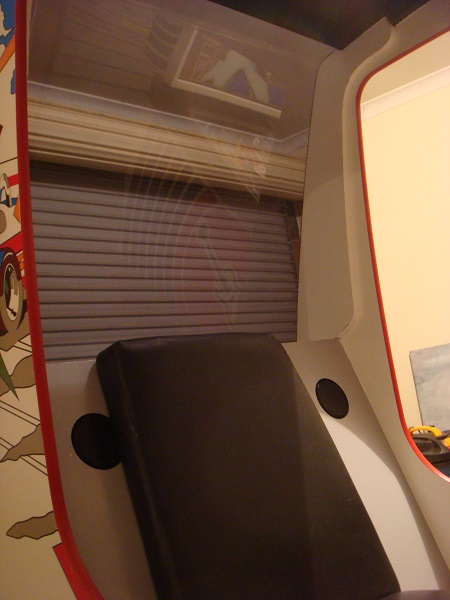
Final shot for now – the rear and front close together to give you an idea of where the machine is headed quality wise.
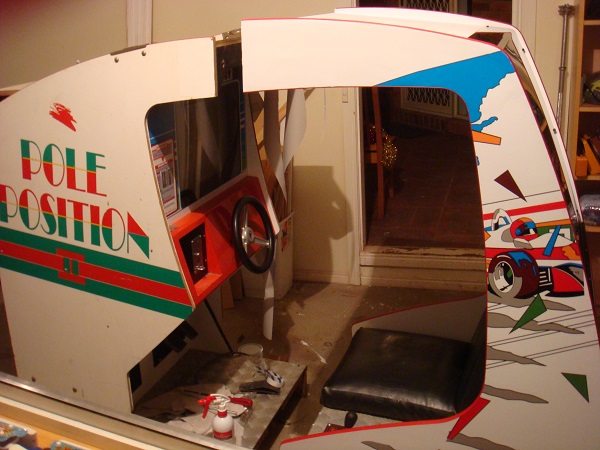
So half down – one half to go. It’s almost a copy of the rear for the front half. Remove artwork & tmoulding, sand, fill, prep, paint, tmoulding, artwork, etc. I’m still on holidays for the next two weeks before heading back to work, so will hopefully at least have all the painting done and be on the home stretch. Really looking forward to getting it back together for some games on it with the kids.
