One of the first issues I noted with the pole position machine was the condition of the screen acrylic and it’s lack of proper artwork. I wanted to address this as a priority, but it has taken a little bit of time to get around to it. This was the state of it when I first picked it up:
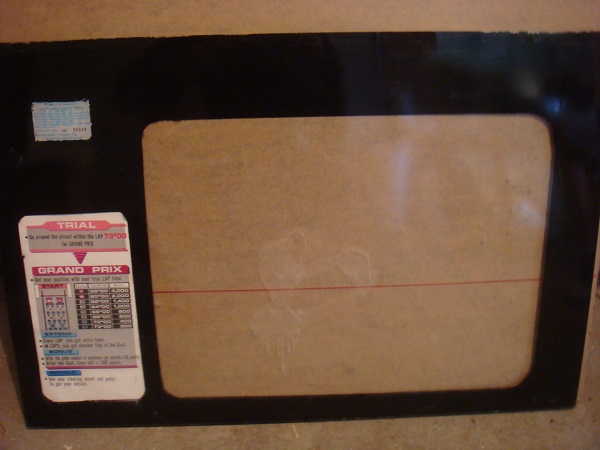
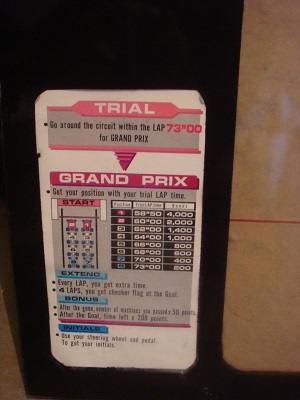
The first issue of note is the missing artwork. There is an instruction card on the left, but it does not match up with the original in wording and some of the elements do not line up properly. It has also been attached to the acrylic with Blu-tack. Ugly. I’m curious about how it was produced as there is some accurate detail in it, yet there are number basic things like alignment and spacing that are inconsistent and half arsed.
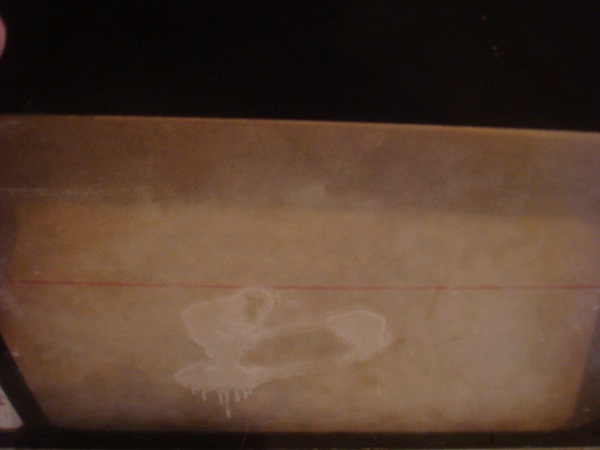
Moving on from that, the rest of the artwork is missing, and in its place a painted on black frame, with some of the paint chipping off. Worse, the size of the borders are not even. The frame around the screen transitions from 30mm to 20mm in height on the base side! Plus there is a nice curve scratch where it looks like a previous owner planned to paint to, but then realised the height was incorrect. On top of all that, it looks like something acidic has been sprayed onto the outside of the acrylic and left to dry. This sheet will be thrown out once replaced – it cannot be reused for anything. The image looks foggy, but that is actually the state of the acrylic!
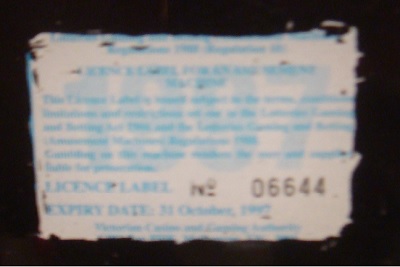
In the top left corner is a gambling license from 1997. I may try to salvage this and keep it attached to the machine somewhere discreet as a reference to part of its history. The black paint has been scratched away to show the sticker. It looks like someone spent a whole minute doing it based on how erratic the border around it looks.
This step of the restoration also calls for some painting and touch up on the inside of the cockpit. Firstly the metal bracket holding the acrylic in place needed a touch up. I posted about this a few weeks back when I restored a number of metal brackets from the machine, so that was already taken care of. I had also sanded and resprayed the screws black to make them look like new. The second bit of painting was to fix up the inside of the cockpit. It was a bit of a mess. But firstly – the bezel artwork.
After doing some research, I could not find any replicas of the original Namco artwork available for download or purchase. The Atari artwork seems to be easy enough to source, and it’s even possible to purchase complete bezels for the Atari upright. But that didn’t really help me. Thankfully a very good mate of mine is brilliant with Vector art and was up to the challenge of reproducing the artwork for printing.
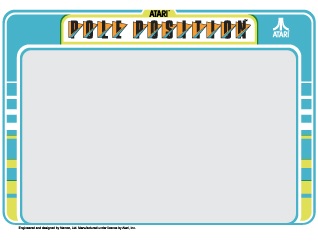
This was our starting point and the closest I could find. Taken from an Atari version of the machine, there was a lot of work to be done.
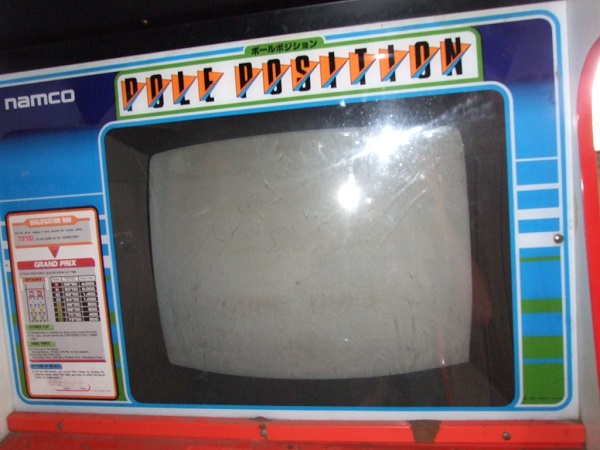
Thanks to some support from a member on Aussie Arcade who actually owns a Namco Pole position machine, we were able to get some excellent up close photos from various parts of the artwork to aid in the reproduction.
This is one of the source photos (we ended up using a series of about 10 photos to help identify each area and it’s detail):
While the existing bezel was poor, it’s measurements were enough of a guide to use together with the photos to replicate the artwork to the correct size and layout. The end result was this:
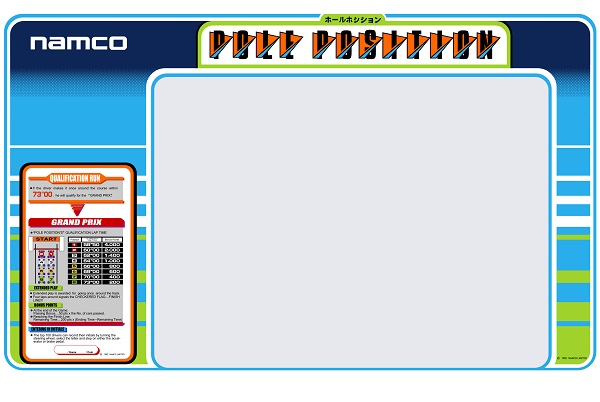
(* Although the green and blue look a little off in the reproduction, they actually printed out correctly with the printer)
Note that the Atari logos were removed and Namco now appears in its place. The Japanese text was reproduced, along with the instruction panel, colours corrected, inconsistent spacing fixed and even the gradient at the top! This low res version won’t show it, but the minor detail in the cars is even there. It is a stunning effort and I cannot thank my mate enough for his effort on it!
There are a few minor (very minor) differences between this replication and the original. These came about due to some trade offs that had to be made along the way due to fonts and weights that could not be 100% copied. But unless you have both side by side, or you know the original artwork inside out, you wouldn’t know.
With the artwork done, it was sent to the printers, along with the acrylic.
Meanwhile, I got some painting done.
I have been putting off painting any part of the machine so far, but decided now was the time to get a little but done on the interior since it had my attention with the bezel.
Looking at other Namco Pole position cockpits, I noticed that their ceiling is painted black. Mine however has a combination of black, white and grey (yep, grey!). I didn’t pay much notice to it when I first acquired the machine, but the paint job on the ceiling in both the front and part parts of the cockpit has been poorly done. It actually looks like someone has just attempted to paint over the old paint with a single coat and without any sort of sanding or prep, which probably explains why I can see some white and grey streaks in the paint.
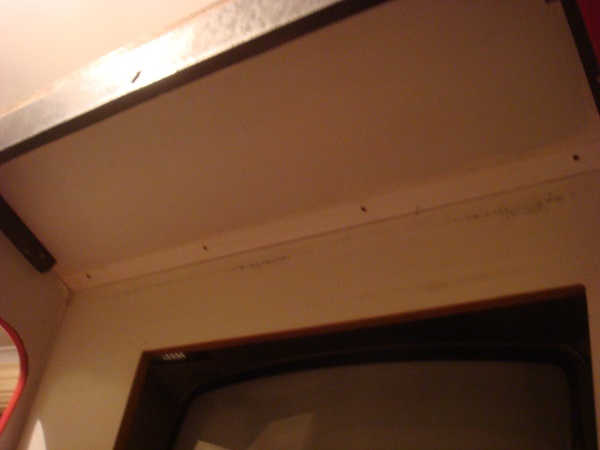
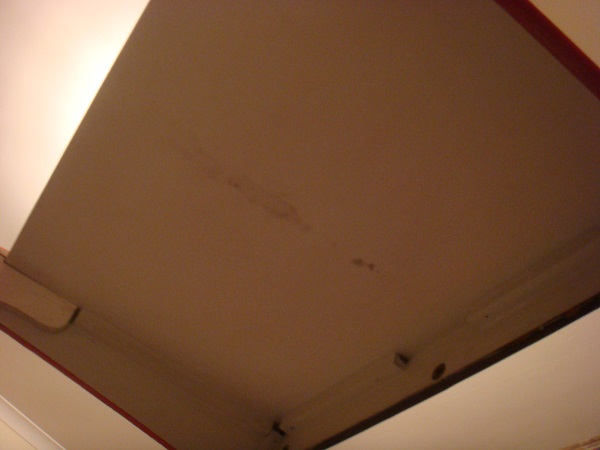
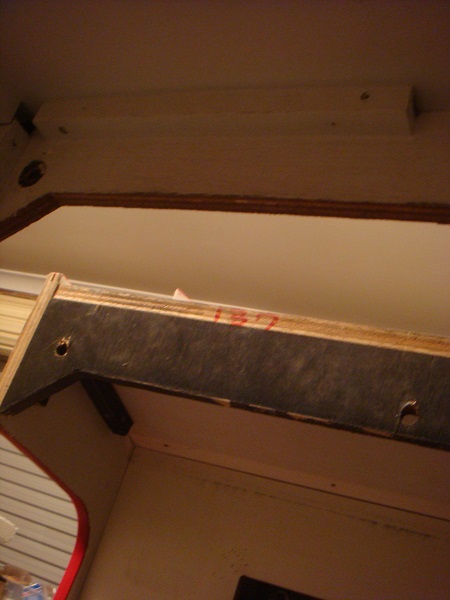
A lot of the screws were all still visible and uncovered, or just painted over. This gives is an unfinished look to go with the streaky paint. I started by giving each screw a few more turns to get it sitting as far in as possible. I then applied some filler over the top and let it set. Once ready, I sanded the existing paint back and cleaned the surface.
I still had plenty of primer and black acrylic paint left over from previous projects, which will come in handy here. A single coat of primer was applied. Once dry, I gave it a light sand, cleaned the surface down again (to remove any loose dust/powder from the sanding) and applied a coat of black and allowed to dry.
I applied another two coats of black paint, with a light sand between each coat. It’s improved the presentation of the ceiling a lot.
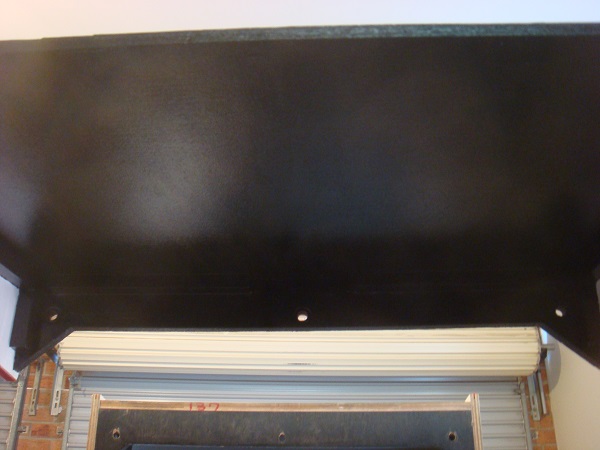
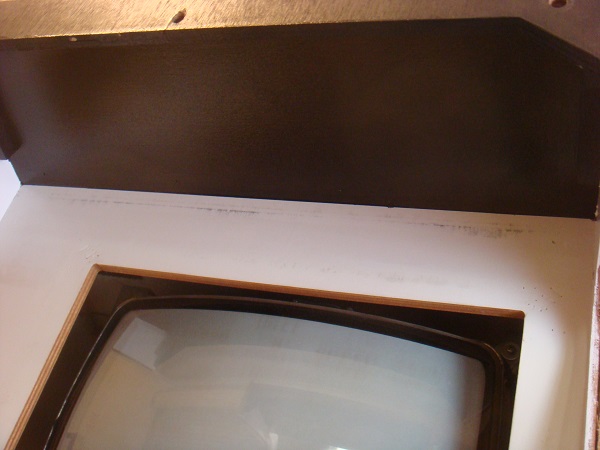
I also took the time to patch up some chunks that had been taken out of the interior next to the control panel. I firstly removed the dashboard completely. For anyone interested, here is a few shots of the dashboard and with the dashboard removed.
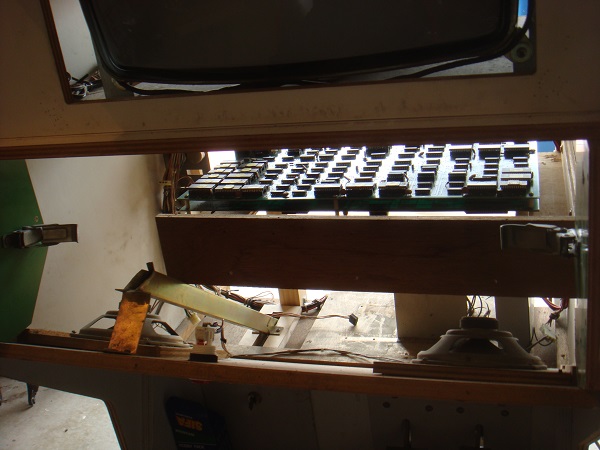
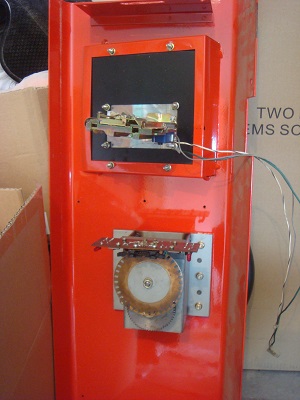
Once the holes in the side panels were filled and sanded, I repainted with a nice glossy white to leave it looking 100% better. I still need to replace the t-moulding, but that will be done at a later date.
The artwork was finally ready at the printers. This picture really does not do the result justice – up close the gradient looks perfect. The colours look spot on. Text, logos, fonts – all look fantastic.
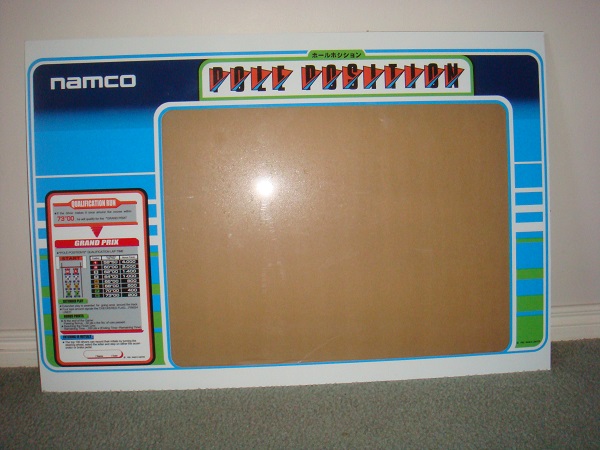
With the painting complete on the interior at the front of the cockpit, the bezel replaced, the monitor positioned correctly and the artwork ready – it was time get the new acrylic and artwork in place with the bracket screwed in.
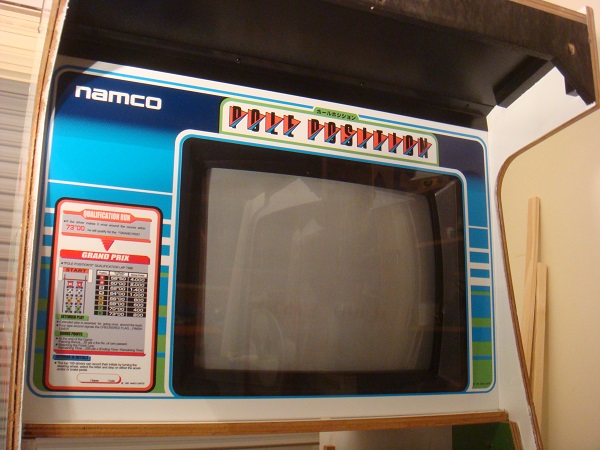
This has made a HUGE visual improvement to the machine. All up it cost about $140 for the acrylic, bezel, artwork and paint (along with some time to get it all done). Not totally unreasonable – especially since the artwork had to be reproduced.
The last remaining part on the front interior is the dashboard. I’m giving the components a bit of a service while I have the dashboard removed. My machine is missing the red plastic dashboard panel. This appears to be impossible to source and will most likely require me to replicate it. Somehow. But that will be the very last thing to do on the machine (and may not be done depending on cost). But more about that another time 🙂
