Something I’ve wanted to get around to for awhile was giving some attention to the pedal assembly. I mentioned in an earlier post some issues I saw with it, and figured I would make the time to deal with it now while waiting for artwork and t-moulding to arrive.
When I tested the machine out before buying it, I did some light testing of the pedals (among other things). Both pressed OK, although could use some servicing. Trying them out in game, the accelerator worked fine as I could race around the track. The brake pedal seemed to be OK too as my car would slow down, although not as quickly as I expected. The machine was being sold as 100% working, so I left it at that, with the knowledge I’d need to give the pedals a clean and some grease/oil..
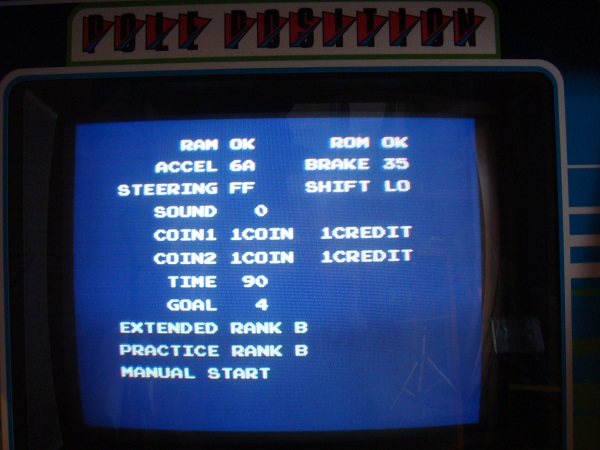
After getting it home and starting work on it, I eventually got my head into the back of the cockpit and began to inspect the machine much more closely. I decide to put the game into test mode (there is a handy switch for this inside the rear of the cockpit) and test out all the controls to see what they showed on the test mode.
The brake pedal gave no response.
Strange I thought – the car slows down when I shift my foot onto the brake and slows down when pressed. I stuck my head into the back of the cockpit once more to have a look at the rear of the pedal assembly, specifically the brake. It would appear the pot that connects to the brake pedal is no longer attached and had not been attached for some time. What I thought had been the brake slowing the car down was nothing more than me taking my foot off the accelerator (which explains the unresponsive feel of the slow down).
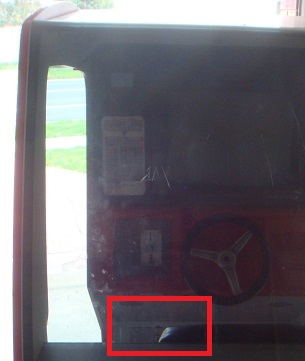
As you can see in the image below, the pot is not attached to the brake pedal.
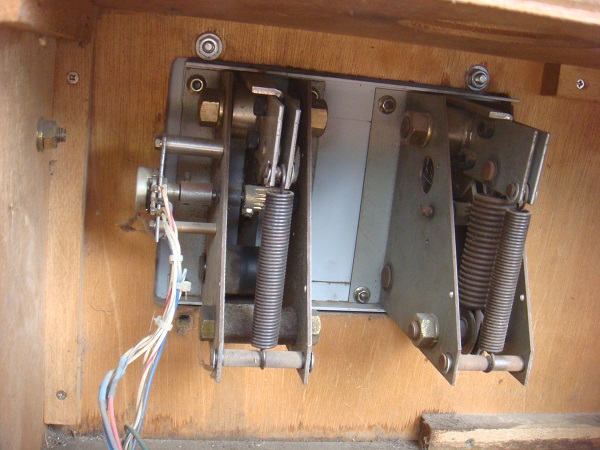
It’s still in the machine, but is missing some vital pieces
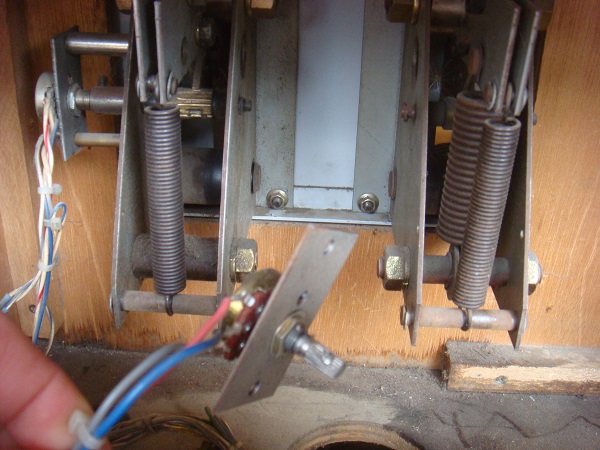
Given the machine was sold as 100% working, I was pretty annoyed. Some disappointment directed at myself too for not switching the test mode on before buying. All hope is not lost though, I might be able to fit it.
The best way to deal with this will be to remove the assembly from the machine, take a closer look at it and see what I can do about fixing it. It will also allow me to fix the rough paint job at the base of the machine. The pedals themselves are quite worn and the bolts holding it in place are rusting and either not fitting correctly or missing.
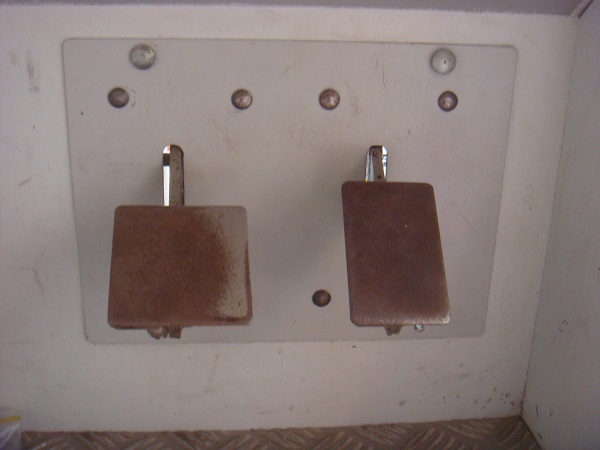
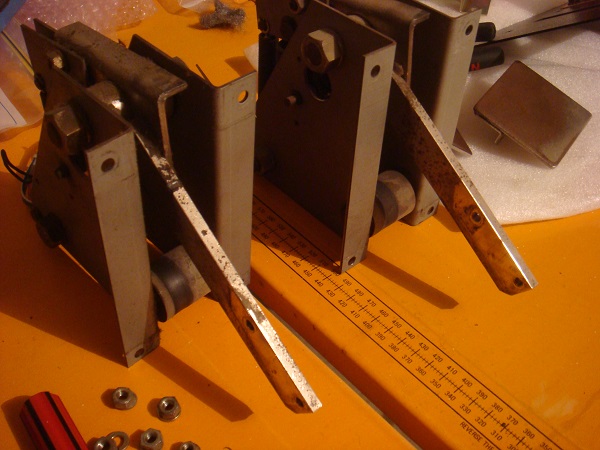
First step, remove the pedal assembly. This was quite straight forward and only a matter of unplugging one molex connector and removing 3 bolts. As you can see, it’s looking very dirty and needs attention.
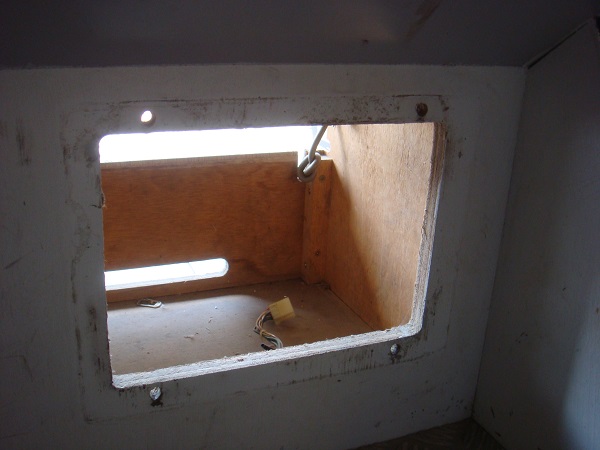
With the entire assembly removed, the next step was to remove the pads from the pedals and then the pedals from the face plate.
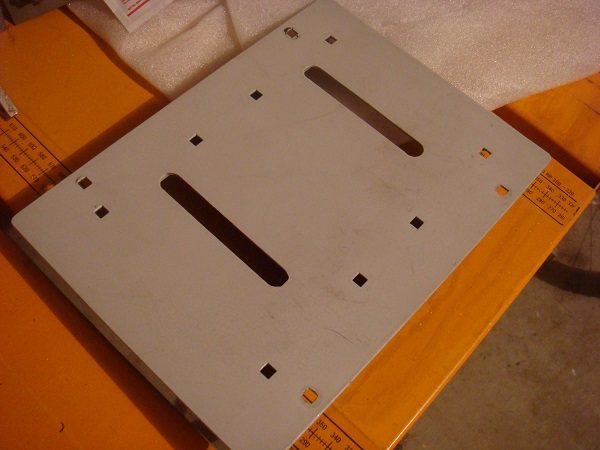
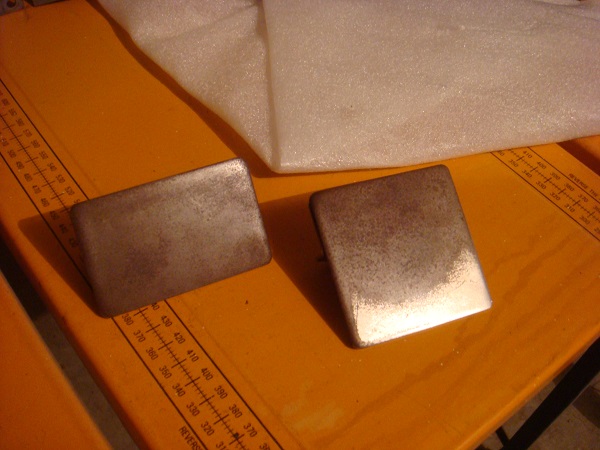
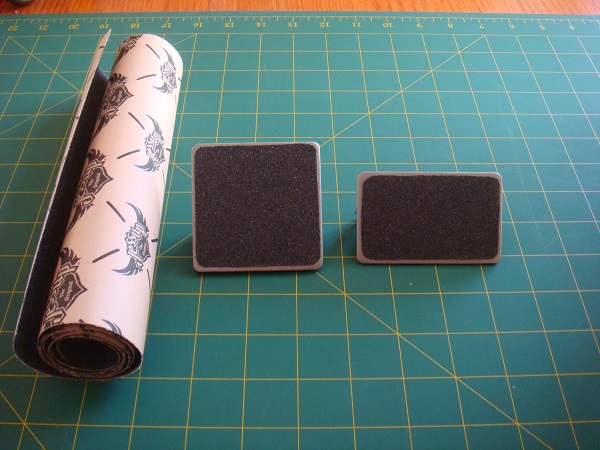
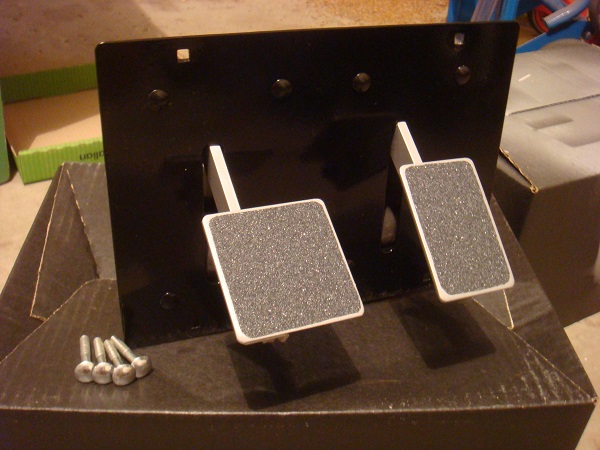
I worked on the pads first. I gave them a good scrub with a wire brush and then a clean. From there I applied a few coats of silver rust guard enamel and they came up looking great. I also resprayed the bolts with a glossy black rust guard. I wanted to add some better grip to the pedals as I found my feet slipping at times while playing, so purchased some Jessup grip tape (used on Skateboards) and added some to each pad.
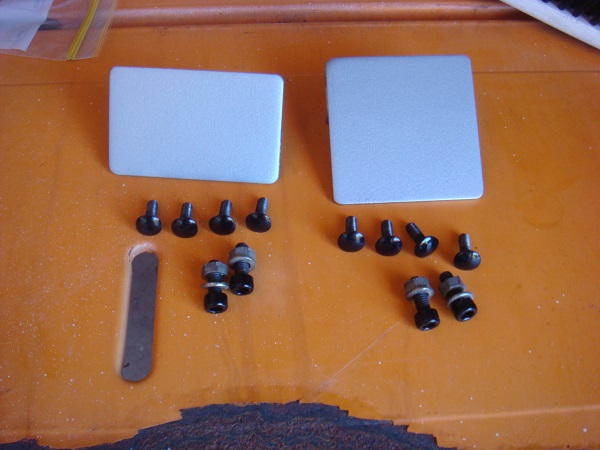
I also decided to spray the same silver onto the pedal shafts, and redo the face plate in black:
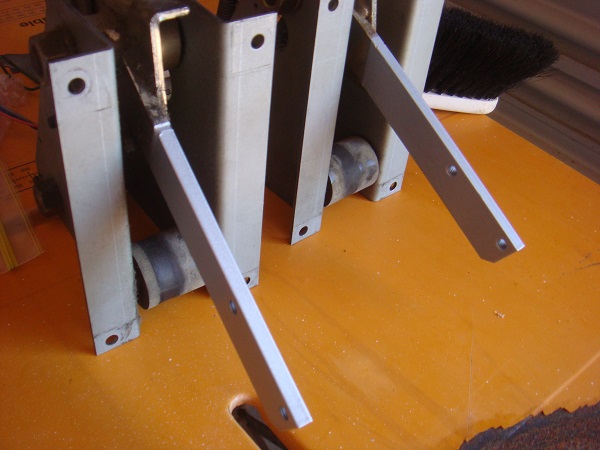
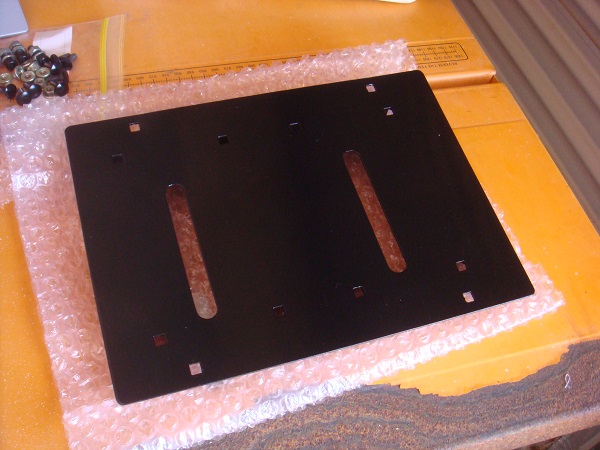
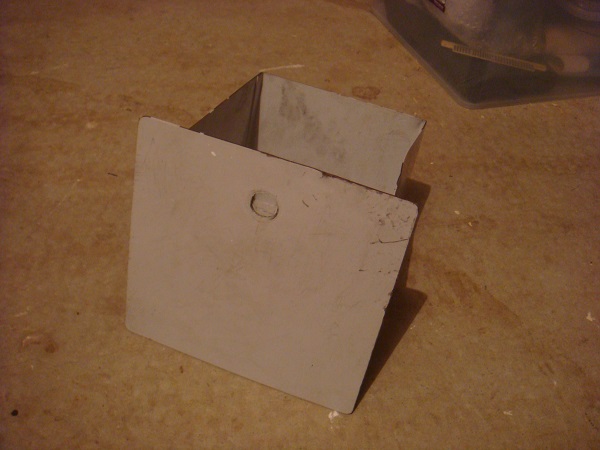
I found some parts at Jaycar to rebuild the frame for the brake pot. This was a good win as it means I keep the original pedal assembly without having to replace anything. Some WD40 and grease were used to help lube it all up.
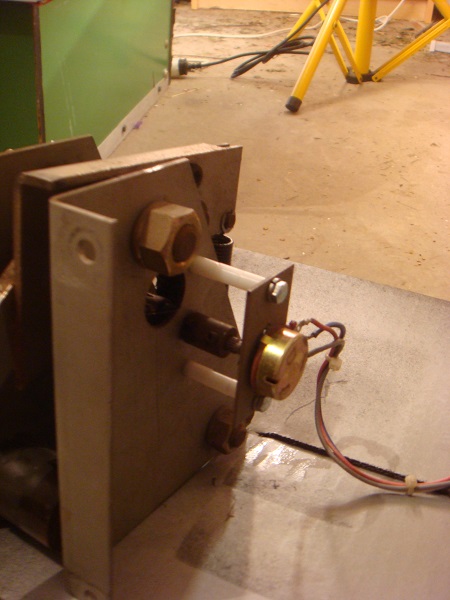
I could now finally reassemble the pedal assembly, ready to reinstall back into the cockpit.
While I was in the area I figured I would deal with the coin box also. The box itself has taken a bit of a beating over the years. It’s still holding together OK and I’ll just give it some touching up. Where the coin box sits however has had a huge chunk of ply removed from above the lock – looks like someone attacked it with a screw driver at some point. It made the lock useless. I wish I had taken a proper photo of it to begin with, but you can see in the lower left the rounded hole.
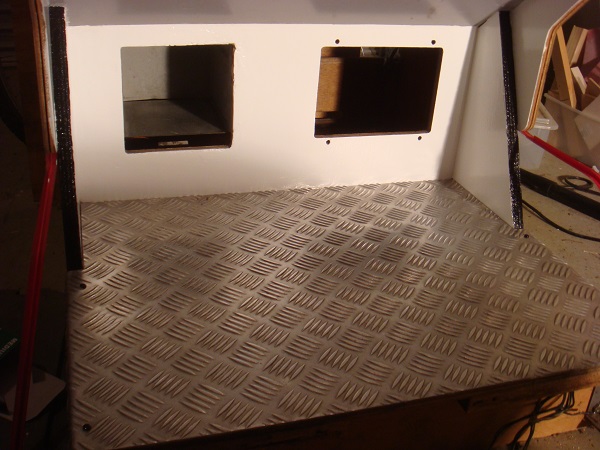
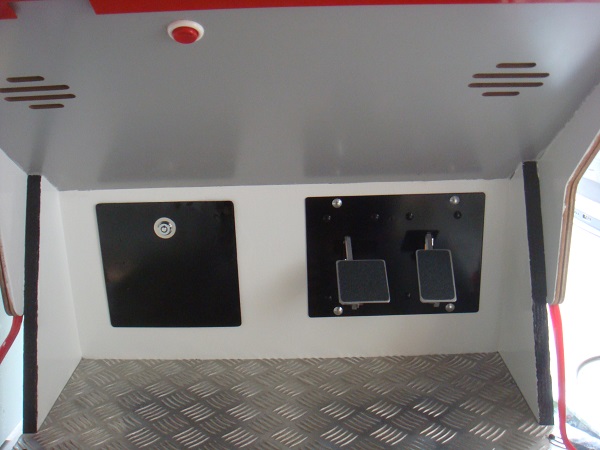
I got busy sanding and repainting the surface area around the coin box and pedal assembly. I used builders bog to fix the missing chunk above the coin box lock. I also took the time to remove the steel base and give it a good clean, along with respraying the 4 screws black to give them a nice new look. I’ve got some black edging on order to sit on top of the black surfaces too to finish it off.
The coin box in it’s original state:
The coin box was resprayed and fitted with a new lock and looks much better. With the pedal assembly complete and coin box ready, everything was put back into the machine and another phase of the restoration is complete. I also gave the speaker grill panel a good wipe down as it was covered in marks from peoples shoes over the years. I also took a few minutes to test both pedals to make sure they were working corretly.
I have some new side art on order, which I hope will arrive in the next week or so. I’m currently waiting for t-moulding.com to get the 16mm red t-moulding back in stock. The artwork is going to be a big job, but will really improve the overall quality of the machine. Still more to do so will follow up with more posts in the coming weeks 🙂
