This update took much longer than I expected it would, but finally the headbox has been patched and repainted. Outside of some cosmetic damage, the headbox is in good condition. While the artwork was faded in parts and there was some minor damage to the wood, it was at least strong and stable. Unlike the Fireball Classic I recently restored, the Pinbot cabinet artwork is painted on with the use of stencils. A full set are available at TwistedPins and Santa managed to deliver a set to me during the Xmas period and it was time to put them to use.
I’m going to break the process up into two parts. Firstly i’ll do the headbox, which will then be followed by the cabinet. To begin with, I removed the stencils from the packaging and flattened them out. There are two stencils per side – one for the red/orange colour and the second for the yellow. It also comes with a set of instructions which are not complicated – just common sense really.
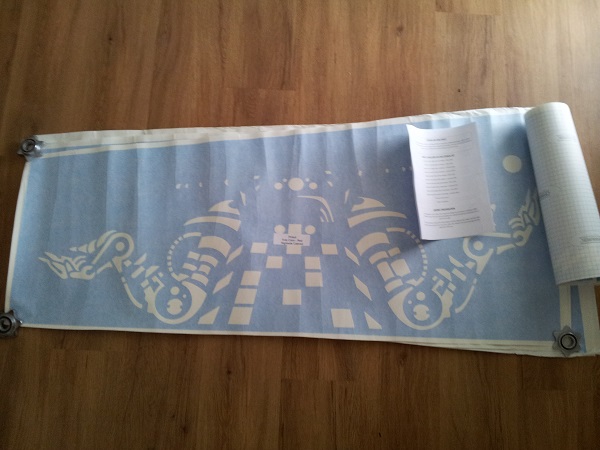
While the headbox stencils were being flattened out, I took a few photos of each side of the headbox. As you can see, the machine has been through a bit.
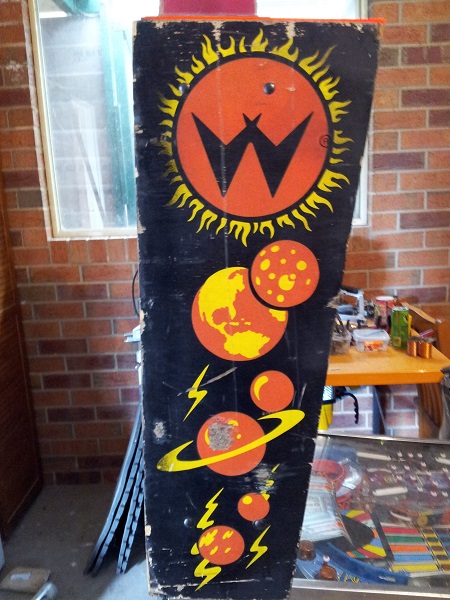
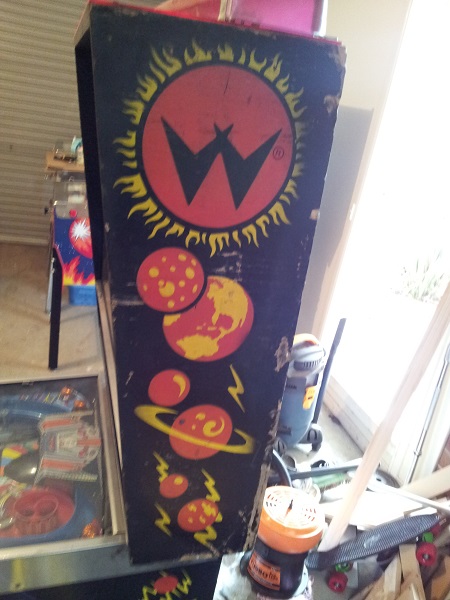
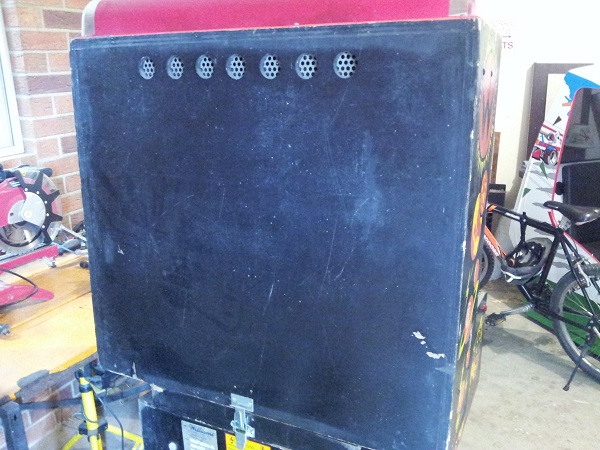
With the initial photos out of the way, it was time to remove everything from the headbox so it could be patched, sanded and repainted. I started with the topper. When I purchased the machine it didn’t have the proper topper on it, instead red and blue domes were attached. The #89 lamps were grouped under each one. I’m pretty sure these are normally spread out along the topper and on closer inspection of the orange topper base, I can see evenly spaced out holes where they would normally be screwed into position. So this is something I’ll fix once I put everything back together.
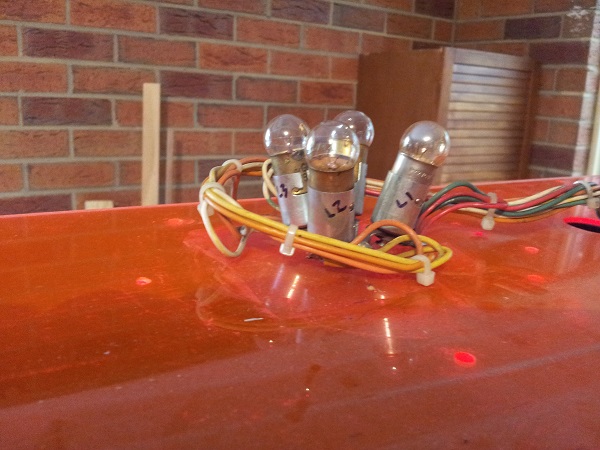
I unscrewed the lamp sockets and also the orange acrylic base of the topper. I then began to carefully thread the wires and each socket through the hole in the orange base. Soon enough, the topper base was free. It was a bit of a hassle
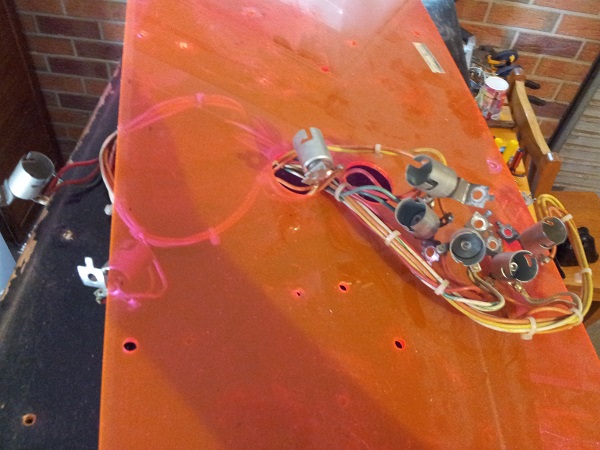
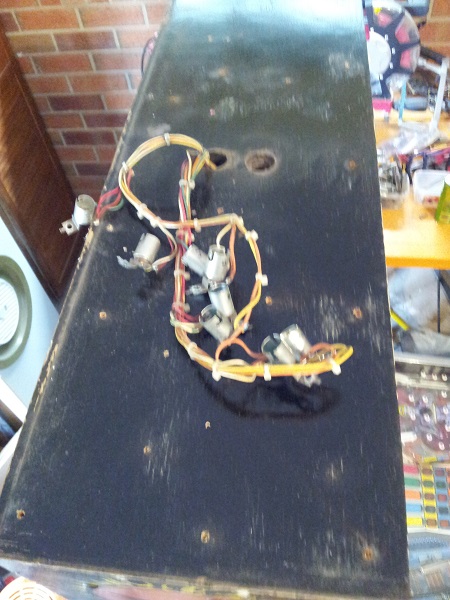
What a pain I thought – I’m going to have to thread them all back through again when it comes time to reassemble. Plus getting them through the hole in the top of the headbox is going to be an even greater pain. It would have been smarter for them to run the lamp wires to a molex connector inside… ..the headbox… Umm….. (….like this one..)
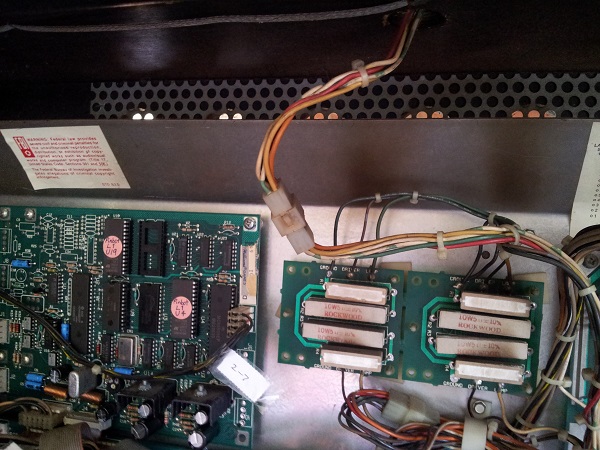
*sigh* They did indeed run the wires to a molex connector which if I’d checked first, would have saved me some time. I won’t fall for that one again 🙂 Alright, time to take lots of photos of the inside and remove everything. I proceeded to label every connector in the headbox and took plenty of photos as I went. It should make putting everything back into the correct place smoother and minimise any possible errors.
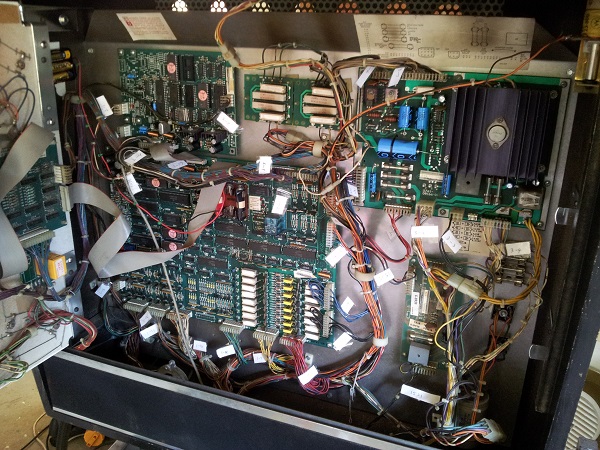
Happy I had labelled and photographed everything, all the connectors were then disconnected and the speaker panel was removed.
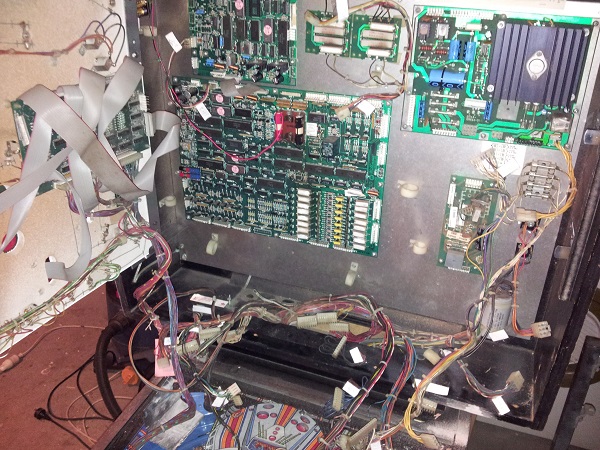
I could them remove the display door, metal brackets and finally the metal plate with the boards attached to it. It’s looking pretty empty now.
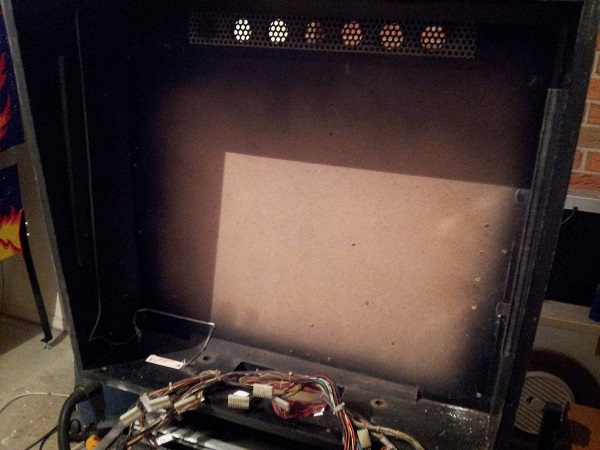
I removed the headbox from the hinge connecting it to the cabinet and then patched up the damaged areas. This was followed by sanding and then applying a primer. I tried to save the (R) decal that is attached to each side of the headbox, but it was so old, it wasn’t possible. I’ll need to replicate these. At this point it really hit home how deep I was into restoring the cabinet of the machine. No going back now…
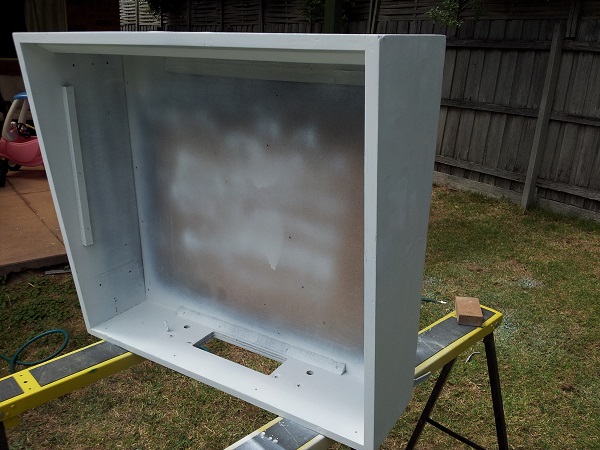
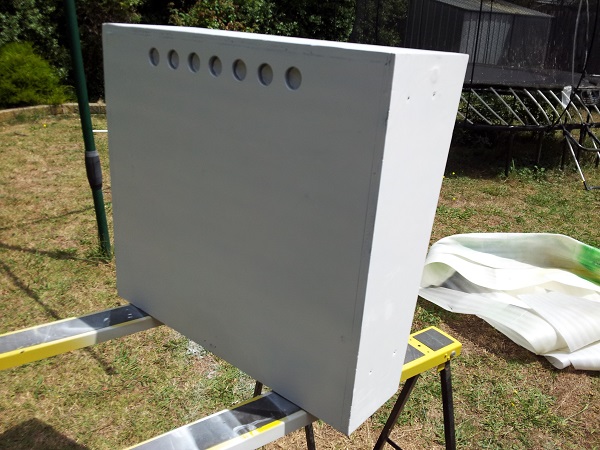
With the headbox primed, I then sprayed it with 4 coats of black to get it looking nice. For some reason, I failed to take photos of this. I must have assumed I’d already taken them – sadly not. Nothing really exciting was missed – it just looked black. Once I was happy with the black colour, it was time to apply the stencils. Each stencil is a contact like material although more specific to stenciling. It’s applied just like a decal. The only thing I don’t like about these is it’s single use only. If you muck it up, you’re up for another set.
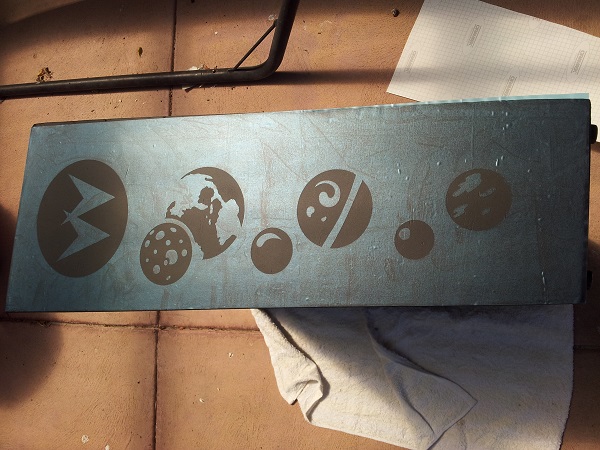
With the stencil applied to both sides, I then covered the rest of the surface to protect the black paint. After four light coats, the colour looked good and I was happy to move on.
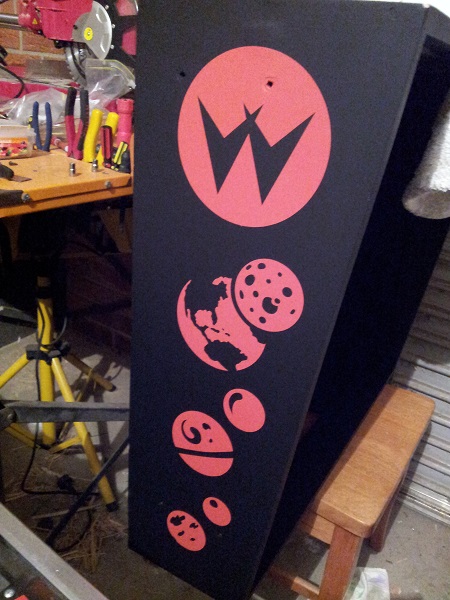
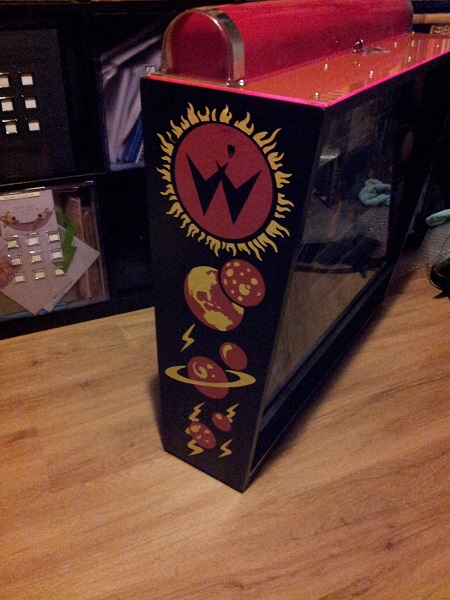
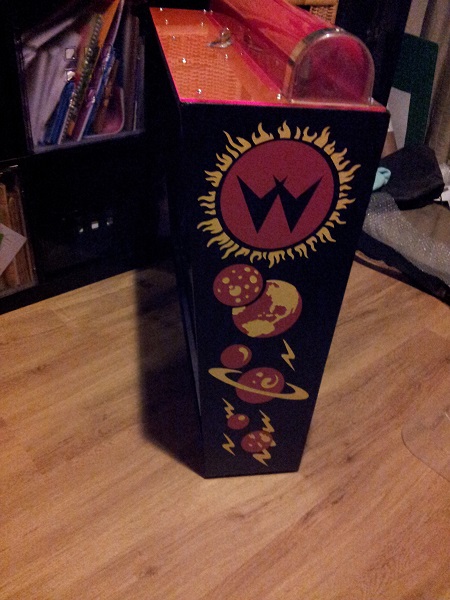
It was time for the yellow layer. Lining up the stencil was actually easier than I had expected. Again, 4 light coats gave me the colour I wanted. The yellow comes up lighter in the photos than it is in person. With both layers done, it was time for a clear coat over the top. Again, 4 light layers with a very light sand between each. Looking at the before and after photos tells the story of how far it’s come.
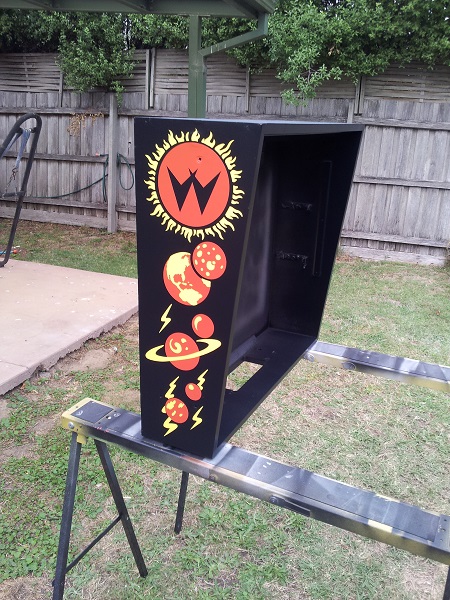
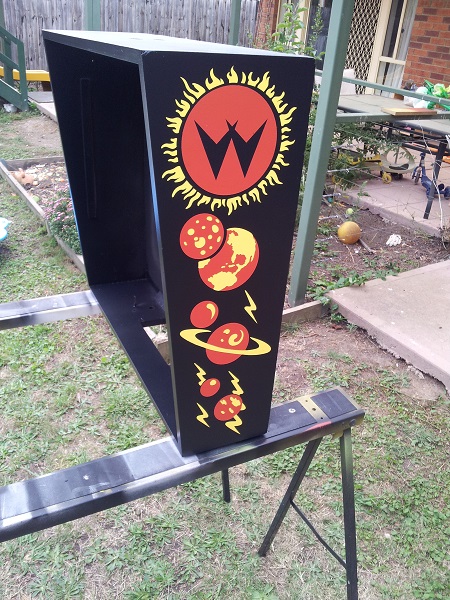
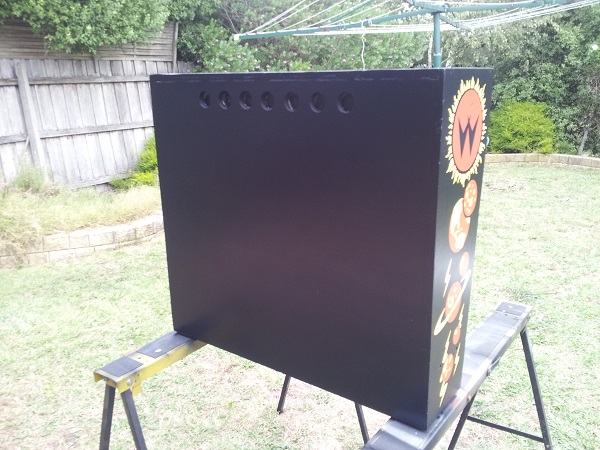
This painting process took place over a period of about 3 weeks. Factoring in 2 coats of primer and 4 coats of each colour and dry times between each, along with prep time to gut the contents and ready the surfaces – time added up. Looking back, I’d take an extra few days of prepping the surface and will take this extra time on the cabinet body.
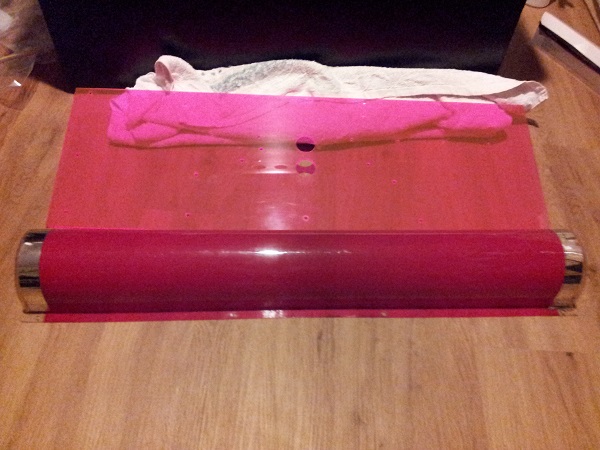
Meanwhile, I had moved the topper and its orange base inside for a clean. I used eucalyptus oil to wipe the surfaces clean and then followed it up with Novus 2 and finally Novus 1. The topper condition is OK, although has the front right corner broken off. I don’t plan to replace it. I’m not sure how common they are now anyway. I did see someone had reproduced them in a limited run, but this one is still decent enough and wouldn’t justify the cost to replace.
The bolts for the door brackets and headbox hinge were also sanded and resprayed with a metal paint. It was now time to start reassembling the headbox. First up was installing new earth braid behind where the metal plate sits. This then runs to where the speaker panel connects, up through each door bracket and then finally to the lock at the top.
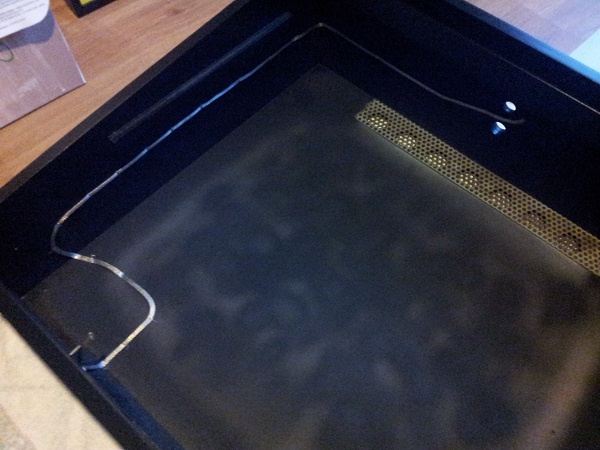
Now that the new braid was installed, I could begin to repopulate the headbox. I started with the metal plate and game boards. Next was the topper. As I noted earlier, the lamps had been grouped together instead of being spread out in a line (due to the non standard topper that it originally came with). This was fixed.
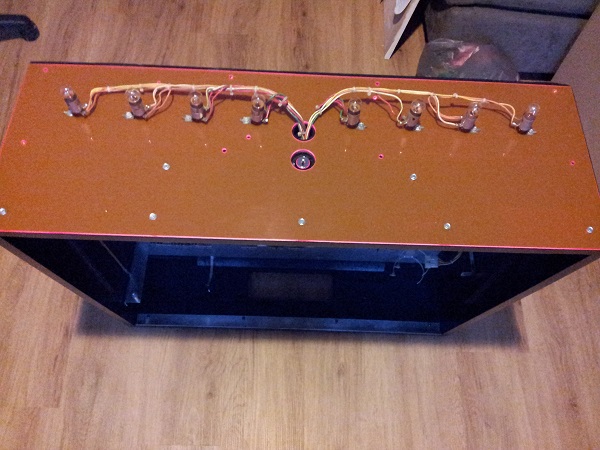
A new lock was installed and the red topper added. The screws attaching the topper were all run through the tumbler a week earlier which gave them a great polish. The topper was now complete. The door brackets were installed next and the metal base of the speaker panel too.
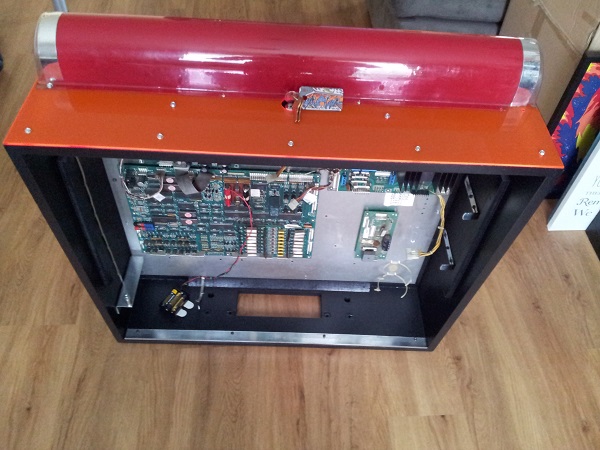
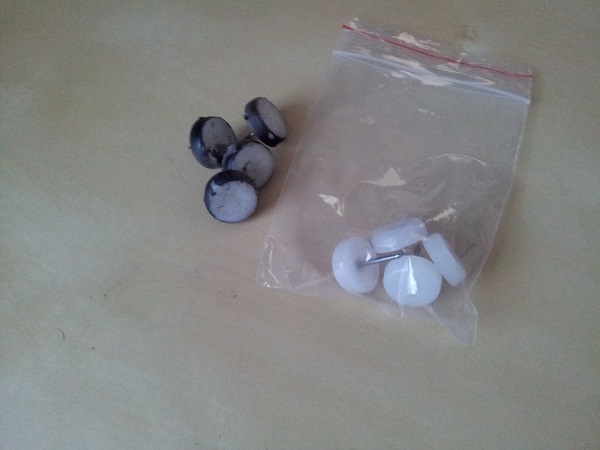
In my last RTBB order, I included new gliders, which I installed onto the base of the headbox.
The speaker panel was next as it’s easier getting this into place without the door in the way. The door was then installed. I reconnected what cables I could from the displays to the MPU board. I had already done work on the door and cleaned the brackets in an earlier update months ago, so these just needed a gentle wipe down. I could now install the backglass. There is just one last thing to do – I need to add the (R) decal to the Williams logo. As I mentioned above, I couldn’t salvage the originals 🙁 I’ll be adding new ones in the next day or two. But for now – here are some completed photos (minus R decal).
Not the best photo, but a shot from the front too.
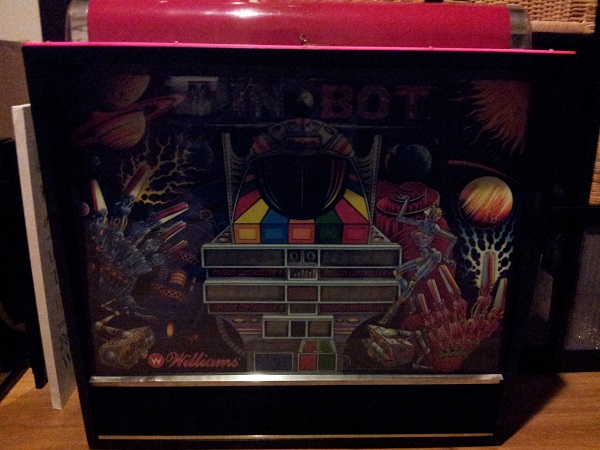
The headbox has really has come a long way since day 1. Inside and out. I won’t be reconnecting the wires yet as I’m now moving onto the cabinet restore. Lots more work still ahead. This did take quite a bit longer than I expected. I’m better prepared though to work on the cabinet. I’m really looking forward to playing this though. But it’s still a month or so away 🙁 Can’t stop now though.. must keep going 🙂

Hi – I’m just restoring an old Pinbot, lots of issues with it hanging midway through a game and other things, narrowed it down to U41….anyhow, my final thing is to create the wiring harness for the topper lights down to the molex inside the head cabinet….but I’ve no circuit diagram for this and wondered if you take a few snaps and email them to me so i can see what wires go from where to where?
Many thanks,
Colin.