Time to take a short break from posting about pinball machine repairs and restoration and instead write a short post on replacing the battery in a Playstation Vita console. Fixing my Vita has been on the to do list for quite some months and finally the replacement battery arrived last week. Time to see if I can fix this. What lead me to this point? One day I noticed my Vita no longer charged when plugged in. When the Vita is switched off, the Playstation button should glow orange when it is charging – this no longer happened. When the Vita is running, the battery icon should change to a charging battery icon and this no longer occurred either. When trying to charge it, the orange light would come on for about a second and then turn off again. The battery ended up running out and I could no longer play it 🙁
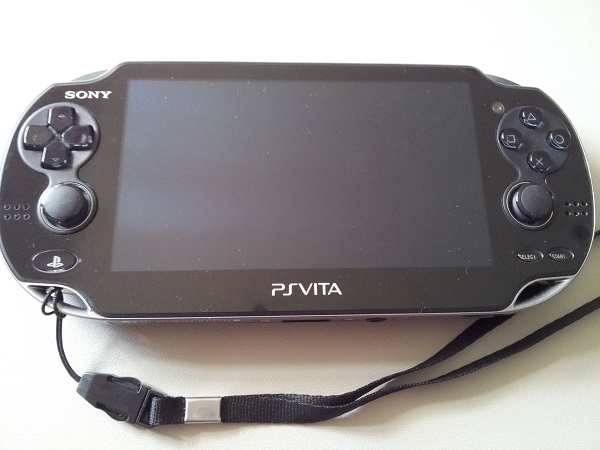
I did the usual Googling to see what sort of solutions existed for this problem. People mentioned a number of solutions, some of which were cleaning the connector port and replacing the charging cable. I tried them all but nothing worked. Others mentioned sending it back to Sony for repair. This unit was no longer under warranty, so I’d be up for the service fee. Given the cost of the service charge and the cost of a new unit, I was keen to try and repair it myself. If that failed, I’d just buy a new one to get a new warranty with it.
Given the battery wouldn’t charge, I was keen to see the price of a new battery. If not expensive, I’d give that a go first before buying a new unit. I did a search for Vita batteries and found them available at a local store called Battery World. Awesome!
I went down excitedly, only for them to inform me they did not sell batteries for the Vita. I directed them to their own webpage, highlighting it was advertised to again be informed they did not sell them – there was nothing on their system for the Vita and nothing at their suppliers. Damn 🙁 (as a side note, their site still lists them as selling PS Vita batteries)

Off to eBay I went this time, to see if I could find them. No local sellers for Vita batteries, but thankfully a seller in China could get me one for roughly $20 including shipping. After a 4 week wait, the battery finally arrived. Time to swap it over and see if this fixes my Vita and allows me to play it again.
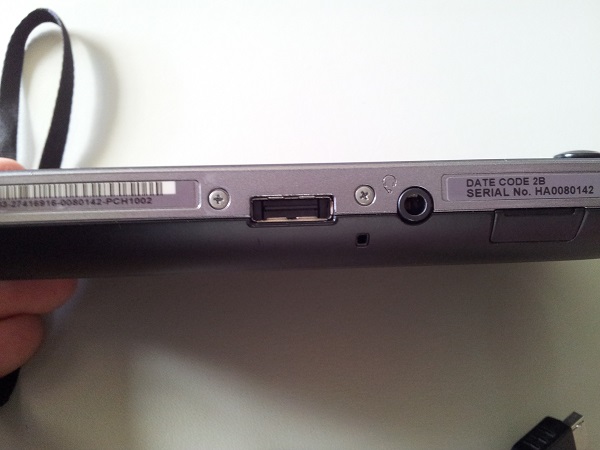
There are 4 obvious screws to remove on the back of the unit. There are another 4 screws that also need to be removed before you can pull the rear cover off. There are two on the base of the unit, on either side of the charging connector.
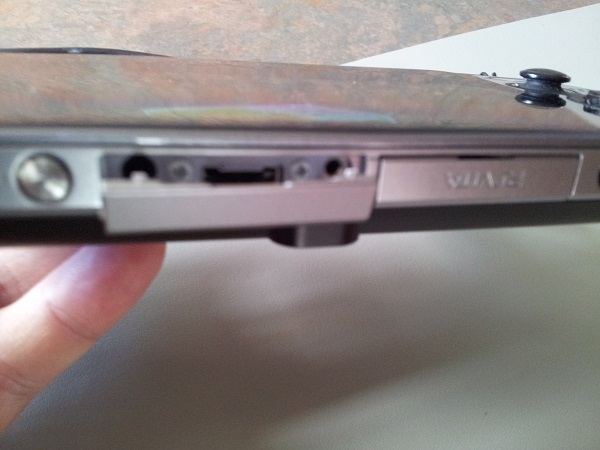
The other two are hidden inside the tab at the top.
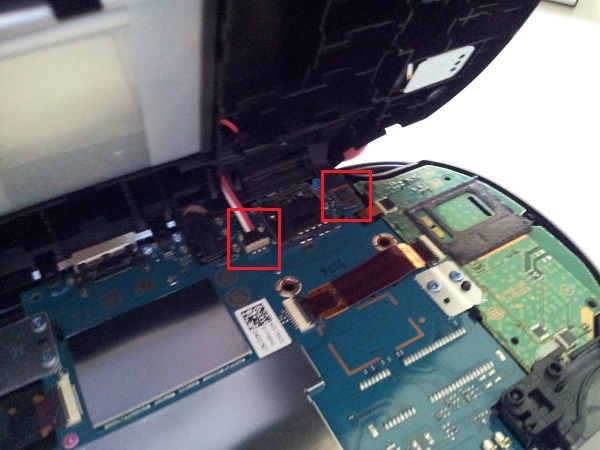
Once all screws were removed, I could then pull the back cover off. But first, I needed to take the memory stick out as it was getting in the way of the back panel being removed. You have to be careful here as there are two connectors between the back panel and the front. The large silver block on the back panel is the battery. Once the two connectors were carefully removed, the back panel was removed and I put the memory stick back into the unit for safe keeping.
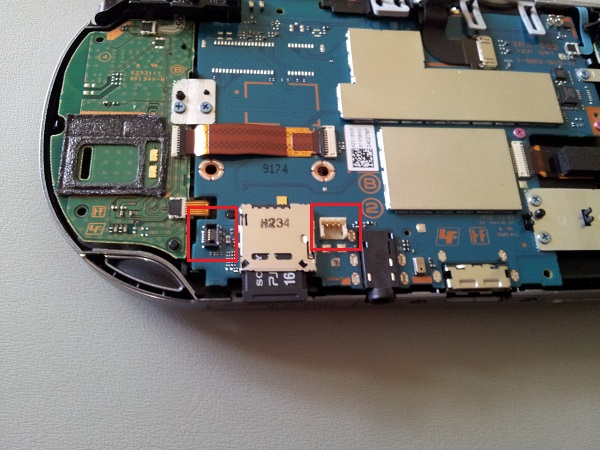
I could then access the battery easily on the back panel. The battery is held in place with a small plastic bracket, screwed in. This was removed so the battery could come out.
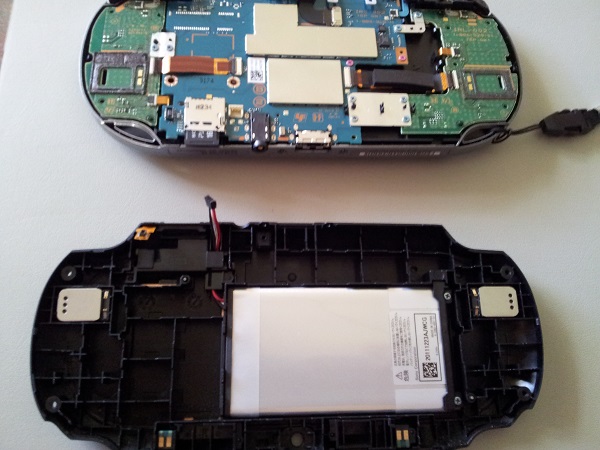
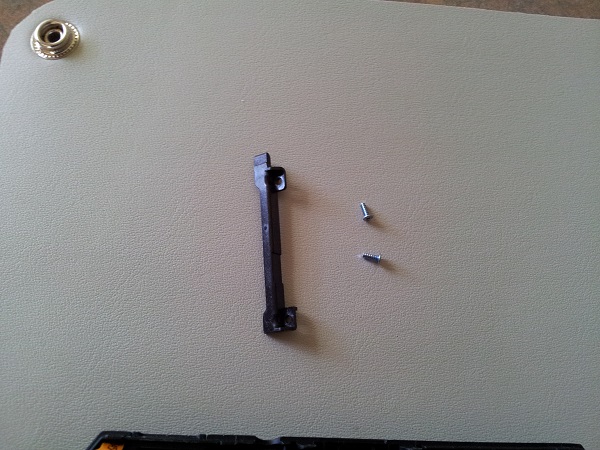
Not quite so fast though. The wire that runs from the battery is held in place beneath another small plastic bracket. There are no screws holding this in place, just two small clips that need to be pressed in to release it. With that removed, I was free to get the battery out
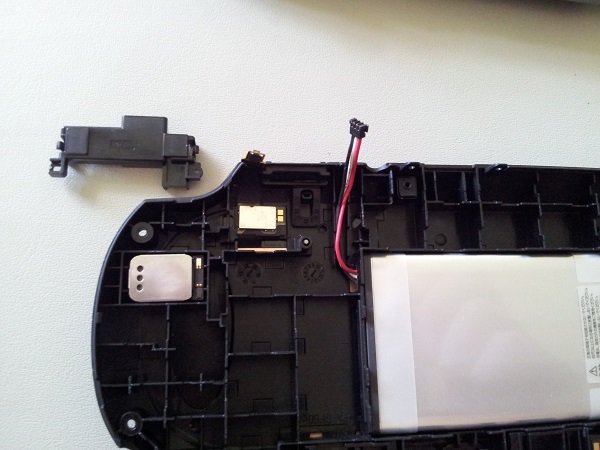
Done. The battery was now removed and ready for the replacement. I hope this works.
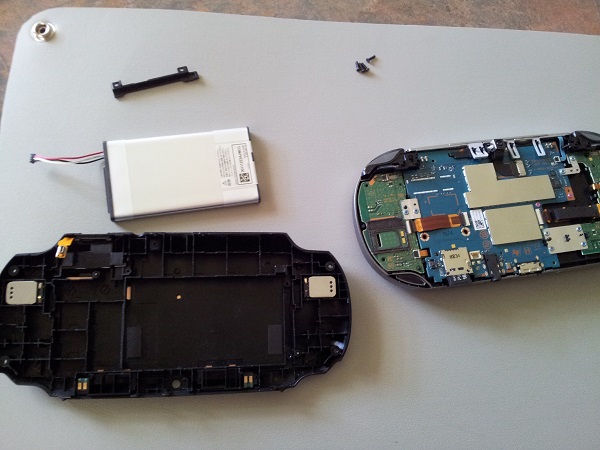
I won’t bother showing photos of installing the new battery as it’s the same photos above, only backwards in sequence 🙂 The new battery was inserted into position and the two plastic brackets installed again to secure it. Carefully I reconnected the two wires from the back panel to the pcb again. I removed the memory card and attached the back panel to the unit again. Before I do all the screws up, time to test it. The charge cable was located and inserted.
Orange light comes on.. and stays on!
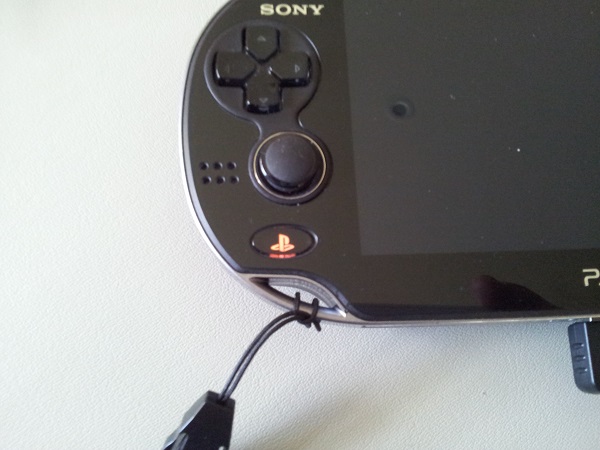
I let the unit sit there for a few minutes to charge – the orange light continued to stay on. Now for the final test – would it power on? It would 🙂
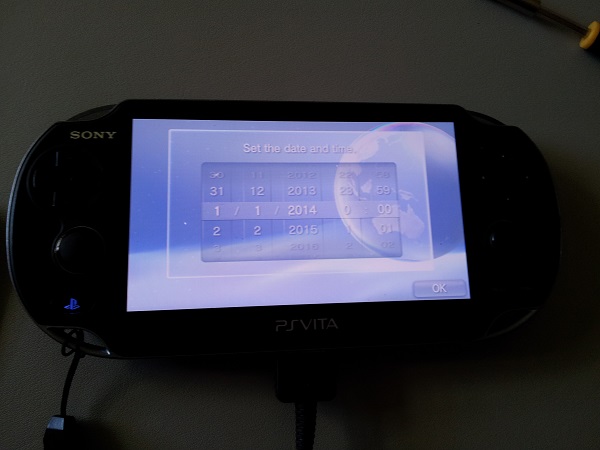
After the date and time settings were done again, I was back to the home screen and could play a game.
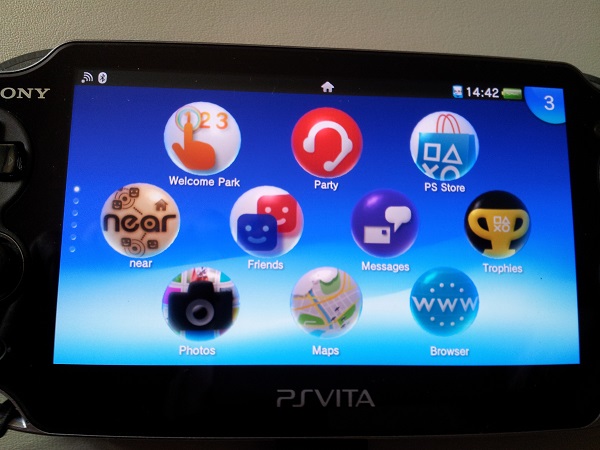
The $20 for the battery was a much better option than Sony repair. The 4 week wait was a pain, but I’m fan of giving it a go myself first. The Vita was not under warranty and given I was prepared to buy a new one, I had nothing to lose. It was also interesting to open the unit up and look at it on the inside.
