Galaga Arcade Cabinet

Building a Galaga arcade cab fram scratch

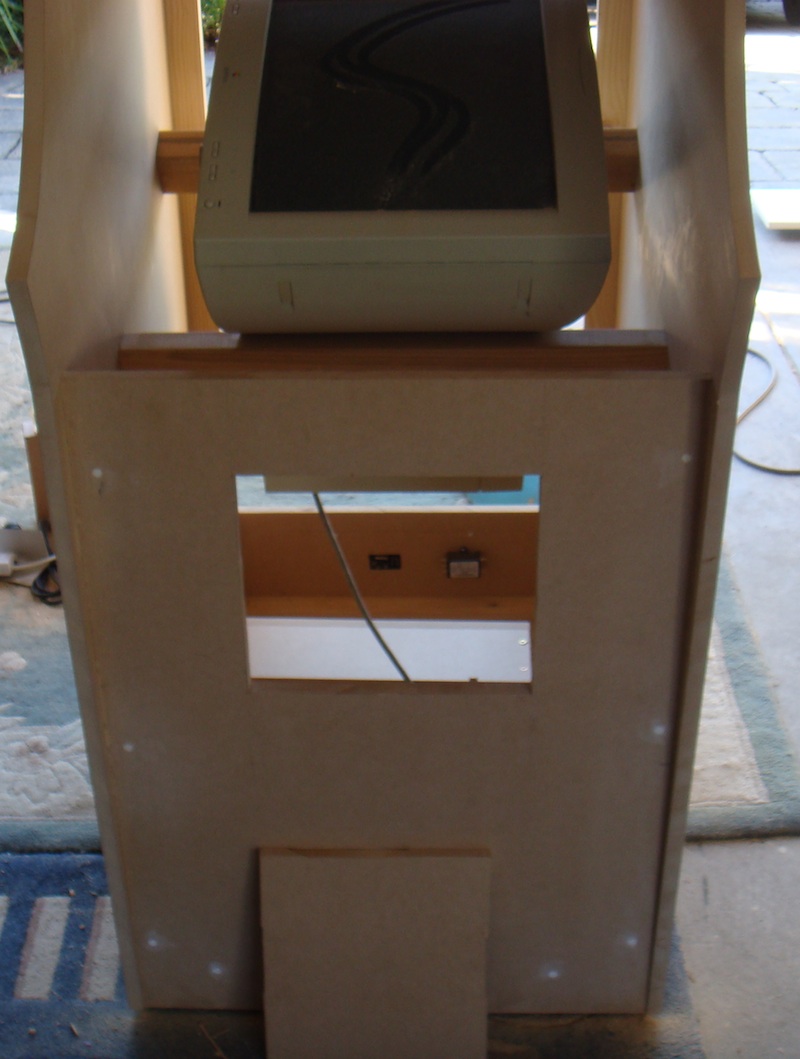
I came into Day 2 excited after the great progress that was made on Day 1. We didnt get as much done as I had hoped, but I think that’s mainly due to the stage we are at. Time seems to fly while doing this, but at least we continued to move forward. Starting the day out, I installed the IEC switch at the back, along with the filter. A rectangular shaped cover was made for the power wiring, that will enclose it and protect anyone leaning into the cab (should they do so with the power on).

A coin door was also cut – although I think we will need to use some of the offcuts to cut a better door for the cab. I plan to use MDF, covered in some contact I had originally planned for the control panel. The door will feature a coin mech and lock. On the inside it will also have a counter and a tray to catch coins. This should feature in day 3’s work.

Coin door cut
Continue Reading

Recently I was looking into the use of perspex for some elements of the cab. I was considering perspex for the following:
– Marquee (2 pieces)
– Screen protection
– Control panel overlay
– Internal box for electrical wiring
– Cover for power supply

For the Marquee, screen and control panel overlay, I was quoted close to $300 by AB Plastics in Hallam. I didn’t end up bothering with quotes for the internal box and protector as I could see the final pricing moving past the $450 mark. This was for 4.5mm thick perspex, cut to some shapes, with one piece requiring a bend (the control panel). What got me the most was $170+ GST for the marquee panels. They are just there to hold the artwork in place.

(One of the things to keep in mind with perspex is it can get ‘waves’ along the edges if you screw it into place. The best method for holding perspex in place is with pressure. This can be eased somewhat by increasing the thickness of the perspex.)

Anyway, with the pricing in mind, I decided to look at some alternatives. Bunnings have various sized PVC sheets priced between $35 and $60. There are 3mm thick, so have much more bend in them (which is bad). For the control panel, I found I could get a proper Midway one that is used in Galaga cabs for around $45 (including shipping) from the US. So I decided to grab one of those and possibly ditch the perspex overlay idea.

After looking around for some other options, something wasn’t sitting right with me about the AB Plastics quote. Going over the break down again, it cost just $69 for the screen and control panel sheets, but $170 for the two marquee sheets. That doesn’t add up since there is less material in the two marquee sheets than the rest. Then it dawned on me – the figures he wrote down were incorrect. There was an extra zero added to the height of the marquee!! No wonder! So anyway, I will be heading back to get a quoted again on the marquee. I am still considering a perspex overlay for the control panel as I think it will offer great protection for the artwork. Hopefully the metal control panel will arrive before next Wednesday, so I can take it over to show exact measurements.

Another option to consider is glass, although this would only be for the screen sheet. PVC and Perspex is cheaper and will do the job just as well. The main consideration is thickness, and having seen both 4.5mm and 3mm, I think 4.5mm wins out.

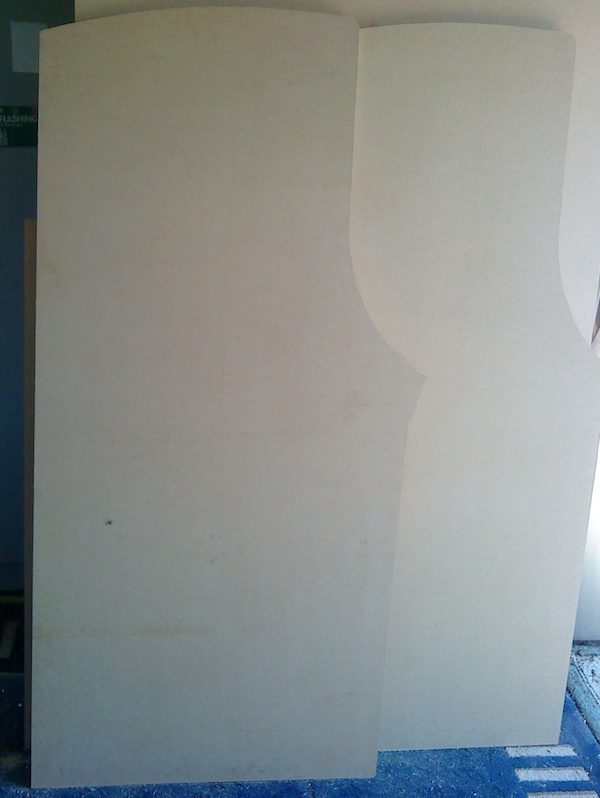
After two and a half months of planning and waiting, I have finally been able to start building the arcade cabinet (with help from my father in law). Using the Galaga cab plans from Jakobud, we started by marking out the desired side panel shape on one of the MDF sheets (Note: We purchased 3 1200 x 2400 x 18mm MDF sheets). Once this was cut out, the edges were sanded flatten out and improve smoothness of the corners and curves. We then used this as a stencil on the second MDF sheet to cut out the second side panel. Again edges were sanded. The results of this can be seen in the first image below.

Side Panels
Continue Reading

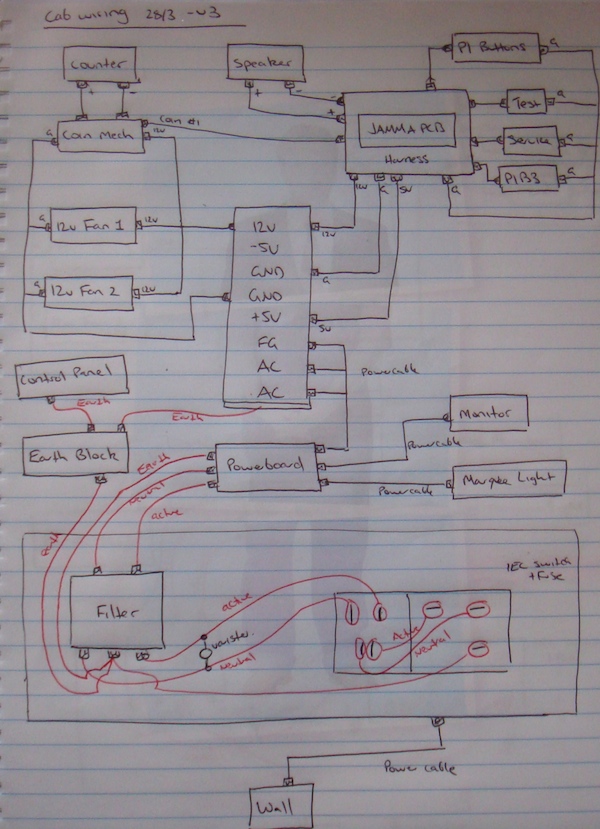
Yet another month has past on my journey to build my own arcade cabinet. The second month has seemed somewhat slower in progress, although I did get a few important things done. The biggest of which was the plans for the internal wiring. I also took some time to grab images of Galaga cab projects other people had done, and got them printed at photos to use as reference material as I’m building. A wise $5 investment I think. I purchased a number of wiring bits also to round the month off – not quite as exciting as researching and buying coin mechs, game boards or controls, but still important.

I think month 3 will see the most physical progress for the cab, as I expect the shell to be built and painted. The power wiring will be done and most internal components installed. With any luck, all that will remain at the end of the month will be some artwork and touch ups.