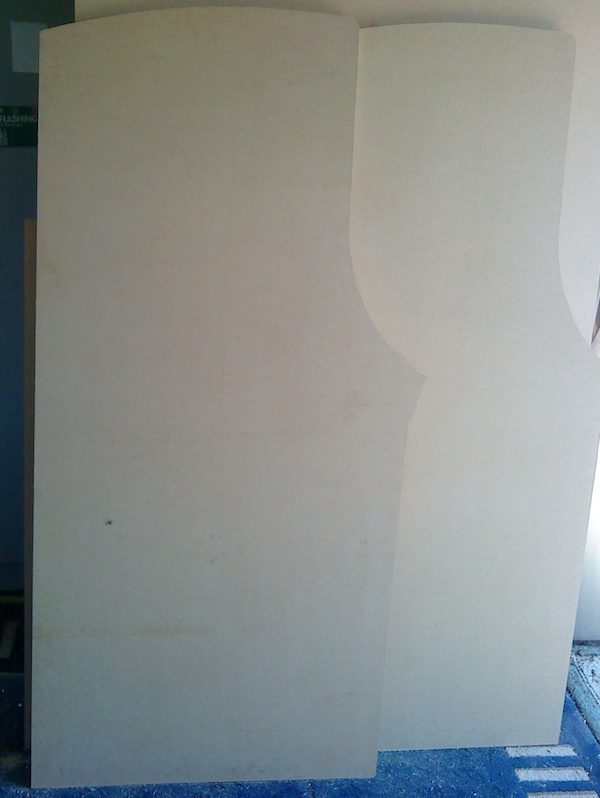
After two and a half months of planning and waiting, I have finally been able to start building the arcade cabinet (with help from my father in law). Using the Galaga cab plans from Jakobud, we started by marking out the desired side panel shape on one of the MDF sheets (Note: We purchased 3 1200 x 2400 x 18mm MDF sheets). Once this was cut out, the edges were sanded flatten out and improve smoothness of the corners and curves. We then used this as a stencil on the second MDF sheet to cut out the second side panel. Again edges were sanded. The results of this can be seen in the first image below.

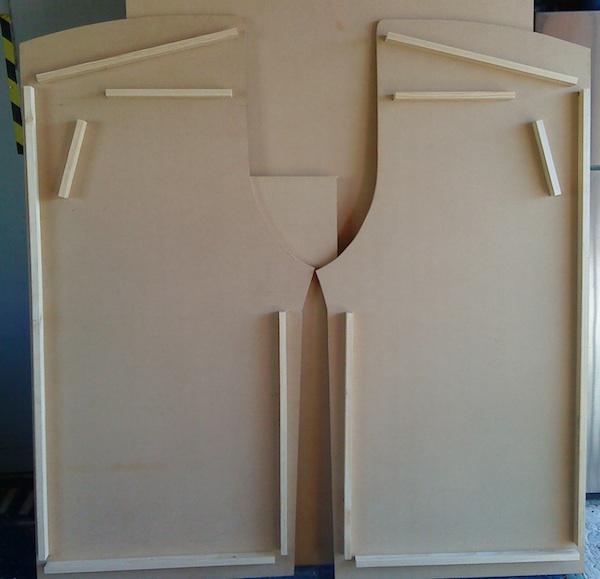
The next step from there was to start marking out where the supports would be placed. Again using the Jakobud plans, and some reference material I found on the net (see previous blog posts for Galaga cab links). Once marked out, we drilled holes and attached some pine with screws. (Note: You could be tempted to use some liquid nails between the Pine and MDF – and that’s fine. The screws are pretty solid, but if you want some extra strength, go for it). This would allow for the adding of the ceiling, marquee ceiling, back, floor and front panels. The results of this can be seen below.

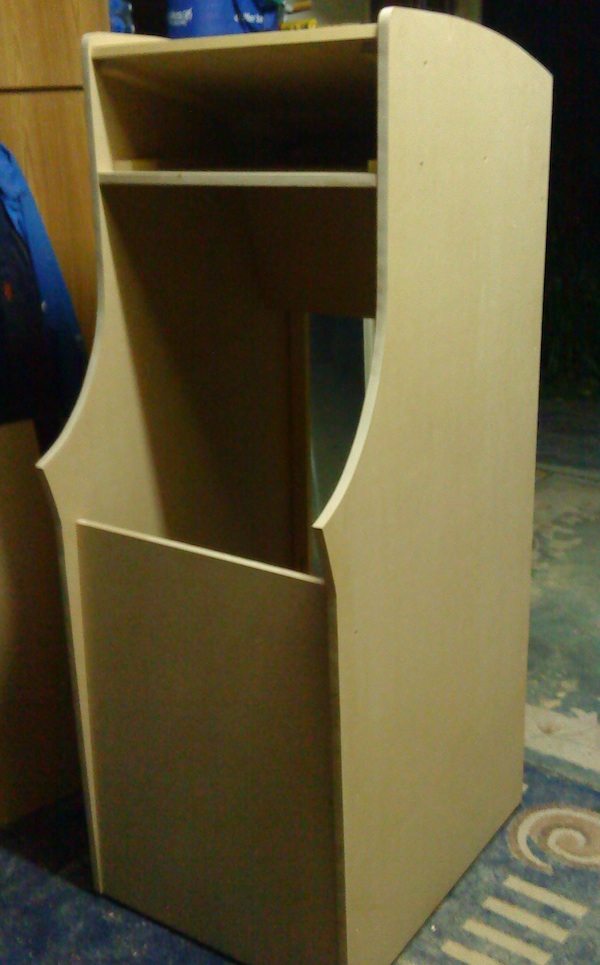
With that done, it was time to use the third MDF sheet and cut out the panels that would join together the sides. Holes were drilled into the MDF and pine, then screws added. I should note here also we counter sunk each screw before putting it in. That way it would not split the MDF and sit below the surface for easy filling and sanding (before painting). After a few hours, here were the results.

The final bit of work for the day was the addition of wheels to the base. We added two regular wheels to the back, and two rotating wheels to the front. This allows for easy movement. Each wheel can support up to 40kg each so should do the trick. I have been advised it’s best to just add rear wheels, but I think that depends on how much you plan to move the thing around. I can tell you now, just the cab shell itself – it’s heavy. Damn heavy. I don’t plan on moving it much 😉
So that was all done on the first day and I’m really happy with the results so far. It was a long day, a few mistakes were made (positions of holes), but in all, very successful. I will also note that the back door has been cut, but not attached yet. There is still quite a bit of work to be done, and I think the coin door, monitor support and control panel will be next. I also hope to get the initial electrical work done on day two also. At this point I’m expecting it to be wrapped up on Day 3, but time will tell.
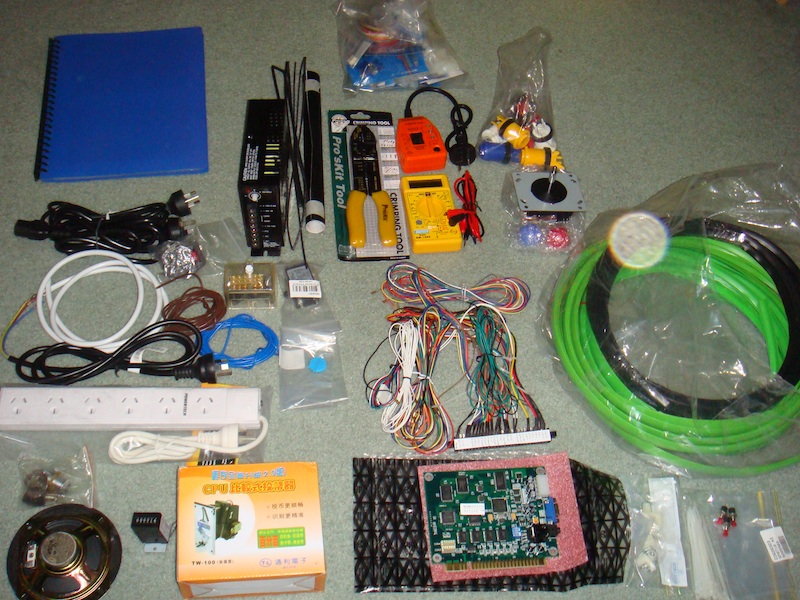
The final picture is the contents from my box of parts before starting. The blue folder contains my research, along with photo references, plans, notes, diagrams, pricing, etc, etc.

