Galaga Arcade Cabinet

Building a Galaga arcade cab fram scratch

My search for T Molding was fairly simple. There are a number of places here in Australia that sell it. Most online arcade shops have some available – it all depends on the thickness, colour and texture you are after.

My first purchase was from GameDude, which had the Galaxian Green I was wanting for my cab. This was priced at $12.50 per 10 feet. I thought this was ok. But I have since discovered T-Molding.com which has an awesome selection, and is even cheaper (despite being located in the states). For the same Galaxian green, I was able to purchase 20 feet for $10US (roughly $11AU). When postage was added, I was up for $20.78AU for the 20 feet (compared with close to $30 from GameDude).

T-Molding.com is well worth checking out when you are looking for t-molding for your arcade cabinet. The only real drawbacks I found was you are forced to purchase in increments of 20 feet and maybe have an extra few days to wait.

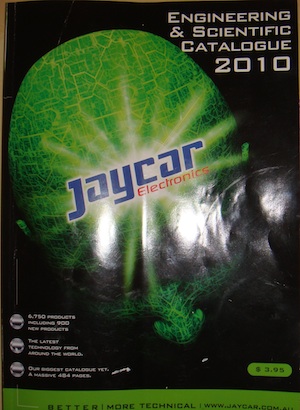
Yep – I’m putting up a post dedicated to a catalgoue. The Jaycar catalogue to be exact. While looking for parts and tools to help build the cab, I was constantly looking over the Jaycar site which has a lot of parts to help wire it up. After much searching on the site (and a few small orders), I decided to purchase the catalogue (cost $3.95AU) and it was a very wise decision. I found a number of things I couldn’t find on the site, plus some extra’s I had not considered. It made my final order much easier, and also helped clear up some terminology issues (which helped with my part / product searches).

If you are looking at getting some internal parts for your cab, I’d recommend getting their catalogue.

Jaycar Catalogue

I have put together an initial plan for the wiring of the cab. Most of it is very straight forward. The only tricky bit really is the power wiring. But after sketching out a few plans, and getting some expert advice from experienced cab builders, I think it has come together nicely and is fairly straight forward. Another thing I like about this plan is it should help ensure the insides of the cab are tidy, organised and easy to maintain (not to mention safety first also!).

Wiring Plan V1

I’ve added in a filter and varister to deal with spikes that may come through, but probably the biggest decision I made was to use a power board to power the key components of the cab. This makes the wiring simpler, and certainly easier to replace, expand or upgrade features. So things like the monitor, switcher and marquee lighting can all plug directly into the power board. It will increase the cost slightly, but not much. In the end, I think its going to work really well.

I decided to look at sourcing the wood for the cab today. There were two places I considered – Bunnings and Melboards (located in Hallam – so close to me). Bunnings won out. I estimate I will need 3 boards of 1800 x 1000 x 18mm. Bunnings has 2400 x 1200 x 18mm for $33 each. This should leave plenty of left overs for things like the base, top and front panels. I suspect I will need some additional wood for bracing and load bearing, but that will be purchased separately, and cost much less.

Thickness was a decision I made based on some advice and general research. Anything below 16mm will be too thin, especially for an upright. You could maybe get away with 12mm for a counter top, or a very cheap table top. The real choice is between 16, 18 and 21mm. The good thing about 18 and 21mm is T moulding is easily obtained for these thicknesses. If you go with 16, you will need to do additional trimming, or try and source smaller T moulding. I felt 21mm would be too thick for my cab, so 18mm it is. I guess generally speaking, the bigger the cab, the thicker you should go to ensure it’s sturdy.

A month has flow by now, but I’m pretty happy with how things have progressed. I would have loved to see more happen with the actual cab shell, but that’s should start to move forward over the coming fortnight.

So in the first month, I’ve been purchasing lots of bits and pieces for the cab itself. I now have the JAMMA board, a power supply, a 21″ monitor, JAMMA harness, buttons, joystick, components for a service/test switch, a coin mech, a coin counter (waiting delivery) and some other small bits and pieces for building and mounting.

This month, I’m expecting to get the basic shell for the cab put together and hopefully have the PCB, power supply and monitor all mounted inside.

Another Galaga cab project link to share (link). There is some great reference material around. Although I find some important bits missing in most. So I hope I can cover the missing bits with the blog to help those who come after me with understanding more about what’s involved with getting the internals hooked up and going.