Another minor update.
I got the acrylic from AB Plastics – the same place I went with on my last cab. My experience this time was not as positive. I let them have the control panel itself to get a good idea of the bend required for the acrylic overlay and try to get the measurements as close as possible. What I got back was damaged artwork as they bent the hot acrylic over it. I also decided to spend a little extra at the time and get them to cut all the holes for me, saving me a few nights worth of work. Several holes were not cut correctly, and the ones on the front panel (P1, P2 start and 4 bolt holes) did not line up correctly. I was able to fix it myself with some small files, but honestly, I’ve paid extra for the labor, I expect the job to be done correctly.
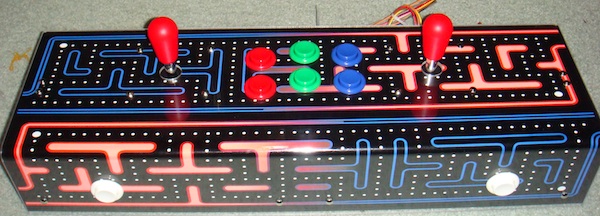
With the fixed up acrylic overlay, I set up the control panel:

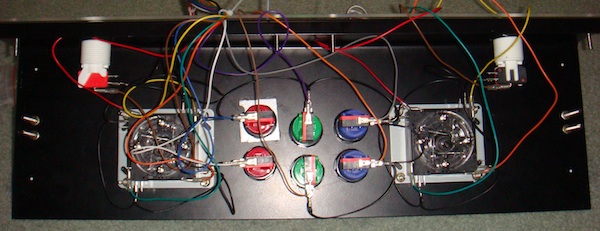
I decided to also wire up the control panel to the JAMMA harness, ready to be installed into the cab:

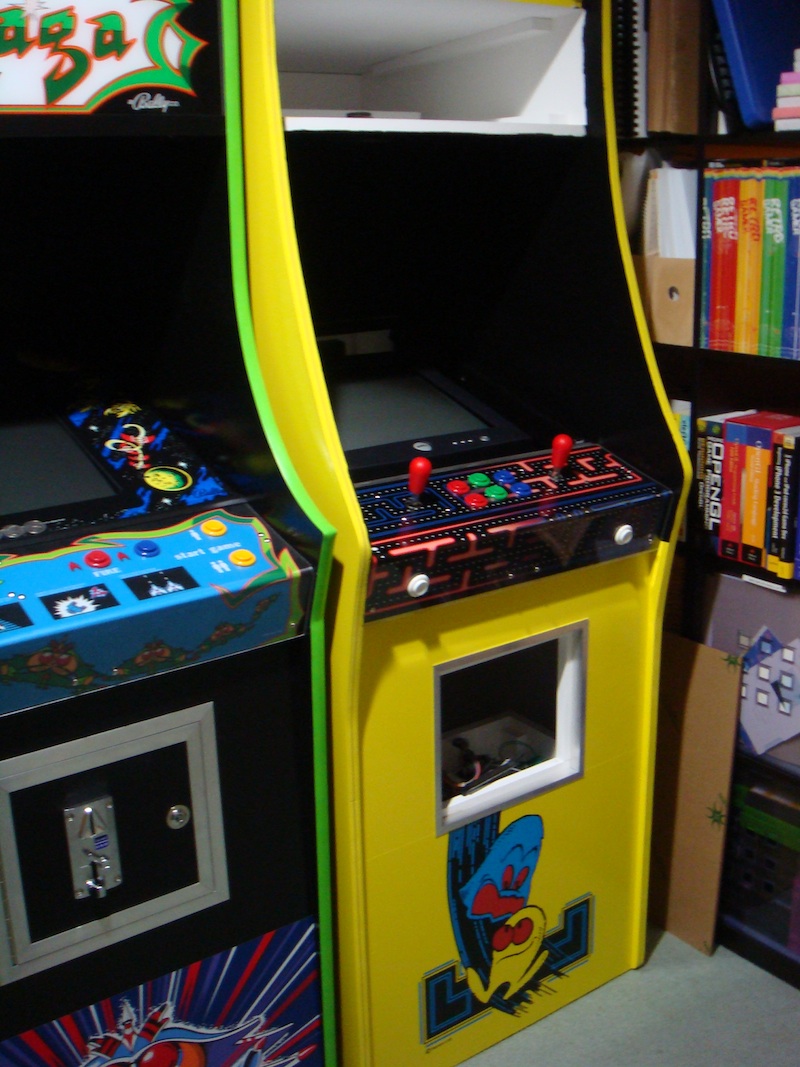
With that done, I felt it was time to move the cab inside, as most of the remaining work can be done with it inside. I installed the monitor into the frame, along with the control panel. I’ve tested the acrylic for the marquee and screen and both fit great. Note too the kick plate artwork applied to the front.

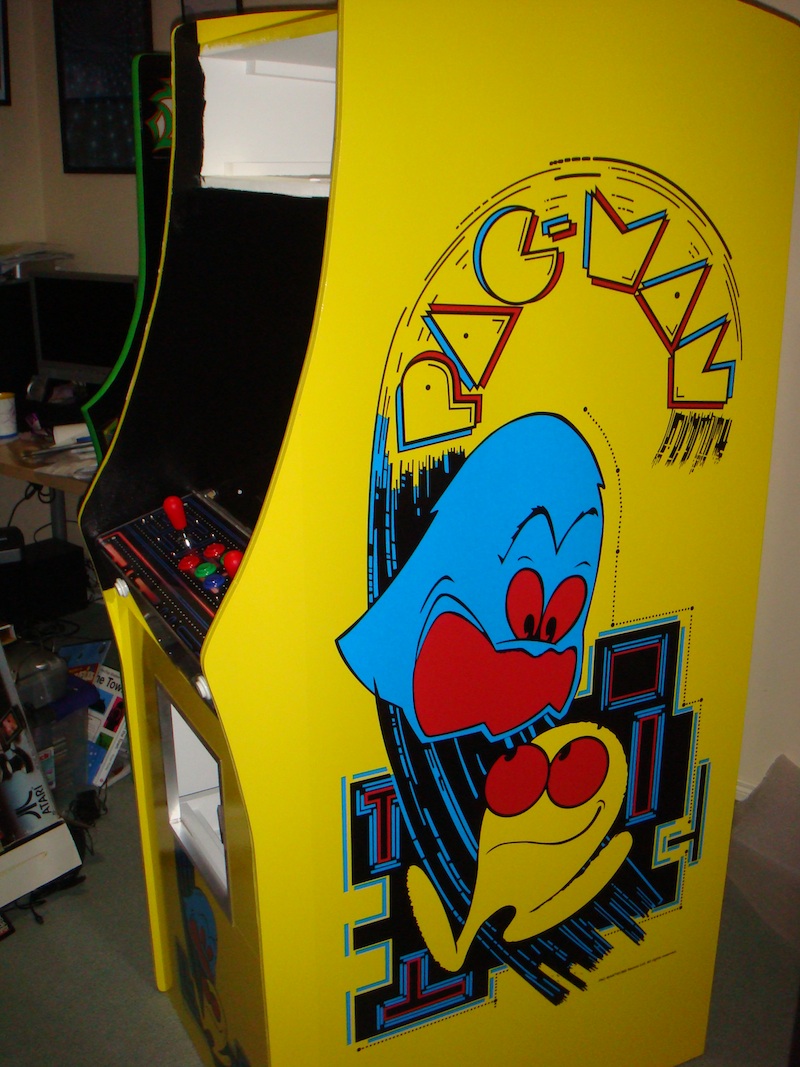
Lastly, I got the side art on:

Next up will be the t molding, before I move onto wiring up the internals.
