It’s been a few weeks since my last update. I’ve been getting small chunks of time here and there and progressing.
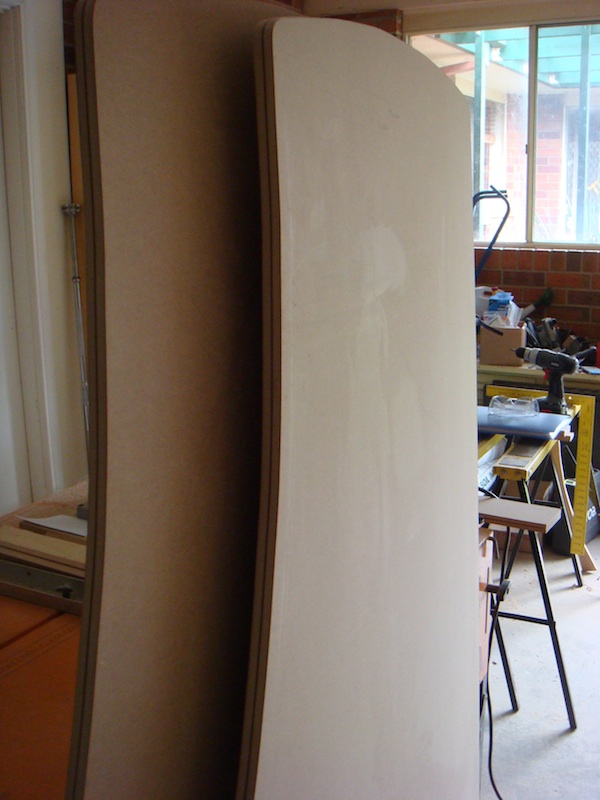
First on the to do list was cut the slot for the t molding. Thanks to a friend and the loan of his router bit, it was easy done. After making a few attempts on some scrap to get the right height, I attacked the side panels and got the groove cut in no time.
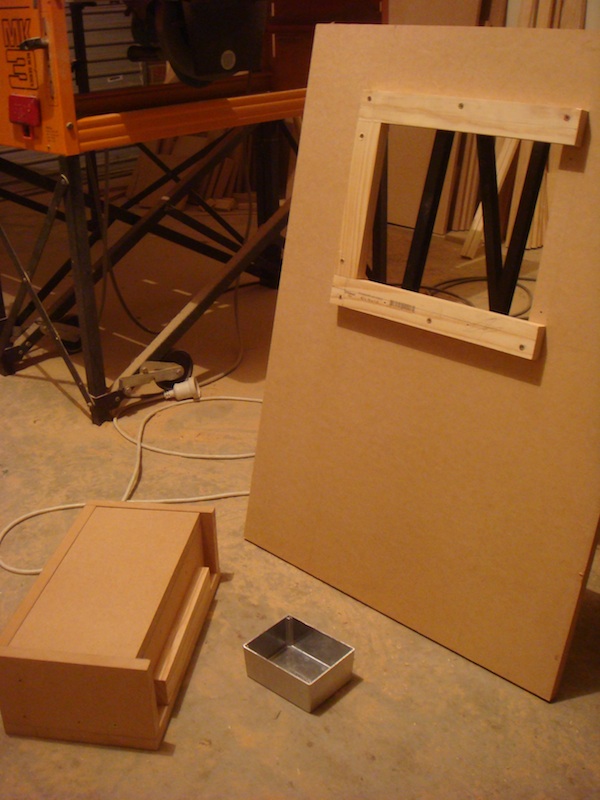
I also thought I would take some time to get some work done on the door. Like my last cab, I will be having two lower passive vents and two upper passive vents. The upper vents this time will be vented handles, set into the door. With the holes all cut and the vented handles fitting, I will put this to the side ready for priming and painting at a later date (along with adding two feet at the base) Note also that the lower vents will be covered, using the same fan covers I used on the last cab.

Another side task was the coin box. On my last cab, I found the coin box was not deep enough and often the coins would bounce out (I managed to curb this with some foam in the base). This time I will be making an enclosed coin box, with a lid that can be removed. The lid will (eventually have a hole with some pipe running up to the coin mech. I will also be using a small aluminium box for the coins to collect in (inside the bigger coin box) for easy collection. I’ve built the outer box bigger to support larger size collection boxes incase I decided to add a bigger one later. My kids like getting the coins out, so the less fishing around they do in there the better
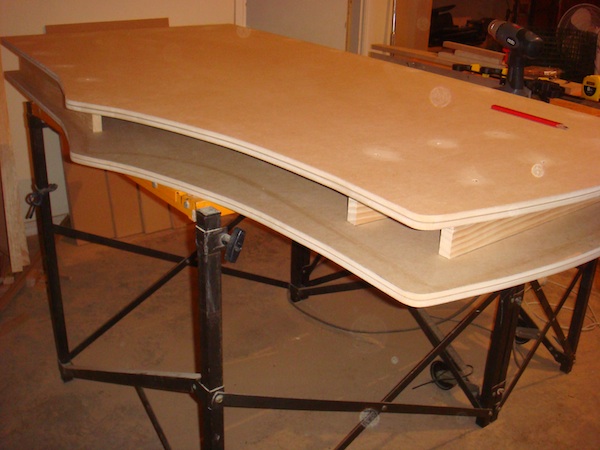
The next step was to add supports to both side panels for all the panels to attach to. First step was to mark them all out, drill and then attach with screws and some liquid nails. After one side was done, I put the second side panel on top, line it up, and then marked out where to place the corresponding supports on the other panel. Once complete, the supports were added to the other side, and then both panels lined up again to make sure everything was sitting in the correct positions.
With the supports all done, it was time to start attaching the panels. I had pre painted some of the panels – mainly the hard to reach panels, which is why some parts are currently white. The internals will be painted a flat white. I love seeing a nice clean inside to the cab, and white came up good on my Galaga cab. So I’ve kept it the same here. From the monitor down will be white, and also inside the marquee. The display ofcourse will be black, along with the section between the screen acrylic and monitor supports (to be added).

After attaching all the panels, it was time to finally stand it up right for the first time. I also added 4 wheels to the base (front two can steer). This thing is heavy, and required a second set of hands to get down off the work bench and onto the ground
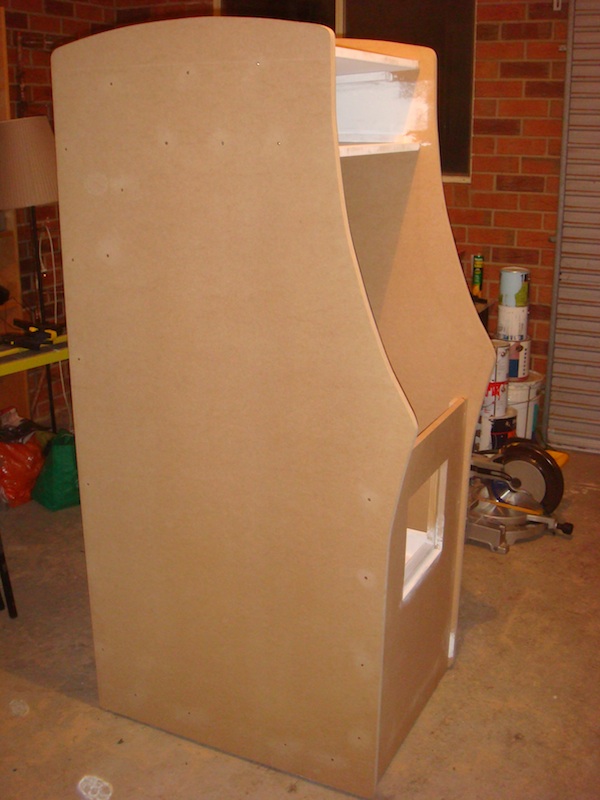
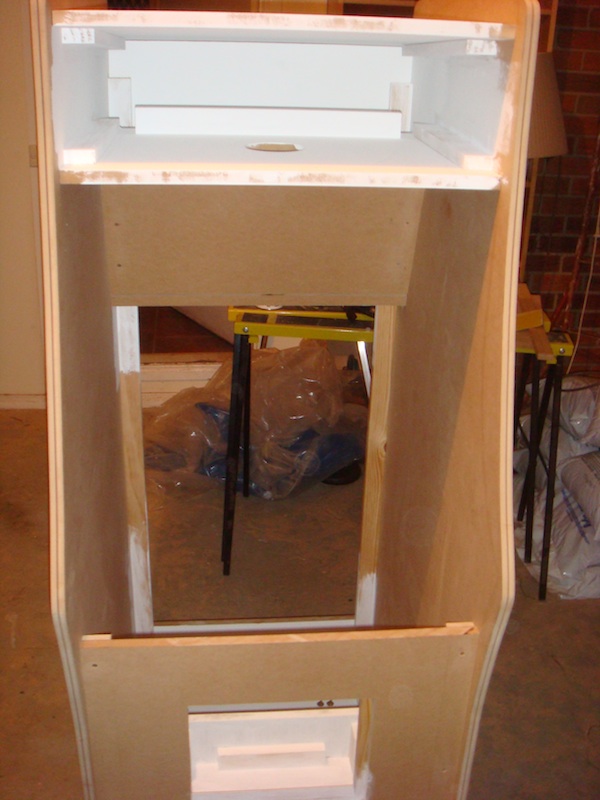
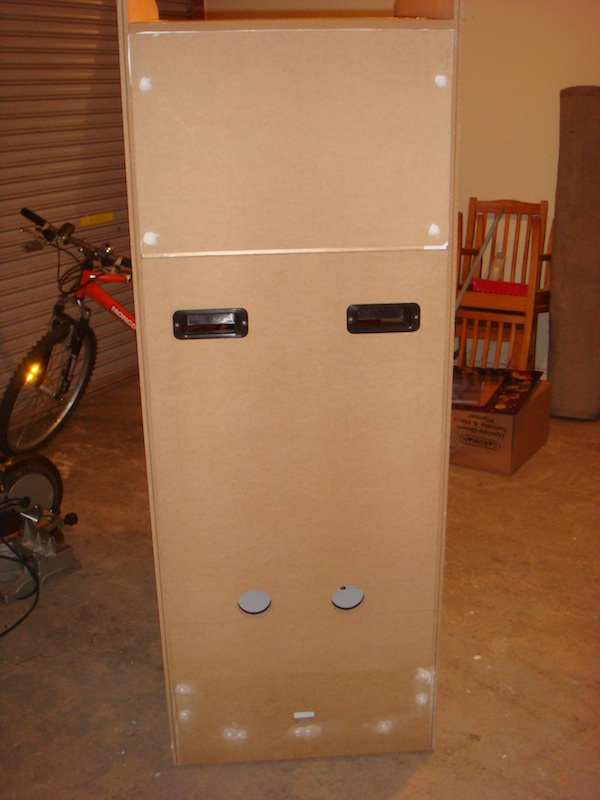
So there we have it – a nice looking shell. Ready for more work.
Next on the to do list is to place the screen acrylic rails and monitor support rails in place, followed by some painting.
I have decided to buy the artwork next, and then get a paint shop to match a paint to the artwork (instead of buying a colour off the shelf and hoping it matches).
