Having worked through the lower and middle sections of the Apollo 13 playfield in previous updates, it’s time to turn my attention to the upper section. There aren’t that many assemblies to get through, but quite a lot of parts to remove, clean and then install again. So it’s still a time consuming process. My first area of interest in this update will be the pop bumpers. But before I can get there, I have a few things to remove. In previous updates I had already removed a couple of the blue rails, but now it’s time to remove the rest so I can get to the pop bumpers.
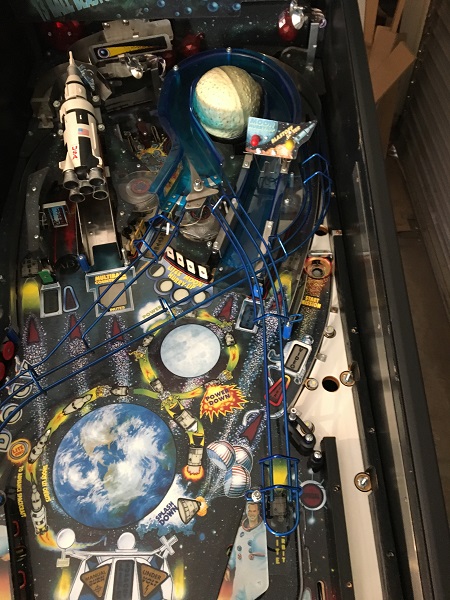
The remaining blue rails were all removed. This then allows access to remove the blue plastic ramp and the artwork plastics below. I love that SEGA went with a transparent blue ramp with this game as it suits the theme well. Removing the rails is pretty straight forward, although in some spots a plastic piece or two had to be removed first. With the rails removed, I now had clear access to the blue ramp. This has a diverter, which is not activated by a coil, but alternates between left and right exit as a ball passes through it – much like the second face panel in Bride of Pinbot.
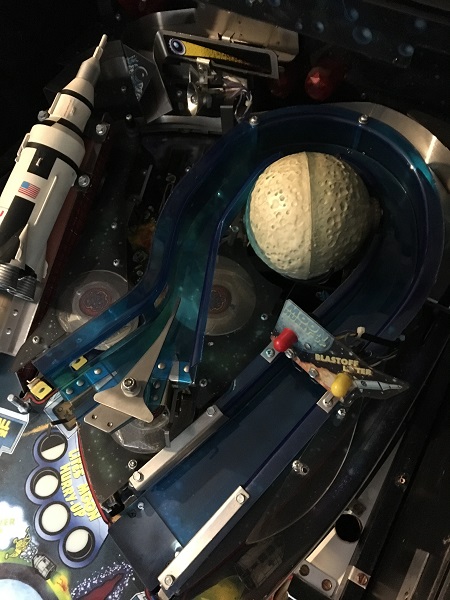
Under the ramp are a series of star flashers which will look really neat when lit up during play. The surface below here is quite filthy and well overdue for a clean. Most surfaces in this area have a dull look to them from the dust. Not to worry though as that wipes off easily enough and will look as good as new in no time.
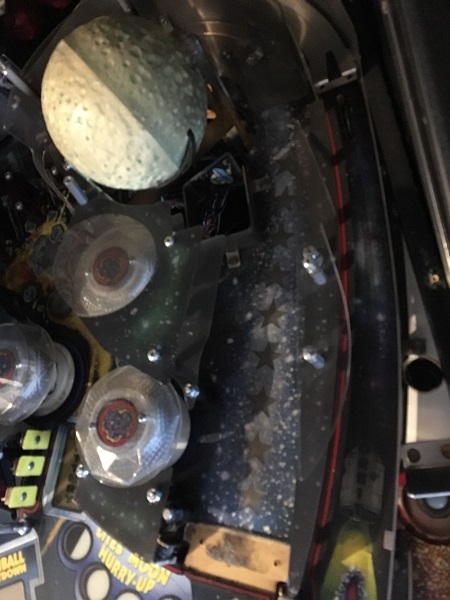
Next step was to remove the plastics around the pop bumper area so I could access the pop bumpers for cleaning. I want to clean up the white and yellow target banks too and replace their old foam pads with new ones.
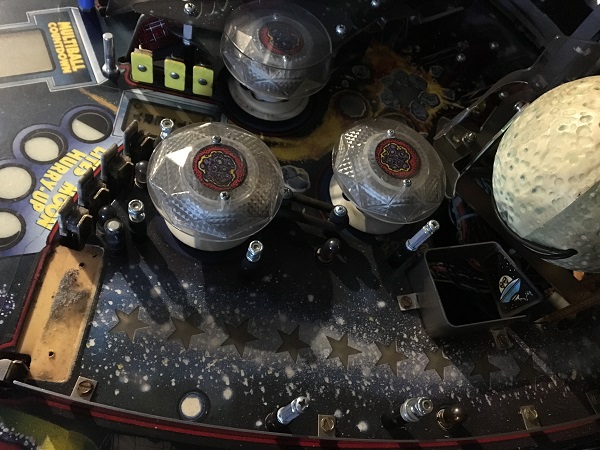
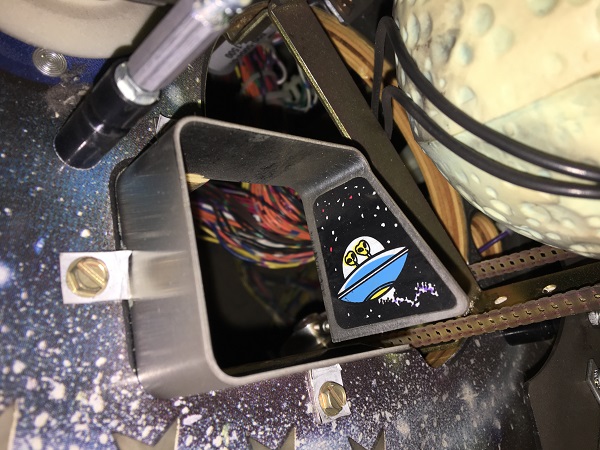
One interesting little thing I found tucked away under the moon is a small decal with a UFO and aliens. I’ve never seen the movie but I’m pretty confident there was no UFO or aliens present, which makes me think it’s a neat little easter egg tucked away in the game. So even alien life and UFO’s get more references on this pinball game than Tom Hanks..
The remaining plastics and posts were removed from the pop bumper area, giving me free access to clean the playfield surface. The small metal parts went into the tumbler for cleaning.
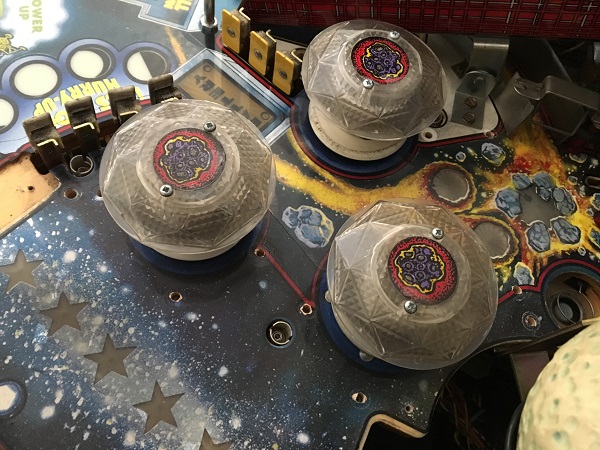
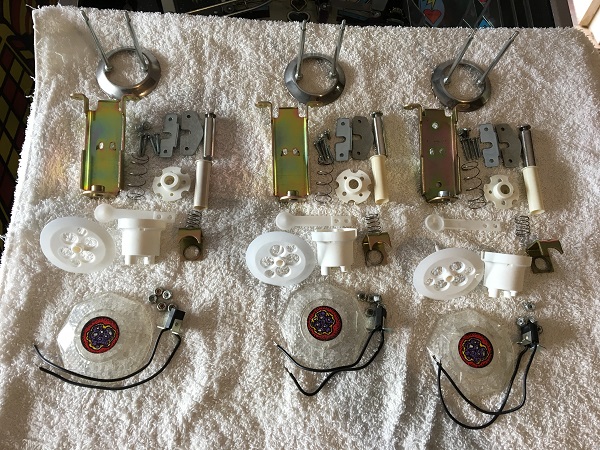
The three pop bumper assemblies were removed from the game for cleaning. As expected they are filthy.
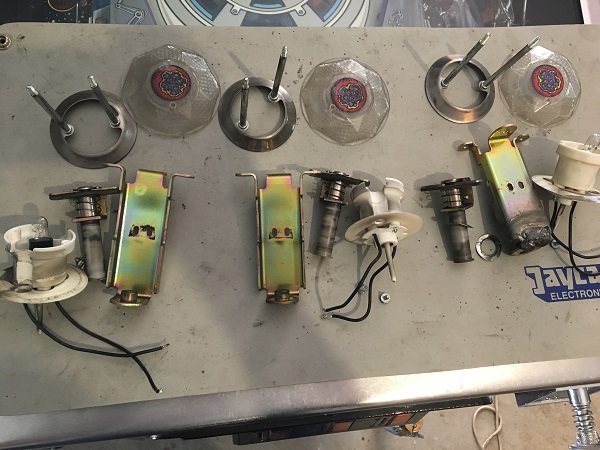
One of the pop bumper brackets had been broken and welded together in the past. This is OK I suppose, but now seems like a good time to replace it with a better one!
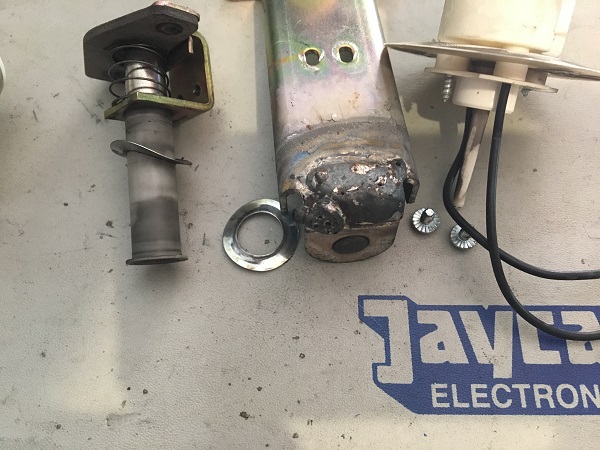
The frames, rings and plungers were cleaned up in the tumbler. New yokes (metal and fiber), coil sleeves, skirts, bodies and spoons were purchased to replace the old ones. All other parts were cleaned up. I had a spare frame to replace the old repaired one, so this was swapped in. Normally I like to replace the pop bumper caps, but these ones have decals on them that I couldn’t source, so the originals were cleaned up. They’re undamaged, so will be fine. Something interesting I noticed on the small decals are deliberate gaps in the art which allow more light to shine through for added effect.
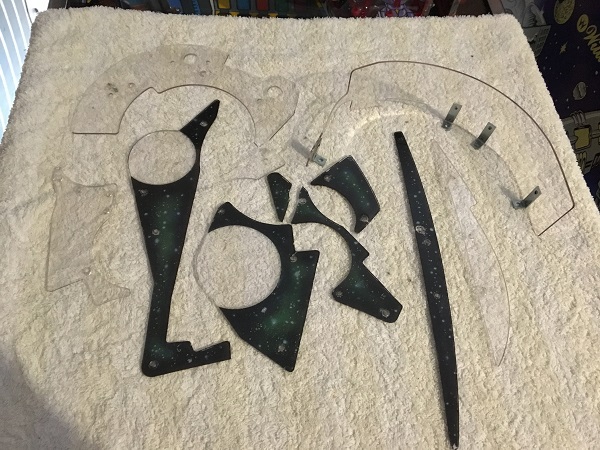
The plastics from the pop bumper area were cleaned up too. There is one plastic that is broken and I managed to find the broken piece hidden behind one of the stand up target banks earlier. I’m going to have a go at repairing it as purchasing a new one is next to impossible.
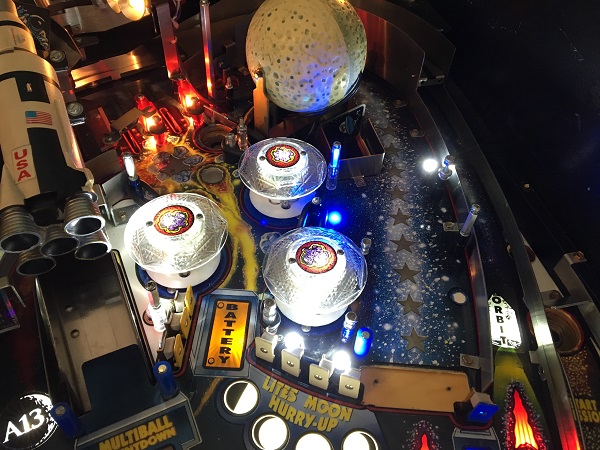
The playfield area around the pop bumpers was cleaned up and then polished. The pop bumper assemblies were installed back into the game. The whole area is looking so much cleaner now. I also replaced the old worn out target pads on the various target banks in the area. I took this opportunity to wipe the moon clean too as it was covered in a thin layer of filth from its years of service. A couple of the black posts were replaced with transparent clear and blue posts to allow more light shining through.
With the pop bumper area out the way, time to head higher up on the playfield again and look at the top left and right corners. There is a large metal rail that runs all the way around the top and down into the mid section of the playfield. This rail prevented me from fully completing the middle section in the last update as a few of the screws attaching it to the playfield are under the middle playfield plastics.
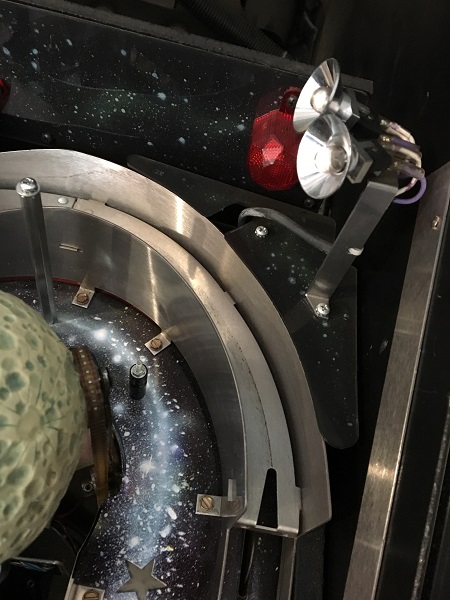
The left side is a little more complicated as it has the 8 ball trough and upper trap door which controls when the balls are fed into the trough.
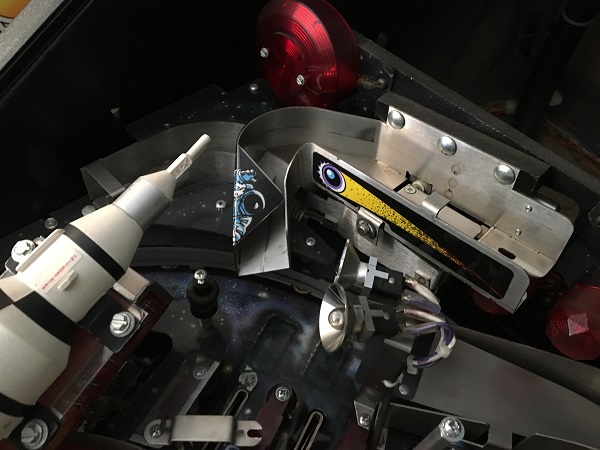
I began by removing the trap door assembly. There is a small coil that sits behind the back of the playfield to control the trap door being up or down.
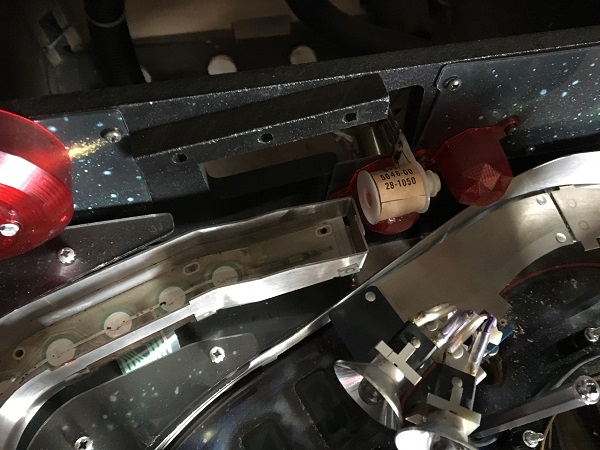
Then I could remove the ball trough and plastics from the top right corner. I also started to remove the plastics and flasher domes from the rear playfield panel for cleaning. The GI bulbs are all burnt and a few dust bunnies forming. I’m not surprised the GI here has not been replaced as getting to it is a real pain.
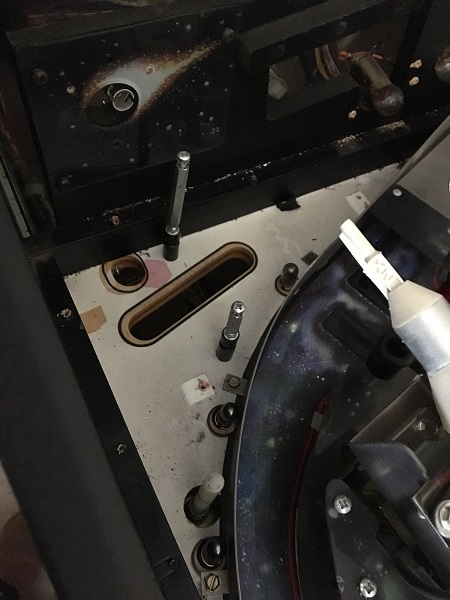
The last of the plastics were removed from the right side of the upper playfield, along with the remaining metal ball guides. There are some dirty ball trails around the orbit, but they should clean away fine. No wear or damage to be seen, which is good.
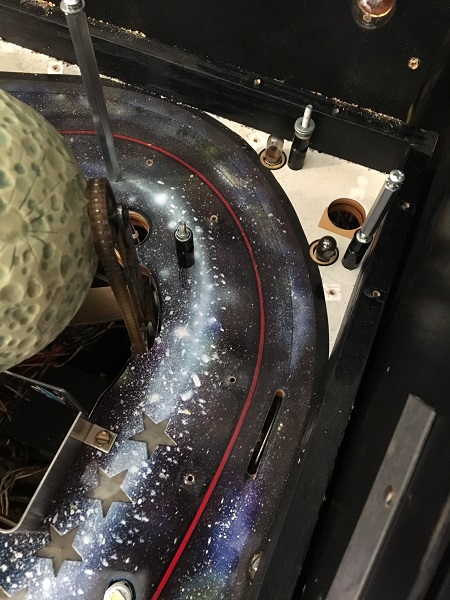
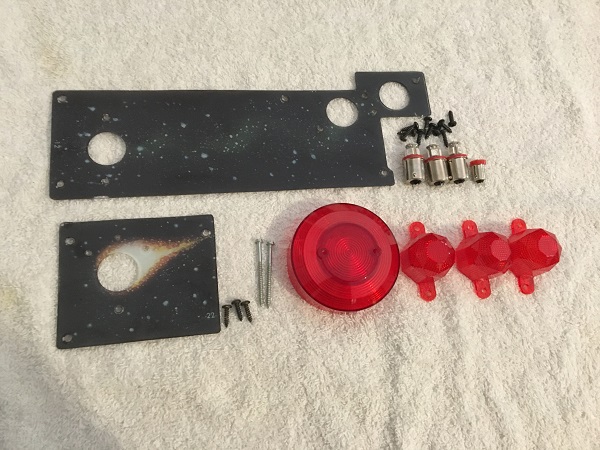
With so much removed from the upper playfield, now seemed like the best time to clean up the plastics and flasher domes from the back panel of the playfield. They are difficult to get at with the playfield populated, so it’s now or never. All the parts were cleaned up and LED’s will be used to replace the old bulbs.
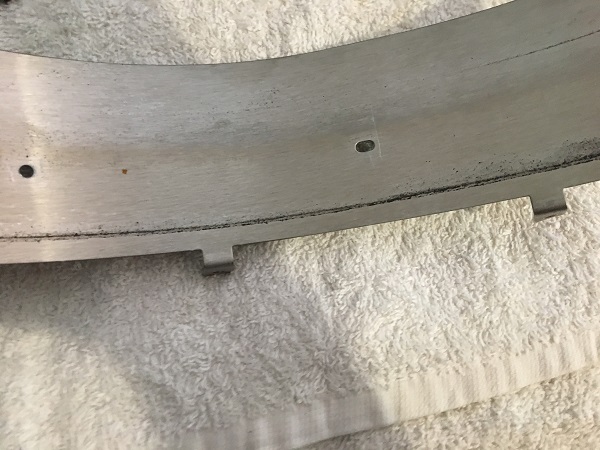
Along most of the metal rails is a nice dirty ball trail. This will clean up easily enough though.
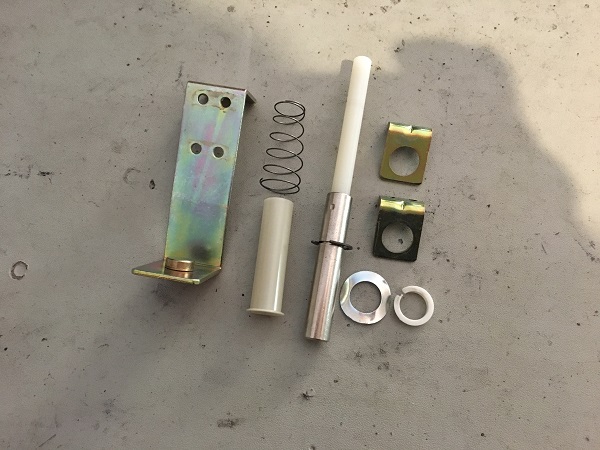
The ball trough that sits at the back of the playfield keeps the balls locked in with a small up post. The assembly is really straight forward and was removed for cleaning. A new coil sleeve was sourced to replace the old one.
The large orbit ball rail was cleaned up, along with the ramp and rear plastic that sits just below the glass trim at the back of the playfield.
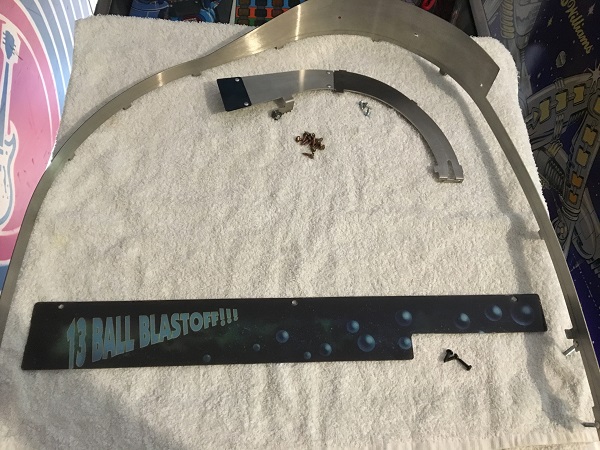
The ball trough, trap door and second large metal rail were all cleaned up next.
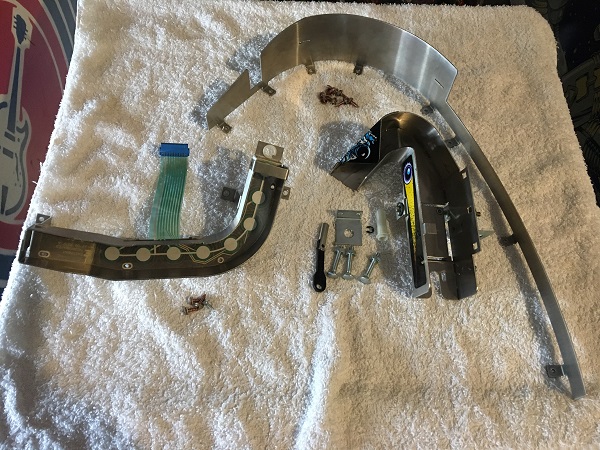
The plastics, flasher domes and lamp shades were up next for cleaning. The small metal posts went into the tumbler for a clean.
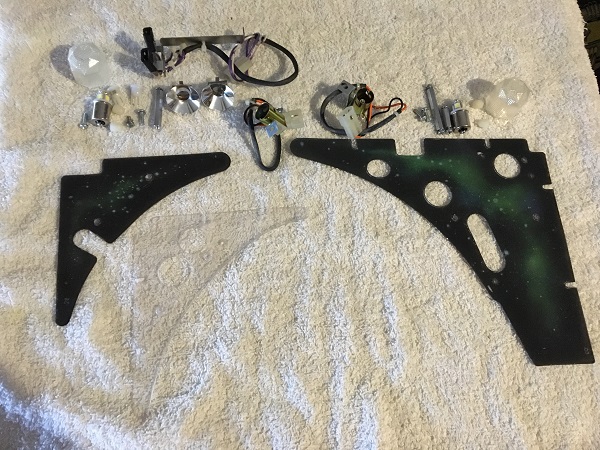
The upper playfield areas were cleaned next. All the dirty ball marks cleaned away no problems. With all the parts from the top of the playfield now cleaned, I could start installing them again. The metal rails and posts were all installed once more, along with LED’s to replace the old globes. The back panel plastics were also installed once again.
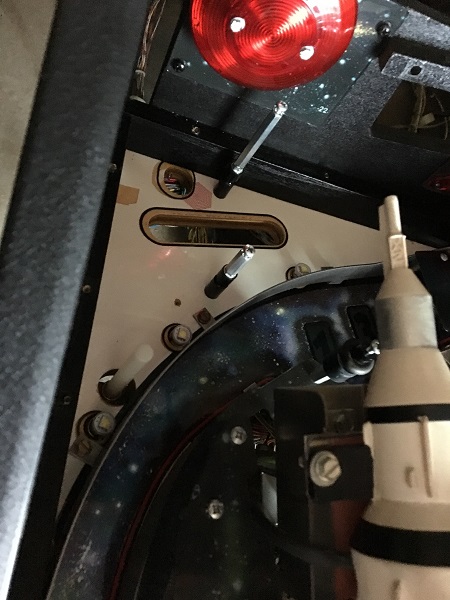
The right side of the playfield was the same. Playfield cleaned up and parts installed.
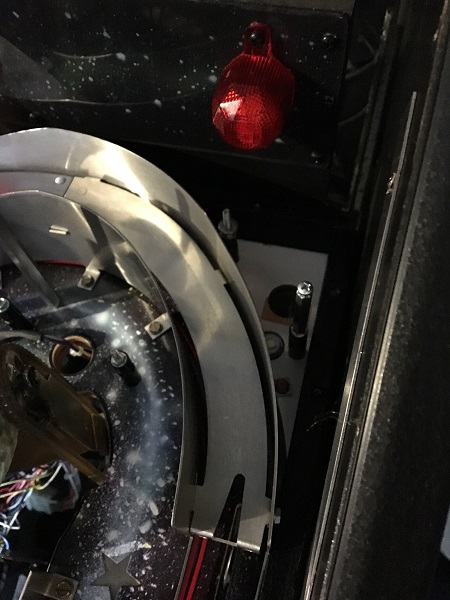
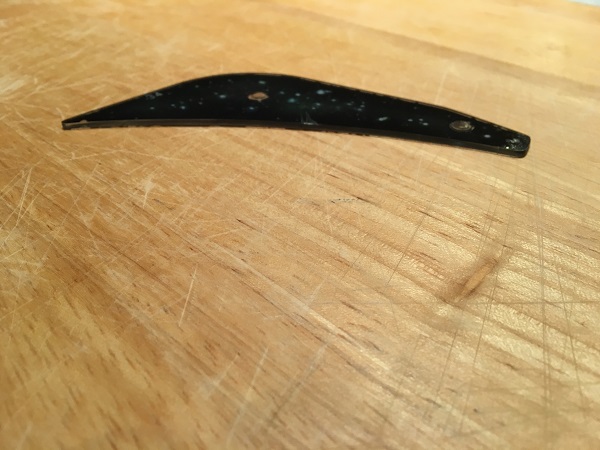
A few of the plastics on Apollo 13 were warped and this one was the worst of them. Flattening them out is easy enough though with some heat.
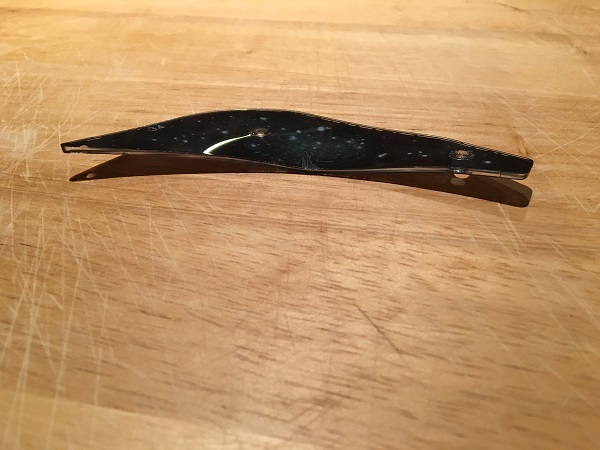
The plastic was heated up and the sandwiched between two small sheets of glass. The result is a nice flat plastic ready to go back onto the machine.
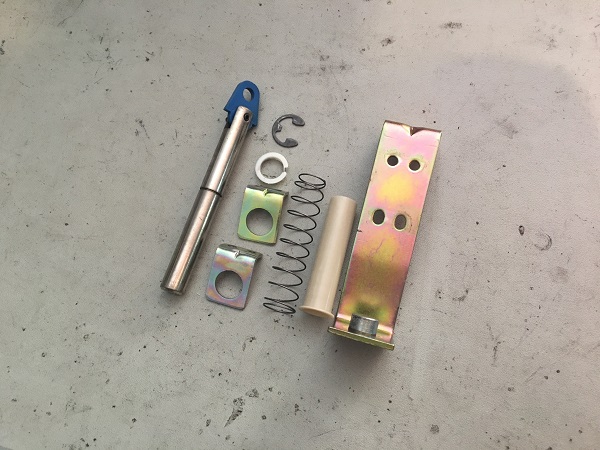
The ramp lift / drop assembly was up next. This was another simple one to look at and only needed a clean. The assembly was disassembled and the parts cleaned. A new coil sleeve replaced the old dirty one.
The last of the parts from the top playfield area were installed again to complete the upper section. The game is cleaning up nicely.
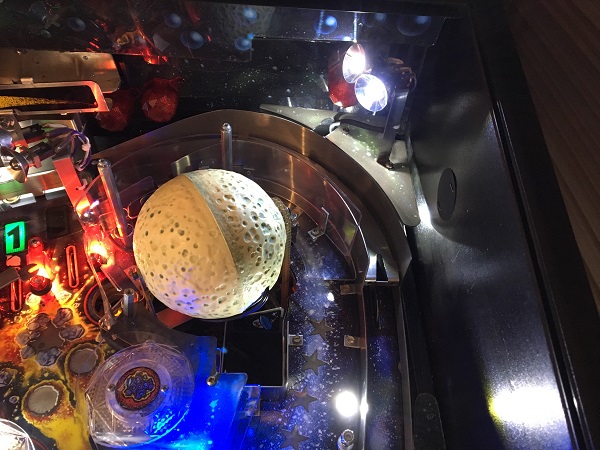
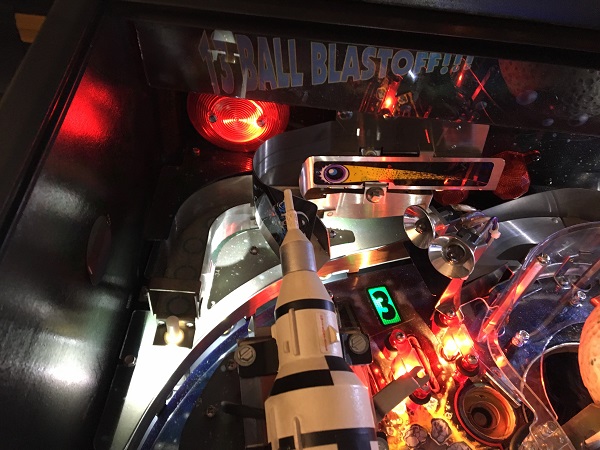
Because I had completed the top section and had the orbit rails were installed again, I could properly complete the middle playfield section and get its remaining plastics back onto the playfield. The playfield is now (almost) completely LED’ed out and looks so much brighter (and cleaner). Many of the old GI globes were dead and probably had been for many years. It would be easier to just remove the sockets from under the playfield than go through several layers of ramps and plastics to swap out a dead bulb. The owner won’t have to worry about that with LED’s though.
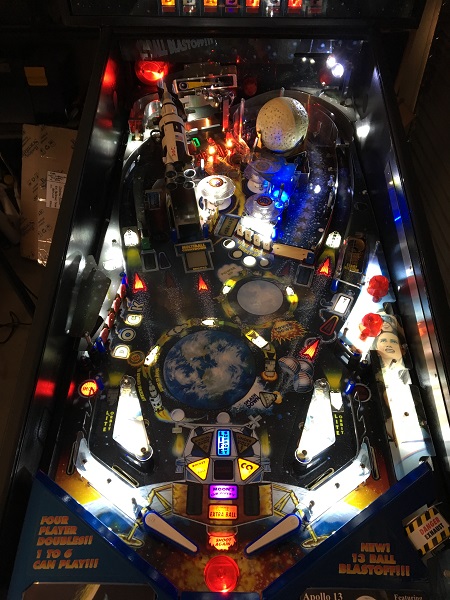
That’s it for another update. All that remains now is the small area where the rocket is, along with the two in lanes at the top and then the playfield is done. I had been planning to include that section in this post, but the update was already getting quite long. In the next update I’ll have the playfield finished off and hopefully back together again for some testing!
