It’s time to wrap up the work on my Star Trek 25th Anniversary so I can have it back together and playable. The last section of playfield to look at is the top. This area is home to a set of three pop bumpers and also the ramp raise/lower assembly. The lower pop bumper was missing its cap, but I located this a few weeks earlier at the back of the cabinet. It was quite filthy, so can assume that it’s been lost there for awhile. The ramp is missing the small blue metal flap, which I want to replace.
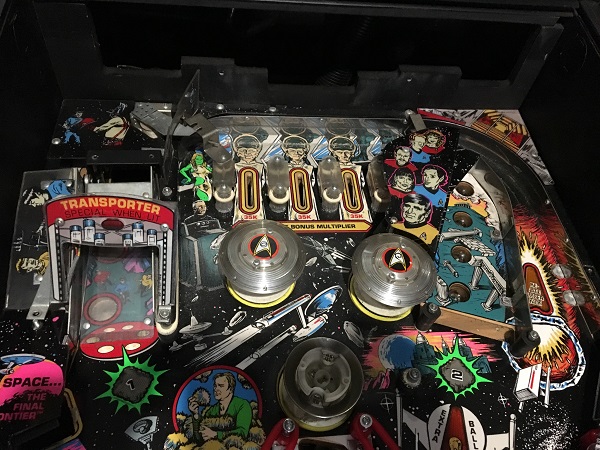
First step was to begin removing plastics. There are some nice ball trails around the orbit shot. It’s not surprising given how dirty the shooter lane was. I don’t expect there will be too much trouble cleaning it all away though.
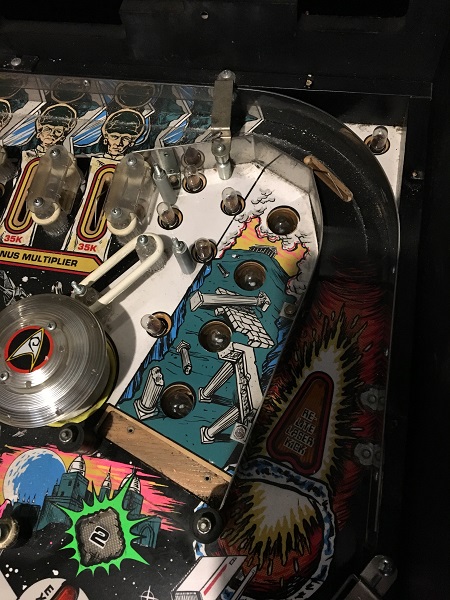
The left side also had its plastics removed, along with the ramp assembly. The playfield has a nice layer of filth that needs to be cleaned up.
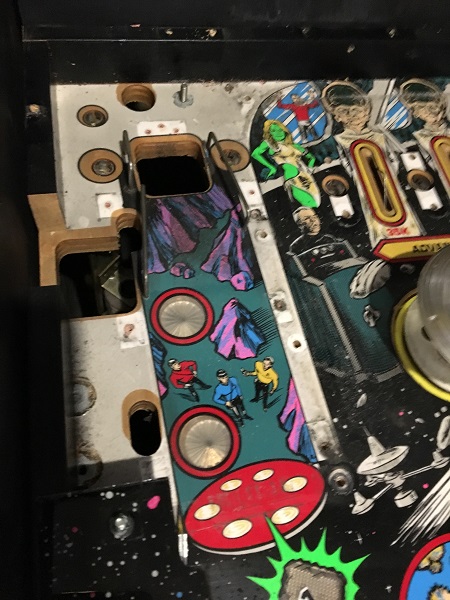
The remaining playfield parts were removed from the right side of the playfield.
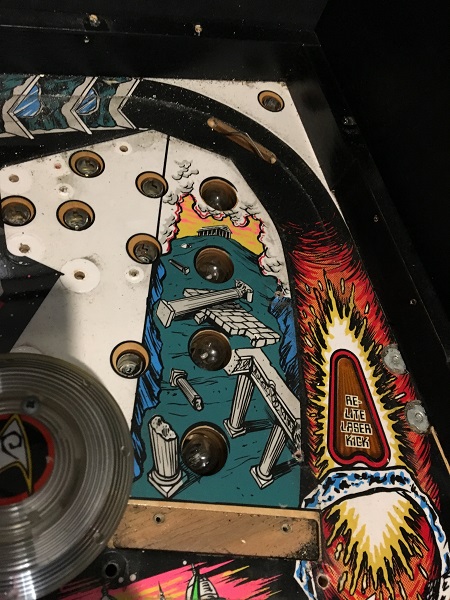
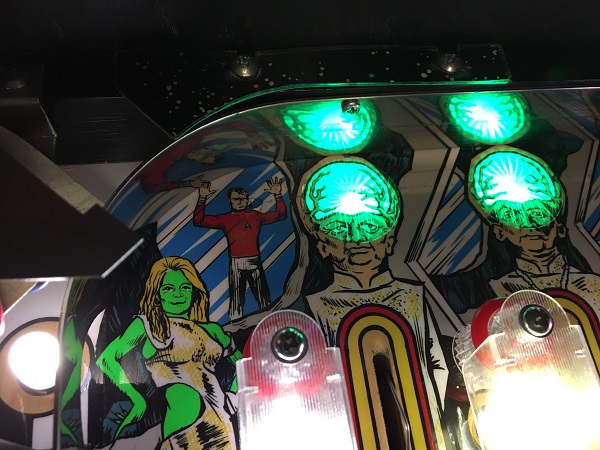
The playfield parts were also removed from the top lane section. There is a small wear patch in front of the ball gate (red shirt guy – they always get killed off in the show and even in pinball playfield art are the ones to take the hit).
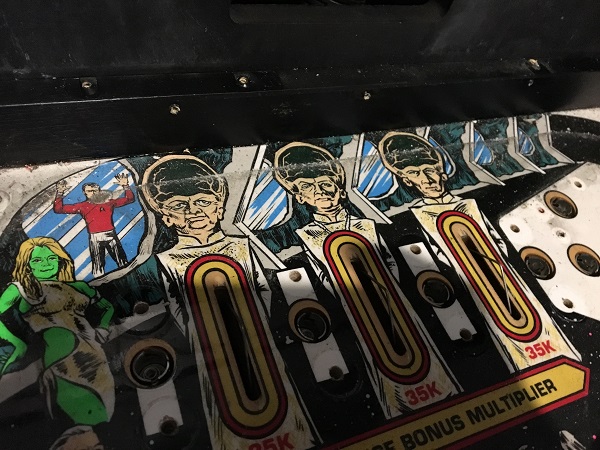
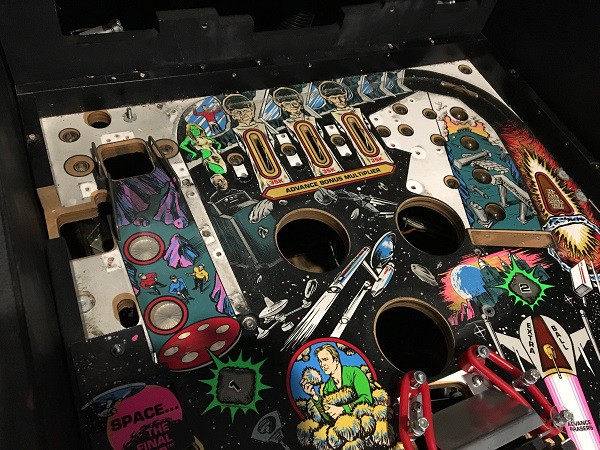
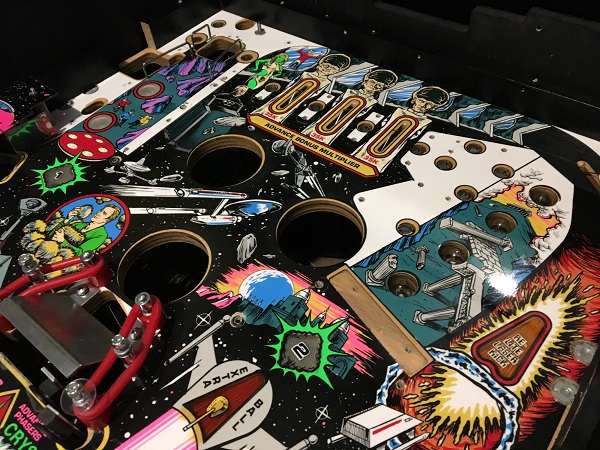
The pop bumper assemblies were next to be removed. The upper playfield are was now completely stripped bare and ready for cleaning.
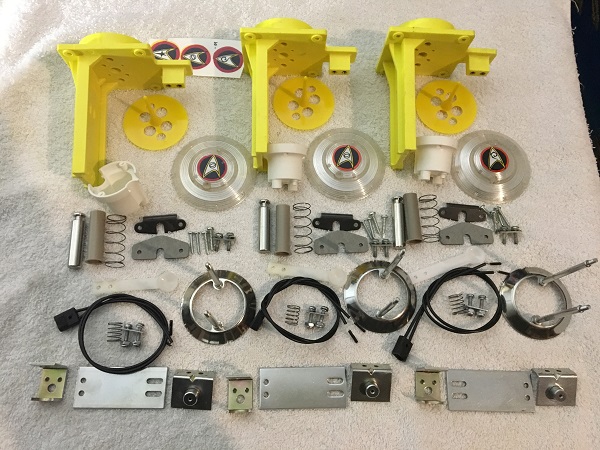
First up for cleaning are the pop bumpers. Parts like the coil sleeves, yokes (metal + fiber), lamp sockets, skirts and bodies were all replaced with brand new ones. The remaining metal parts went through the tumbler for cleaning. I had a set of new decals to use on the caps. I had wanted to buy new caps too, but I could not source them, so the existing ones were cleaned up. New spoons for the pop bumper switches were also purchased, along with colour changing LED’s for the lamps inside the pop bumpers.
The playfield surface was cleaned up next, wiping away the years of dust and filth that had accumulated. The playfield is in beautiful condition.
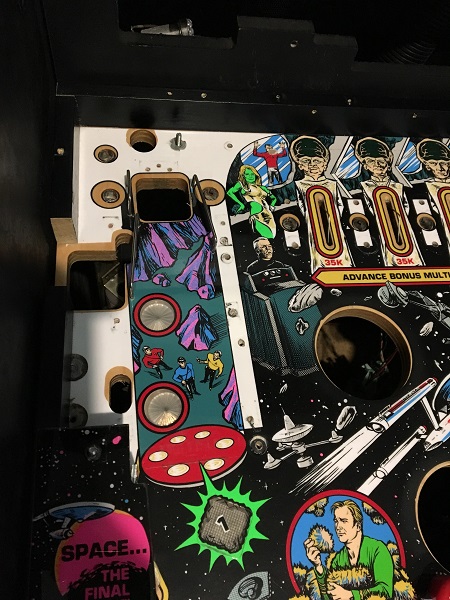
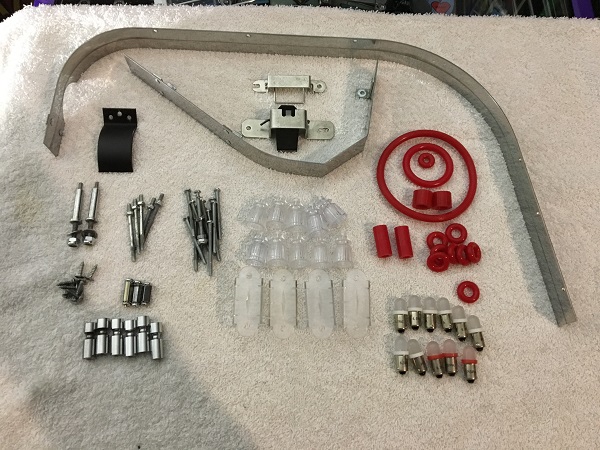
Since the playfield was cleaned, it’s time to clean the parts to go back on. New star posts and lane guides were purchased, along with red rubbers from Titan. All small metal parts went through the tumbler and the large rails were cleaned by hand.
The playfield parts and pop bumpers were installed back on to the playfield. Already it’s look a million times better.
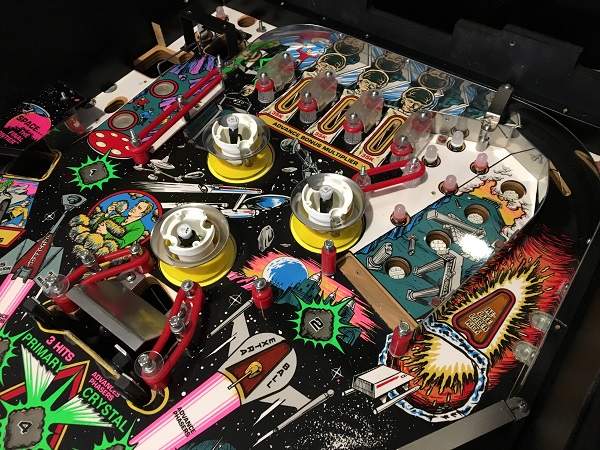
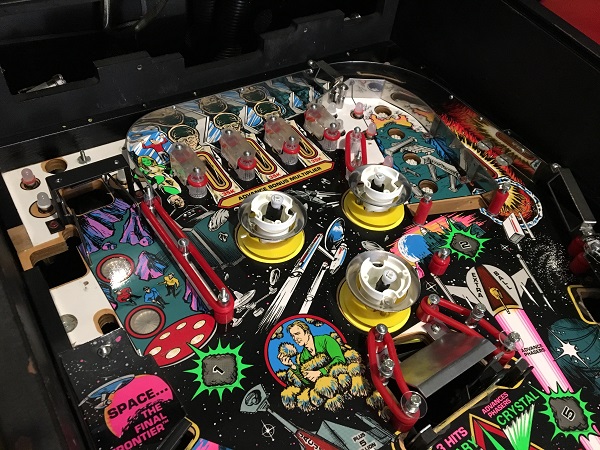
The upper playfield was now coming together nicely. Lit up, it looks great!
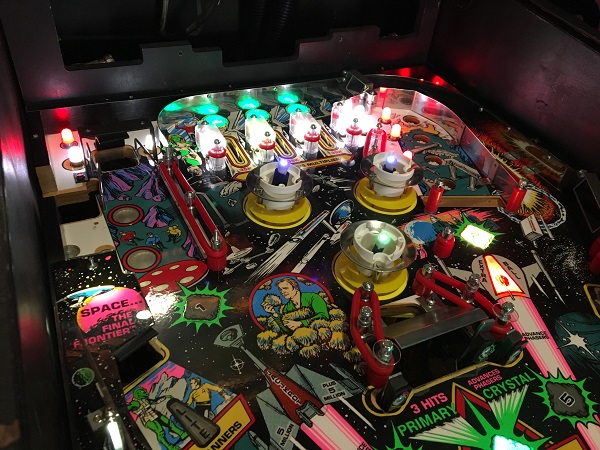
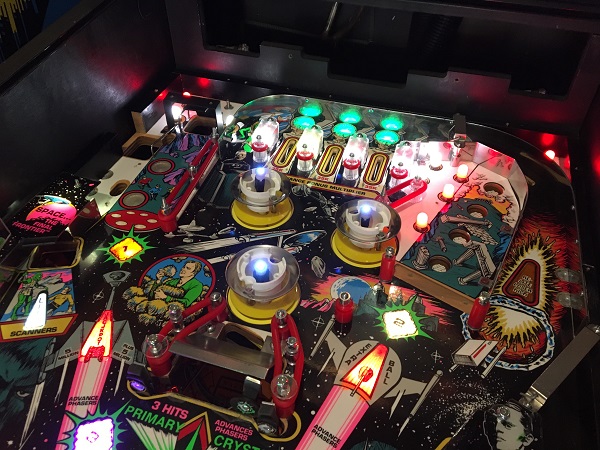
The colour changing LED’s gently fade between colours, which gives a really nice and subtle effect.
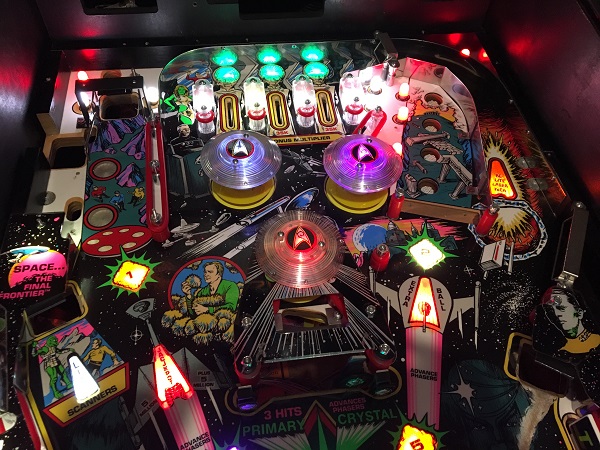
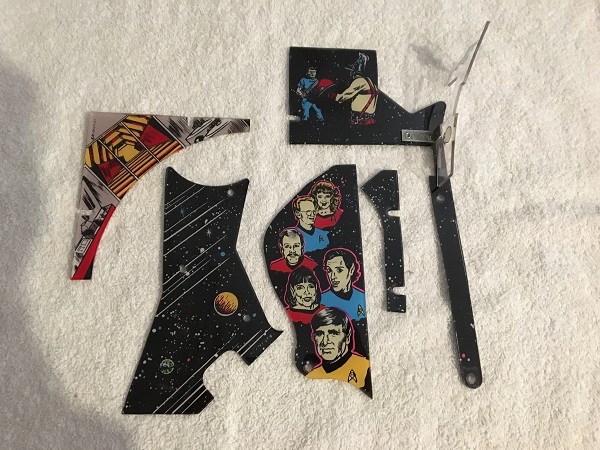
The plastics from the top area of the playfield were cleaned next.
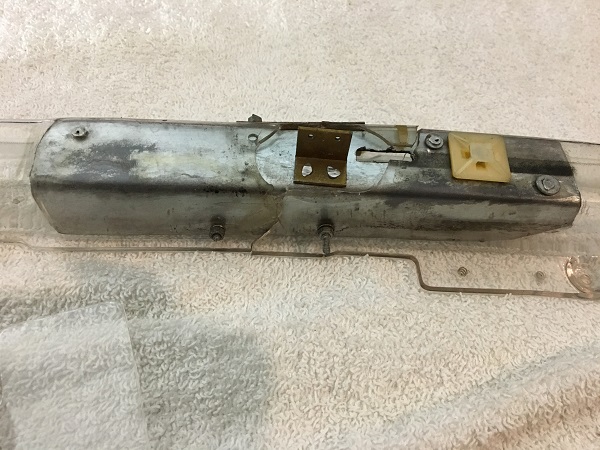
The subway ramp needed a clean too. This thing has seen some action over the years and has had some repairs to keep it together.
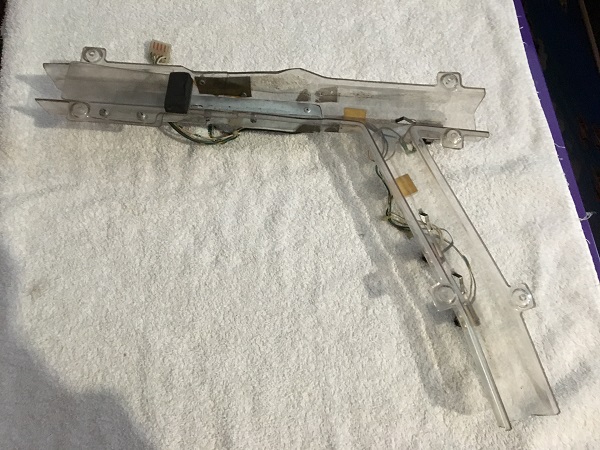
These under playfield ramps get quite dirty over the years and rarely get cleaned. This one wasn’t too bad, but we’ll clean away the filth that had collected.
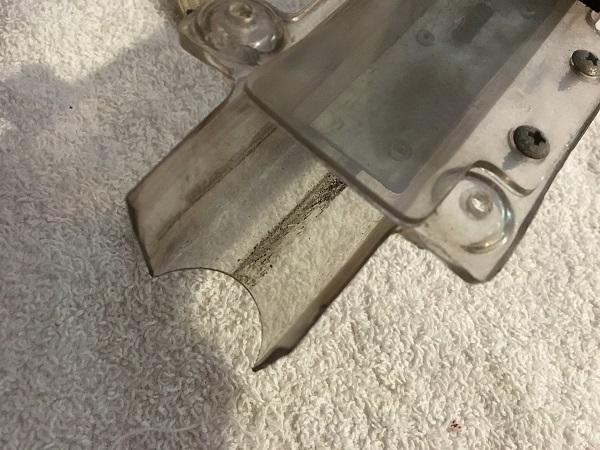
The ramp was cleaned up, ready to go back into the game.
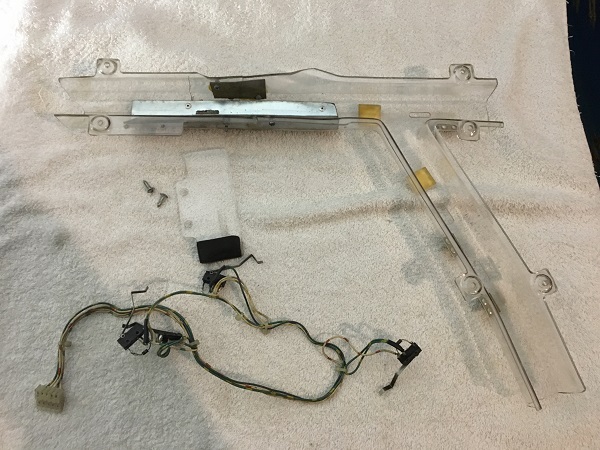
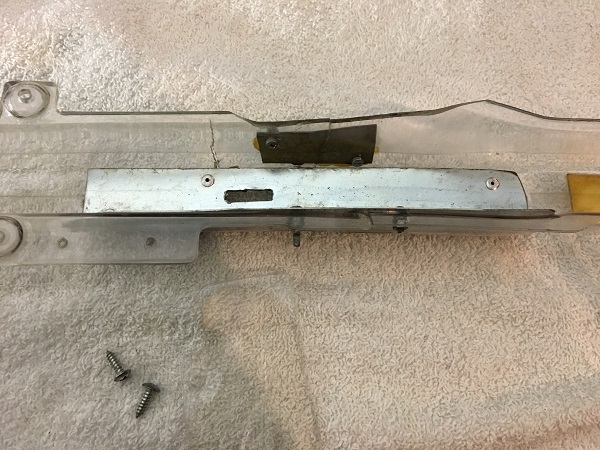
Over time, the ramp has had a few repairs to keep it running. Only recently was the ramp reproduced, which I plan to purchase. For now though, the repairs that were done are strong and will keep this one running for awhile yet.
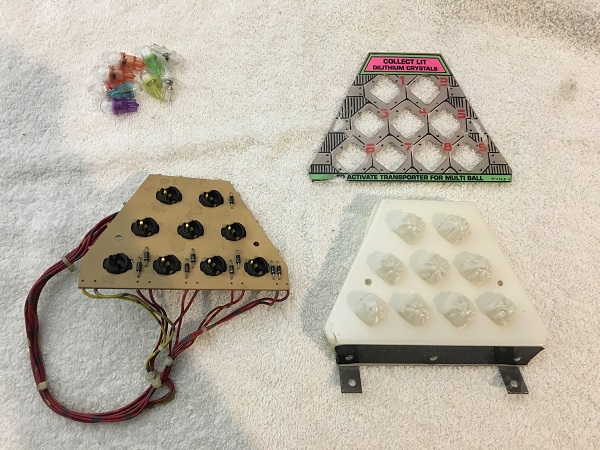
The dilithium crystals were next to be cleaned. The stand was disassembled and both plastic parts cleaned. Originally the lamps had red and green covers to provide coloured light. I’ve decided to use many different colours and match them to the colour used under their corresponding inserts. For example, the number 1 crystal will be blue and the playfield insert will also use a blue LED. The number 2 crystal will us orange to match the number 2 playfield insert and so on.
The ramp on Star Trek is HUGE. It’s all one big piece. Thankfully it’s in very good condition and only needs a clean.
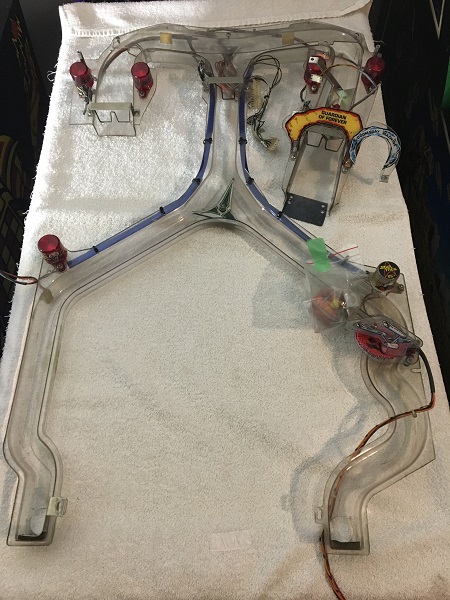
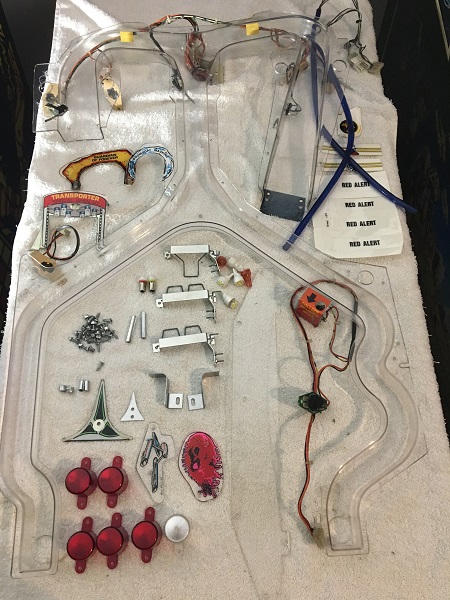
The ramp was disassembled for cleaning. All metal parts went through the tumbler for cleaning. New flasher domes were purchased, along with fresh decals. The globes and flashers will be replaced with LED versions. All plastics and the ramp itself were cleaned up with Nifti and finished with Novus.
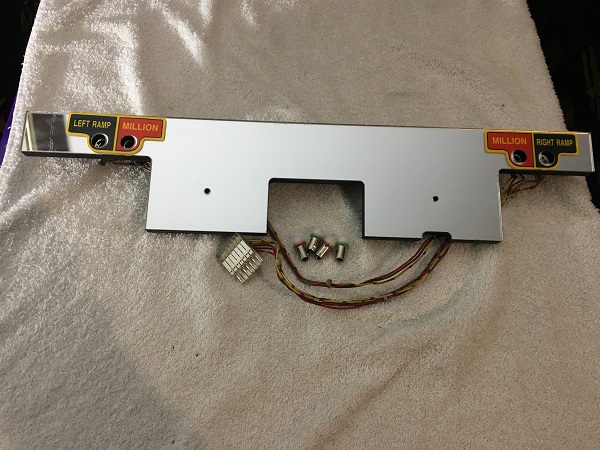
The mirror panel from the rear of the playfield was cleaned up next. One of the lamps was found to be not working, which was due to a wire that had broken off. The wire was soldered back into to place and the 4 globes were replaced with LED’s.
I wanted to repair the two wear spots before getting the remaining parts back on to the playfield. First spot was at the top of the playfield at the lanes.
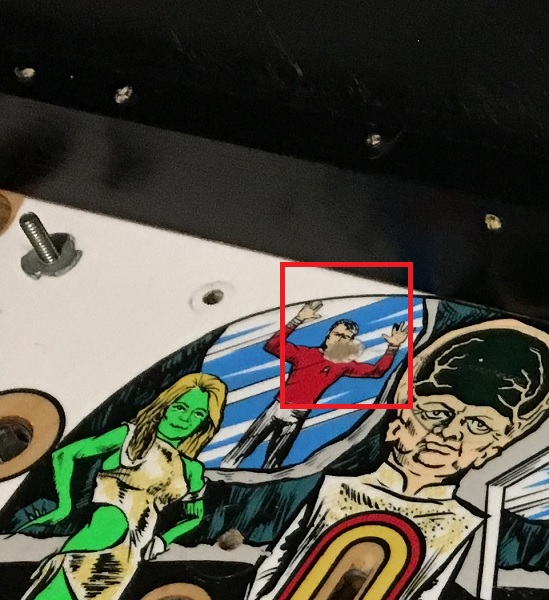
The small wear spot at the top of the playfield was patched, touched up and then covered with a small mylar patch.
The second area of wear (and much more serious) was in front of the scoop. This is a very common wear spot on this title.
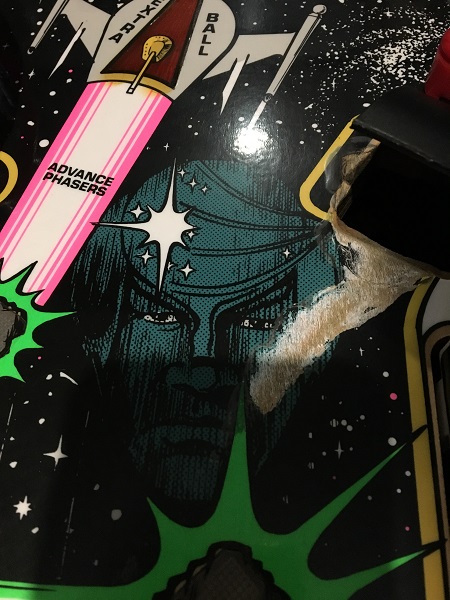
The much larger wear patch at the front of the scoop was also fixed up and covered with mylar to prevent further wear.
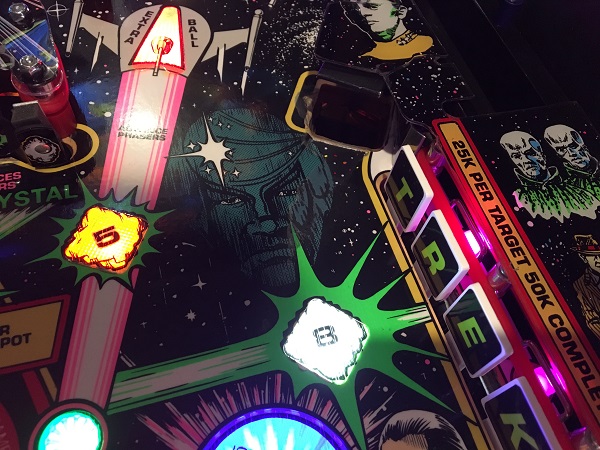
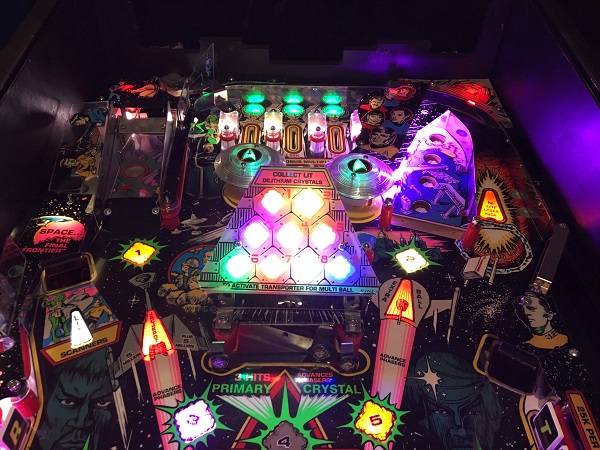
The crystals panel was installed back on to the playfield and connected up again. I found the bright LED’s a little too bright and decided to swap them over to the frosted style.
A small “upgrade” I like doing to most of my machines is adding back lit flipper buttons. You can buy plug and play style kits which are easy to install, but they’re not exactly cheap. I like to buy the parts myself and put a set together. I’ll draw the power from the coin door lamps.
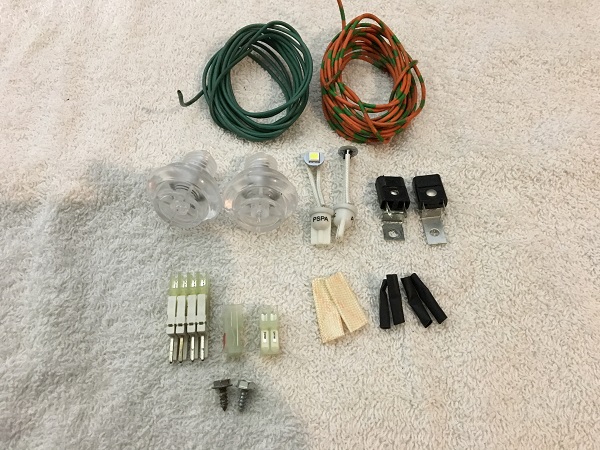
The clear buttons and LED wiring were installed into the cabinet, with the power run from the coin door.
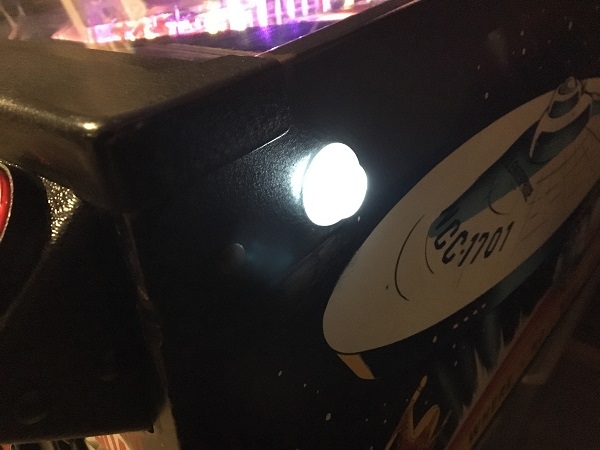
The old globes in the headbox were replaced with frosted LED’s.
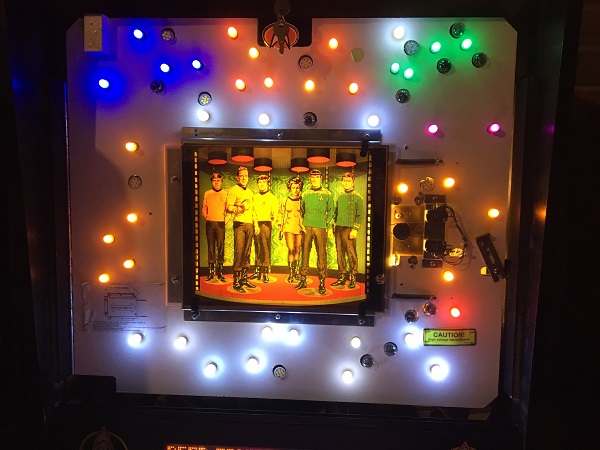
The game was now fully back together and ready for play.
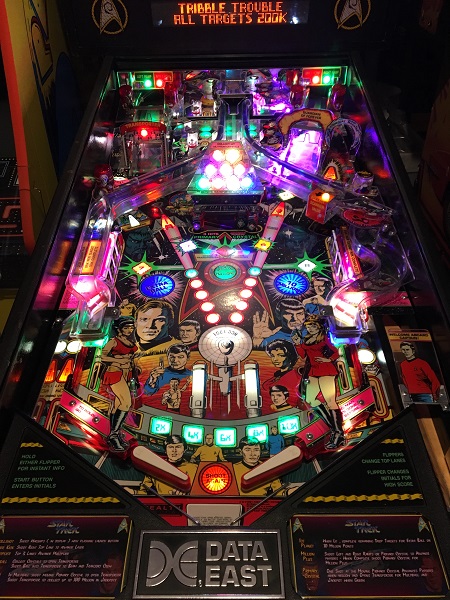
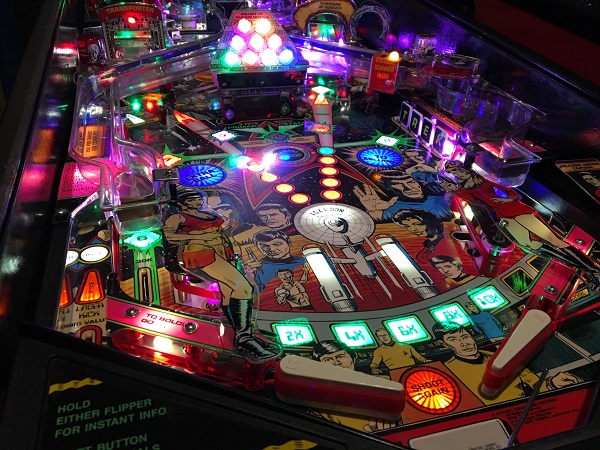
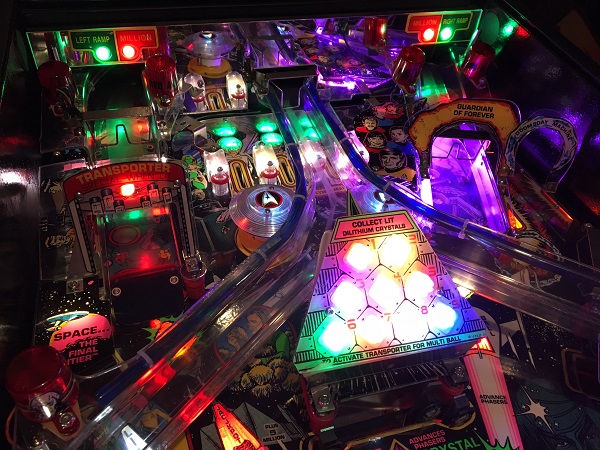
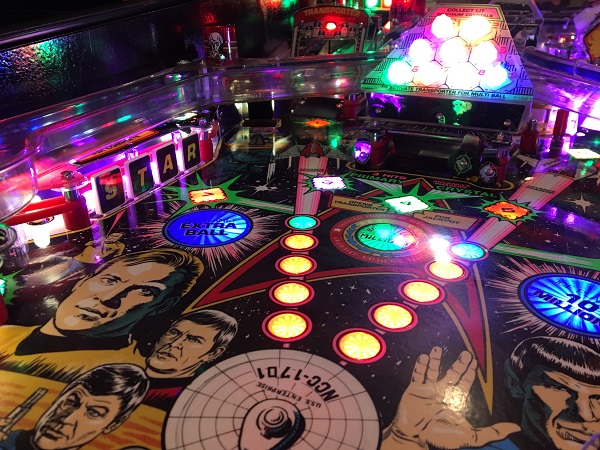
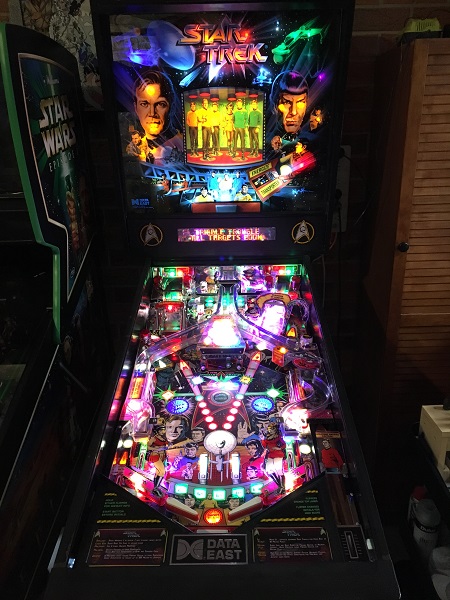
That’s it for now. I have plans to powder coat the rails, lock down bar and legs at a future date. For now though, it’s time to sink some play into the game and enjoy it. It has an amazing amount of episode references in the artwork, which I love. Star Trek is a great pin and a fun example of early DMD games. It doesn’t have the rule depth today’s games have, but there is plenty there with the “just one more go” factor.
