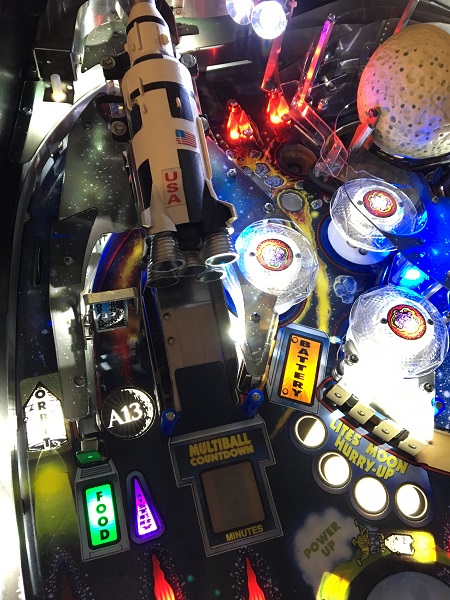
Time to wrap up the work on Apollo 13 and get it back into one piece for testing. First item on my to do list in this update is the rocket assembly, as it’s the last outstanding part of the playfield to get a clean. Then I can go through the process of getting everything back together (which is mostly the rails) and test the game. The end is in sight, which is exciting as I’m keen to play (…test) it. Time to get started! The rocket ship is the shot responsible for working towards the 13 ball multi ball mode. There is a ramp you shoot the ball up and a small assembly at the top which traps the ball, updates the countdown and then returns the ball back to the player. It is connected to a motor below the playfield, which performs a lift off and drops the ball into the large red ramp below the playfield.
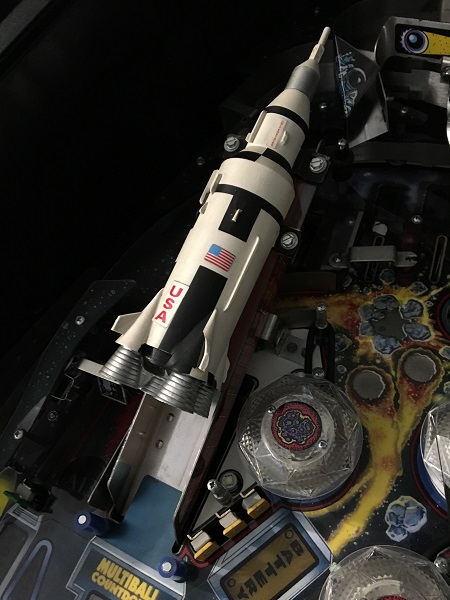
The rocket assembly was removed from the playfield and set aside for cleaning. The globes, posts, rails and plastics from the area were also removed and set aside for cleaning. The playfield is a bit dirty, much the same as I found elsewhere on the game in previous updates.
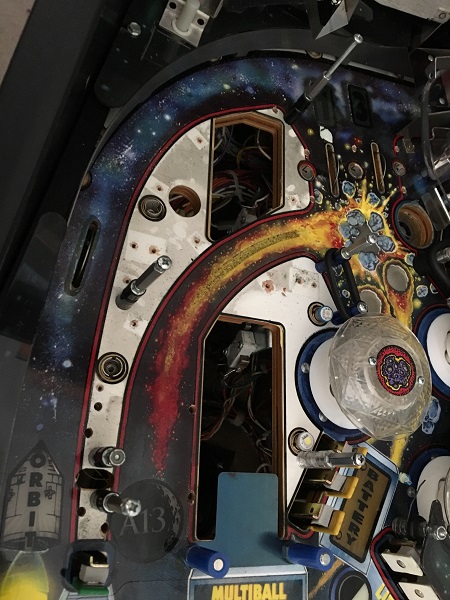
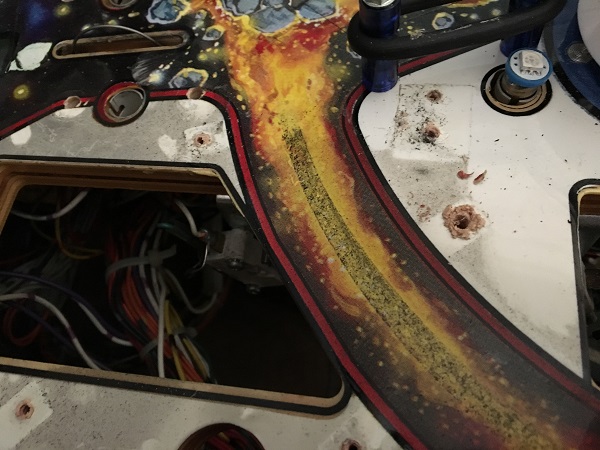
There are heavy ball trails around the left shot of the rocket. These will clean away easily though and you can already see where I had been cleaning in an earlier update.
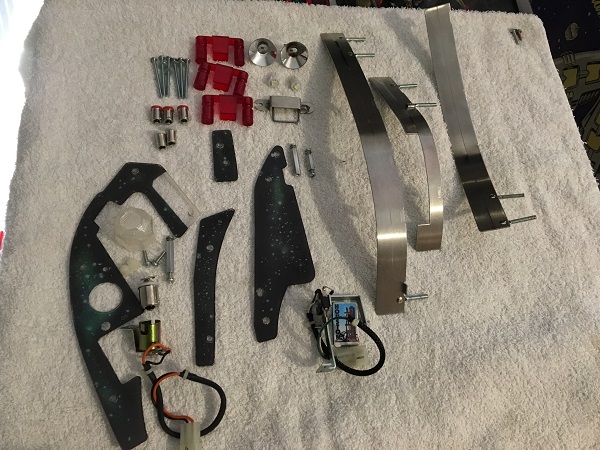
The metal rails and plastics were cleaned up. New red lane posts were purchased. The last of the bulbs will be replaced with LED’s. The decal on the spinner was still in really good condition so didn’t need to be replaced.
Since all the parts were off the playfield in this area, the playfield was cleaned up to remove the filth and ball trails. The cleaned parts were installed back onto the playfield.
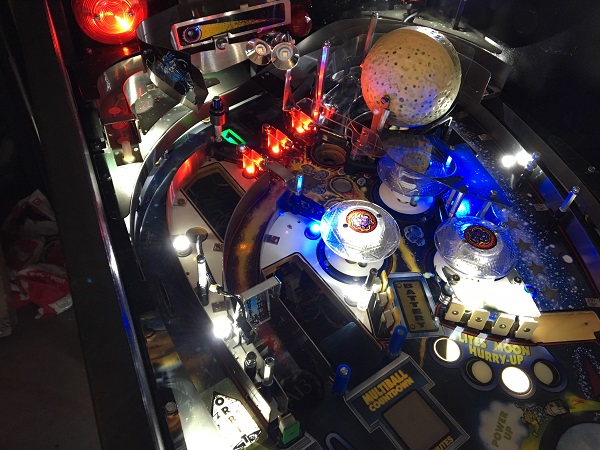
The game is now completely LED’ed out and looking so much nicer and brighter. Before I sort out that rocket assembly, there is something else I want to do first.
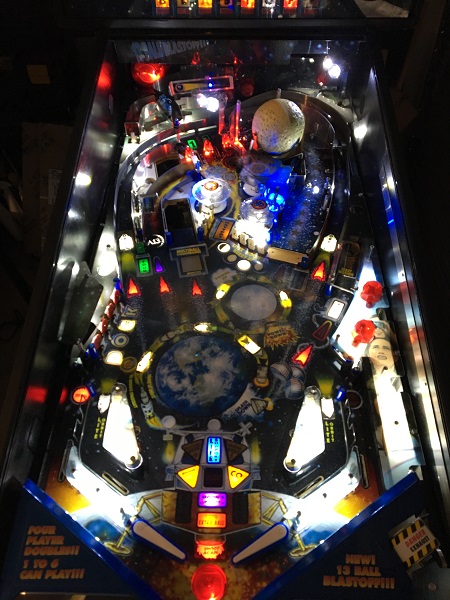
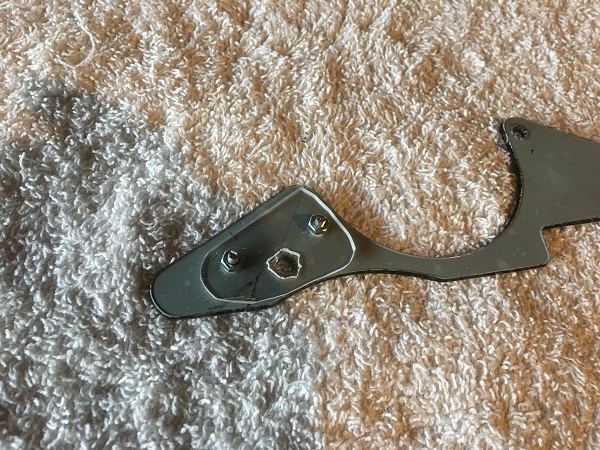
One thing that has been on my to do list for a couple of weeks is sort out the broken plastic. This piece lives on the left side of the pop bumper area. I found the small broken piece hiding behind one of the stand up target banks. They are tough part to replace, so thought it was worth while having a shot at fixing it up.
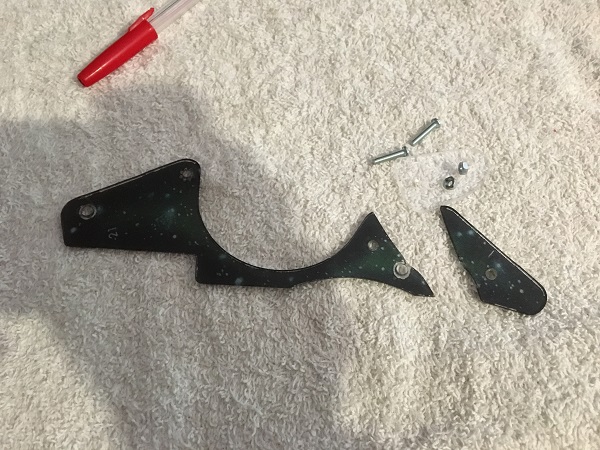
The two sides are then joined together with 2 tiny bolts and the clear acrylic.
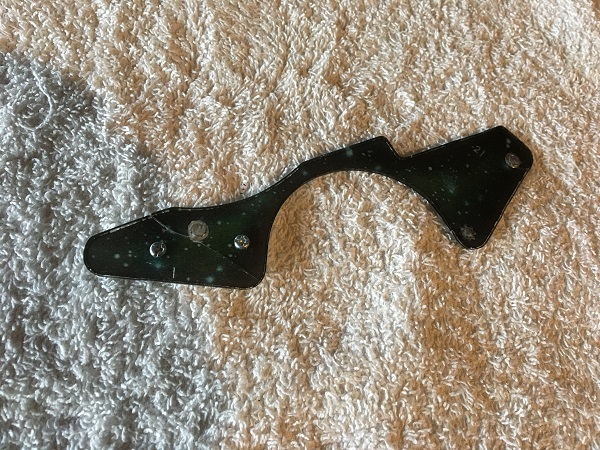
Underneath you can see the thin piece of clear acrylic used to join the two sides together. The post hole is cut larger than needed as we want the plastic to sit level where it was before.
Installed, you can barely tell it’s broken and the extra screws don’t look out of place. It’s not perfect, but I think a suitable result considering a new one couldn’t be purchased.
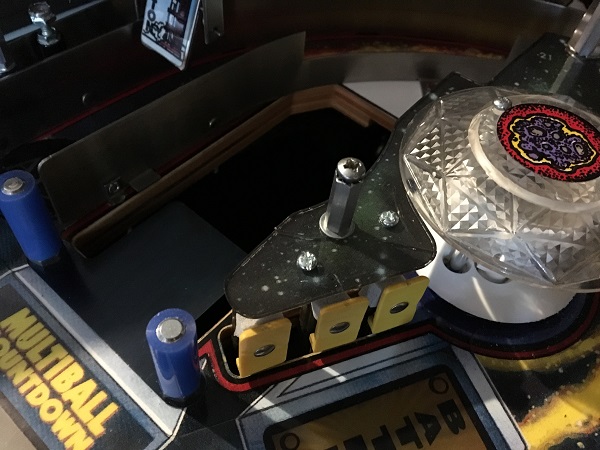
The knocker assembly was next and removed from the game for cleaning. A new coil sleeve was sourced to replace the old one.
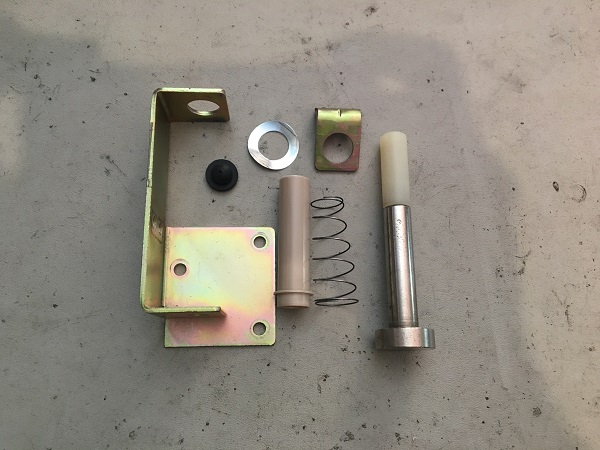
The rocket assembly that had been set aside was dismantled and cleaned.
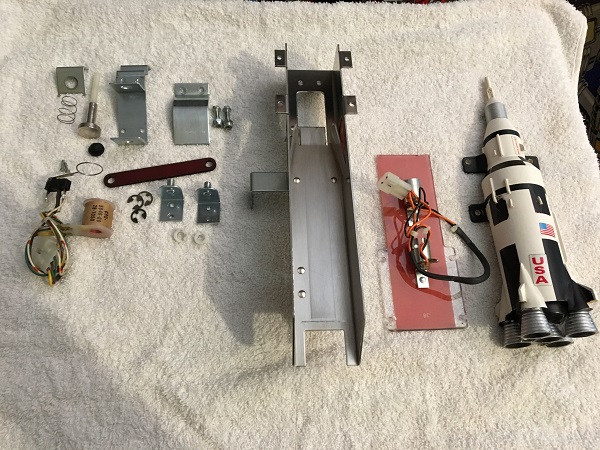
The rocket was then rebuilt and installed back onto the playfield.
Next up was the blue ramp, which is in need of a clean before being installed. A nice collection of black dust had formed on both sides of the ramp.
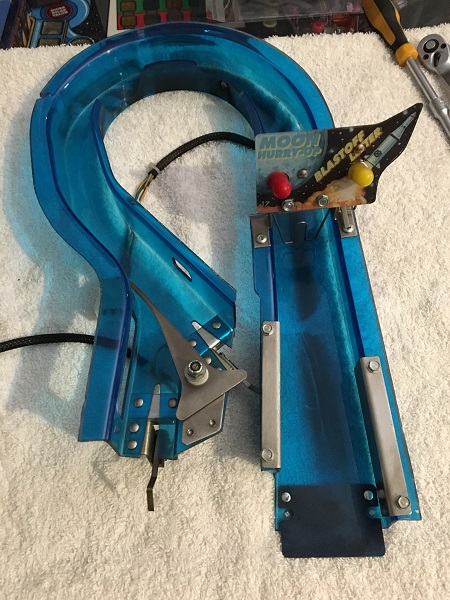
The metal parts were removed from the ramp and put into the tumbler for cleaning. The ramp was wiped down and the plastic cleaned. The ramp was ready to be rebuilt and installed back into the game.
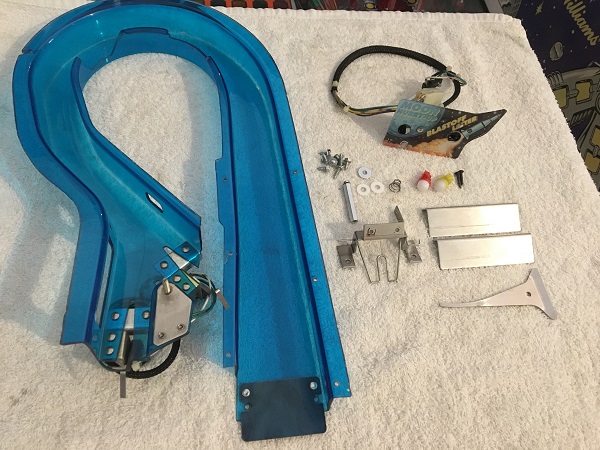
With the blue ramp rebuilt it was installed back onto the playfield. The remaining blue rails were all cleaned up and installed again too. Finally, the large red ramp under the playfield could be installed once more and 13 new balls were installed into the two troughs. The game was now back together and ready for testing.
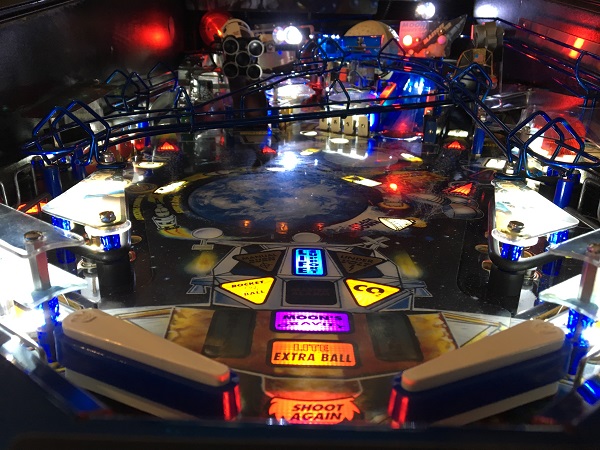
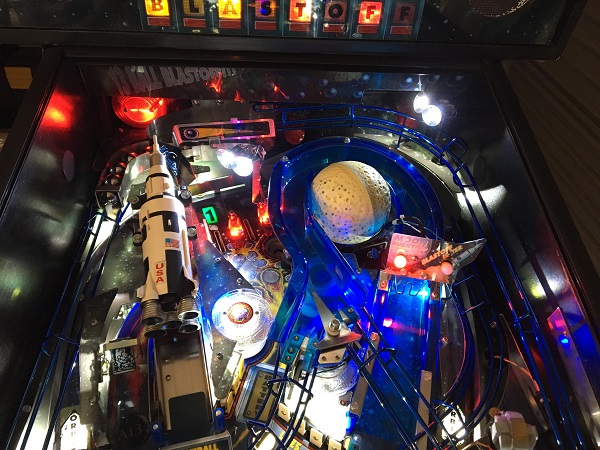
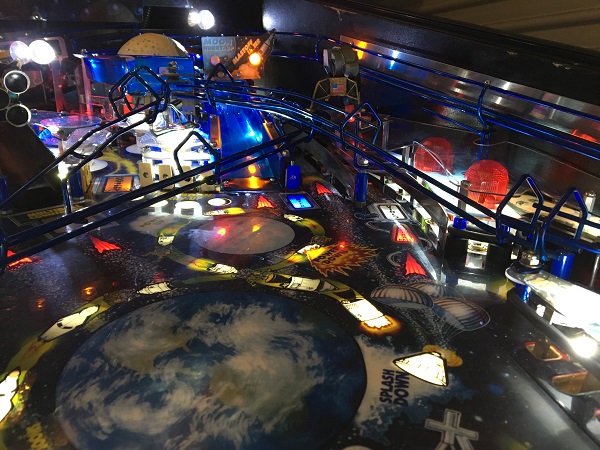
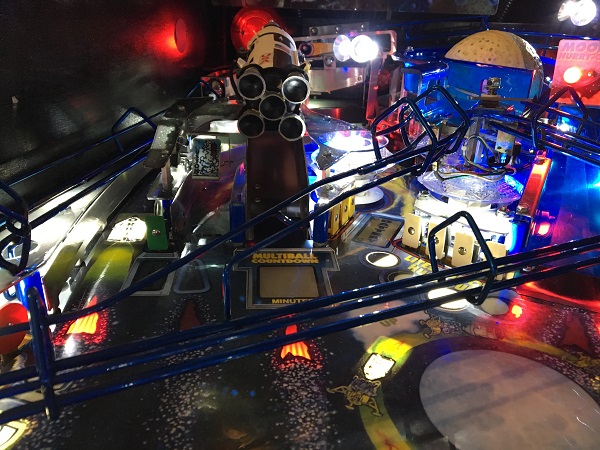
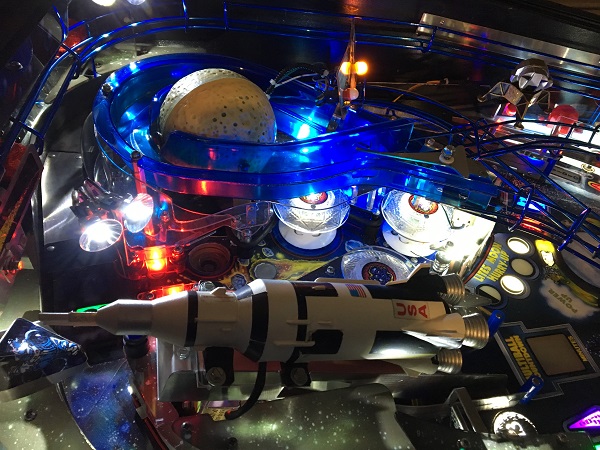
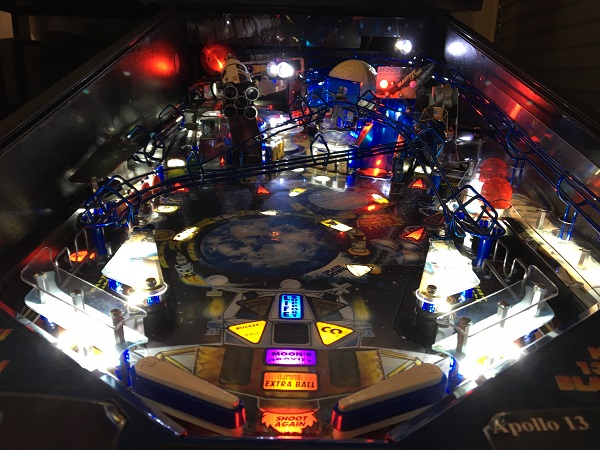
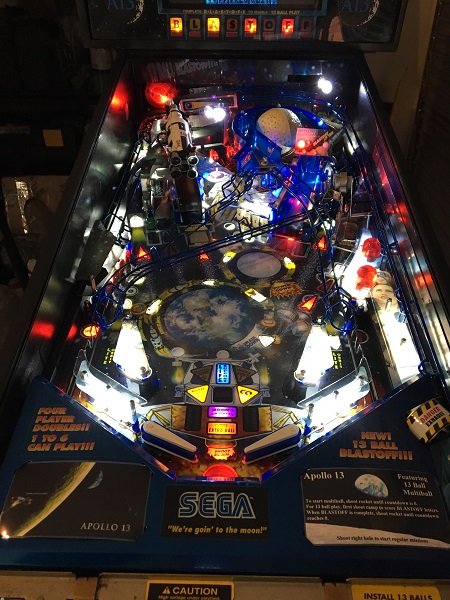
For comparison, here is how it looked before work began:
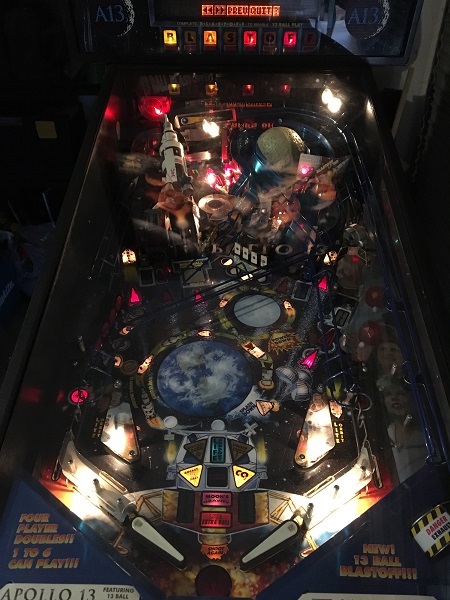
Worlds apart 🙂
After getting the game back together, the next step was to run through the switch, coil, flasher and lamps tests. That way I’m sure everything should be working fine. During the tests I found 2 switches that didn’t register and also 1 lamp that wouldn’t light. The switch arms needed some adjustment and the wire on the lamp socket had come off. Easy problems to solve. With those out of the way, I began testing the game by rolling a ball around the playfield by hand. This way I could test specific things during play. The “glass off” testing went really well although highlighted a few more switches that needed adjustment. The alignment on the left flipper needed some tweaking too. The next few nights will be spent putting some games in to Apollo 13 to try and find any game play issues before it goes back to the owner.
