Following on from where my previous update finished, I want to get the remainder of the playfield components cleaned and installed once again. I got through a lot in the last update, with just the ramps, rails, crane and tar pit to go. First thing to look at in this update is the large clear ramp at the top of the playfield. It makes sense to get this on first, as the rest can then be installed around it. The ramp had been set aside a few days ago, waiting for it’s turn to be cleaned. There are a few things attached to it and I plan to remove and clean also. Thankfully the plastic has not broken and it simply needs a good clean.
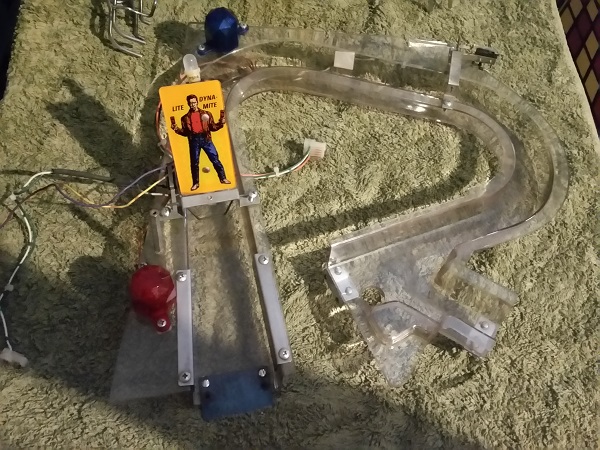
First step for the ramp was to remove all the components attached to it. There are metal plates on either side of the entrance, along with two #89 flashers and also a pair of gates. All parts were removed for cleaning.
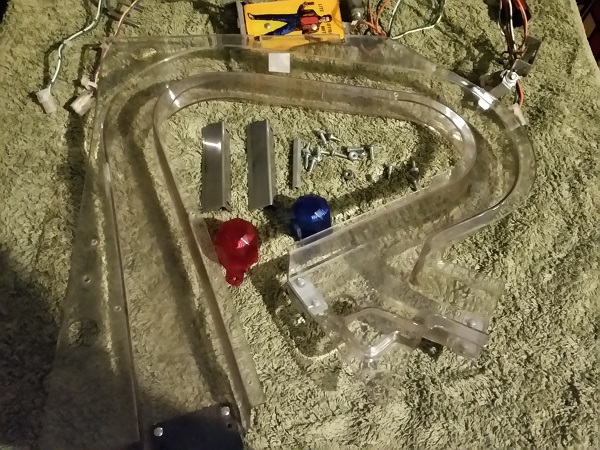
Each part was cleaned and set aside. The ramp was attacked with some Nifti for cleaning, followed by Novus to polish. Quite a bit of dirt came off the base and sides. More than I was expecting. The various components of the ramp were then installed back into position. The two #89 bulbs were replaced with LEDs and the condom covered globe above the plastic was also replaced with a LED.
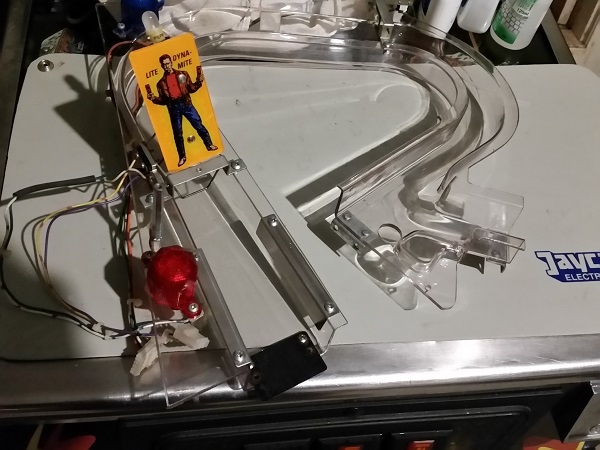
Now that the ramp and its components were cleaned, it was installed back onto the playfield. The wires for the switches and lamps were threaded back through the plastic and playfield holes below the ramp and connected back up again.
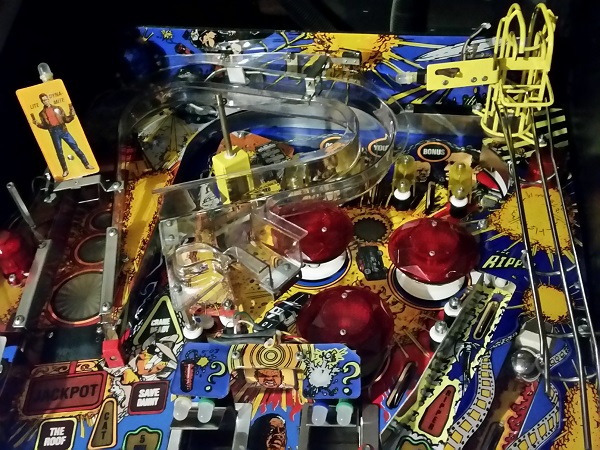
With the ramp now installed back onto the playfield, it made sense to look at one of the few assemblies left on the game I’ve not yet given attention to – the ball diverter. This controls which exit the ball will take from ramp. A couple of days before I stripped the playfield, the diverter arm started to play up a bit during a game. After the coil had released, the arm would only partially return back to it’s default position and this could trap a ball on the ramp. This was due to the head of the arm becoming loose. I already had the arm out of the machine to remove the ramp, so to service this assembly, I needed to remove it from below the playfield.
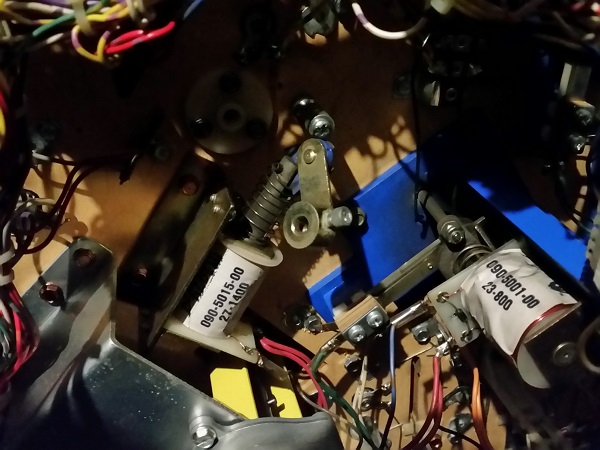
The diverter assembly was removed from below the playfield and it’s parts set aside for cleaning. Each part was individually cleaned. A new coil sleeve was sourced and I also had spare bushing to replace the old one that had a build up of gunk inside it. The old bushing was put into my “to clean” pile for later as it should be fine for future use once cleaned.
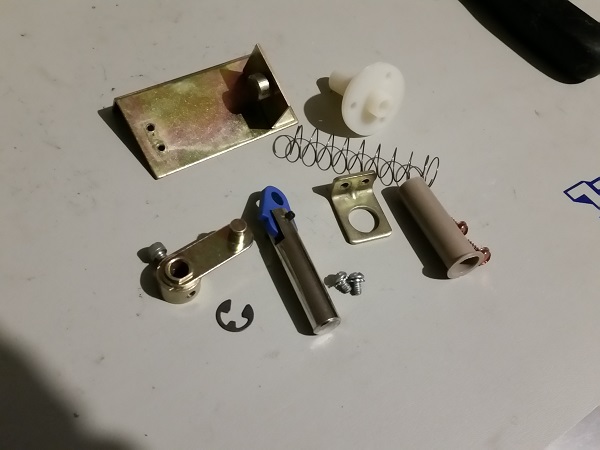
The diverter assembly was then installed back below the playfield and the diverter arm put into position through the ramp and playfield. The nut on the diverter head was tightened to prevent it moving during play. The arm position was also adjusted to ensure the correct range of movement was allowed via the assembly, and it would properly divert the ball based on it’s position.
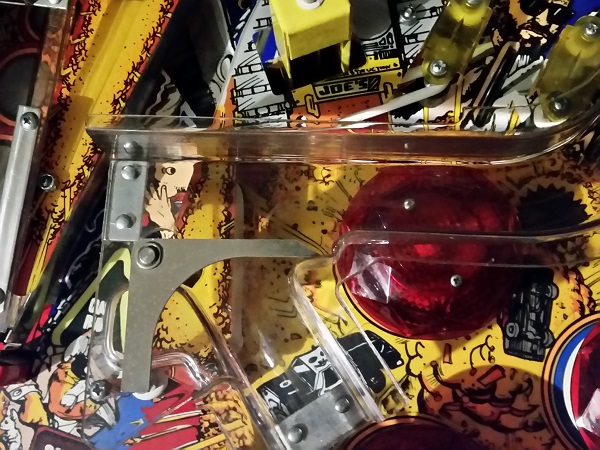
Before installing the tar pit plastic back onto the playfield, I want to give the small assembly attached to it a clean. This is a pretty simple mechanism to lock balls up after being transferred via the crane. When the plunger pulls in, the balls are released. It isn’t that dirty and it’s not something that get’s used a lot during play. But since I’m here with the part out, I may as well give it a clean and fresh coil sleeve.
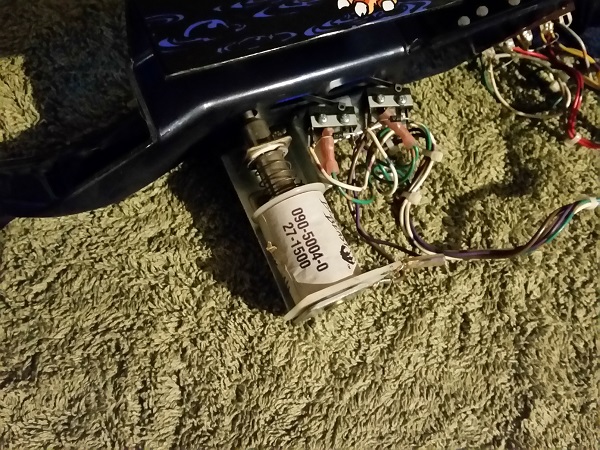
The parts were removed for cleaning and a fresh sleeve sourced.
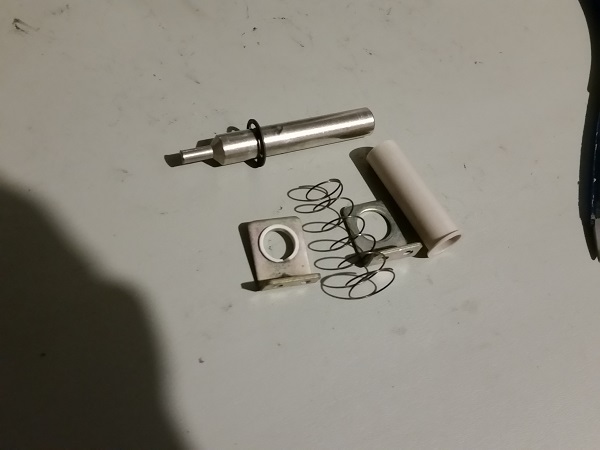
Once cleaned, they where installed back onto the tar pit plastic. The tar pit was cleaned up, polished and then installed back onto the playfied. I replaced the two condom covered globes with yellow and orange LEDs. The left metal rail was cleaned up at the same time and installed back into position with the tar pit. The wiring from the assembly, leds and switches were threaded back below the playfield and connected up. So close to having it all back together now.
While I had the crane out, I wanted to replace the two #89 flashers inside it with LEDs. On inspecting it, I noticed that one of the wires to the sockets had broken off.
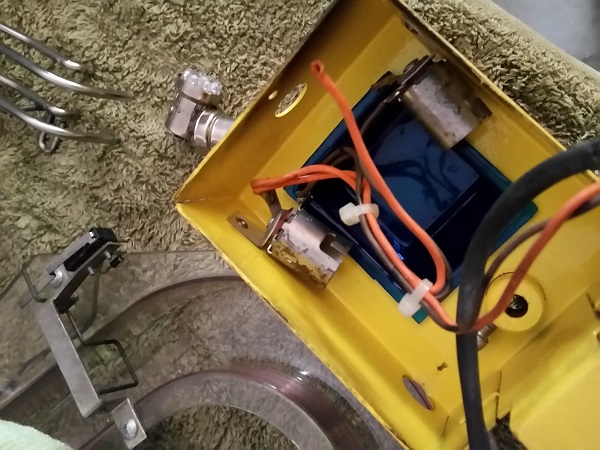
This was soldered back into place and two blue #89 LEDs added. The crane was ready to go back onto the playfield. It was placed back in position and the small screw tightened to attach it to the shaft driven by the motor. Everything was now finally back on the playfield. One last thing to service in this update – the ball trough.
Because the ball trough has no doubt collected all sorts of crap over the years (and I’m not sure when it was last cleaned), I decided now was the time to remove and clean it. I didn’t want all my hard work cleaning the playfield to be undone by the balls serving up the crap collected in there over the years. To start with, there are several screws that attach the frame to the base of the playfield. All the switch and coil wires run to a connected that can be undone, allowing the whole thing to be removed.
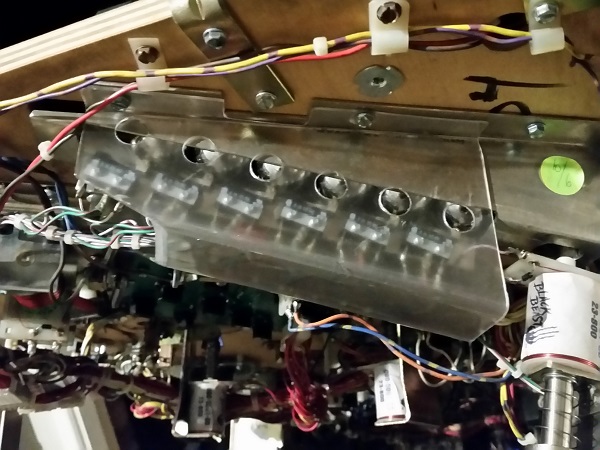
The plastic cover around the trough was first removed and set aside for cleaning. To get the trough out though, there are screws that connect it on top of the playfield also. I next had to remove the apron, allowing me access to remove the remaining screws.
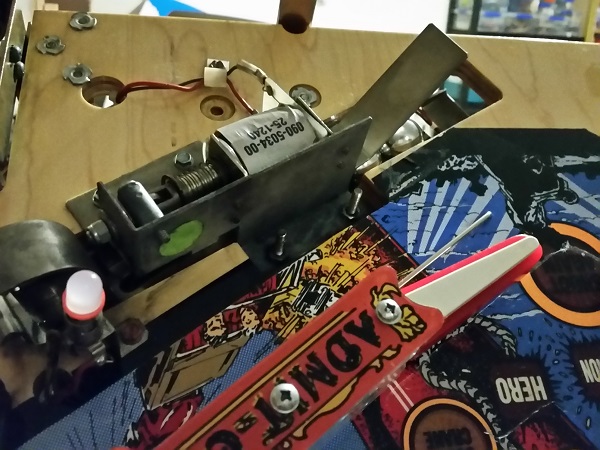
It turns out the ball trough is actually made up of 3 bits – the trough, a metal shield (that sits over the top of it) and also a small assembly that allows a ball to move into position to be served.
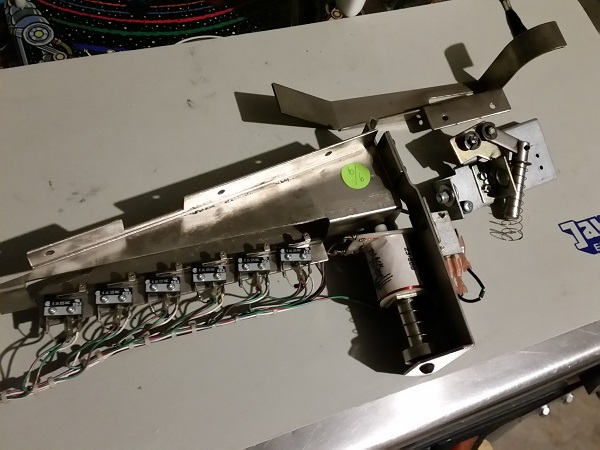
The small assembly to allow a ball to be served up was really filthy and I found the plunger was sticky. It probably hasn’t ever been serviced. This really needed a clean.
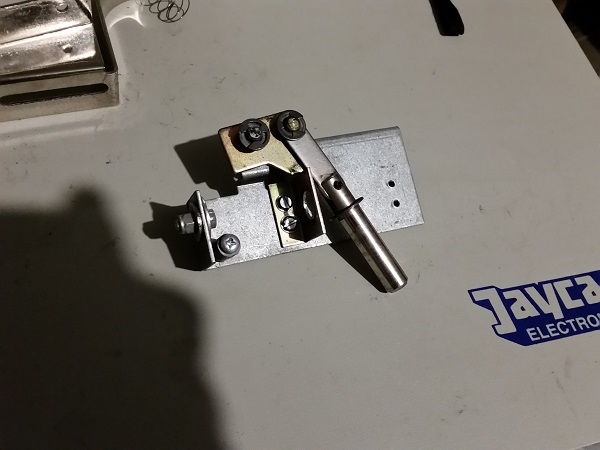
It was disassembled into its individual components and each one cleaned. The metal shield that sits above the trough was also cleaned up
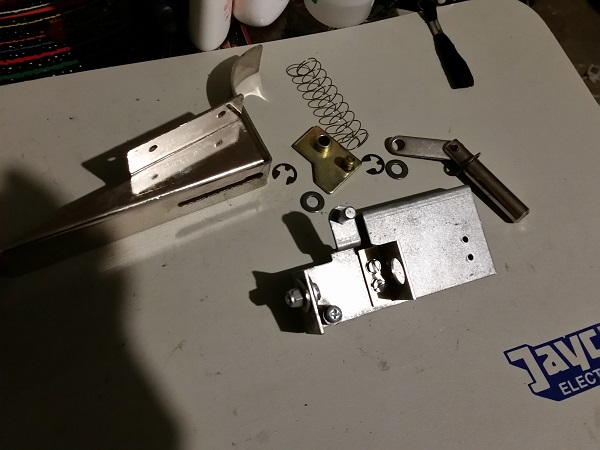
The inside of the ball trough wasn’t has bad as I had expected, but still needed a clean. After cleaning, the 3 parts of the trough were installed back onto the playfield. A new coil sleeve was added to replace the old one. It was probably the filthiest assembly I’ve dealt with on the machine and after a clean, it’s movement was so much nicer.
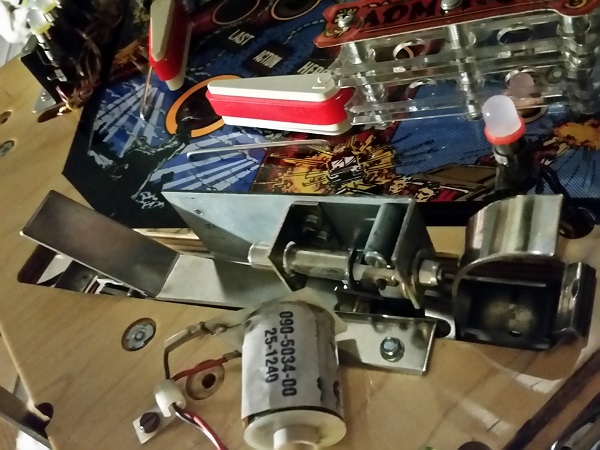
To complete the ball trough, 6 new balls were installed. The current set will be put through the tumbler as I think they will clean up fine for future use. To round off all the work, the machine was switched on and a couple of games played manually (with the glass off) to test different features of the game and ensure I hadn’t stuffed anything up.
This is where I ran into a few problems. The first was with the crane. I had to adjust the position of the crane to ensure it rotated correctly between the two switches. Thankfully there is a helpful test mode in the diagnostics menu to get that right. After some adjustments and tuning, it was good.
The second problem was far more effort and that was the switch matrix issue I covered in my previous post. It has been sorted out though and the game is running well.
I’ve played it pretty ‘safe’ with my use of LEDs. Majority of them are frosted, with red below the ramp and return lane plastics. Blue and clean below the slingshots. Blue was used below the tar pit and blue plastics on the right. Yellow around the base of the crane and upper right of the playfield. The globes that had condoms on them were replaced with LEDs of a matching colour.
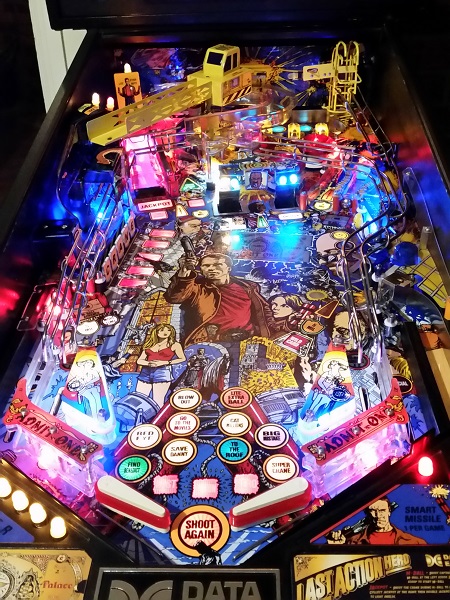
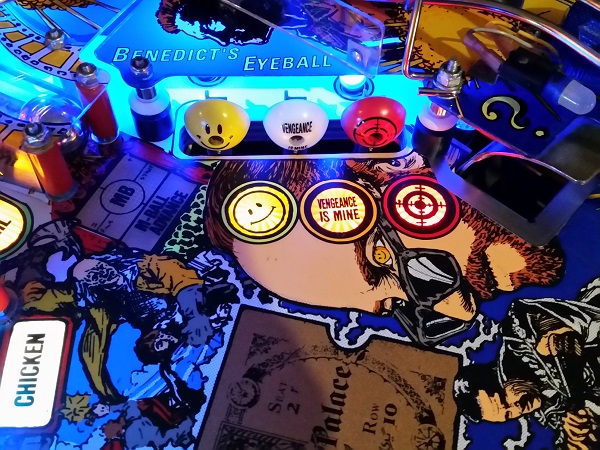
One small thing I did do though was to add some colour to the eyeball inserts. I went with red, orange and yellow to match the colour ring around the insert on the playfield. It’s a small touch but looks nice during play.
It’s been a bit of an effort over the last week, but I’m glad to have spent the time and energy cleaning the playfield and (most of) it’s components. Cleaning the gunk out of the ball trough and release assembly has made a noticeable difference when serving each ball up. The process has also allowed me to fix a few small issues along the way too. The clean look of the playfield, ramps, plastics and rubber lifts the presentation of the machine and cleaning to this degree is something I won’t have to do again for awhile (outside of a general vacuum and wipe down). There are two assemblies left I want to clean up before I consider myself done – the drop target bank and the pop bumpers (I’m counting the pop bumpers as 1 assembly even though there are 3 of them). I regret not doing the pop bumpers at the same time as one of them is located below the clear ramp, so some parts will have to come off the playfield again to access it. Oh well. Expect another update soon enough 🙂

can you get me a pic of inside cabinet ?
im trying to figure out where to plug in items on mine
I’m not able to sorry as the machine is no longer in my possession due to being sold a few months back. Try putting a post up on the pinside.com forums as I’m sure someone there will be able to help 🙂