
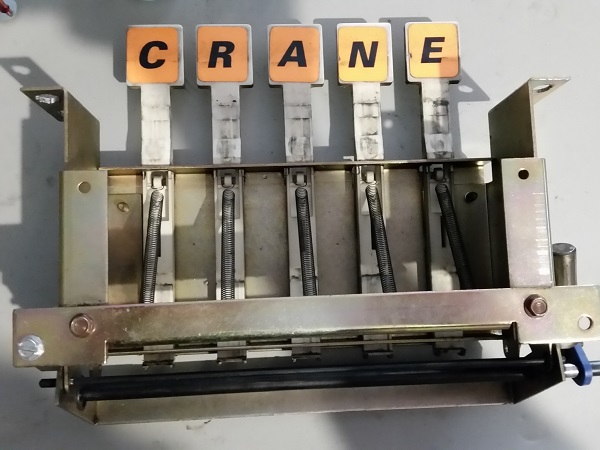
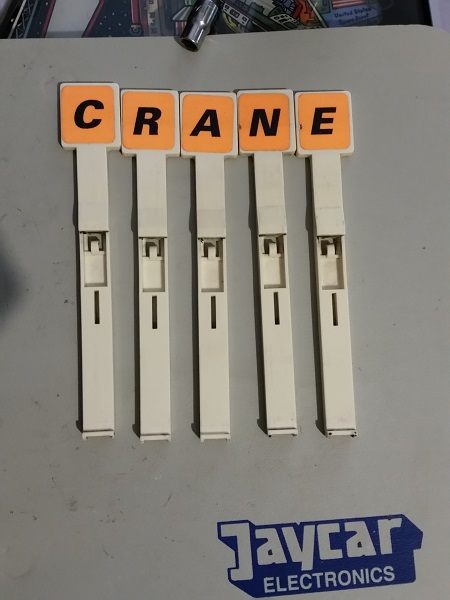
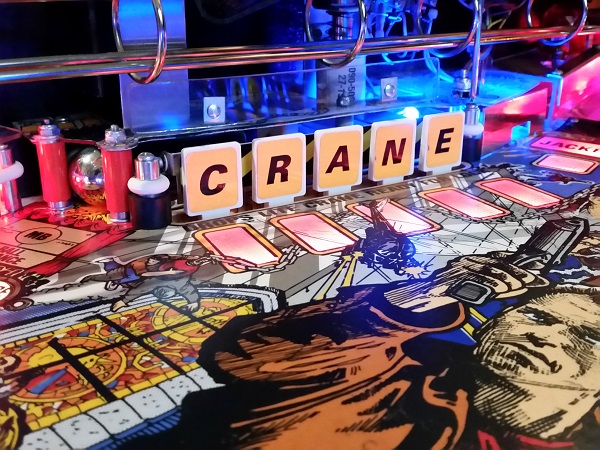
One of the final assemblies to look at on my Last Action Hero is the drop target bank. Located on the left side of the playfield, it contains 5 targets, spelling the word crane. It’s use for the skill shot to begin each ball and also to activate the crane during the game. It gets a fair bit of use during play and I have no doubt can do with a clean.
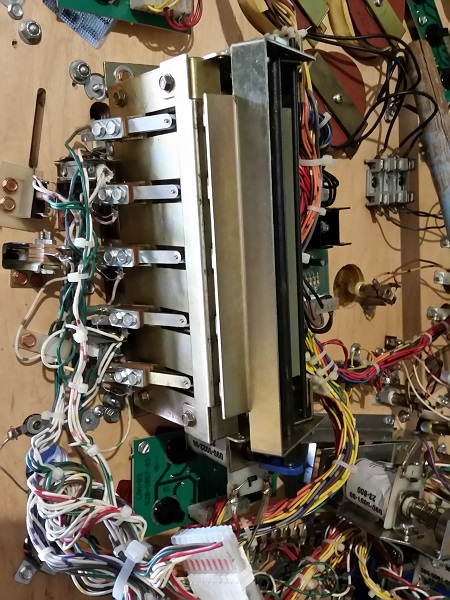
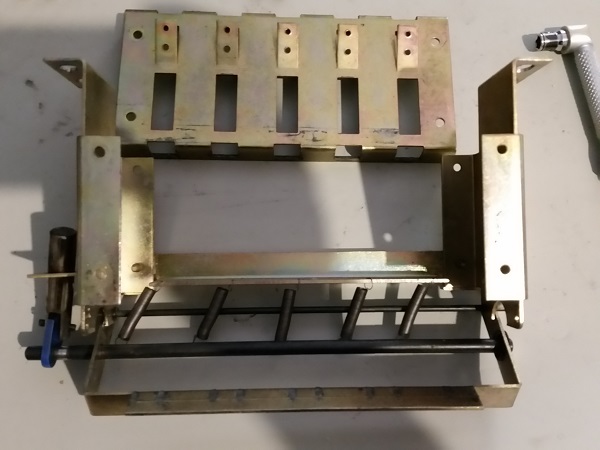
In terms of drop target assemblies, I think it looks much nicer to work on than some of the others I’ve done. I still hate the one on the Gottlieb Counterforce, which required about 6 hands to get the springs back onto the drop targets. It has a nice open area to see into the frame and targets, along with the ability to disconnect all wiring via a connector. This means the whole unit can be removed simply by undoing the 4 screws holding it to the playfield.
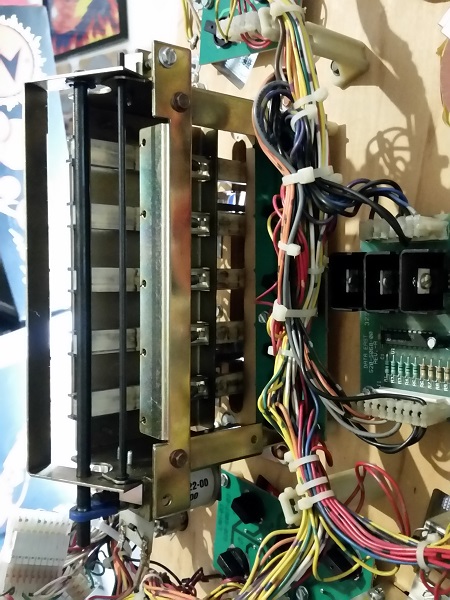
With the 4 screws undone and wires disconnected, the whole drop target unit was removed for cleaning. First step was to remove the switches from the frame to ensure they didn’t get bent as I worked my way through the assembly. Each switch was taped to ensure none of the spacers fell off.
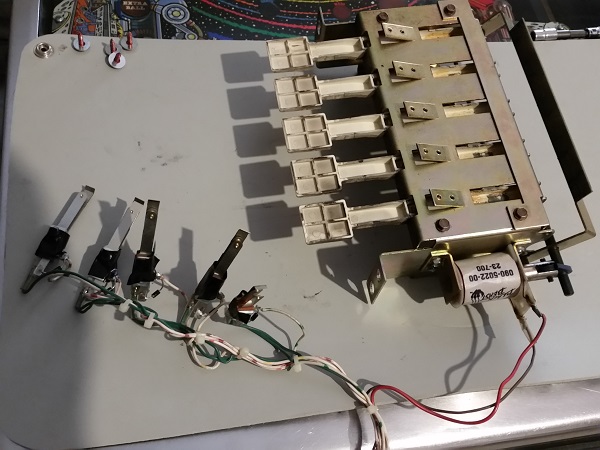
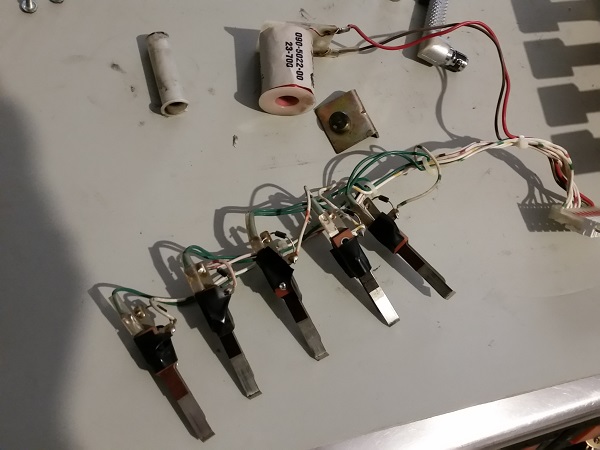
Next, the coil was removed from the frame. The switch contacts were all cleaned with a thin piece of card and the back of each switch blade wiped down as they were all filthy too. Before putting this back together I will give the coil stop a clean and also grab a new coil sleeve. The wires and switches were set aside out of the way.
Now onto the frame. I want to disassemble the whole unit piece by piece and clean as I go.
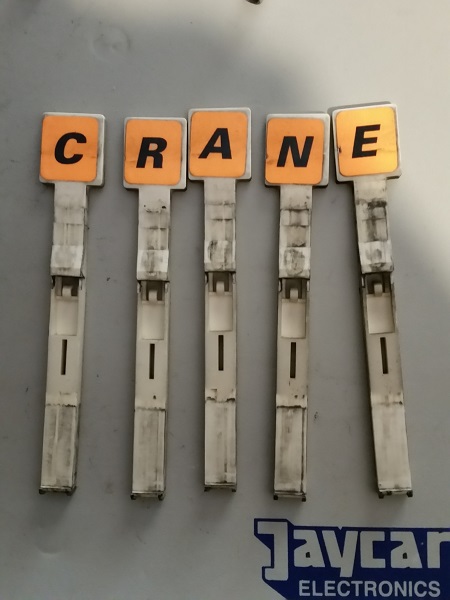
To begin, a small bracket was removed from the rear, allowing the actual targets to be removed from its spring and then the frame. Each was covered in crap and well overdue for a clean.
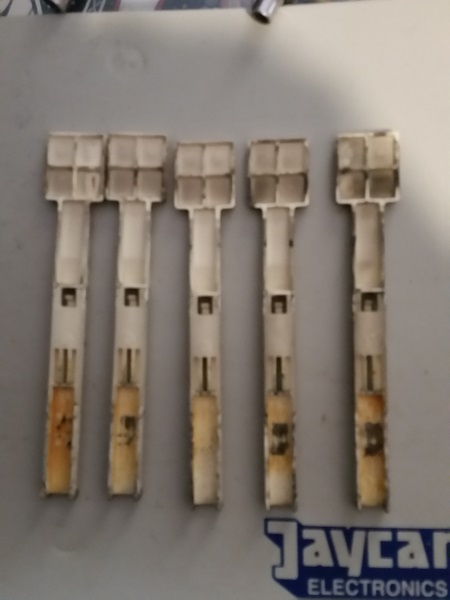
On the reverse side they there was a lot of crap around where the switch blades made contact with the target.
All five targets were given a thorough clean. There is a little bit of damage to the decal on the “N” and “E” targets, but not enough to have me worry about a replacement set just yet. I did find that the “N” target itself has a small crack along the target, which is only going to get worse over time. The drop targets are available locally and overseas, allowing me to grab some on my next order, so I have them on hand when needed.
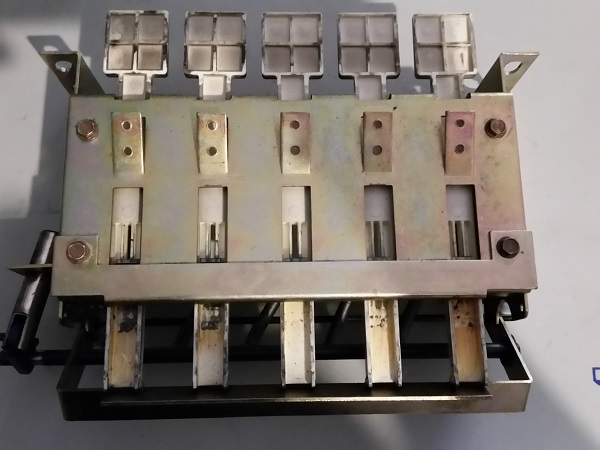
Focusing on the frame now, the rear plate was removed.
The reset bar was then removed from the frame and cleaned. This has a lot of crap all over it.
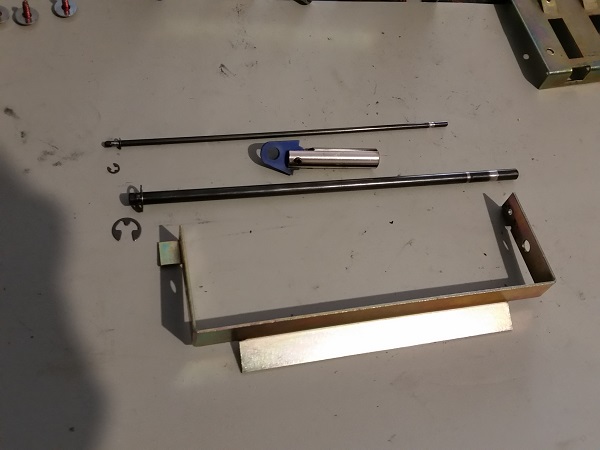
I then worked my way through each of the remaining parts of the drop target assembly, cleaning as I went, until all were done. The frame was now completely cleaned and all gunk removed.

Putting the assembly back together was as simple as following the steps in reverse. Getting the spring back onto each target was the only slow down, but I found it easier to remove the springs from the frame first, attach it to the target, slide the target back into place and then reattach the spring to the frame.
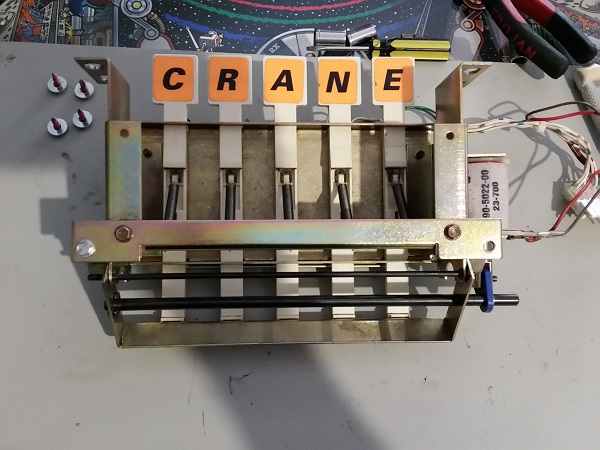
The drop target bank was then installed back into the machine. A few games were enjoyed to ensure the switches were fine and the target bank operated correctly. All was good.
The entire process took about an hour and the amount of crap that was removed from the whole unit made the time well spent. It also highlighted one target which will need to be replaced at some point soon. When I replace the broken target, I will replace all at the same time. The targets themselves are only $3 each, so it’s not expensive to do the set. I will have a go at creating some custom decals myself too since I will have to replace the “N”.
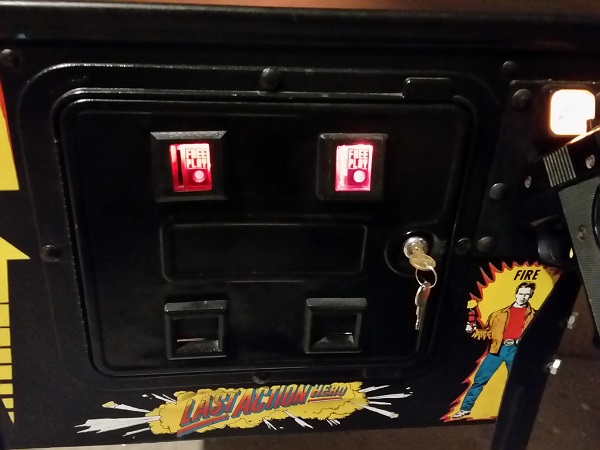
While investigating the switch matrix issue I had a few days back, I noticed that there was a plastic coin return button hidden behind the black plate covering the left coin entry slot. I had incorrectly assumed the plate was part of the coin entry and there in place of the button. But the button was there all along. I was keen to add another of the free play pricing decals to it. The parts were removed for cleaning.

The cover was left off and the return button installed back onto the coin door with the pricing plate. I think having two (or three) lit coin slots on the door gives it a nice balance compared with just the single. It’s such a minor thing and something that might not immediately jump out at some one, but it’s a visual improvement. This was a nice little surprise find.
That’s it for another update on my service and repair of Last Action Hero. Now that the drop target bank is complete, it just leaves the three pop bumpers to do. After that it’s just a few small tweaks and I’m done 🙂