Progress on the Whirlwind service has been quite good so far and it’s cleaning up nicely. There have been a few small surprises along the way, but nothing scary or too troublesome. On the bright side, the surprises keep things interesting and is a constant reminder that no two machines are the same. There is always something different to solve, making it a rewarding feeling to work on each machine. I’ll continue to work my way up the playfield in this update, performing some general cleaning and servicing more assemblies along the way. The first one to receive attention in this update is the top right flipper.
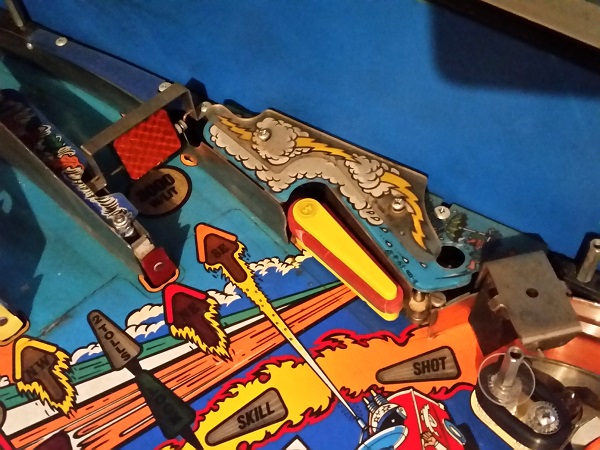
This flipper works, but will receive a full rebuild as it’s long over due for one. With the plastic and ball gate removed, we can see how dirty the surrounding playfield is. There are quite a few red shavings from the dried up rubber pressing against the metal ball guide above it.
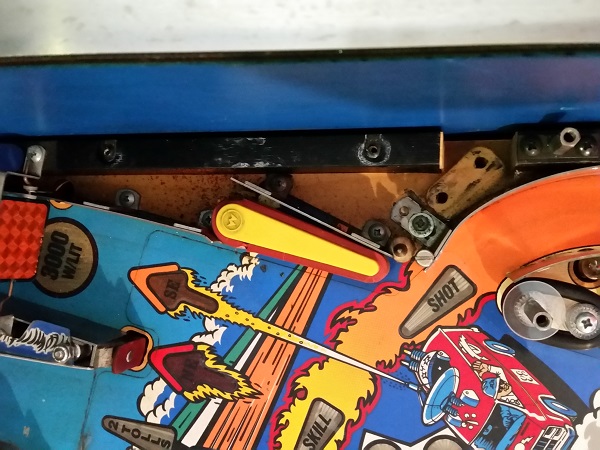
Under the playfield, the flipper assembly is crying out for a clean. There are a number of #44 globes in the area that have black dust caked on to them, so i’ll be removing each one and cleaning it off. It should brighten up the inserts when lit during play. The underside of the arrow inserts will also get a gentle wipe down to remove any loose crap sitting there.
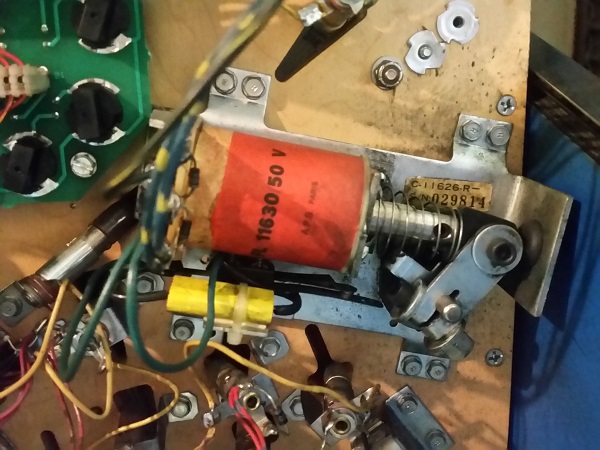
The flipper assembly was removed from the machine and set aside for cleaning. As with the other assemblies, it’s in need of a clean and rebuild. Thankfully no surprises or old operator hacks, which will mean rebuilding this one is a straight forward process.
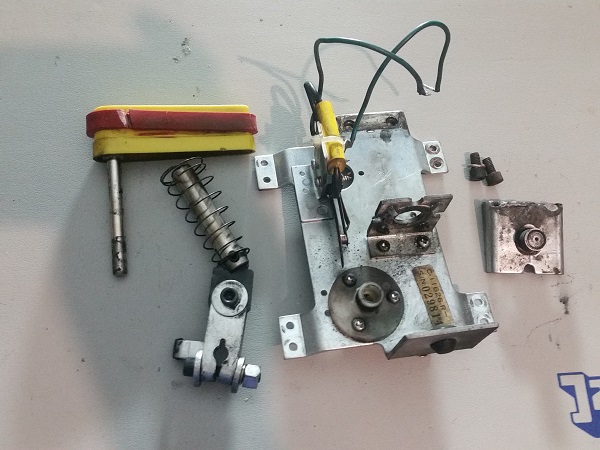
The coil stop has taken a real beating over time. Some welding has been performed to try and extend it’s life. The actual stop however is incredibly loose and wobbling around. This one has more than served its time, so it can now enjoy it’s retirement (if going into my bin can be called retirement?).
The rebuilt flipper assembly was installed back onto the machine and it’s ready to roll. It won’t need another clean and rebuild like this for a long time.
Switching back to the top side of the playfield, the new flipper bat and rubber were installed. The small metal panel that sits behind the flipper was removed, cleaned and reinstalled. The metal post was cleaned, polished and given a new post rubber. The ball gate and playfield area around the flipper were also cleaned and polished. The plastic still needs to go back on, but I’ll do all the plastics together at a later time. The area is looking much better now and the flipper operates nicely.
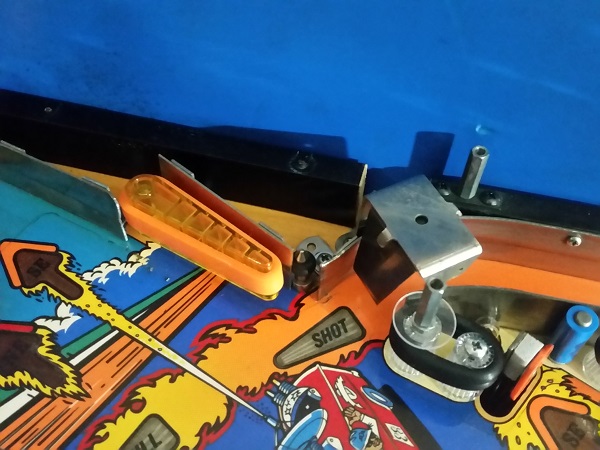
Next item on my list for this update was the cellar scoop. It’s a double scoop that sits on the left side of the playfield, just in front of the yellow pop bumper set. Once. I’m done with the scoop, I’ll move onto the pop bumpers and drop targets. So my plan is to do everything in this area together.
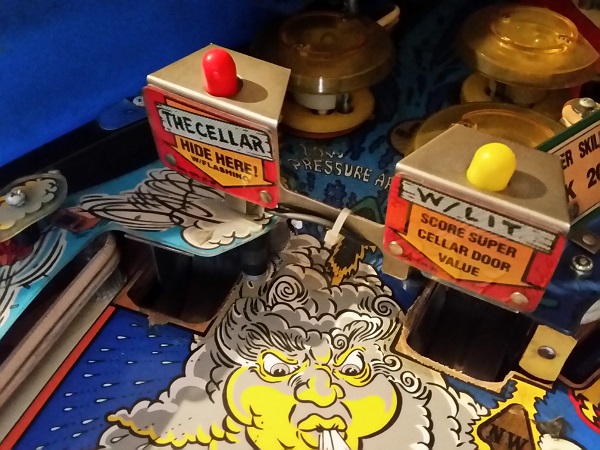
While I’m looking at this area I might as well do the small section just below the scoops. This is a mirror of the right side of the playfield with a scoring switch that looks like it should be a large sling shot. This plastic has some chips off some of the corners and is one of the pieces I was able to source from Pinball center.
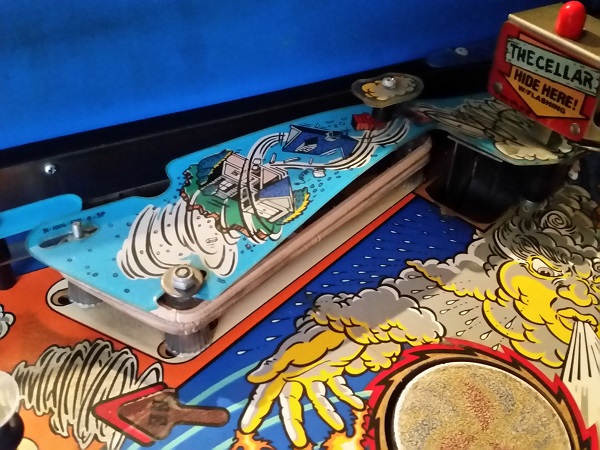
The plastics were removed from the area and the signs set aside. Lots of dirt here and old rubber that needs to be replaced.
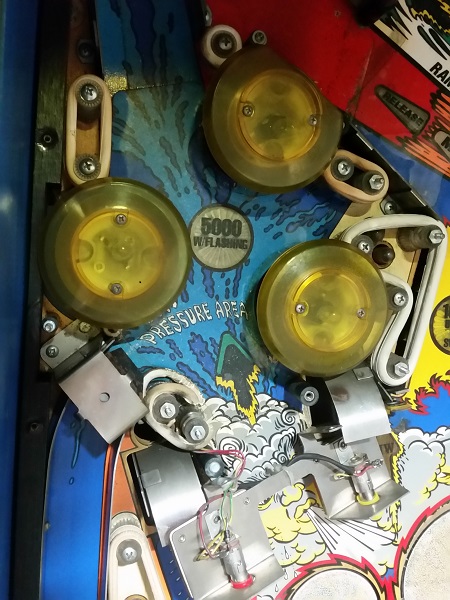
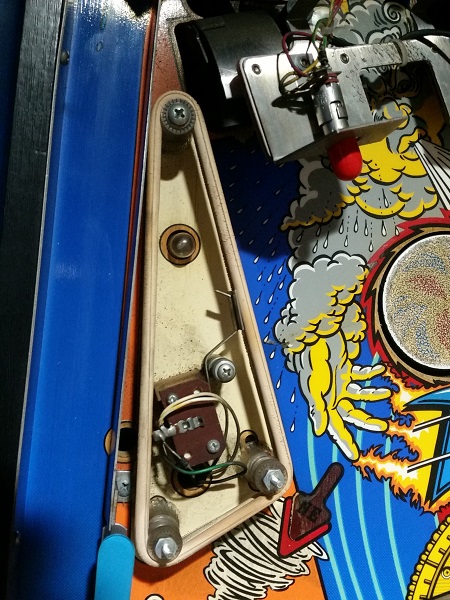
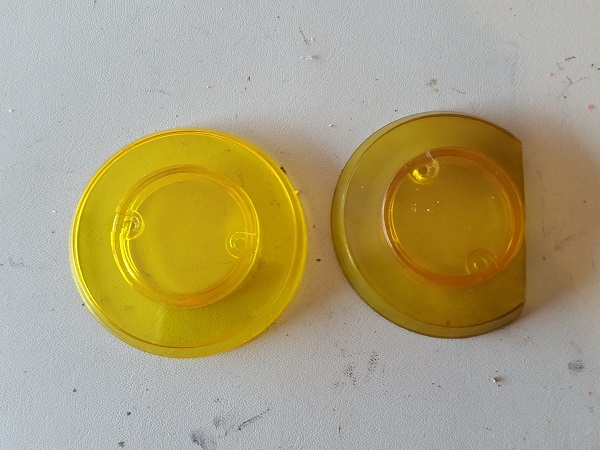
All the rubbers, posts and old bulbs were removed from the area. Something interesting to note is the cut off cap on the top pop bumper. This is because of the position of the ramp and it needs to be like this for the ramp to sit in the correct position.
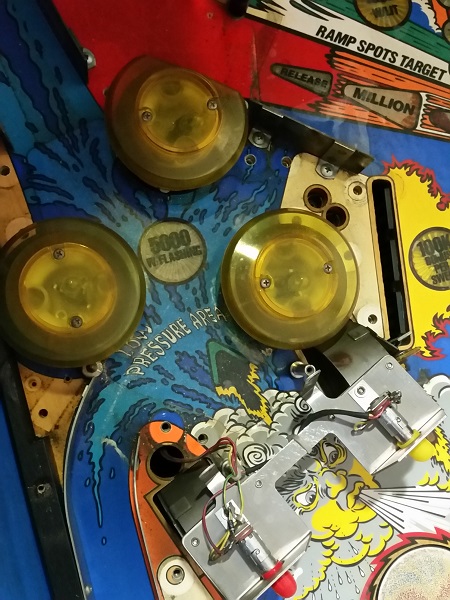
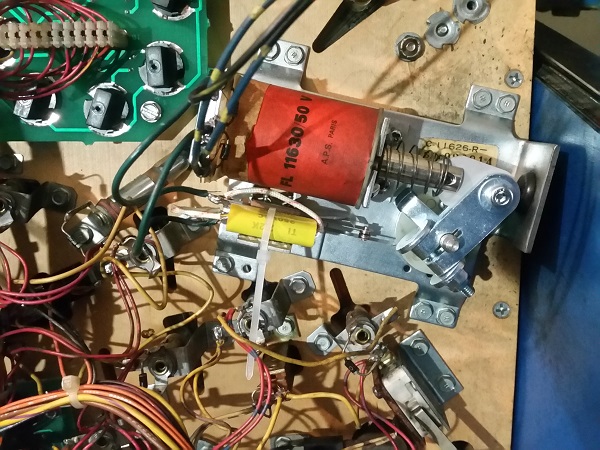
With most of the parts in the area off the playfield, I was now ready to give the scoop assembly a service. Under the playfield, we find the whole assembly is made up of 3 smaller assemblies. One for the coil and kicker, the other two are the scoops.
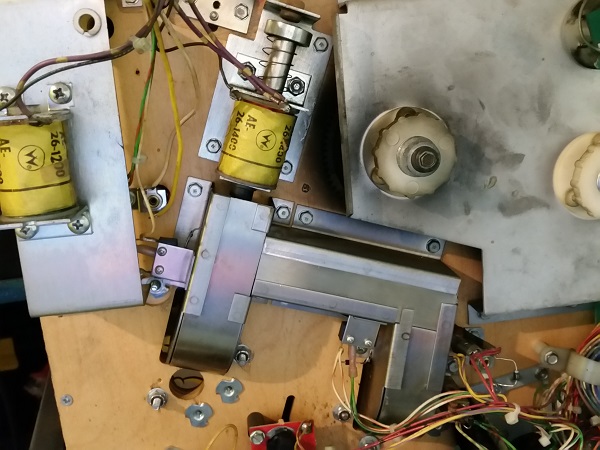
Removing the scoop assemblies is pretty easy, just be sure to undo the two switches first to make things simpler. With all 3 parts removed from the playfield, they were set aside for cleaning.
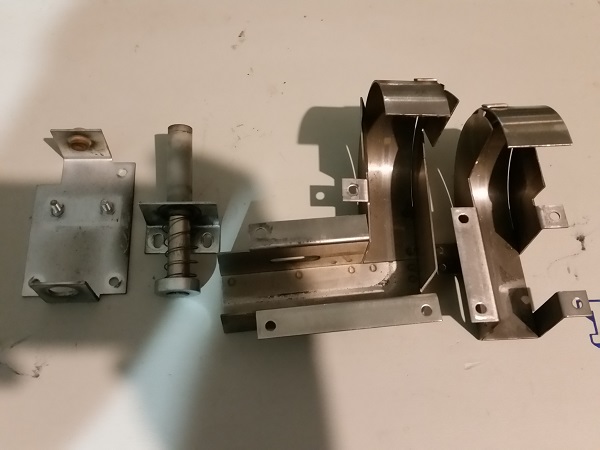
Quite a lot of filth collects in these sorts of assemblies, and there is a nice layer here that needs to be removed.
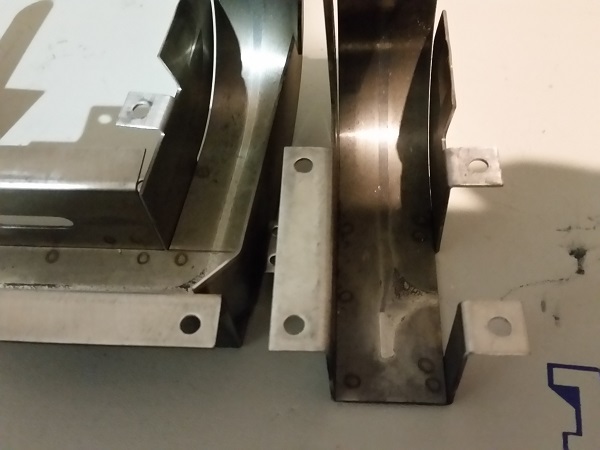
After some cleaning, everything had scrubbed up nicely and was (almost) ready to go back into the machine. A new rubber grommet was sourced to go into the base plate on rebuild.
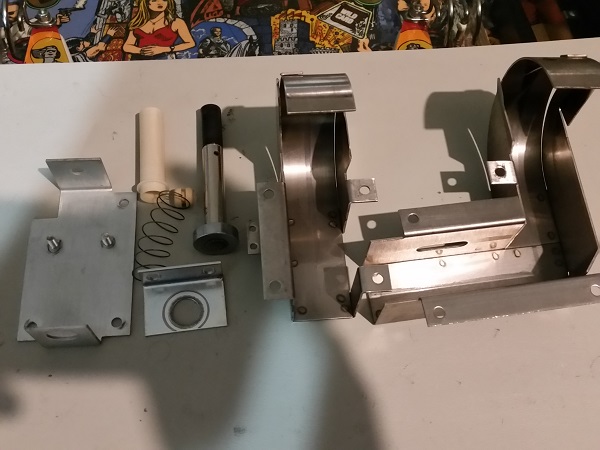
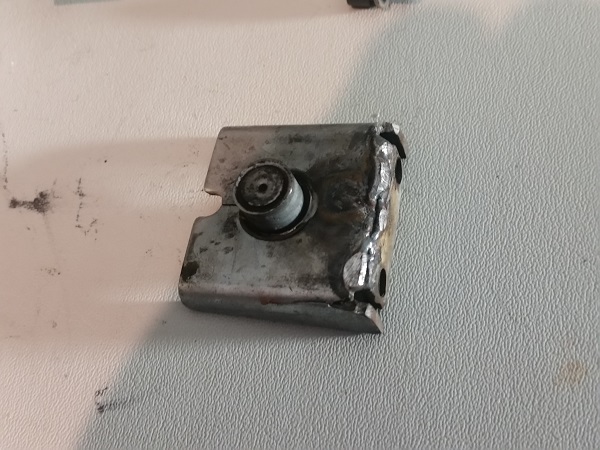
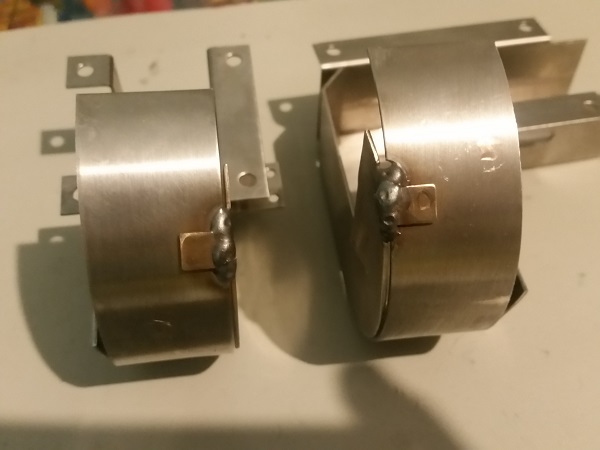
There was one problem though that needed to be addressed first. On both metal scoop pieces, the weld joint had broken from years of use. Luckily though, the owner had a welding set up, so repairing it was easy. The pieces were dropped off, fixed up and then ready to go back into the machine. When installed on the machine, these bits are facing away from the player and will also be mostly hidden by playfield plastics, so the patching up won’t be seen.
Just next to the cellar is the diverter assembly and now seemed like a good time to give it a service.
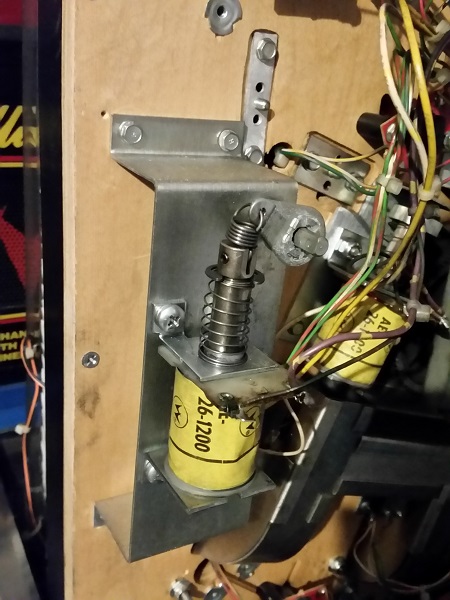
Quite a bit of crap had collected on the underside of the diverter frame, which needed to be cleaned off. The coil bracket and stop were also sticky, so was keen to get them cleaned up too.
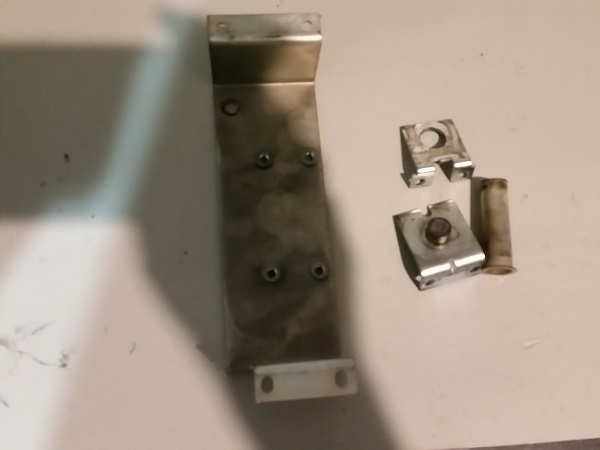
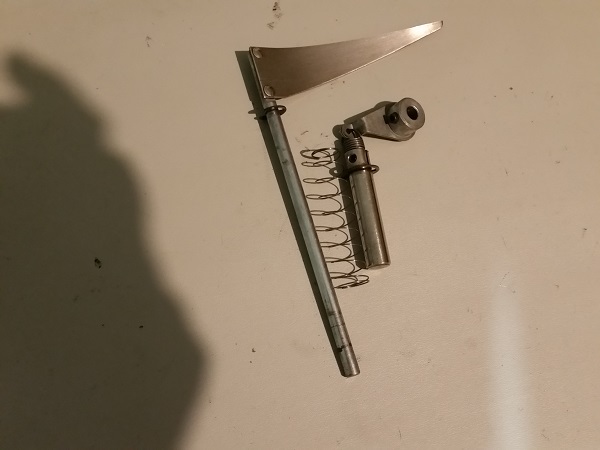
The arm and plunger had the usual crap on them you find on assemblies from years of use.
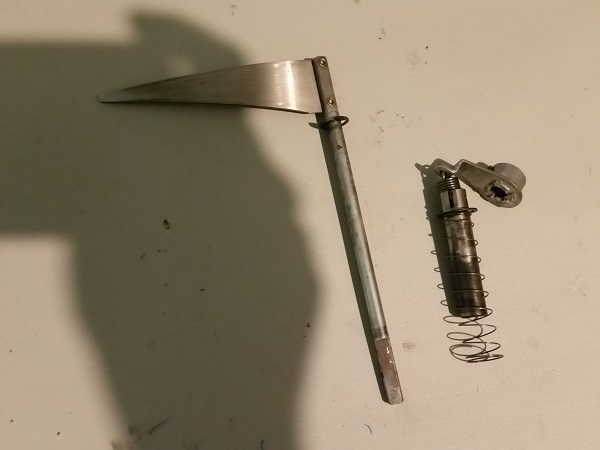
After a good clean though, everything from the diverter was ready to go back onto the machine. The arm and plunger will need to remain off the machine for now until the ramps go back on.
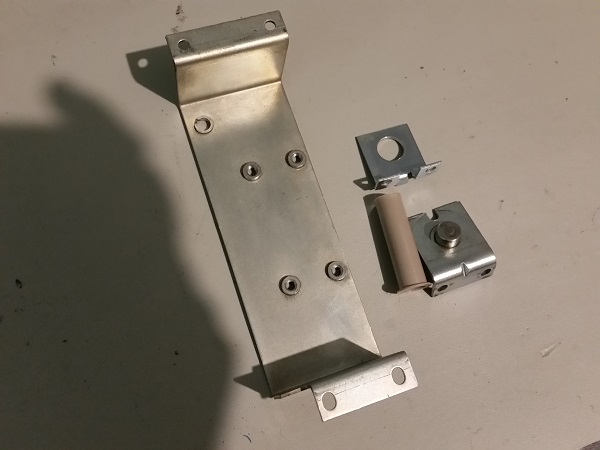
Something minor I noticed while cleaning around the cellar scoops was the yellow target being loose and would move left and right when touched. With the playfield up, I could see that one of the rivets had come out of the bracket, which allowed the target to pivot move around.
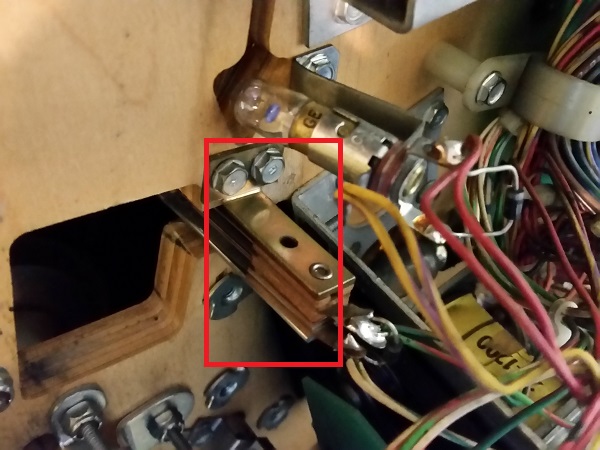
I don’t have the tools to redo the rivet, so used a small bolt and nut to keep it in place. Next part of the machine to receive my attention are the set of pop bumpers in this area. All 3 of the pop bumpers work and there appears to be no broken parts. All need a good clean though and some new coil sleeves.
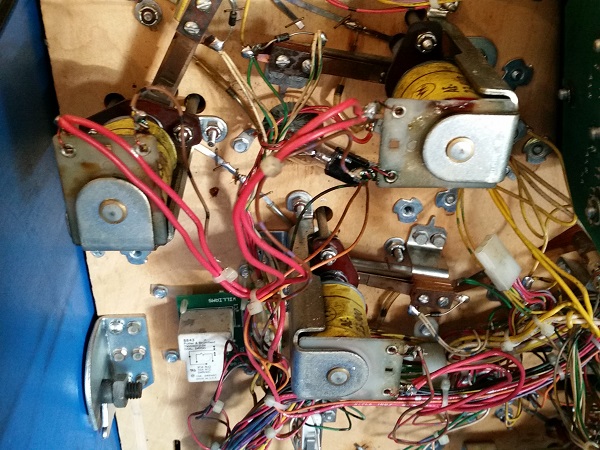
All three assemblies were removed from the machine for cleaning. I was originally going to do it by hand, but decided to put all the metal pieces into the tumbler.
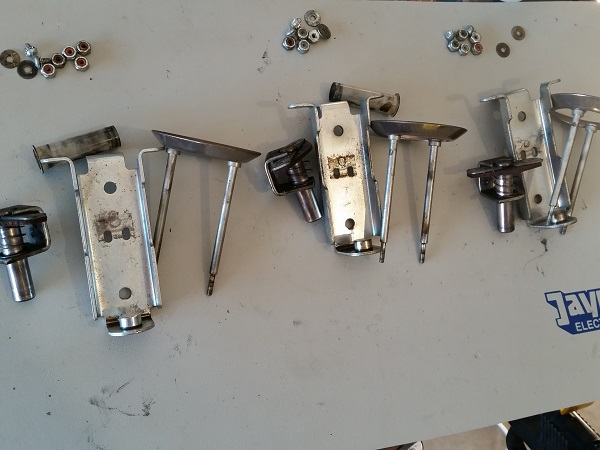
While the parts were in the tumbler, I got on with removing the pop bumper bodies and cleaning up the playfield. With the bodies removed, we can see a nice collection of dirty and crap from the years of play. There is a small amount of mylar lift in the area, but thankfully very minimal playfield wear.
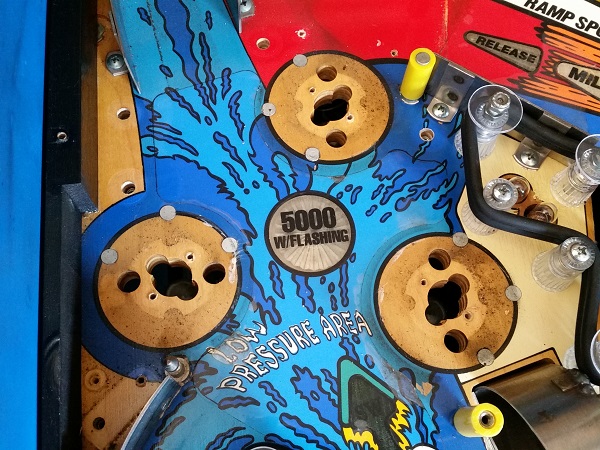
I set about cleaning the playfield area up and them polishing. A little bit of effort makes a huge difference.
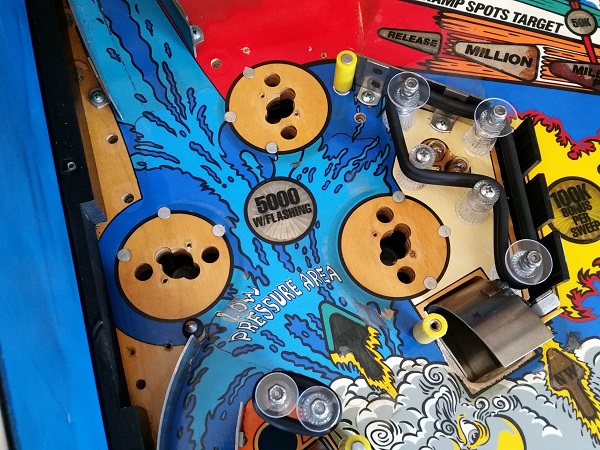
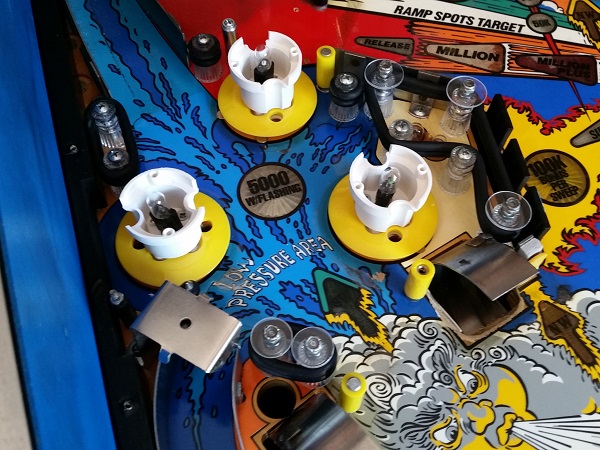
The pop bumper bodies were the rebuilt and installed back onto the machine. The old bodies and skirts were replaced with brand new ones. I did however reuse the base pieces and springs on each. It’s just not worth cleaning up the old faded pop bumper bodies and skirts. The yellow cliffy posts match the skirt yellow nicely. The clear posts were installed, along with the ball ball gate, fresh from the tumbler. I’ve been adding clear lexan washers to the posts as I go, ready for when the plastics go back on.
Once the tumbler had done it’s thing and the metal pieces were clean, everything was given a wipe down. The parts were set aside in to groups for the pop bumpers ready to be rebuilt.
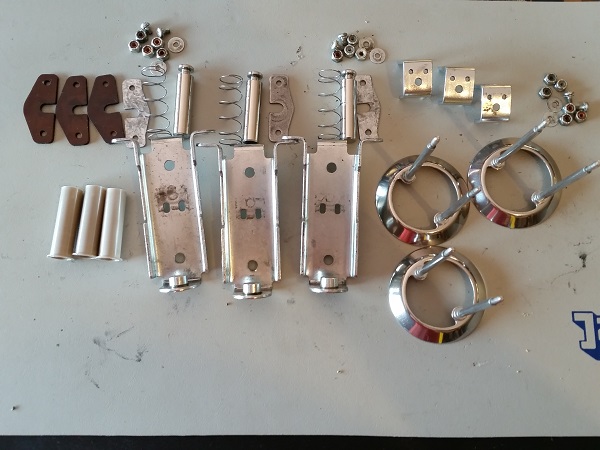
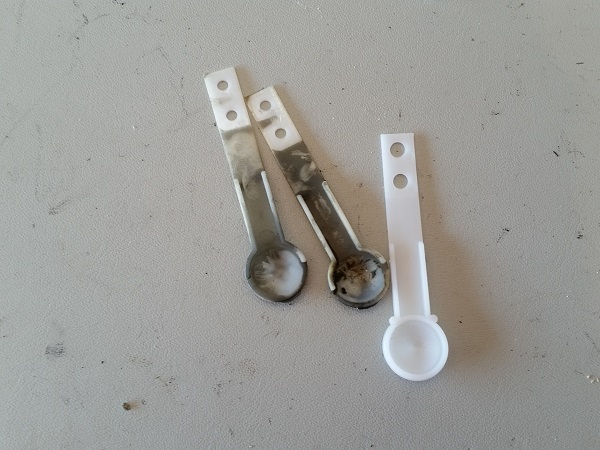
Before installing the pop bumper assemblies under the playfield again, I replaced each of the spoons. The old ones are filthy and have served their time. I’m always of the mind set of replacing the spoons and skirts together.
Before installing the caps, I needed to sort out that cut off cap for the top pop bumper.
The assemblies were installed under the playfield, along with the rings. Finally the pop bumper caps were added. I noticed black dust across the left side of the cabinet, so wanted to clean each side up.
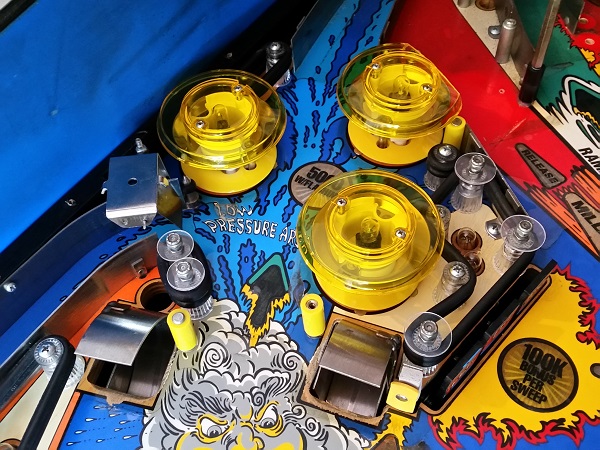
The left side of the cabinet was wiped down to remove black dust that had built up over the years. This resulted in getting a nice reflection from the pop bumper lamps. The section just below the pop bumpers was also finished up with a clean, polish, new lamps, rubbers and posts. The pop bumpers now look amazing and so much better than before. The area behind the drop targets had also been cleaned and polished, with fresh posts and rubbers being installed. A new foam pad was installed on the yellow target beside the right scoop.
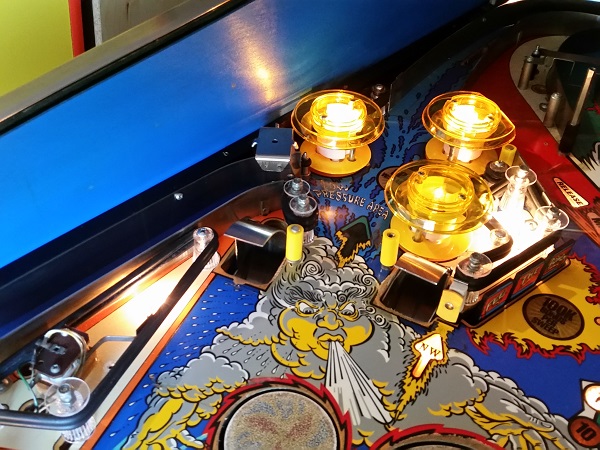
That just leaves the drop target bank to service for this update. The 3 bank drop target assembly was removed from the machine. I noticed that the reset bar was a little sticky with its movement and I think with a clean and new coil sleeve, this will be resolved. The assembly is easy enough to remove, with only a few screws and connector to undo before it’s free.
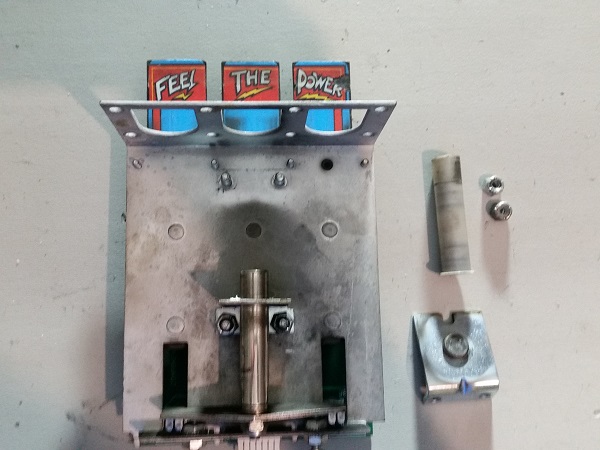
It’s actually a pretty straight forward assembly. I still have nightmares about the 8 bank assembly on the Counterforce I rebuilt not too long ago. That assembly was quite fiddly to get back together. This one though is nice and easy. I noticed that one of the E-clips was missing on the left target (bottom left) – but found it floating around in the cabinet, so will replace it once the assembly is rebuilt.
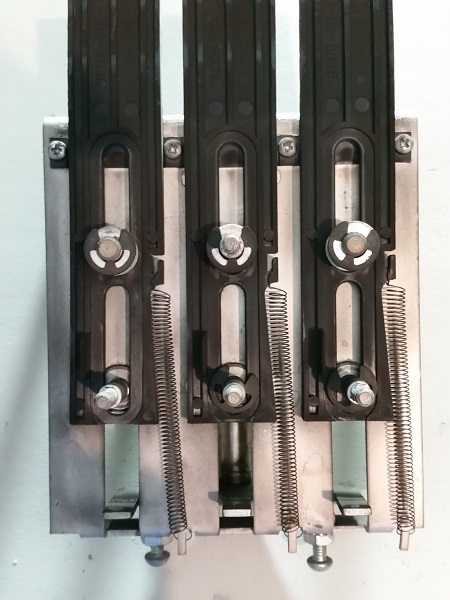
The entire assembly was stripped down and cleaned. The old coil sleeve replaced with a new one. There are two bolts at the base of the frame. These control how high the drop targets sit on the reset bar once they are dropped. The one on the right was sitting a little to far in, which causes the “power” target to sit a little higher than it should once dropped. This may cause the ball to flick up and hit the plastic. It was adjusted so both sit at the same height and all 3 drop targets would sit a the playfield surface once dropped.
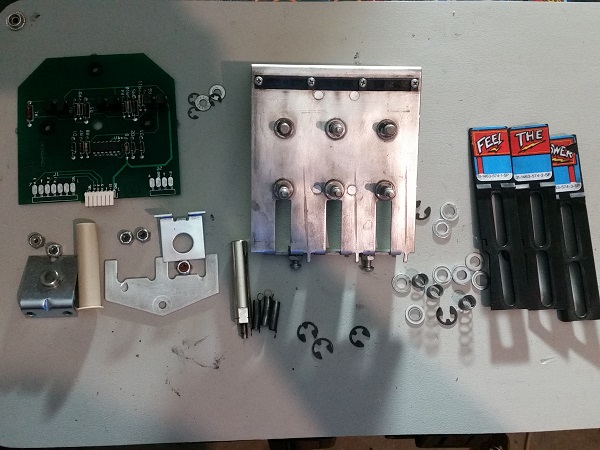
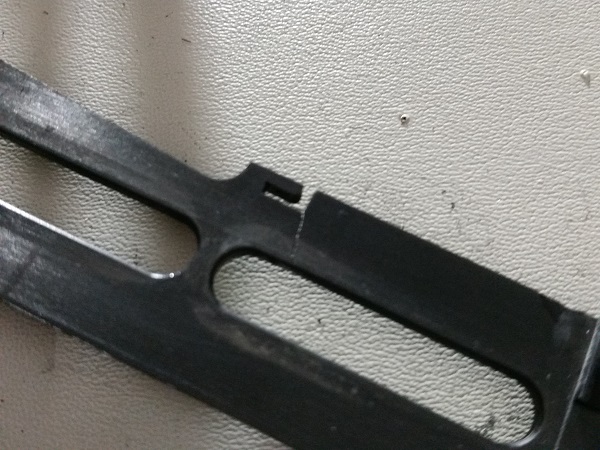
With the drop targets out of the assembly, I found one of them had a break through half the target. While this can continue to be used, it’s only going to get worse and is best to replace it now. The targets themselves are not too expensive to replaced (just over $5AU), but I had a hunt through my parts and found a spare second hand one without any breaks or chips – so it will do nicely. Replacing the target though means a new decal will need to go on.
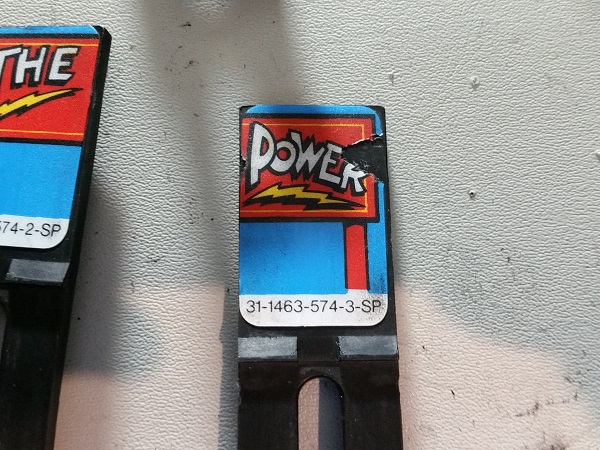
The owner had been happy to keep the existing set of decals on the targets, but the broken drop target has forced the change. In this case I think it’s a good thing as the decal on this target has taken a bit of a beating over the years, so new decals will look great.
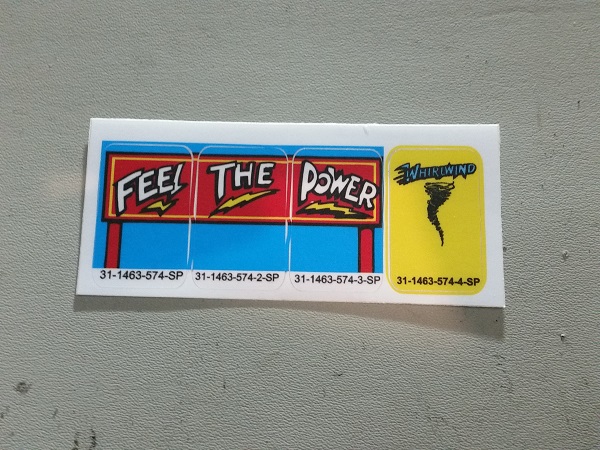
You can buy a new set of the drop target decals from Mr Pinball for just under $10AU (plus shipping), so they are easy and cheap enough to replace. The set also includes the decal for the single drop target (up with the top 3 pop bumpers), so will use that when servicing that assembly in my next update.
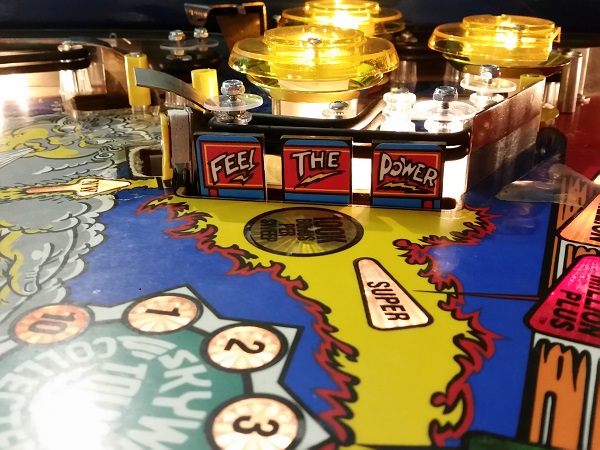
The decals were replaced and the drop target assembly reassembled and installed back into the machine to bring a close to this update. The movement of the reset bar is very smooth now and has no resistance. The adjustment to the height bolts also went well and all target sit correctly when dropped.
That’s enough content for this update. I managed to get through quite a few assemblies, and there isn’t too much left now. In fact, the machine is really starting to clean up nicely. The only real surprises in this update were the broken weld joints on the scoops and the broken drop target (although it championed action to source new decals – which will also improve the presentation of the machine – so that’s a good thing). The next update will focus on the top pop bumper set, along with the single drop target, saucer and ramp assemblies. I’ll also thoroughly clean the top playfield area, which will mean every assembly and surface area on the machine will have been cleaned and serviced. From there I will begin to get everything back onto the playfield (posts, plastics and ramps). There may be a little delay in that though, depending on when the replacement plastics arrive from Germany. They shouldn’t be far away now. Still more interesting things to come 🙂
