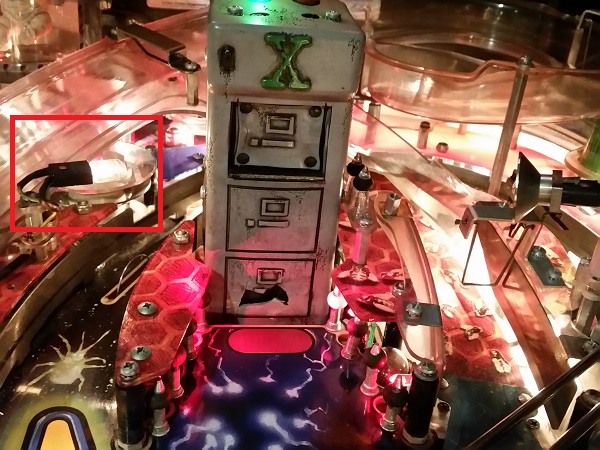
After my last two updates, X-Files is already starting to play better and I’m happy with how the machine has progressed so far. While waiting for a couple of parts to arrive, I decided to get a few smaller things done around the machine. The filing cabinet has two globes pointed directly at it, with lamp shades attached to the socket. These act as spot lights during play and light the cabinet up. The one on the left was missing the lamp shade (also called a reflector).
service
All posts tagged service
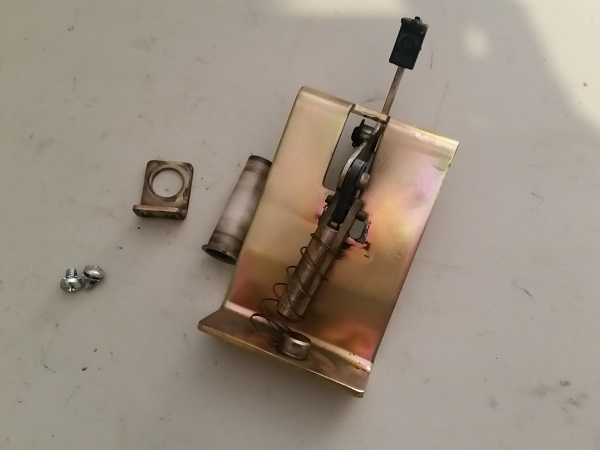
It’s time for the second update on my repair and servicing of a SEGA X-Files pinball machine. Less repairs for this installment and mainly servicing what’s there. My focus for this update is to work through the remaining under playfield assemblies that need a service. X-Files is a bit thin on coil assemblies compared with other machines I’ve worked on recently. Outside of the flippers and slingshots, there are only 6 others to service (and three of those are pop bumpers). Once they’ve all been cleaned up, that will mean I’m ready to strip and clean the playfield. I’ll be starting with the slingshots. The assemblies are just like the ones I saw on my Date East Last Action Hero. They get a good work out during play, so have built up a nice layer of black dust around the plunger, link and coil sleeve.
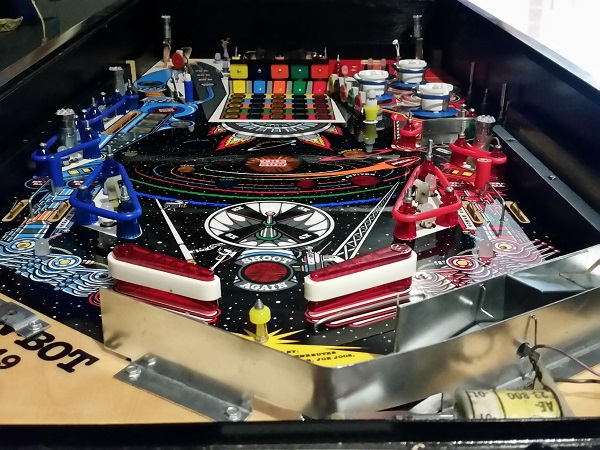
Recently, a new machine entered my line up – X-Files. Release by SEGA in 1997 with 1500 made, it’s the most modern machine to enter my pinball fleet. As you know by now, I’m not one to just get a machine in and play it. There’s always work to be done cleaning, fixing and tuning my machines. This one is no different and I’ll be working my way through the machine in typical fashion for a full service.
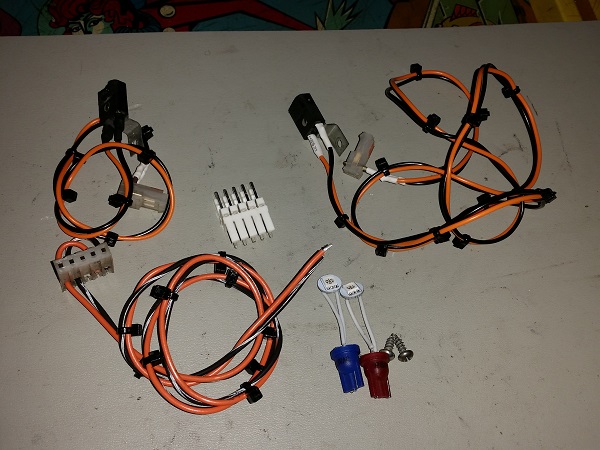
Time to wrap up my work on Pinbot with a few small tasks. Recently I put together a small kit for my LAH machine which added back lit flipper buttons and thought I’d do the same for Pinbot. The whole space / robot theme should suit it nicely. I already had transparent red buttons on the machine, so I purchased a transparent blue flipper button for the left side (to go with the red / blue theme), some long neck LEDs and went through my spare parts to put together the rest of the kit to install.
While the finish line is in sight for the playfield swap, there is still a fair bit of work to do as I have playfield parts spread across two pinball machines which need to go onto the new one. With the underside of the playfield back together again in my last update, it’s time to sort out the top. The playfield was put back into the machine and the connectors all joined up again. I then installed the 6 flasher lamp sockets, four of which required wires to be soldered back on. The holes were drilled using Brad tipped drill pieces to remove some of the clear around where the screw goes into the playfield to prevent any cracking of the clear. I then moved onto installing various plastic posts, ball guides, pop bumper rings, apron clips and trough guides. I also added LEDs to the playfield, along with a few of the Titan rubbers. The flippers were aligned and tightened in position. Populating the new playfield had begun well and was starting to take shape.