After my last two updates, X-Files is already starting to play better and I’m happy with how the machine has progressed so far. While waiting for a couple of parts to arrive, I decided to get a few smaller things done around the machine. The filing cabinet has two globes pointed directly at it, with lamp shades attached to the socket. These act as spot lights during play and light the cabinet up. The one on the left was missing the lamp shade (also called a reflector).
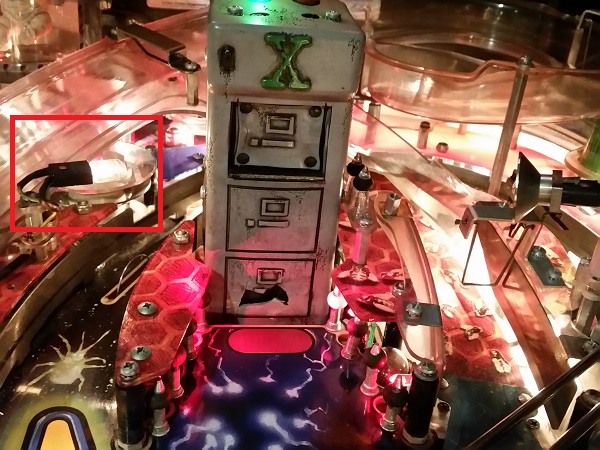
These can be purchased and since I didn’t have any spares, ordered one to install. I regret not ordering a second to replace the existing one on the right as they newer reflector helps produce a much brighter effect.
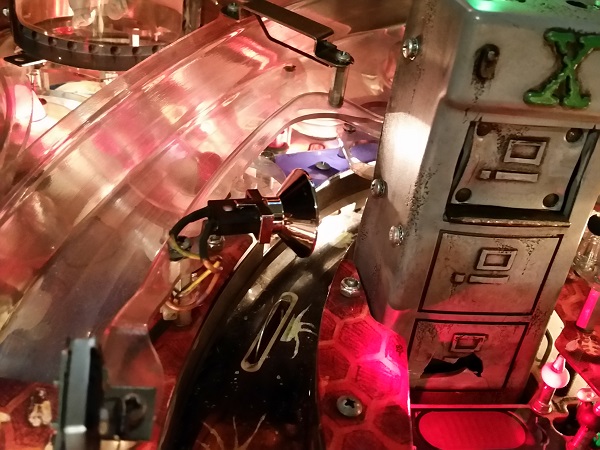
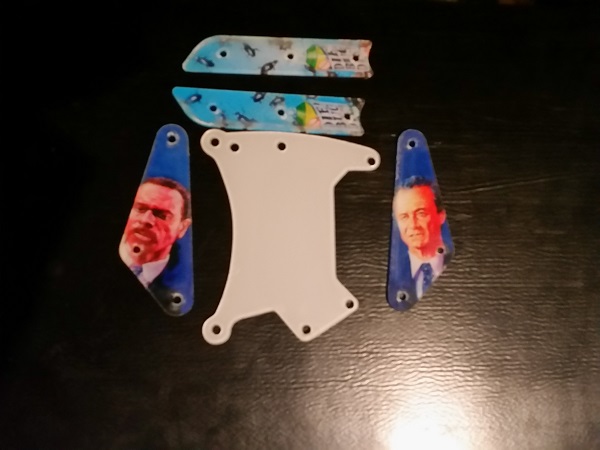
The right return lane plastic on my machine broken at some point in the past. I found a place in the US that sells a small package of the slingshot and return lane plastics together.
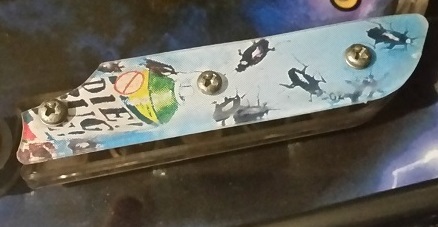
While my slingshot plastics are not broken, it certainly won’t hurt to replace them given they came in the set. It’s a shame about the average artwork printed on them. I don’t plan to install the replacements set just yet though and I’ll wait to install them once I’ve stripped and cleaned the playfield. They have a thin protective layer on top, which will be removed during installation. Along with the replacement plastics, I also ordered a clear piece which sits over the top of the filing cabinet entry. This acts as a shield to protect the plastics in the area. I’m not sure if it’s an after market piece as I’ve seen a number of machines with it fitted. It was not present on my machine, so will add this after the playfield clean too.
I wanted to lift the presentation of the machine a little, so thought I would pretty up the front of the cabinet and the coin door. Sadly, the nice purple colour in the cabinet art has faded over the years from (most of) the machine. Blue still suits X-Files, so I can live with it. I have seen some custom art decals around (or at least discussed), but I don’t plan on replacing the original set for now. There are some things that can be done to pretty the front up a little though.

I decided to start with the ball launch button – the big X button on the right. This is hooked up to a microswitch inside the cabinet. It is also supposed to be lit at times in the game where the player can launch the ball. Right now the button does not flash, so it’s most likely a blown bulb. I saw this on my Last Action Hero recently where both the start and smart missile buttons no longer lit up as the bulbs had never been changed. The launch button was removed and disassembled. Everything cleaned and some novus polish applied to give it some shine – especially the clear plastic at the front of the button, which was looking dirty.
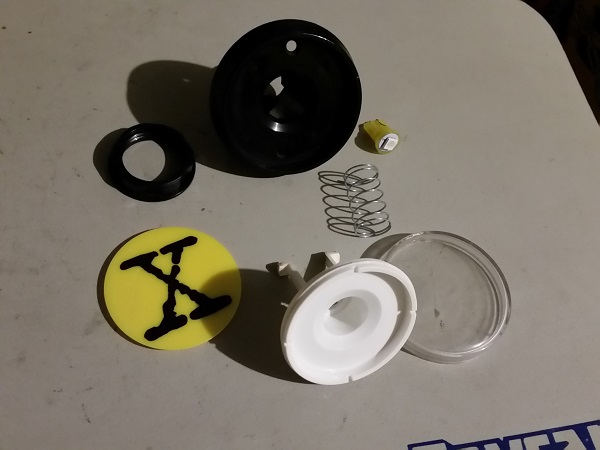
Back on the cabinet, a few remnants of that nice purple that once lived there can be seen. The small holes that appear at the top of bottom of the button line up with small bits on the back of the plastic button to help align the button in position. This also means when reassembling the button components, it’s possible to incorrectly align things so you end up with a side ways X… as I found out 🙂
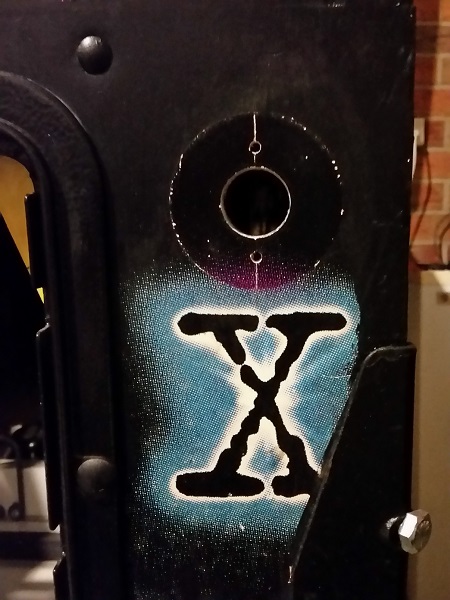
Something I like to do on my machines is replace the foreign currency pricing plates. In this instance, no pricing plates existed. The game is set to free play, so I wanted to add some free play decals. At first I was tempted to print up some X-File logos, but it’s already in use on the launch button. I decided to get an X-Files font and print up the words free play. The small metal plate is there to prevent coins from being put into the slots.
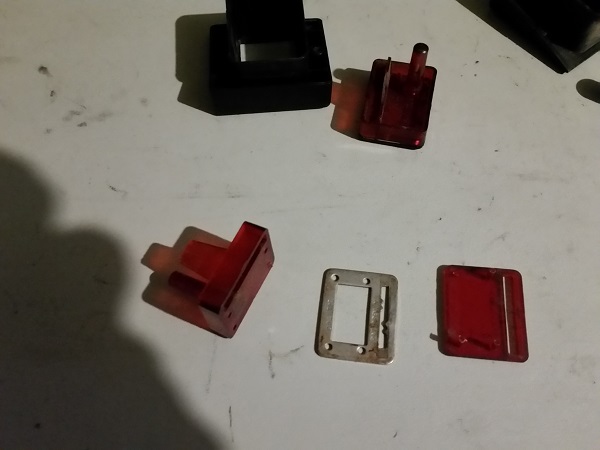
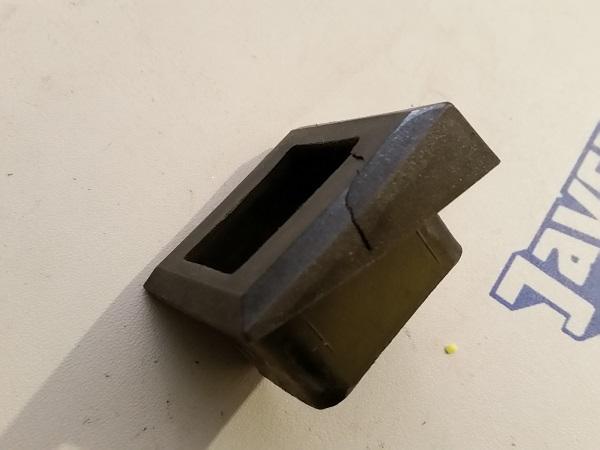
One of the coin entry housings has a nice crack through the plastic. I rummaged through my spare parts and came up with a matching one to replace it. I love finding perfectly suitable second hand parts in my stash to swap in where required.
I downloaded an X-Files font and printed up some decals. These were installed into the coin reject buttons. The red plastic was cleaned and then polished up with some Novus.
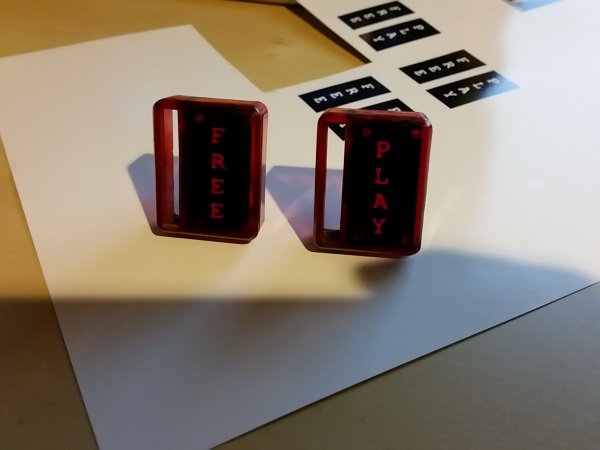
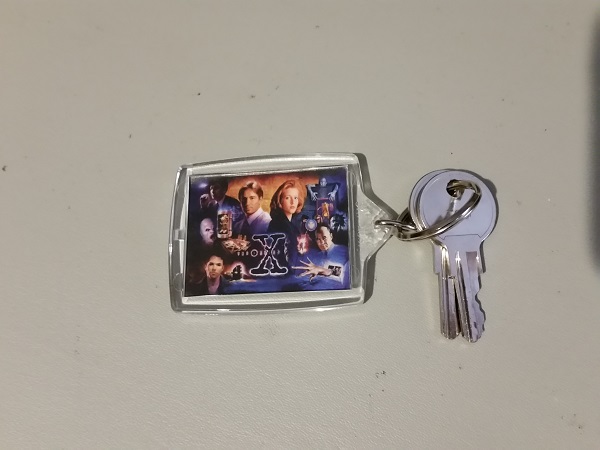
The housings were then installed back onto the coin door. One last thing I wanted to do here was to have an X-files keychain for the keys. A quick look on ebay turned up quite a few results, but in the end I settled on creating my own with the translite artwork. As a side note, there are some sets of X-Files slingshot plastics available which include a tag for a keyring – but I decided against buying another set of new sling shot plastics just for the tag.
Having had the playfield up a few times recently, I’ve noticed that the underside of the large X insert is filthy. Before moving on to the top side of the playfield, I’ll give this a decent clean.
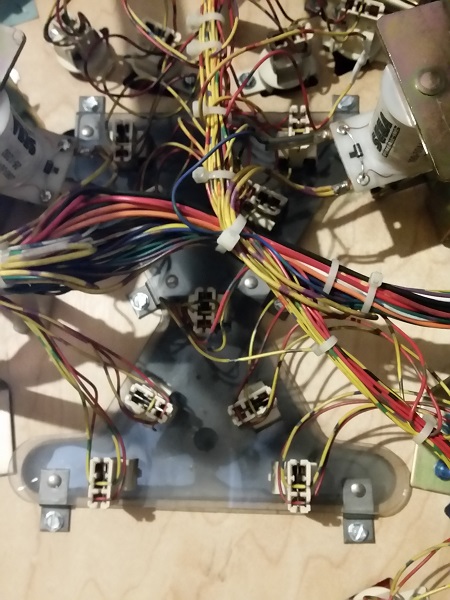
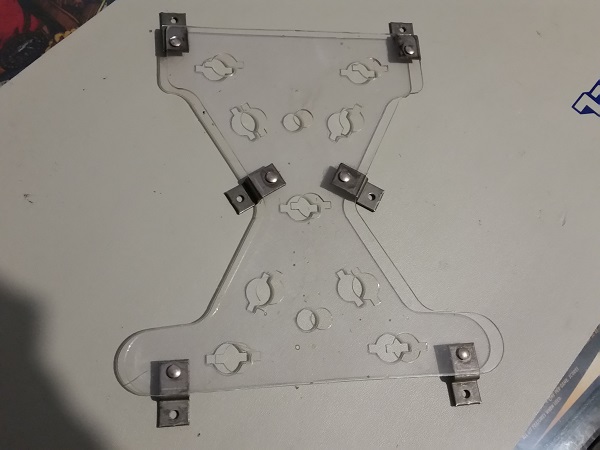
There are 9 bulbs attached to a clear plastic backing, which are used to light up the X as you progress towards “TRUTH” multiball mode. The lamps were disconnected and the backing plate removed. It has collected a lot of black dust, which is heavier towards the areas next to the two sling shots.
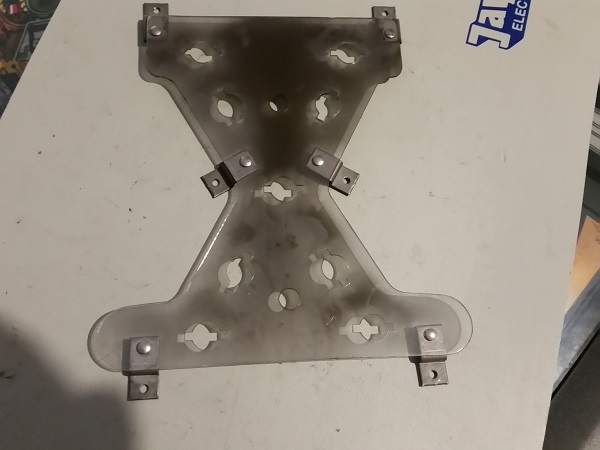
Some Nifti and a cloth made easy work of cleaning it though.
Back on the playfield, the black dust had also attached itself to the underside of the insert. This affects how much of the green light shows through the insert during play. As with the clear backing, the black dust is centralised around the section closest to the slingshots.

After a wipe down, it’s looking so much better.
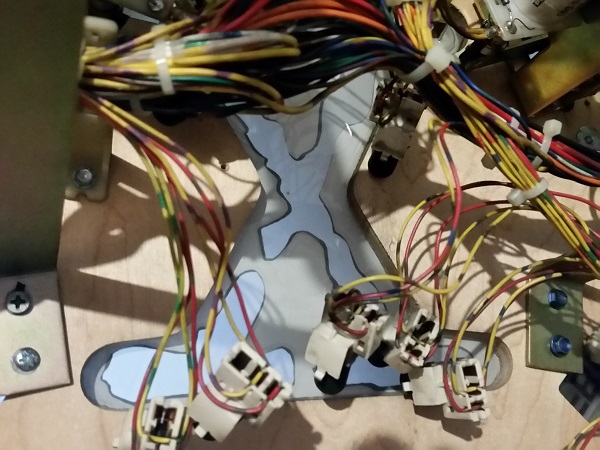
The green caps on the bulbs were cleaned also. I plan to replace them with LEDs soon. The clear plastic was installed back under the playfield and the lamps put back into place. A little bit of cleaning has made a huge difference.

A similar issue can be seen with two inserts for the agent badges. These also had a nice layer of black dust on the underside of the inserts.
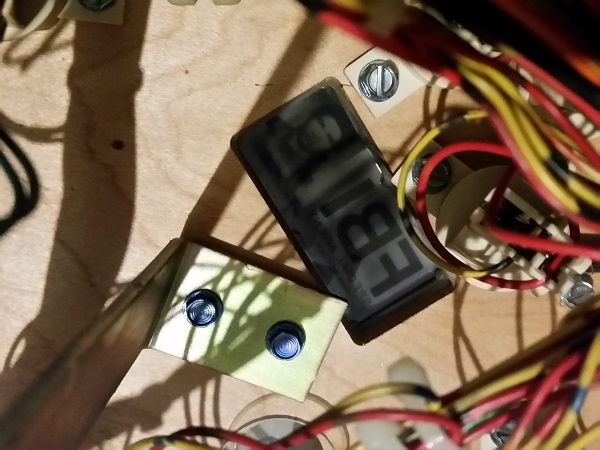
With the dust cleaned off, the insert looks nicer and lights up cleaner during play. This was repeated for the Agent Scully insert on the other side of the playfield. When I get around to installing LEDs on the inserts, I will be giving each one a wipe down too.
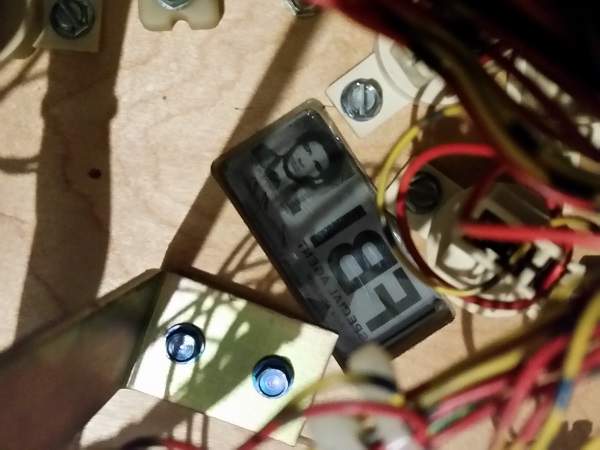
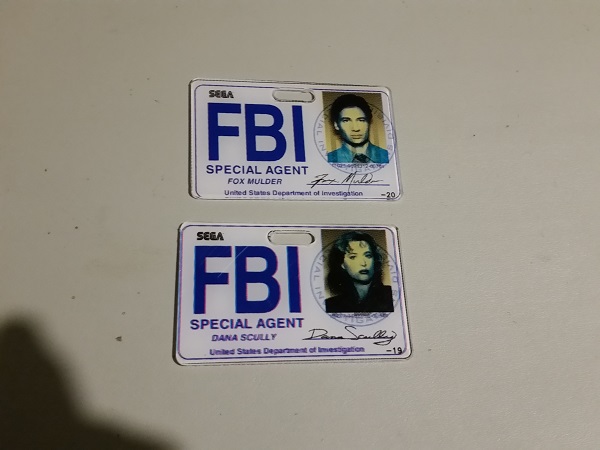
One last small thing to clean are the two FBI badges at the rear of the playfield. I’ve seen a small mod done to light these up from behind by cutting out sections of the rear panel. I won’t be going to that trouble.
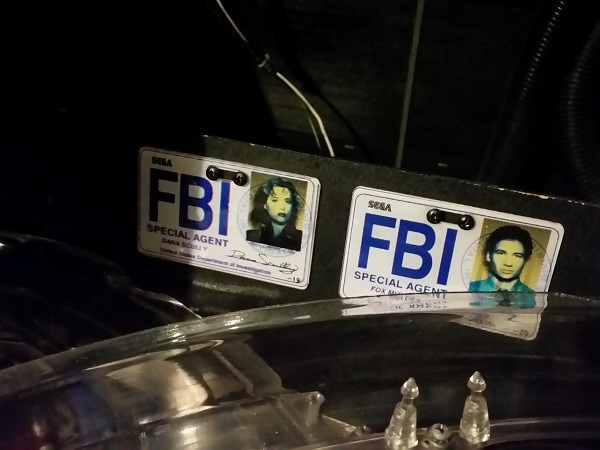
The two agent plastics were removed, cleaned and polished.
That’s it for this update. Hopefully my parts orders will arrive in the next few days. I’m waiting on a bunch of LEDs for the playfield GI and also some Titan rubbers. I’ll be using a mix of red, blue and green across the playfield, along with a few purple post sleeves. Once they arrive, I’ll strip the playfield and clean. The pop bumpers will be rebuilt as part of this process and the metal parts put through the tumbler. There is a broken flasher dome that will be replaced too . Lots of good things still to come.
