It’s time for the second update on my repair and servicing of a SEGA X-Files pinball machine. Less repairs for this installment and mainly servicing what’s there. My focus for this update is to work through the remaining under playfield assemblies that need a service. X-Files is a bit thin on coil assemblies compared with other machines I’ve worked on recently. Outside of the flippers and slingshots, there are only 6 others to service (and three of those are pop bumpers). Once they’ve all been cleaned up, that will mean I’m ready to strip and clean the playfield. I’ll be starting with the slingshots. The assemblies are just like the ones I saw on my Date East Last Action Hero. They get a good work out during play, so have built up a nice layer of black dust around the plunger, link and coil sleeve.
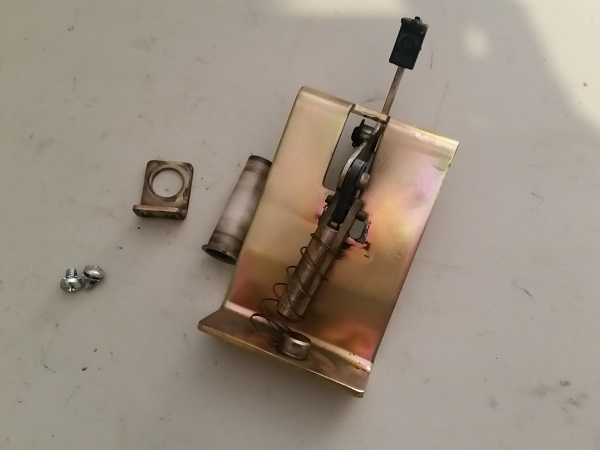
The slingshot assembly was completely disassembled and each part cleaned. Both sling shots were done at the same time and in similar condition.
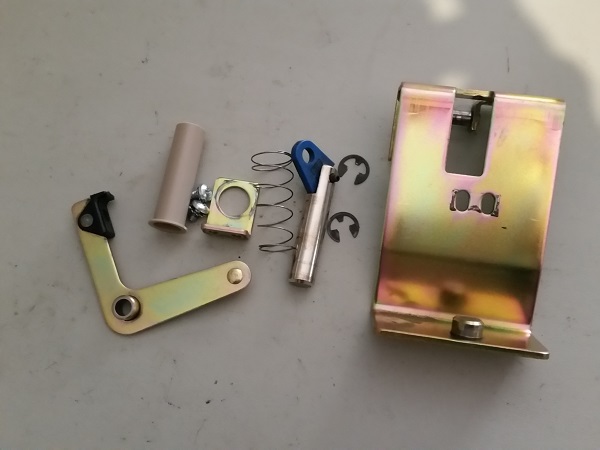
The sling shots were reassembled and installed back into the machine. The contacts on the two switch blades for each slingshot were cleaned and also slightly adjusted for better sensitivity. I will hold off cleaning the plastic and playfield above the sling shots for now. I plan to strip the playfield and properly clean it in the next stage of servicing, so will deal with those then.
Just up from the sling shots are a banks of stand up targets, with a set on each side. These targets are used in game to advance the end of ball bonus and multi-ball jackpots. They are quite dirty, so let’s get them off the playfield and clean them up.
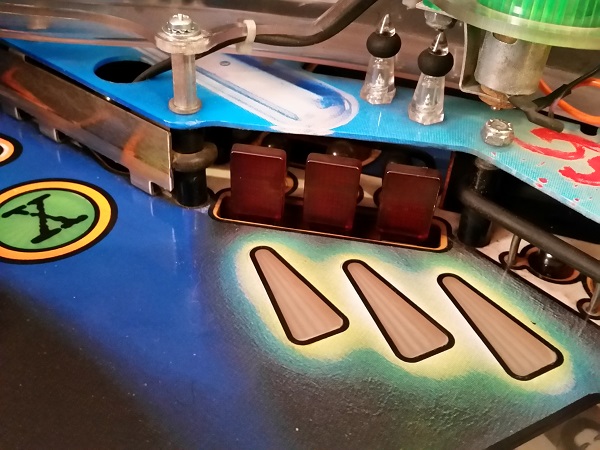
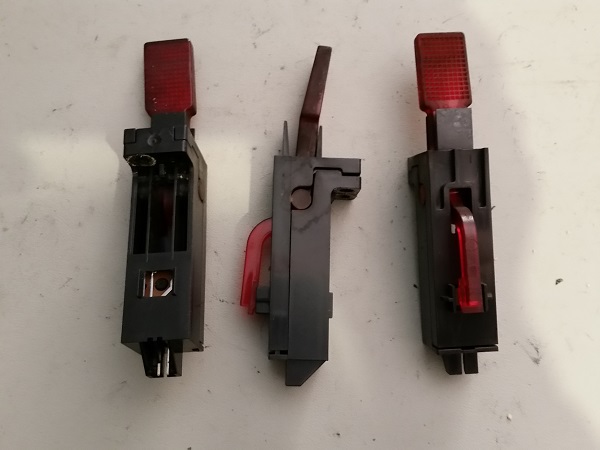
Under the playfield, the target bank is actually a collection of 3 individual targets. Each target is it’s own assembly, held in place by two screws. Each target is connected to the wire trunk via a small IDC connector.
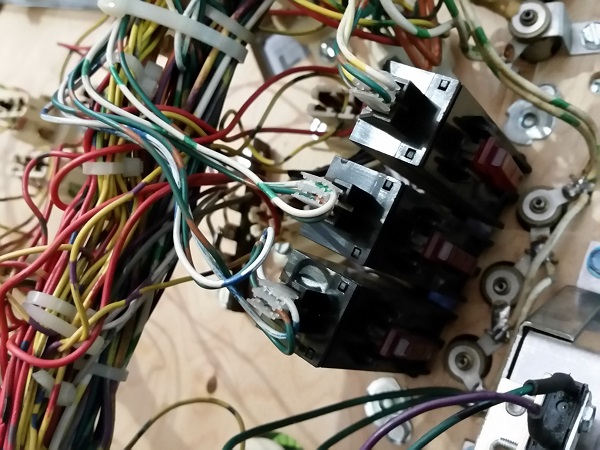
The IDC connectors were taken off the targets and each one removed from the playfield. Their design is quite simple and they activate a micro switch inside the housing.
For a comparison, I cleaned one of the targets up with isopropyl alcohol and a cloth, followed by polishing with Novus. It makes a very noticeable difference.
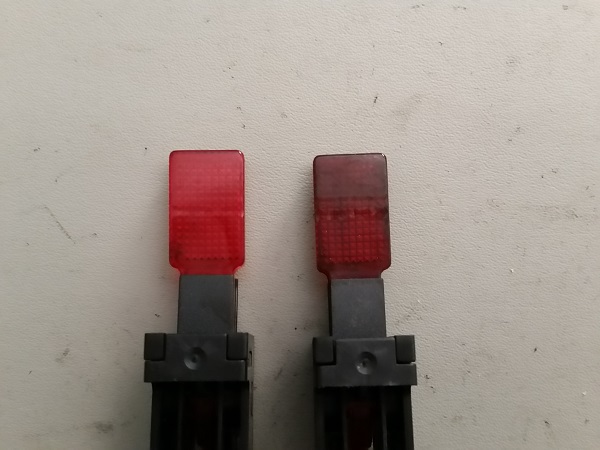
The second target now clean, shows how a little bit of cleaning can make an impact.
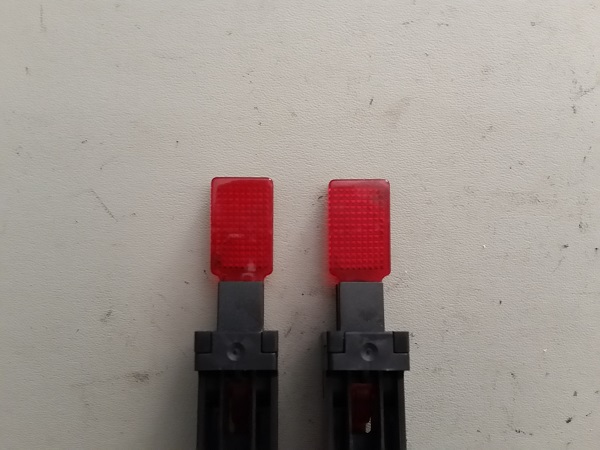
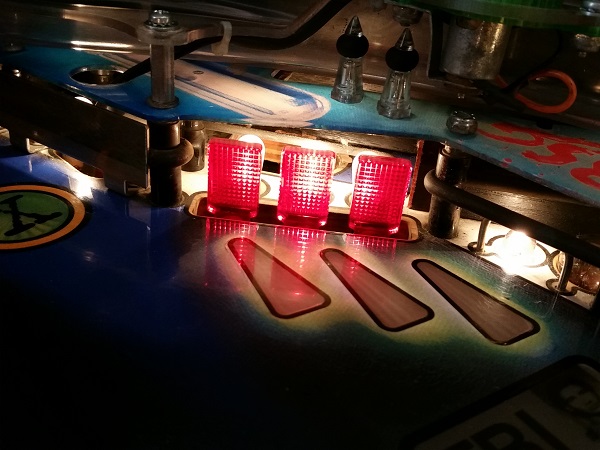
Once all three targets had been cleaned and polished, they were installed back into the machine. Lit up, they look great – the red on the target plastic much cleaner. I’m looking forward to adding some LED’s behind them soon. The targets on the other side of the playfield were handled the exact same way.
Continuing my journey up the playfield, the next assembly on my hit list is the trap door. This one is made up of three parts (four if you include the plastic ramp).
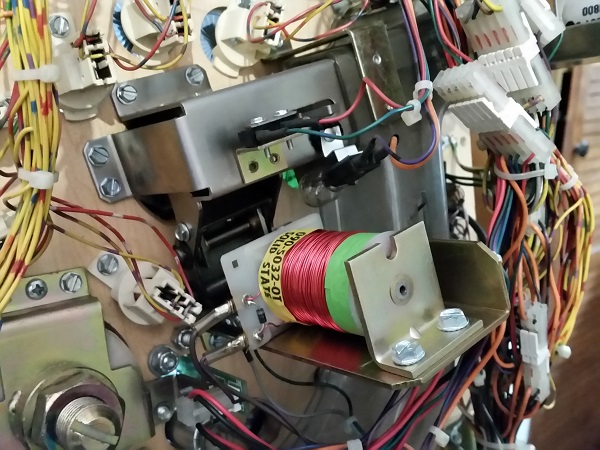
The coil assembly, metal trap, and plastic ramp were removed first. I’ll return for the actual trap door shortly. The microswitches are joined to the game via IDC, which means they can easily be disconnected and removed for servicing.
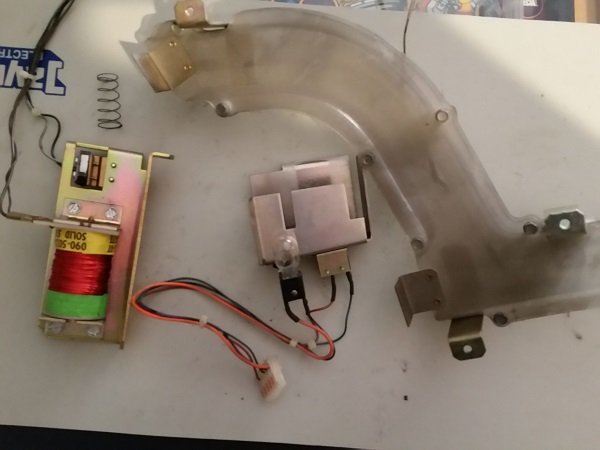
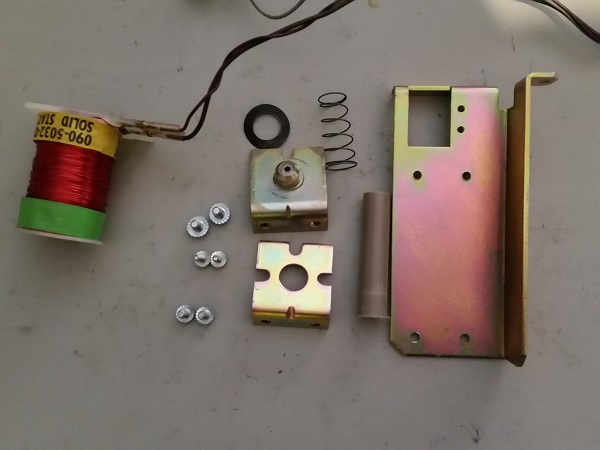
The coil assembly was disassembled and cleaned. A new coil sleeve was sourced to be installed.
Under the playfield there is a ramp which carries the ball from either the trap door or the filing cabinet to the VUK (vertical up kicker). This thing is filthy.
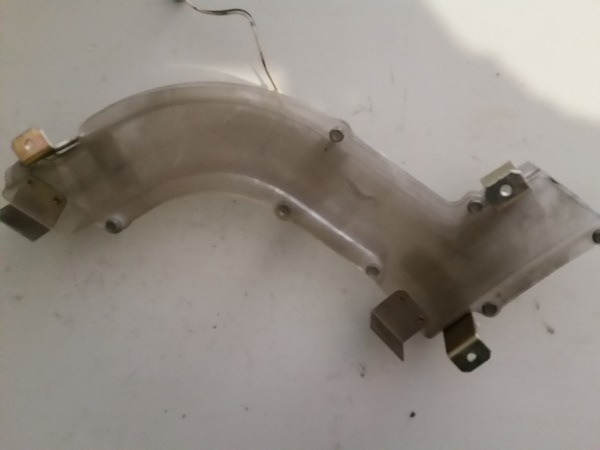
Lately I’ve started relying on Nifty for cleaning as it does a great job. It didn’t fail here and really cleaned the plastic up.
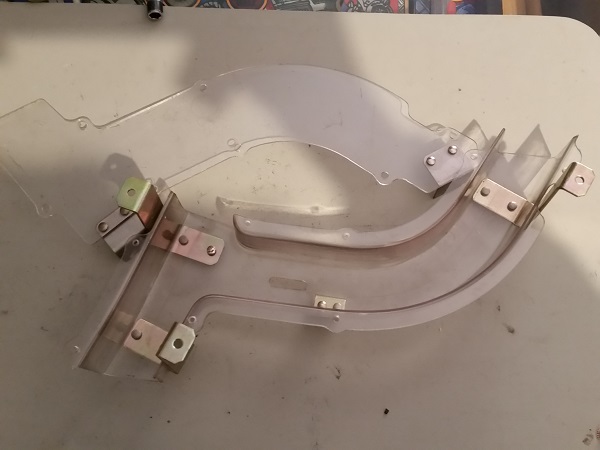
The last part of the trap door assembly was the door flap itself. Due to the shape, this was tricky to remove.
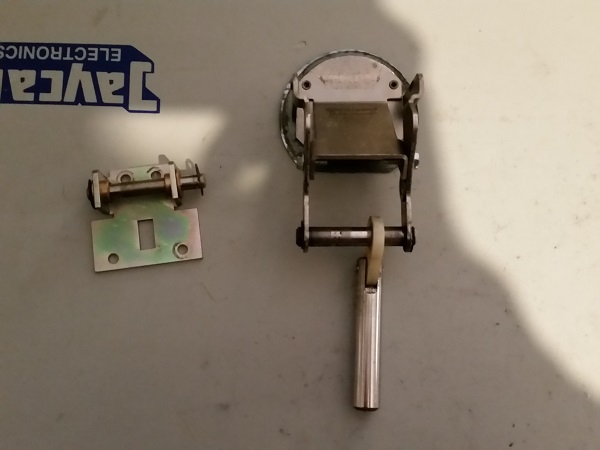
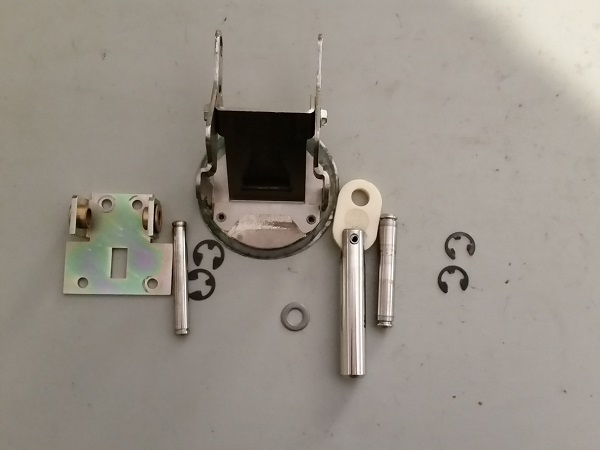
The flap assembly was dismantled and each part cleaned. With everything from the trap door assembly now serviced, it was time to put it all back together.
At the very top of the playfield is an assembly that looks very similar to the ball serve & launcher assemblies. This one pushes its post above the playfield and acts as a diverter on the outer orbit shot. It’s controlled by the two orbit switches, so only engages for a short time to divert the ball. Some missions in the game disable this though, allowing you to make the full orbit shot, which is always cool to do. This assembly is working fine and just needs a clean and new sleeve.
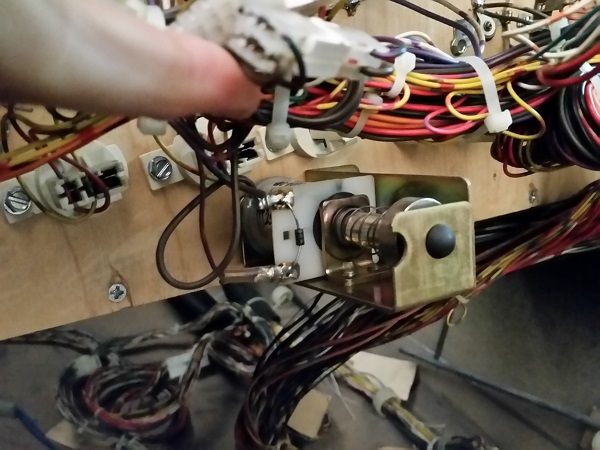
The assembly was removed from the playfield for cleaning. Compared with some of the other assemblies on this machine, it’s not too bad.
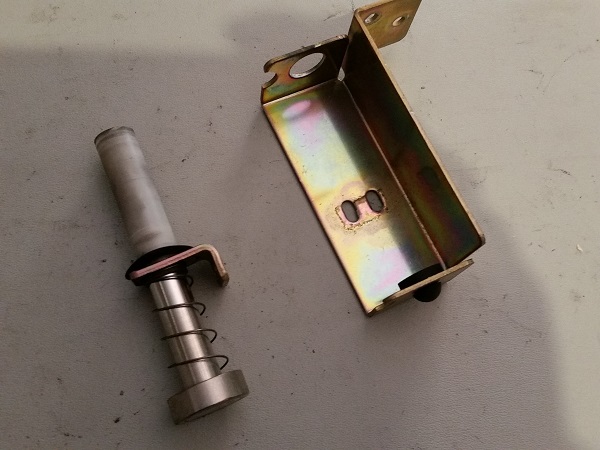
The assembly was cleaned up and a new coil sleeve sourced. It was installed back into the machine, ready to block my orbit shots.
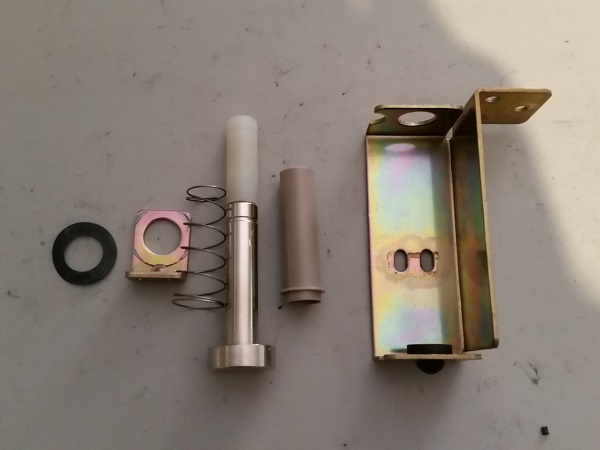
That just leaves the pop bumper and flipper assemblies to look at. I’ll be servicing the pop bumpers once I have the playfield stripped. The flippers I will be putting off for a bit, simply because they are still reasonably strong and are not yet ready for a rebuild.
That’s all for the second update on my X-files service & repair. More positive progress made, bringing the state of the machine closer to where I want it to be. I have a few small presentation things to do next and I’ll then advance to stripping everything from the top of the playfield so I can properly clean it. I’ll then clean parts as they get installed back onto the machine, along with installing LEDs and coloured Titan rubbers. At that point, the machine should be in a state I’m happy with – so stay tuned as there is more fun to come 🙂
