Time for an update on the service and repair on my X-Files pinball machine. After the work done so far, the game has been holding up well. I have really come to appreciate it and going by the audit menu, I’ve put just over 150 games into it. It’s a fun title and I think does not get the credit it deserves. While it’s playing well, it can be even better. To get the machine into the state I want it, I need to give the playfield (and all its surface components) a really good clean. I also want to rebuild the pop bumpers and add LED’s for the GI. That means it’s time to take the machine offline for the next week (maybe two) and give the playfield and it’s parts a solid clean.
First to come off the machine were the ramps. This then allowed me access to the plastics below. With the plastics off I could then access all the various posts and ball guides. There are quite a few to remove. The plastics all need a good clean and these will get the novus treatment before being installed again. Often, dust and crap attaches to the underside of the plastic too, which can affect how well they look lit up. So both sides of each piece will require a clean. I also removed the sling shot parts and return lanes.
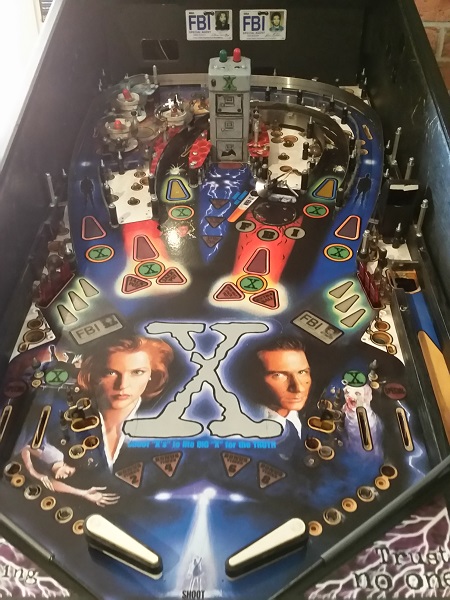
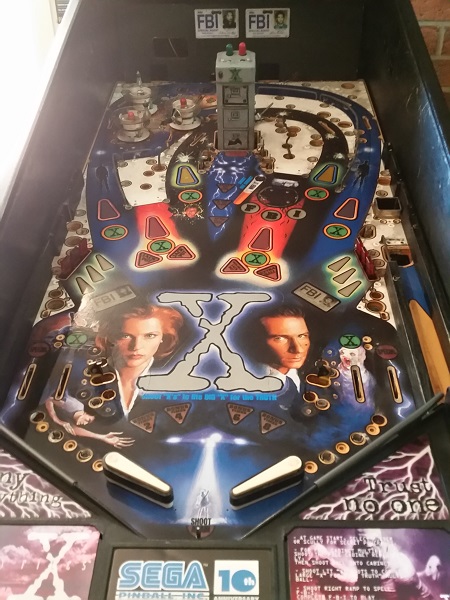
I continued to remove parts from the playfield, taking more photos along the way until finally it was clear enough for cleaning. The pop bumpers will be first on my hit list and from there I will move onto cleaning the playfield and it’s parts.
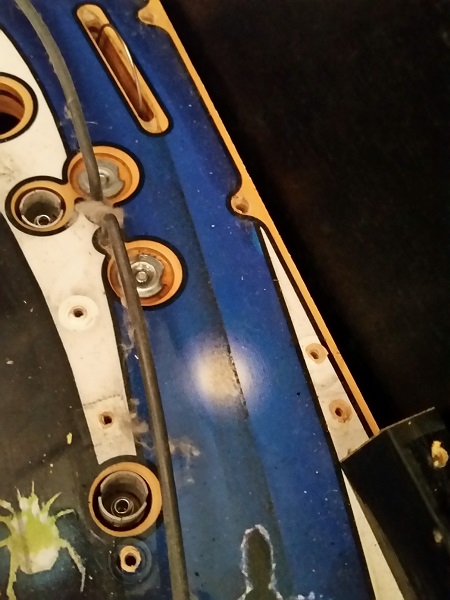
The easy to reach places on the playfield were not too dirty. But those covered by ramps or plastics were the opposite and in real need of a clean. To show an example of the cleaning result – here is the outer right orbit shot. Before cleaning, the playfield is filthy and a few lovely “dust bunnies” cling on to the wire guides.
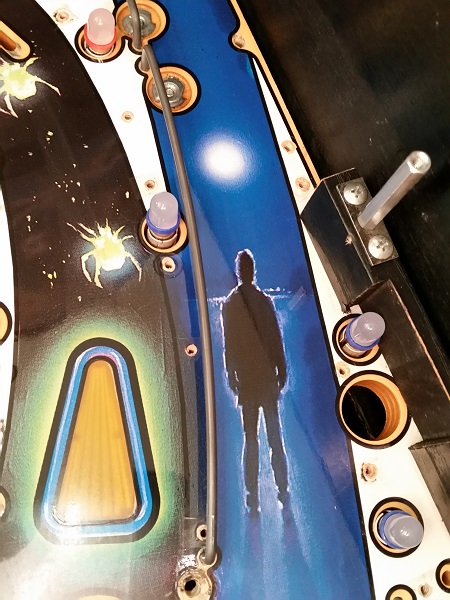
After a good clean, the playfield in this area is looking nice again.
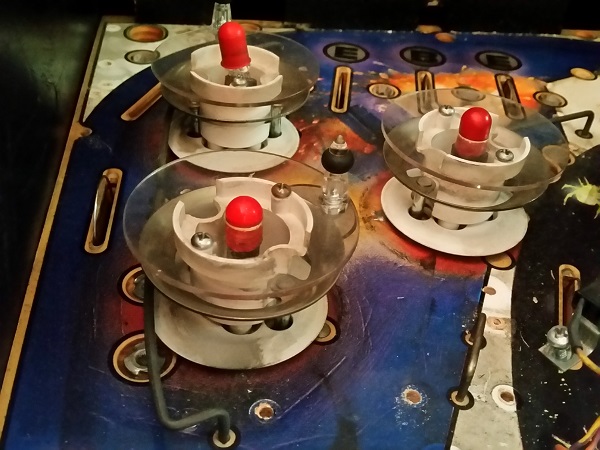
There were several cases of this across the playfield. My approach is to first vacuum up all the loose crap floating around the playfield. I then switch to nifti and a soft cloth. I gently wipe away the filth that’s build up on the playfield over the years. I then finish off with Novus 1. Before I get too far into cleaning though, let’s look at those pop bumpers. I’m not a fan of the flat pop bumper caps – and I don’t think they are easy to come by either if you want to replace them. As you can see there is a lot of dust and general filth in the area. Working on the pop bumpers is one of my least favorite assemblies to look at. However, freshly rebuilt pop bumpers are a sweet sound and are worth the effort 🙂
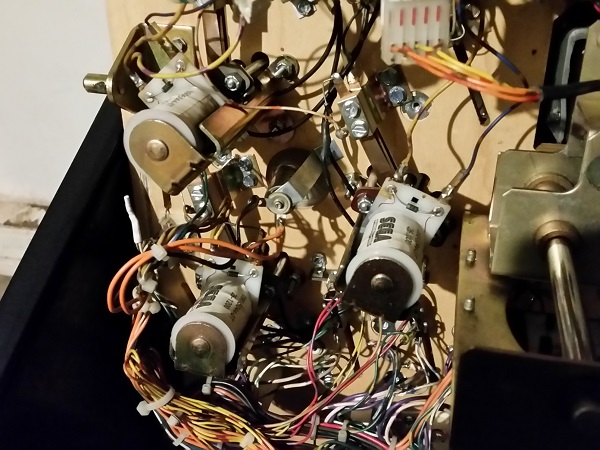
Under the playfield, the pop bumpers are a very standard set up. The lamp wires are soldered onto some near by boards – I really loved how Bally did a connector on some of their machines as it made working on the pop bumpers so much easier. But here I’ll have to desolder the wires to get the pop bumper body off the playfield.
To begin, I decided to work on two pop bumpers first. I do this simply so I always have 1 to reference if need be. The skirts are a bit eaten up at the edges and lots of black dust built up around the base and bodies. The rings are still very serviceable, however I have new ones to install this time. I will run the rings through the tumbler for a future machine though.
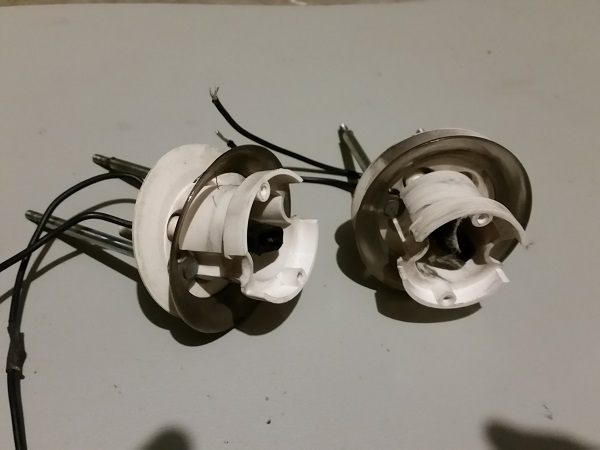
The assemblies for the pop bumpers were then removed from under the playfield for cleaning. As always, there is a lot of black dust built up around the spring and yokes.
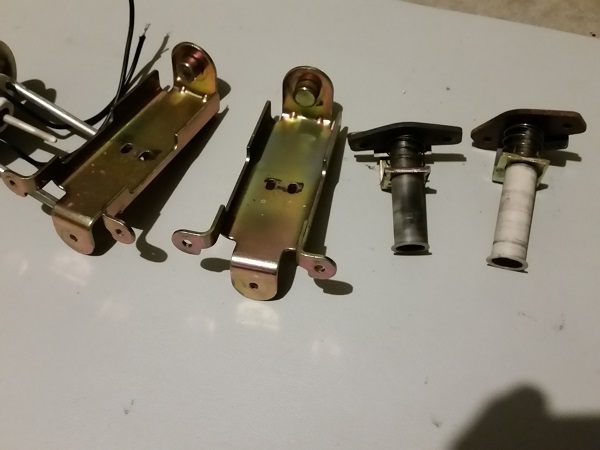
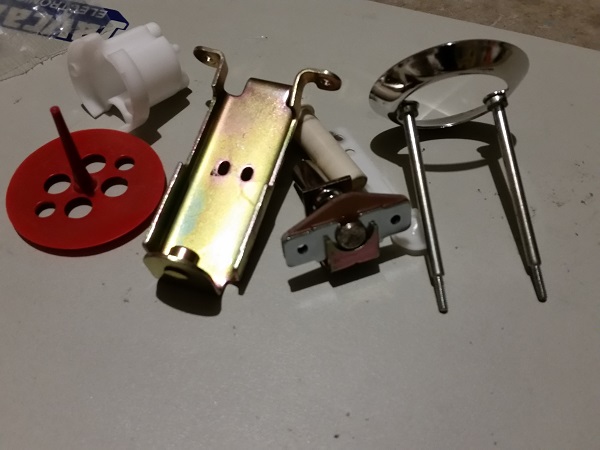
Going onto this machine are new bodies, skirts, rings and yokes. I will also be installing new spoons and sleeves. The pop bumpers get a real work out in any game, so I don’t mind putting a little bit of money into them. Plus I’d rather service them once and not have to return for a long time (…ever).
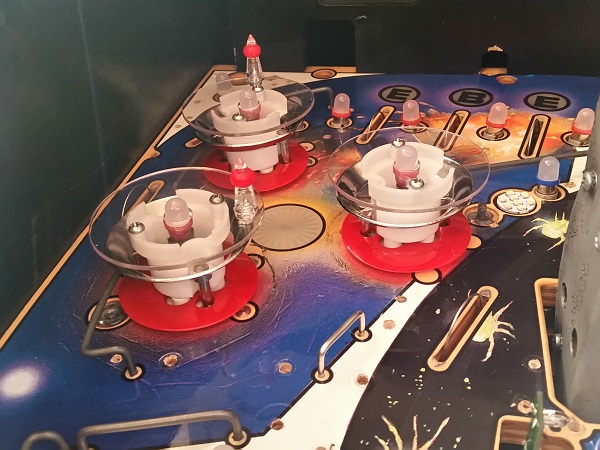
With the pop bumper rebuild coming along nicely, I decided to clean the playfield at this point. First up, the wireforms were cleaned with steel wool to remove crap that have become attached to them over the years. The vacuum was then used to suck up anything loose across the playfield. I then hit it with nifti and a soft cloth. This made easy work of the dirt. The pop bumpers were the installed back into the machine and some LED’s installed in the area for the GI. I swapped the black rubber for red titan rubbers and also went with red skirts (instead of white). The pop bumpers are looking good and I can’t wait to try them out in game once the playfield is back together.
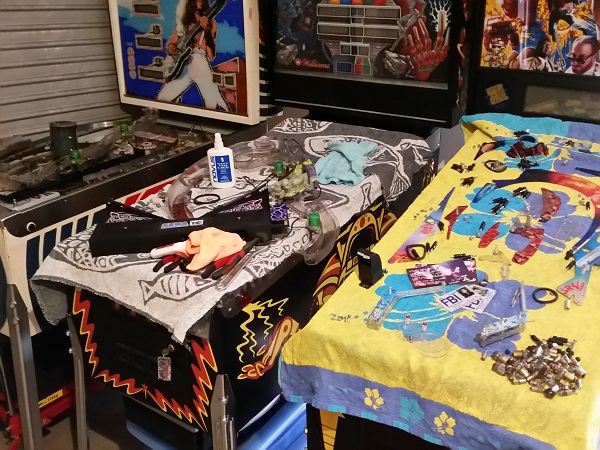
Something many of us can probably relate to when working on a machine – our other machines become storage / benches for parts. So not only have I got 1 machine offline to work on, but the other three also not able to be used until parts go back onto the playfield. I better keep moving forward then and get X-Files back together again. Or maybe buy more machines? Now that sounds like a solution 🙂
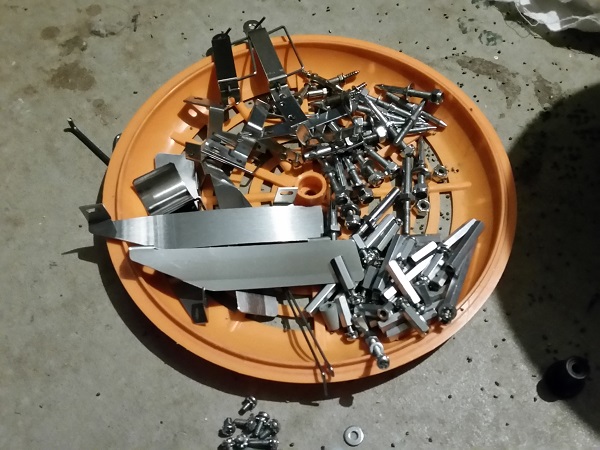
While I had been working away at cleaning the playfield and rebuilding the pop bumpers, all the small metal parts went for a session in the tumbler. This thing works wonders and I can’t recommend them enough.
With the pop bumpers rebuilt and playfield cleaned, it was time to begin the task of installing everything back onto the playfield. This is always a much slower process than stripping it down, as everything needs to be cleaned before going back on. I started with the metal posts and various star / regular posts around the playfield. I decided to swap out some of the black posts with transparent red, blue and clear posts to bling the playfield out a bit with them. I also decided to swap in transparent blue star posts for the clear ones on the sling shots. I am also using Titan rubbers around the playfield (except for the flippers, which use normal rubber). The lower playfield area started coming together first.
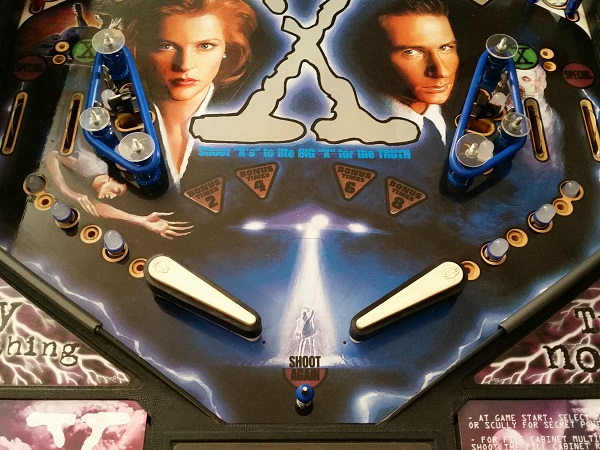
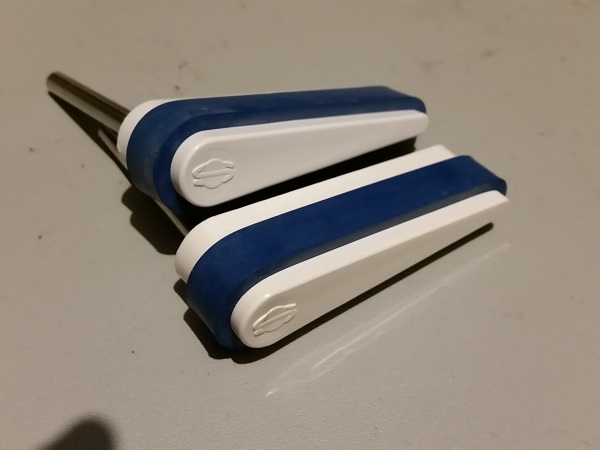
With the effort going in to clean the machine up, I decided to install new flipper bats with new blue flipper rubber. This wasn’t really necessary, but fresh white bats looks great on a cleaned up machine (and they don’t break the bank to purchase). I find it interesting that SEGA chose to include the logo for it’s Saturn console on the flipper bats.
One thing I wanted to do as part of this clean was replace the two mylar patches at the sling shots. These have worn around some parts of the edges and also allowed crap to collect under them. This is a photo from before the playfield strip.
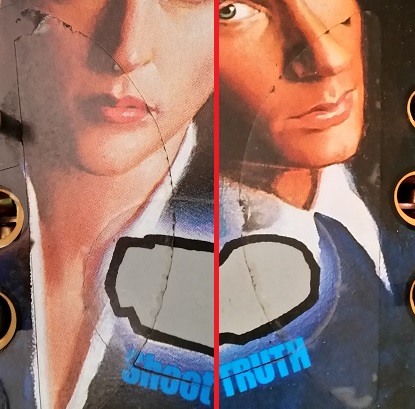
The two patches were removed by applying some heat and the remaining sticky was removed with eucalyptus oil. Once the playfield was cleaned, new mylar patches went on, leaving the slings looking much cleaner. The new flipper bats were installed, and the return lanes also went back onto the machine. The replacement return lane and sling shot plastics were installed. The metal washers used on the slingshots were replaced with clear lexan washers.
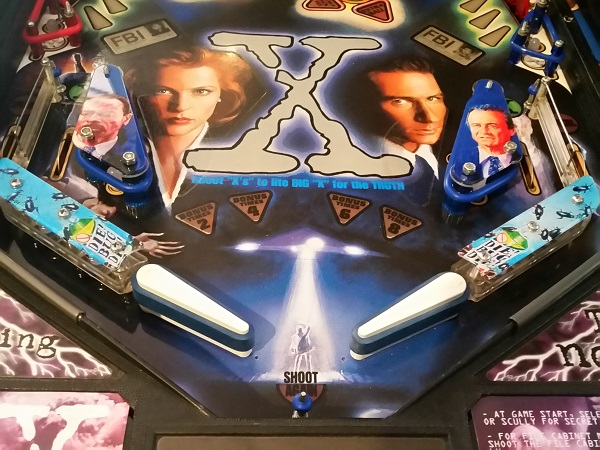
At the top of the playfield, various posts were installed and the large metal ball guides for the orbit shots were cleaned and installed once again. LEDs were installed throughout.
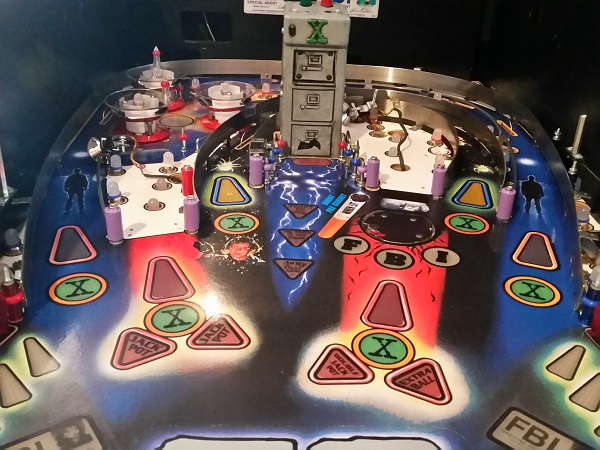
Above the pop bumpers, the red lane posts were installed once again, along with all the posts and new rubbers. This area has really cleaned up nicely. Something interesting on this outer orbit shot is the playfield has an extra switch hole on each side that is unused. I’m not sure why they were included – unless it’s a way to increase the difficulty in registering an orbit shot?
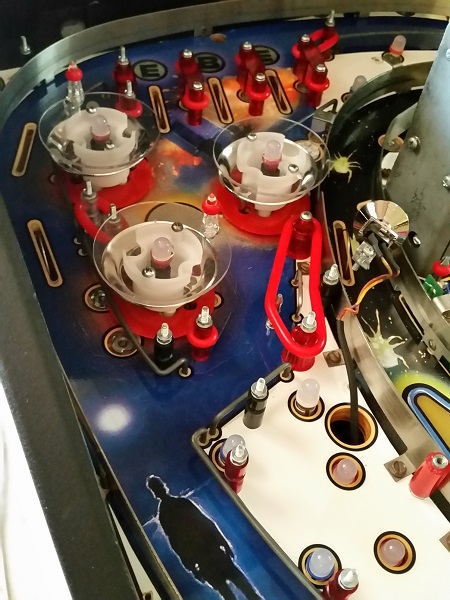
Across the upper area of the playfield, more of the regular posts were installed back onto the playfield. The ones left as black are all hidden under plastics and ramps, so I didn’t feel the need to swap in transparent red/blue/clear for them. With a quick clean they were good to go.
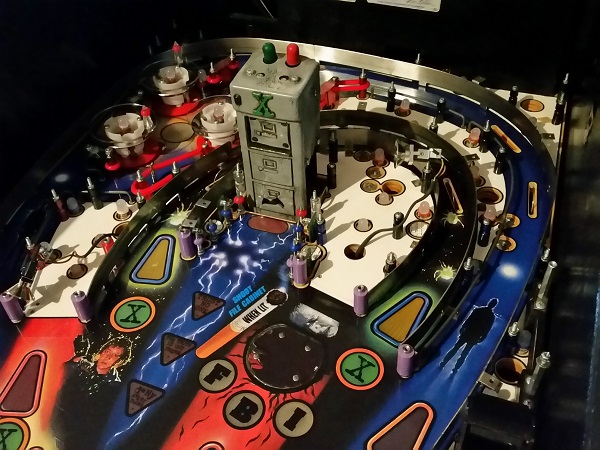
That’s it for another update. Right now, I only get about an hour to work on the machine each night. That means progress is a little slow – but it’s important to keep momentum and do what I can. That way the machine continues to come back together each day. I’m happy with the pop bumpers being done now and also cleaning up the playfield. Getting a playfield back together is always slower since you’re cleaning parts as you go, but the end result is always worth it. In my next update I’ll have the playfield fully back together and also hopefully sort out LED’s for the inserts. These SEGA machines are known for their ghosting issues with LED’s, so i’ll be looking to the non ghosting variety or an ocd board. More to come soon 🙂

Hello,
Do you only use Color Leds for the G.I on Playfield ?
Its not to Dark in Gameplay ?
Regards
I use LED’s colour matched to the inserts too. The game lights up really nicely with LED’s. You can see the results at the end of the next X-Files post – http://www.enteryourinitials.com/2016/08/14/x-files-repair-service-log-5/
If you use LED’s for the inserts, make sure you go with the non ghosting type. SEGA machines don’t handle LED’s well on the CPU controlled lamps (inserts) and will flicker like crazy. The non ghosting LED’s work really well though.