Time to wrap up the servicing on my X-Files machine – I’ve missed not being able to play it. At the end of the last update, I was working my way through getting everything back onto the playfield. I had already made good progress getting the lower playfield area done and was chipping away at the upper sections. All the posts had been installed, so the next bits to go back onto the machine were the plastics. All plastics were cleaned (both sides) and polished before being installed again. The right side of the playfield came together first.
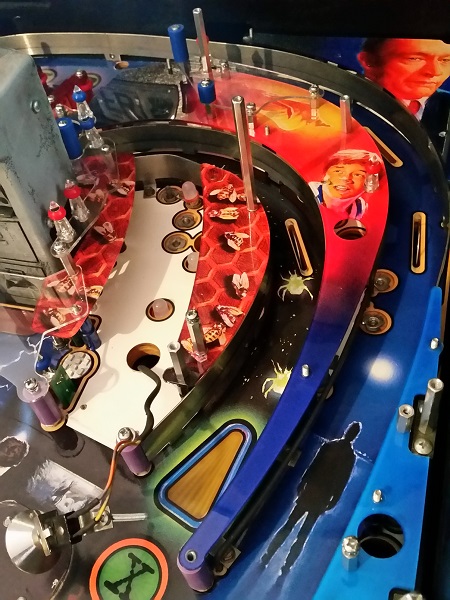
The left side shortly followed.
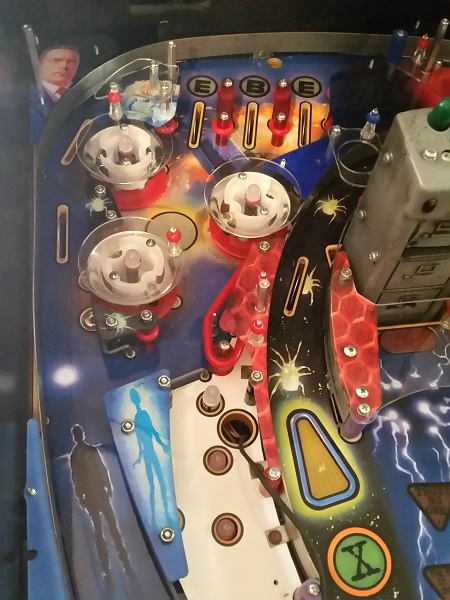
I purchased a clear plastic shield for the filing cabinet area and this was installed also.
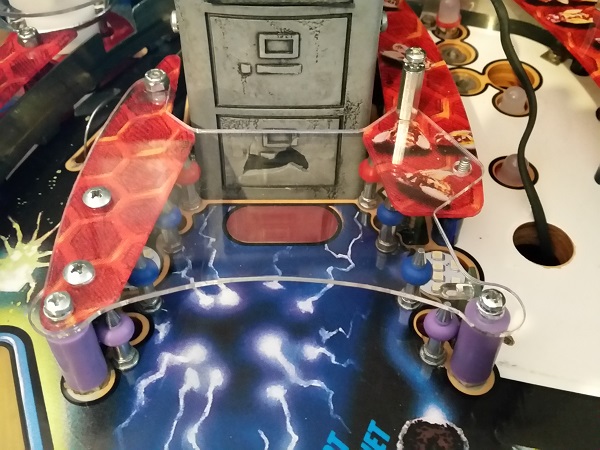
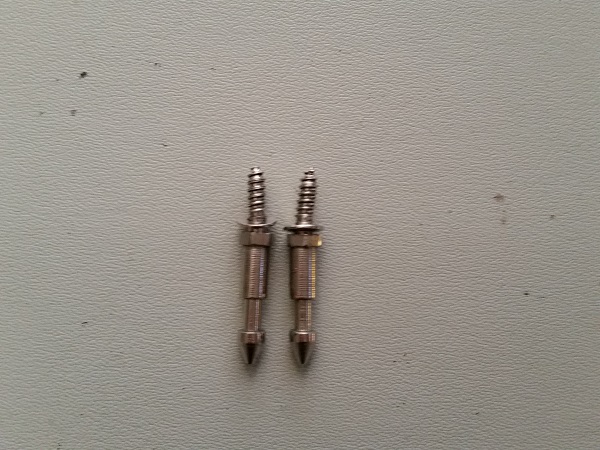
On a side note, while installing the posts around the filing cabinet area, I noticed that two of them had been bent from abuse over time. The machine came to me with rubbers missing from some of the rebound posts in this area, which no doubt is the cause. One of the first things I did was to put rubber onto them to prevent any further damage. Why you wouldn’t install 30 cents worth of rubber on them is beyond me. I had a couple of decent second hand posts available to switch in to replace them.
The only thing left to install back onto the playfield now were the two large ramps. While putting them into position, I noticed that the thickness of the post sleeves was preventing the ramp entries from sitting in their correct position. The machine originally had the thin (and hard) black plastic sleeves on these posts. The Titan sleeves I installed in their place are a bit thicker. I decided to purchase some super band sleeves to use instead. There isn’t a huge difference in the thickness, but it’s enough to allow the ramps to sit correctly.
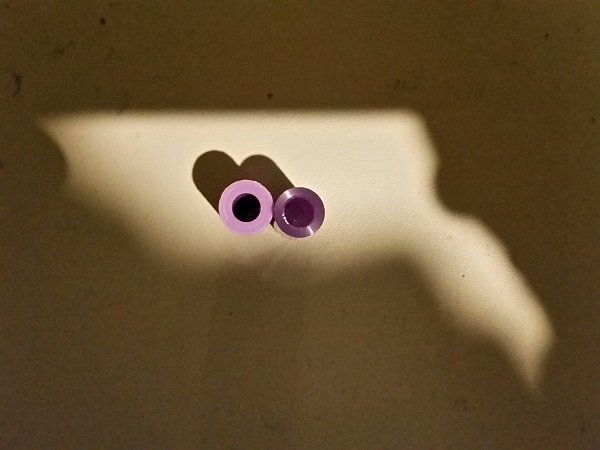
The lighter purple Titan sleeves were replaced with the super band variants. I prefer the performance of the Titan rubber over super bands, but I happen to like the purple of the super bands better..
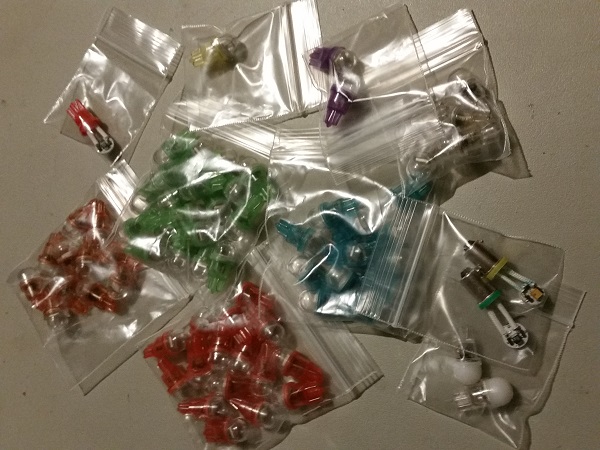
As part of the rebuild, I also wanted to replace all the incandescent bulbs with LEDs. Because these SEGA machines are notorious for LED ghosting, I decided to go with the premium non ghosting LEDs from Pinball Life. There are different brands around for no ghosting and only went with these based on a recommendation from others who had used them in their X-Files machine. Another option would be the OCD LED board, but it’s pricey. The non ghosting LEDs also need to be installed into the pop bumpers, filing cabinet lights, cabinet spot lights and the alien baby tube as they are all CPU controlled and will ghost. I’m interested to see how they hold up.
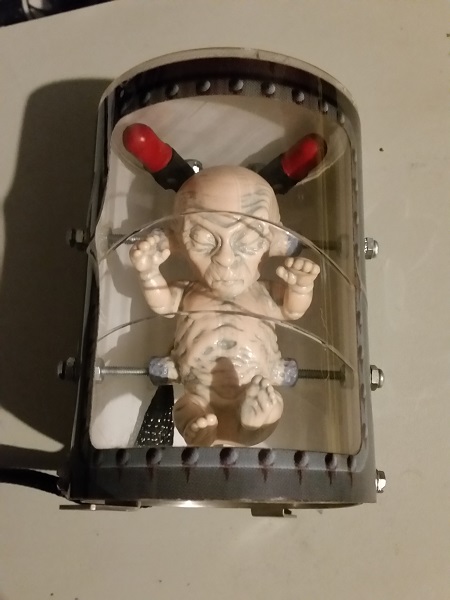
Speaking of the alien baby, I will remove it and give the whole thing a clean before installing it again. It has red covers on the lamps by default, but I’ll be replacing them with green LEDs for something different. The baby freak can be removed by undoing the 4 screws.
Time to get the remaining parts back onto the playfield. The upper playfield area was given one last wipe down and clean, followed by the ramps being installed again. The left ramp went on first, followed by the larger one on the right. Just the thin metal ramp the carries the ball from the right ramp to the left to be installed now.

I was going to leave the flipper rebuild for another time, but changed my mind – I’ll do it now while the machine has my undivided attention. These flippers are quite filthy, so there will be a performance difference after the rebuild.
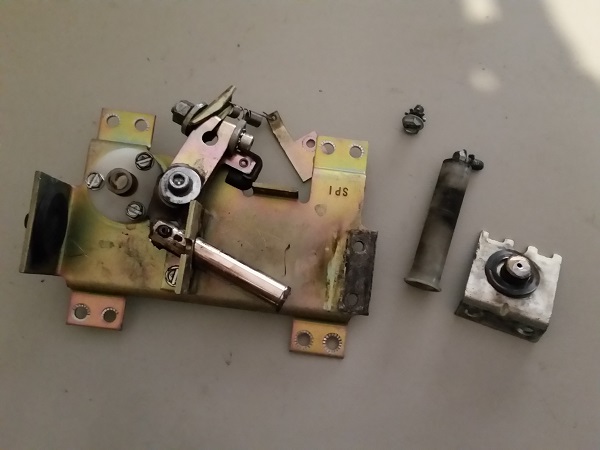
The other flipper assembly was in a similar condition.
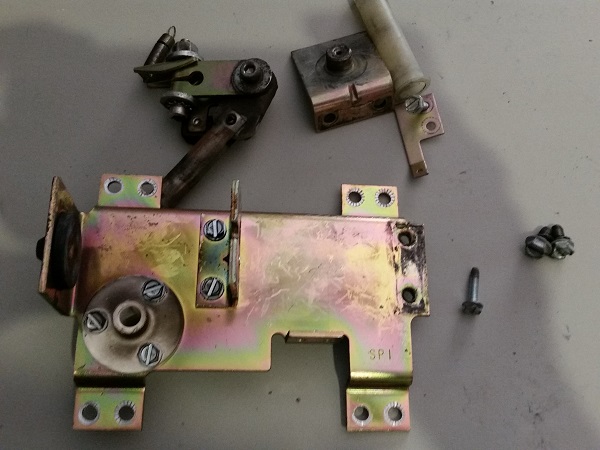
The flipper parts were removed and a kit used to replace the worn parts. I also purchased some new rubber grommets for them as the old rubber was hard and cracking.
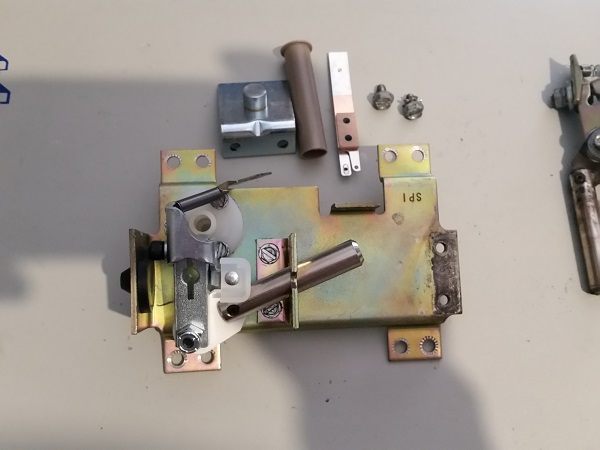
The EOS switches were also replaced. Once both flippers had been rebuilt, the flipper bats were lined up to their correct positions and tightened. All done. The last thing to do now was install LEDs under the inserts. The underside of each insert was wiped clean to remove any black dust build up. I was surprised to see how much of the dust had collected under the inserts over the years. Clearing it away will also improve the colour showing through from the LEDs below. The machine was then powered up to see the conversion to LED’s.
Before the playfield strip:
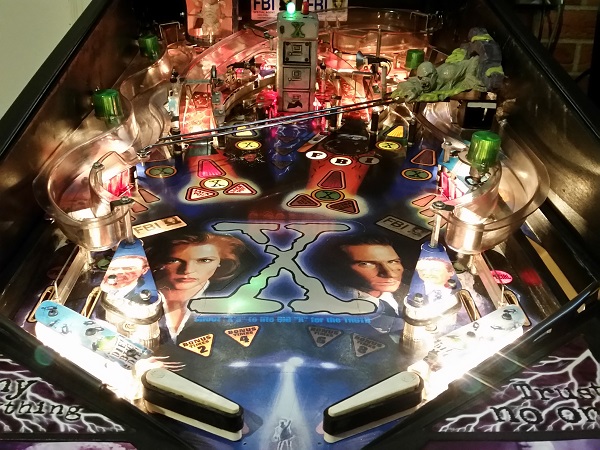
After:
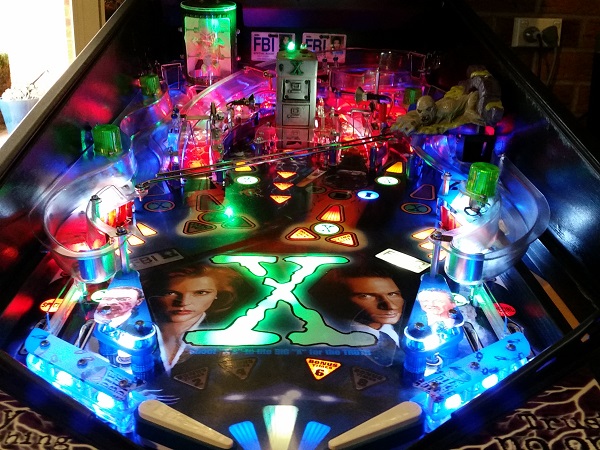
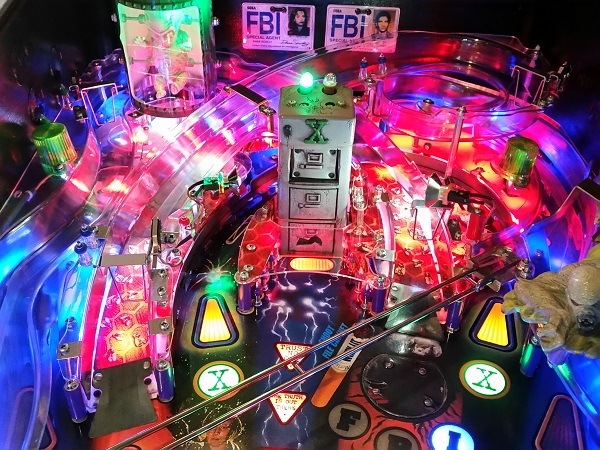
Worlds apart! Well worth the money! The photos don’t do the LEDs enough justice. The non ghosting pinball life LEDs are great and really fix the ghosting issues I was seeing with normal LEDs. Having the machine completely clean also helps with the overall look under the lighting too. It’s a time consuming process to strip and clean, but well worth it and not something I will have to do again (at least not to this degree).
With everything back together and the service basically completed, I wanted to once again run through the diagnostic menu to double check all switches and coils ran correctly. I was mainly interested in the flashers and the switches on the ramps. May as well do them all though. Once all the tests were sorted, I was done.
That completes the servicing and repair on my X-Files machine. It’s been fun working on and I’m really happy with the result. I’m going to keep my eyes out for a replacement filing cabinet in case one shows up. The current one doesn’t bother me too much, but it would be nice to have a non broken one. I think this pin is really underrated – I know I wasn’t overly impressed after the first few plays, but I got the hang of it and it’s really clicked with me. Another machine serviced – time to look for a new pinny project or machine to service I think 😉

Thank you for providing this detailed service log for the X Files. This will be very helpful to me as I have recently purchased an X Files here in Australia and will be restoring and enhancing it as much as possible.
With appreciation,
~ Michael