Pinbot

All posts tagged Pinbot

It’s time to finally post another update on my Pinbot restoration. Over 2 months since my last post, and it feels like much longer. I was well underway with the cabinet restore when I encountered an issue with the stencil kit purchased from Twisted Pins. I did a detailed write up of the experience – which you can read about here: http://www.enteryourinitials.com/2015/05/07/twisted-pins-customer-service-is-horrible/. As a brief summary – avoid buying from them if you can – Travis is not worth dealing with and the stencils are not good quality. Look to Pinball Pimp and Flipper Rescue for their stencils first as the quality is much higher and the guys running those businesses are much better to deal with (especially if there is an issue). I had originally planned to make the cabinet restore a single post. But due to the issues encountered and the time it’s taking, I’ve decided to cover the cabinet restoration across a couple of posts. So time to dive in and chart the progress so far.

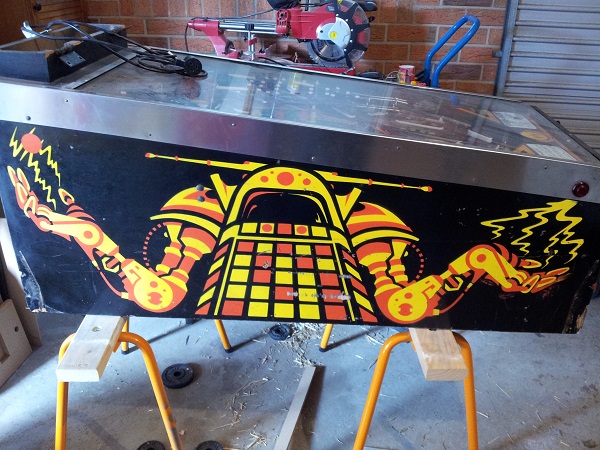
The starting point. The left side of the cabinet is the hardest hit in terms of damage. There are a few nice chunks taken out and plenty of scratches and scrapes of varying degrees. For many people, this state is more than reasonable. If it was another machine, I’d probably leave it. But this is Pinbot and a machine I love – so I’m keen to go the extra yards and make it beautiful again. The cabinet is still very solid, which is an excellent starting point. After some patching and repainting, it’s going to look awesome (I hope).

Pinbot Cabinet Restoration
Continue Reading

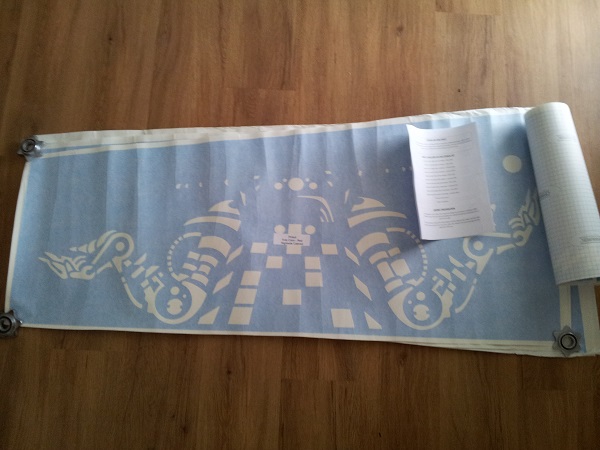
This update took much longer than I expected it would, but finally the headbox has been patched and repainted. Outside of some cosmetic damage, the headbox is in good condition. While the artwork was faded in parts and there was some minor damage to the wood, it was at least strong and stable. Unlike the Fireball Classic I recently restored, the Pinbot cabinet artwork is painted on with the use of stencils. A full set are available at TwistedPins and Santa managed to deliver a set to me during the Xmas period and it was time to put them to use.

I’m going to break the process up into two parts. Firstly i’ll do the headbox, which will then be followed by the cabinet. To begin with, I removed the stencils from the packaging and flattened them out. There are two stencils per side – one for the red/orange colour and the second for the yellow. It also comes with a set of instructions which are not complicated – just common sense really.

Pinbot pinball
Continue Reading

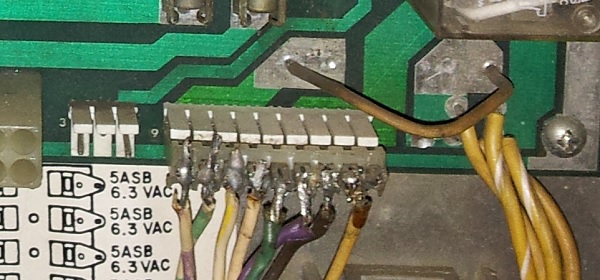
I’ve been conveniently putting this off for awhile now, but time to get some connectors repinned. Earlier posts for this project showed two lovely hack jobs on some connectors. The first appears on the J8 connectors on the power supply board.

Pinbot
Continue Reading

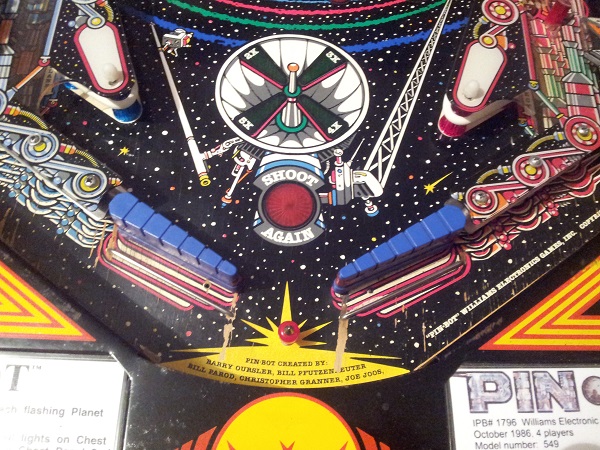
It feels like forever since I was last working on Pinbot (in truth it’s been about 4 weeks). A project I started last year and then set aside for 10 months while Pinball took over my life needed to be completed in November. That was successfully done and now it’s time to turn my attention back to my beloved Pinbot machine and continue its rise to awesomeness. The last part of the playfield to do is the flippers. To be more specific, rebuilding both and sorting out the right flipper (which does not work).

So the starting point. Normally Pinbot has white flipper bats. This machine came with some ribbed blue bats. They don’t really do anything for me, so i’ll be looking to replace them. The rubber is dead (and I’ve since removed it) so that will be replaced also. As mentioned, the right flipper does not work, but the left is fine. There is some playfield damage in this area, but it’s not an issue since the whole playfield be will replaced shortly.

Pinbot
Continue Reading

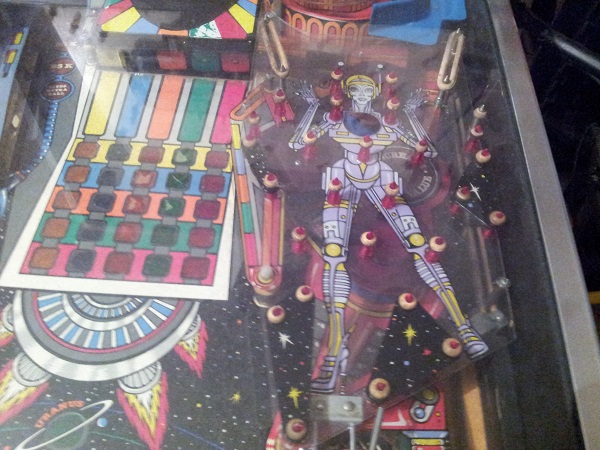
An area of the playfield I’ve been looking forward to working on is the mini playfield and the pop bumpers that live beneath it. I’ll also take the opportunity here to look at the bank of 5 stationary targets that sit just to the left of the pop bumpers. It’s going to be a long update I think and lots of photos to look through. So hopefully you hang in until the end 🙂 The starting point is good. All plastics and posts are there. The mini playfield itself is in one piece, although I can see some small cracks at a few point that will need to be looked at.

Pinbot mini playfield start
Continue Reading