
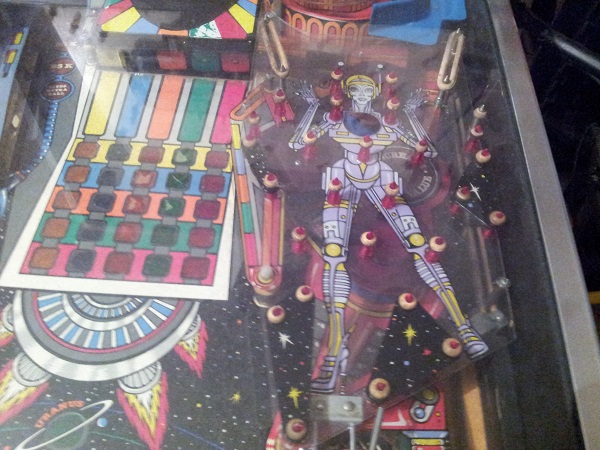
An area of the playfield I’ve been looking forward to working on is the mini playfield and the pop bumpers that live beneath it. I’ll also take the opportunity here to look at the bank of 5 stationary targets that sit just to the left of the pop bumpers. It’s going to be a long update I think and lots of photos to look through. So hopefully you hang in until the end 🙂 The starting point is good. All plastics and posts are there. The mini playfield itself is in one piece, although I can see some small cracks at a few point that will need to be looked at.
First step was to get all the rubber off, along with the plastic pieces and metal rail. The rubbers were all tossed and the plastic put aside for cleaning. Everything is going to need a good clean.
I then removed the mini playfield and set it aside to look at later. I now had access to the pop bumpers, targets, gate, etc. Note that these few steps were done awhile ago as I’ve since rebuilt the launch gate, advance target and vortex ramp. I’ve also removed the mylar – all of which I covered in earlier posts. So these first few images are several months old now and it’s really interesting looking back as the machine has been cleaned up a lot since then. It’s sometimes easy to forget where it started and very satisfying to see the progress made.
The metal posts were then removed. Four from the right side of the playfield and several on the left of the pop bumpers. The plastic that sits to the left of the pop bumpers was also removed and set aside for cleaning. It has a slight bend at one end, so I’ll be keen to flatten that out to ensure it sits properly once installed back into the machine.
I removed the caps first. These are scratched up a bit and one has a chunk missing from the edge. These will be replaced with brand news ones before I’m complete.
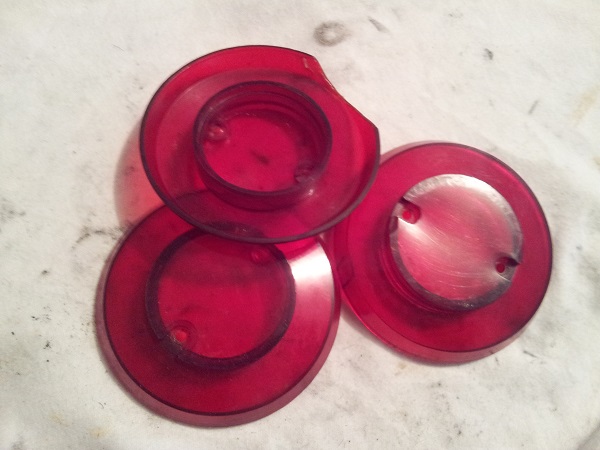
The ring of one pop bumper is completely broken. I plan to use new rings on each, so I’m not too worried about this. It does make me wonder what state I’m going to find the pop bumper in under the playfield as this thing has been hammered.
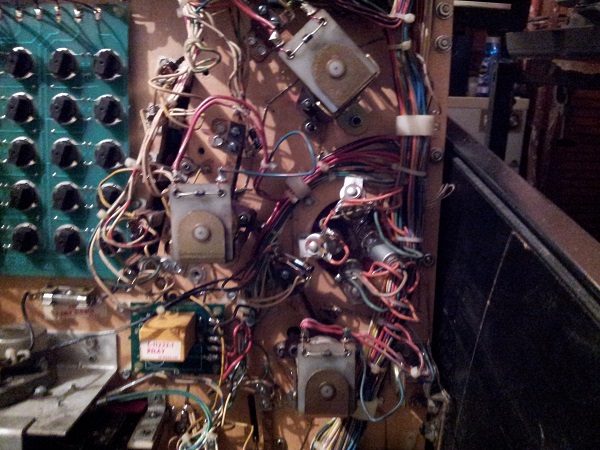
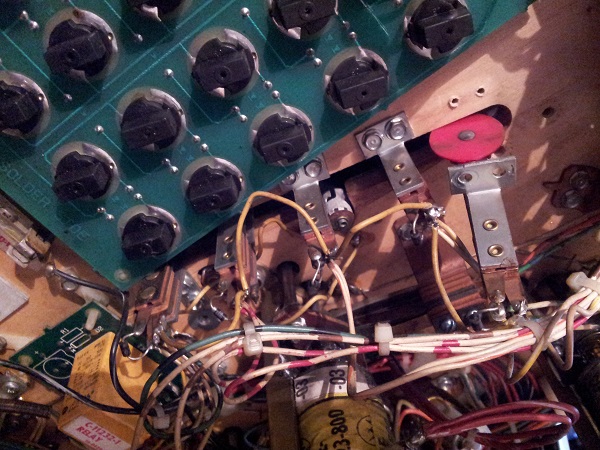
Time to check out below the playfield and see what it looks like. Things are certainly getting busy under the playfield. This is where I truly appreciate starting with a very early SS machine first and getting to grips with it. If I had seen this on my first machine, I’d have found it very daunting. Nothing out of the ordinary though. Three pop bumper assemblies and their spoons/switchs. Each switch has two switches one for the points and another for the lane advance. The usual black dust and crap has collected on each of the pop bumper assemblies, but nothing I can’t clean up and rebuild 🙂
When I do the pop bumpers, I like to do them one at a time. That means I always have two others still attached to the machine that I can use for a reference. First step was to get one of the pop bumpers off the playfield. Williams (like early Stern) use those annoying globe sockets that are soldered to the wiring below the playfield. I hate these. After working on my Fireball Classic and their simple plug design, I find this extra effort to remove these a pain.
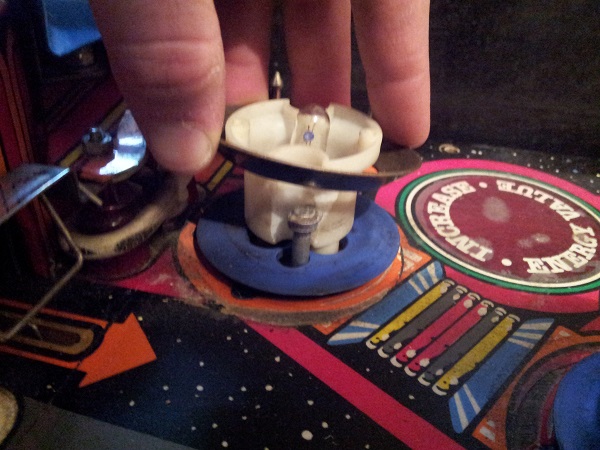
The first pop bumper was removed. Looks like it’s been dipped into mud. The metal yoke is actually broken in the middle.
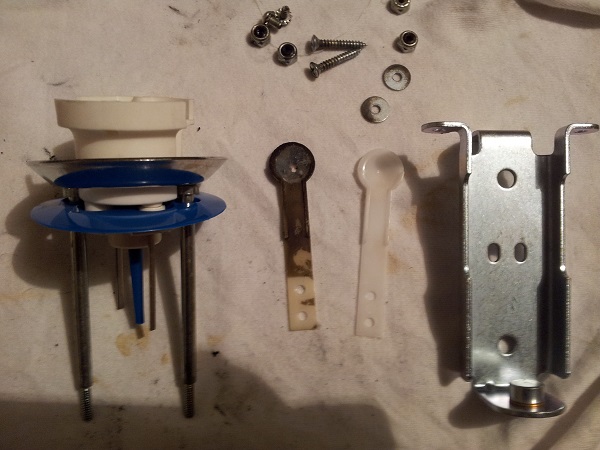
Most of the pop bumper parts were replaced with brand new ones. New body, base, globe socket & skirt. New springs, yokes, metal ring, coil stop and spoon. The old spoon was so worn a hole had developed. In fact each of the 3 spoons had a hole in them. I was in two minds about replacing the coil stop & frame as the existing ones were still serviceable. Given the beating these things take, I was keen to have them operate like new, so forked out a bit extra. The existing ones were cleaned and put aside for backups (or future machines).
The area of the playfield around the pop bumper was in good need of a clean. There was still some left over goo from the mylar removal which I needed to get up. A magic eraser and some isopropyl alcohol will make light work of this.
The area was then given a wipe down, followed by some Novus 2. Some playfield touch is is required and like in other areas, will do this post playfield swap.
With the first pop bumper installed back into the machine, I moved onto the second. Same steps as before and everything roughly in the same condition. The area also needed a good clean.
Playfield area cleaned and some touch ups required. Sadly the mylar that was in this area didn’t extend far enough around the pop bumpers to prevent damage.

Finally the last of the pop bumpers. Again needing a good clean around the area and some left over goo I missed from the mylar removal.
Now clean and ready for a new pop bumper to be installed.
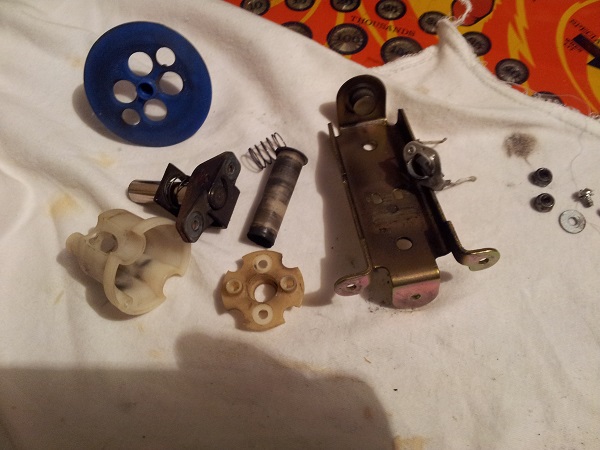
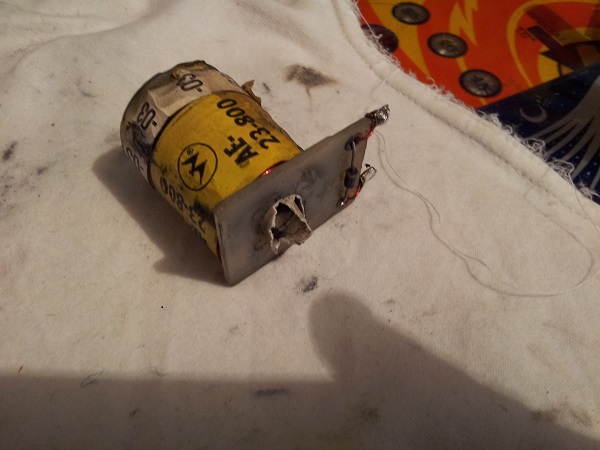
I was slowed down on the third pop bumper due to an issue with the coil. More specifically, a coil sleeve stuck in the coil. I was able to get some movement initially, but ended up destroying the sleeve when trying to remove it. I was unable to get the sleeve out, so had to remove the coil completely. I had a spare thankfully. After taking the photo, I did manage to get the remains of the sleeve out, but since I could not get a new sleeve in, the coil was tossed. Incidentally, this coil was from the same pop bumper the broken metal ring was on. It’s the first coil I’ve had to replace – so a new experience and something to raise the excitement after repeating the same steps for each pop bumper 🙂
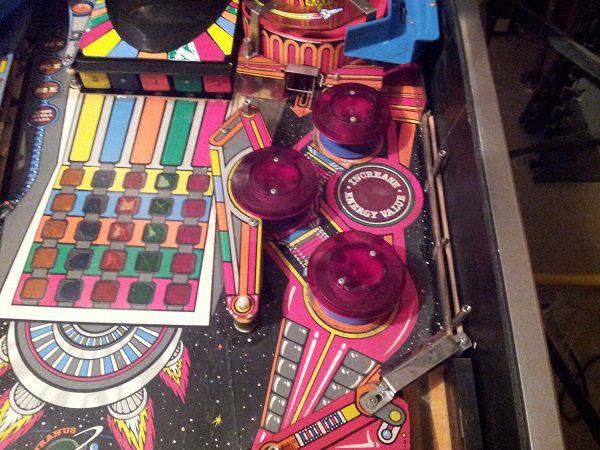
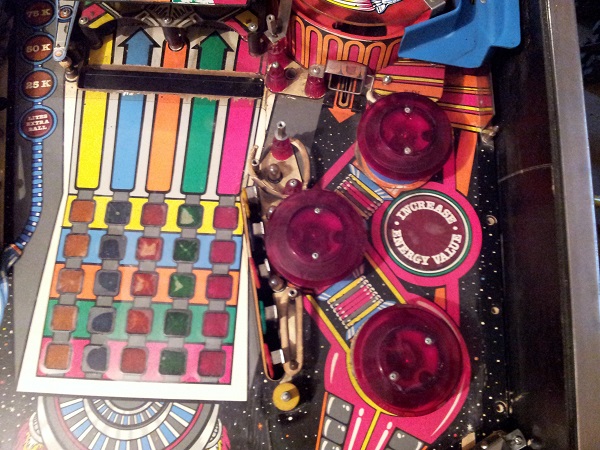
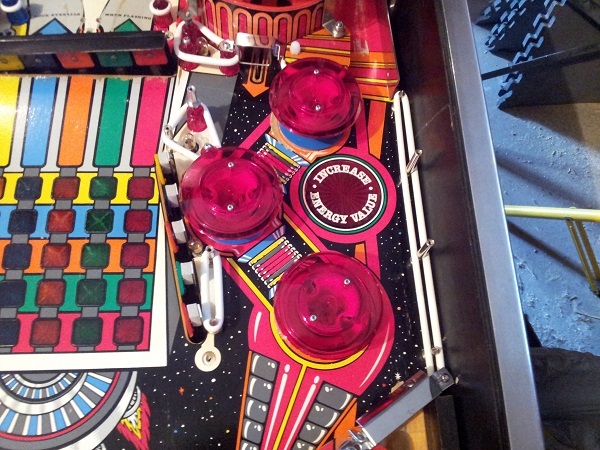
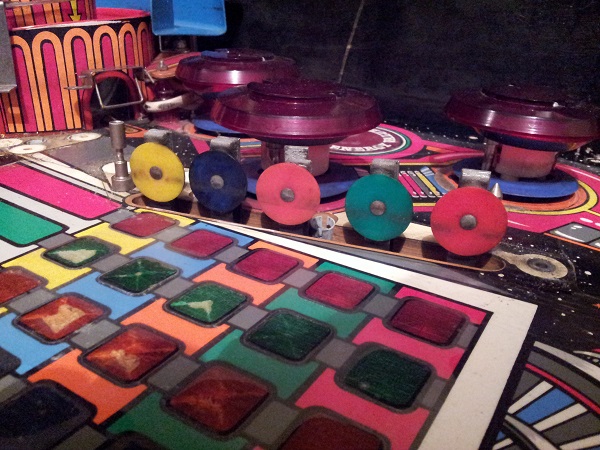
With all three pop bumpers rebuilt and installed, they were ready for testing. The metal posts on the right side of the playfield were all cleaned and polished. A new 4″ rubber was also installed. The metal posts behind the 5 targets were also polished and new rubbers, star posts and globes added here too. I’m really happy with how this area has improved since I began. From testing, all pop bumpers work but the switches will need some slight tuning. But I’ll focus on that post playfield swap so my time isn’t wasted now.
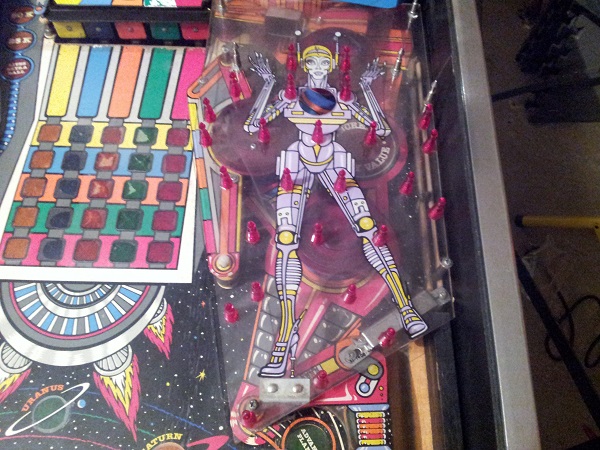
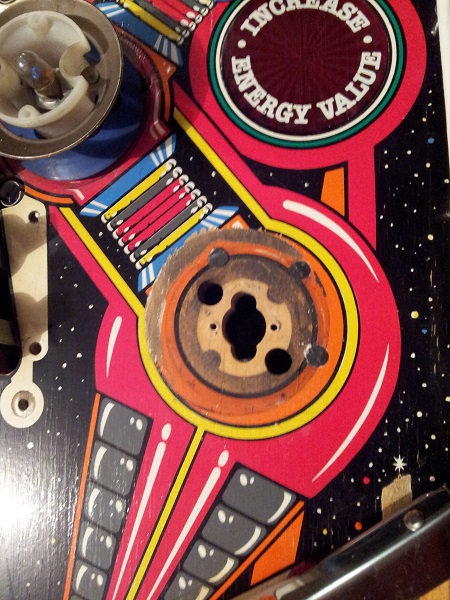
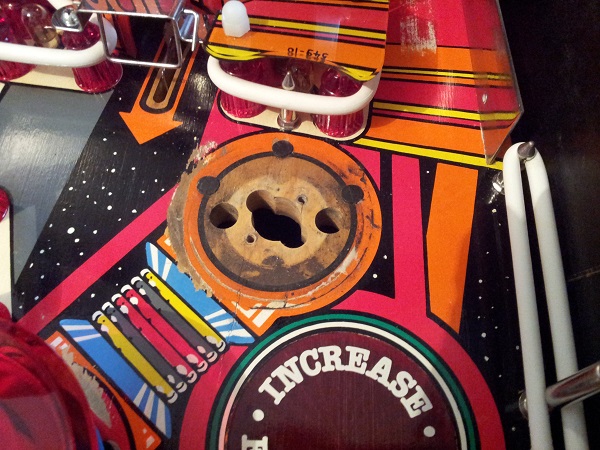
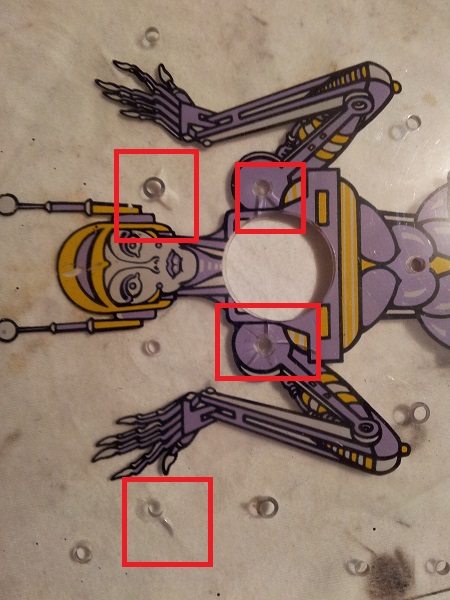
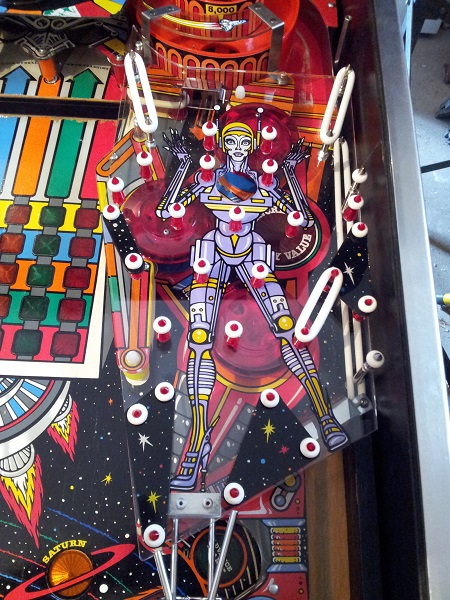
While I had the mini playfield off, it was worth going through the stationary targets on the other side of the pop bumpers. Again, another photo showing its age – mylar still on the playfield and pop bumpers before they were rebuilt. The playfield has come along way since then. Here we can see the targets are dirty and a few are missing the foam padding behind the target.
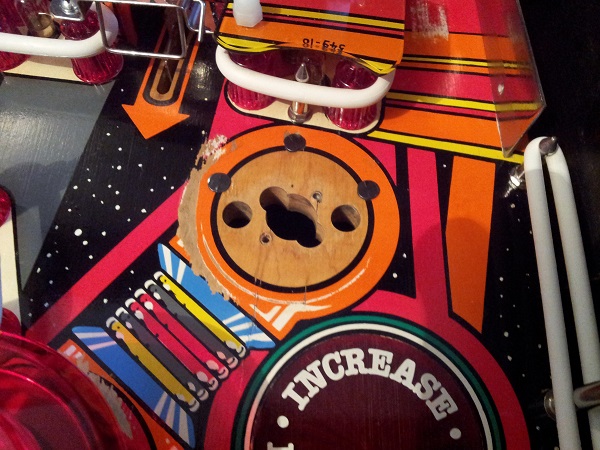
Each target can be removed from below the playfield. I found this to be the best way of getting a good grip on them while cleaning. It also allowed me to clean the switch contact and check the wiring. Two of the targets were not functioning and this was due to a broken wire on each. Both were soldered back into place after cleaning.
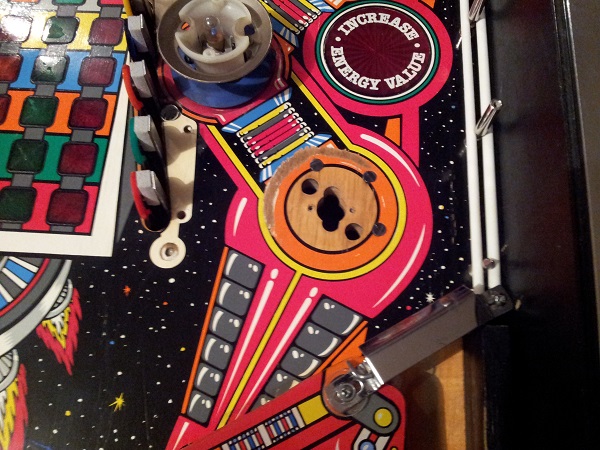
Once clean, a new foam pad was attached behind each of the five targets. Looking much nicer now. Some raised inserts on the chest matrix can be seen and these will be dealt with post playfield swap.
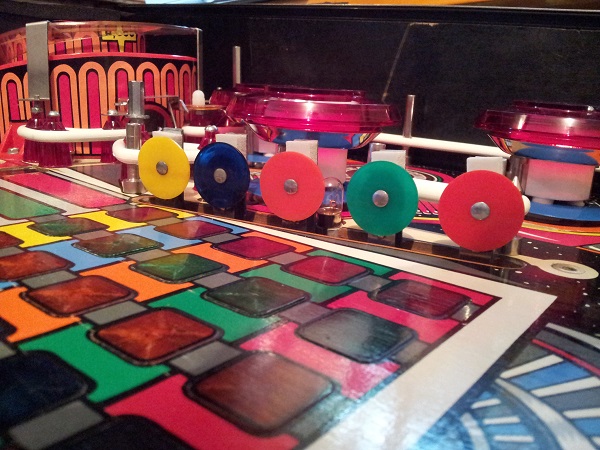
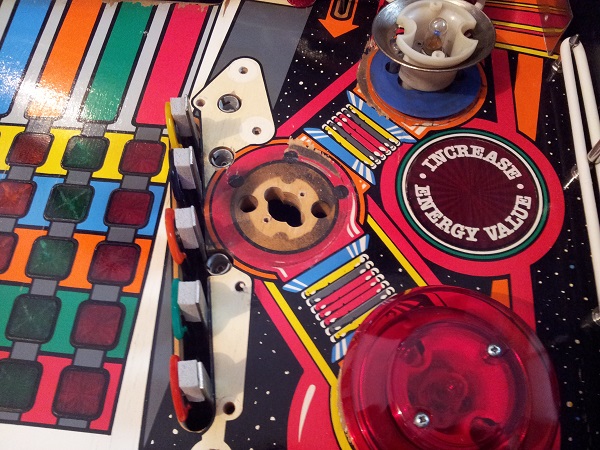
The last part here was to install the metal post at the front of the target bank with a new bell rubber and spacer above it. I could now put the plastic back on which sits over the target bank. The bend at the top end was flattened out with a quick visit to my oven.
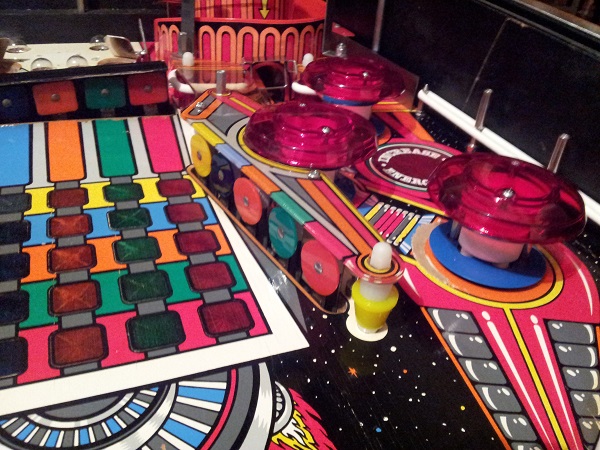
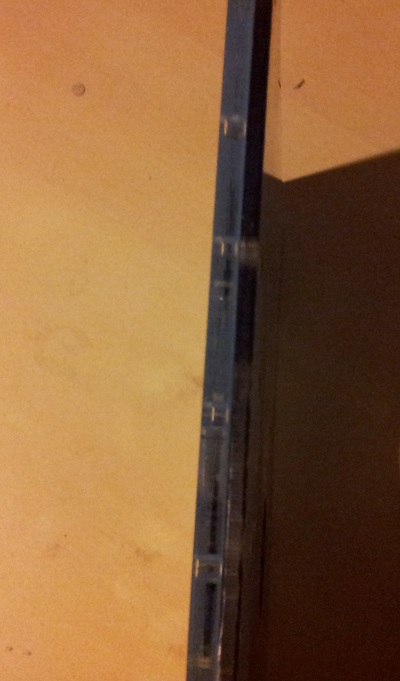
Which brings me to the last part of the update – the mini playfield. My first step here was to remove all the mini posts. There are a lot. I could then give the mini playfield a good clean with some novus 2.
I sadly wasn’t getting the result I was hoping for with the clean. It looks like a pitted ball has been rolling over this for a long period of time as much of the surface area is rough. There are also a few cracks at various points.
Thanks to CPR, reproductions of the mini playfield were available and I managed to source one. Interestingly the repro is slightly thicker than the original.
With the new mini playfield, I installed the posts again. The metal posts were cleaned up as were the red mini posts and 3 plastic pieces. New rubbers were installed and finally the mini playfield was ready to be installed. It wasn’t something I had planning on spending money on, but on seeing the result I’m glad I did. The condition of the old one would let the rest of the machine down and stand out a mile.
Here is where I hit a snag. The playfield would not sit correctly in place. In fact, the mini playfield was resting on the 3 pop bumpers. Thinking maybe there was an issue with the new playfield, I grabbed the old one and sat it in place – same issue.
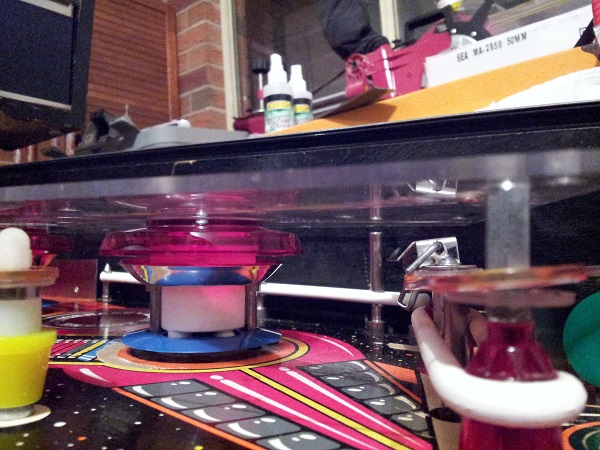
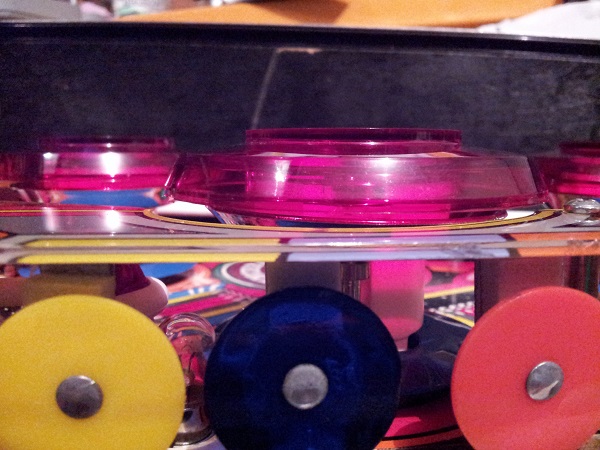
I checked each pop bumper and made sure they were sitting correctly and were as low as possible. They were. I inspected the caps on each to make sure they too were attached properly. They were. Had I put the incorrect stand offs back in place? Was I missing spacers? It was months ago I removed the mini playfield, so it’s possibly I had forgotten something. Looking back at my pinbot photo library the old mini playfield sat correctly – so something is off about my pop bumpers. Could I have made the same mistake on all 3 when rebuilding them? I hit google and did some image searching. I wanted to see what other peoples machines looked like in this area to see if I could recognise some differences (big or small) that may give some clues on what I was missing (or had done wrong). I came across a side on view of the 5 target bank and noticed that the base of the pop bumper cap sat roughly at the top of the plastic piece it was next to. Looking at mine, I can see it’s actually raised!
Ok cool – this is something to go on. I pulled the cap off again and had a look at the body. It appeared to be fine. Sadly I had thrown out the old pop bumper bodies due to their condition (I had no plans to reuse them now or in the future). I went to my parts box and dug around, finding an old one. On closer inspection, there was an obvious difference. The ones I installed were roughly 3mm taller. Here is the modern version beside the correct one I required – you can see how the cap sits higher on the left version.
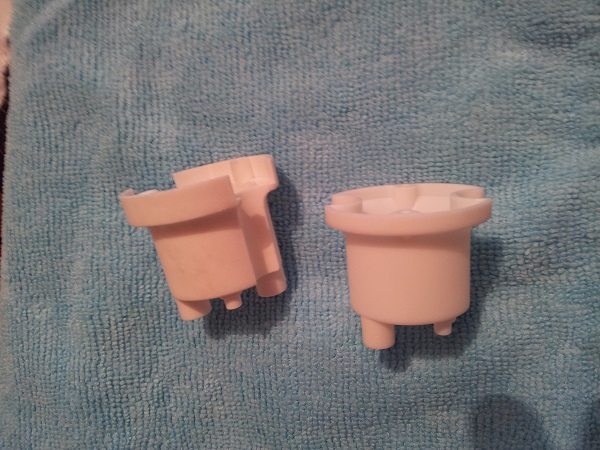
It’s interesting because these ‘modern’ version are sold with the same part code, so I was not aware there were 2 versions of them. This is certainly something to be wary of. In many cases these modern versions would be fine. But because they sit below the mini playfield, height is an important factor here and you need to ensure the correct bodies are used.
New bodies were purchased and then installed. A nice little ‘got ya!’ moment and one I won’t forget in a hurry 🙂
To finish off, the mini playfield was installed back into the machine and the metal rail too.
Ok, one last thing – A parts order arrived this week and in it was the service panel decal for the coin door. This was installed and now consider the coin door complete.
Right, now this update is complete 😉
Right now I’m busy working on the visor area and the motor. That should keep me busy until the end of the month. Then it’s time to get those flippers rebuilt (finally) and sort out the dead right flipper. I’m really enjoying working on this machine – more so than my others. It’s a real pleasure to be able to rebuild and restore a machine you love.