It feels like forever since I was last working on Pinbot (in truth it’s been about 4 weeks). A project I started last year and then set aside for 10 months while Pinball took over my life needed to be completed in November. That was successfully done and now it’s time to turn my attention back to my beloved Pinbot machine and continue its rise to awesomeness. The last part of the playfield to do is the flippers. To be more specific, rebuilding both and sorting out the right flipper (which does not work).
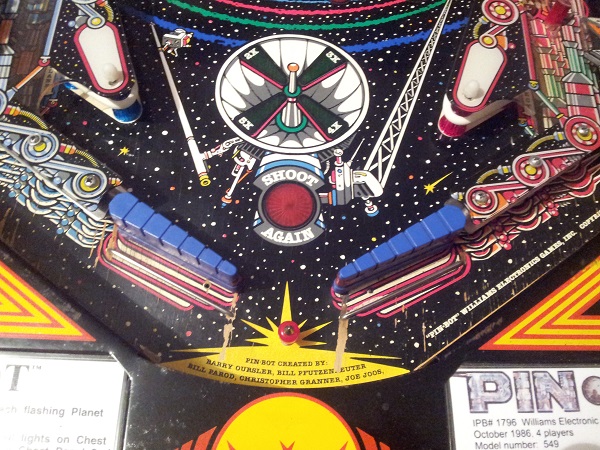
So the starting point. Normally Pinbot has white flipper bats. This machine came with some ribbed blue bats. They don’t really do anything for me, so i’ll be looking to replace them. The rubber is dead (and I’ve since removed it) so that will be replaced also. As mentioned, the right flipper does not work, but the left is fine. There is some playfield damage in this area, but it’s not an issue since the whole playfield be will replaced shortly.
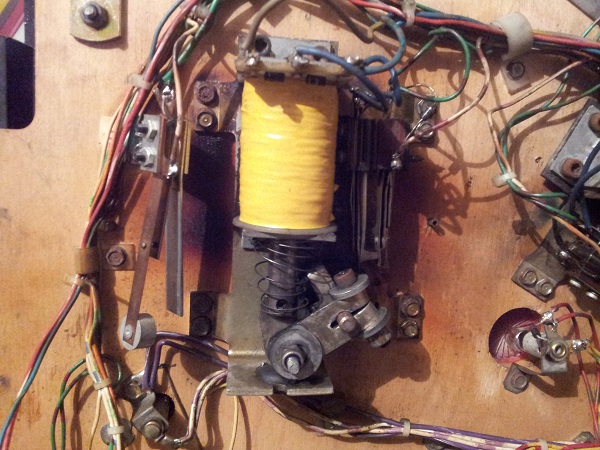
Time to lift the playfield and see what it’s like below. Since the left flipper works, I’ll start with that. I can then use it as a template for the non working flipper. I think I’ve shown a photo of the area before when I replaced the missing slam tilt switch. At some point in the past, I’d say a coil has died a horrible death here. Some really nice burns on the base of the playfield along with damage to the flipper plate and screws. It looks horrible. I’m not a fan of the tape around the coil either. Everything is coated in crap. I’m basically going to replace just about everything here – including the coil. Even though it works, I don’t want to assume this coil will be OK.
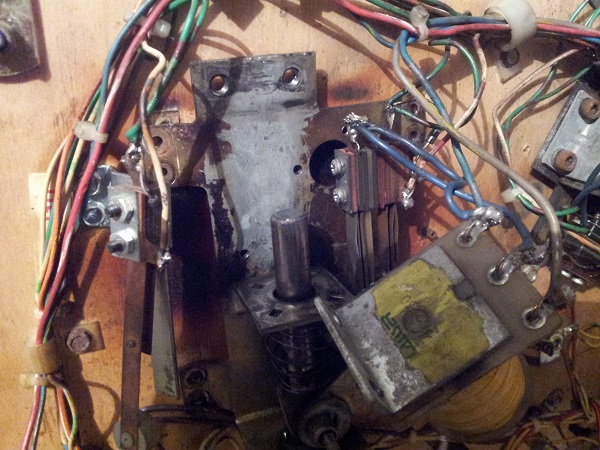
First step was to remove the coil. From there I could get access to the switch (EOS & lane change) screws. This is something I didn’t know – the lane change switches are part of the flipper assembly. I had just assumed (incorrectly) those switches would be with the flipper button switches at the front of the cabinet – but they are instead attached here. This is probably common, but I’ve not had a machine with lane change before, so seeing the extra switch here threw me off at first. I can’t express how much gunk I had over my hands while working on this flipper. I’m very happy to be removing it all from the machine.
With the flipper assembly completely removed, I put together a new kit to install back into the machine. I was lucky to have a spare second hand base plate in my parts box. I’m not even going to bother cleaning this for now and it can wait until some day in the future where I actually need it. I’m not going to throw it out as I couldn’t find them available for sale anywhere. Lots of new parts going in otherwise. I purchased a flipper rebuild kit, along with new bushes and rubber stop.
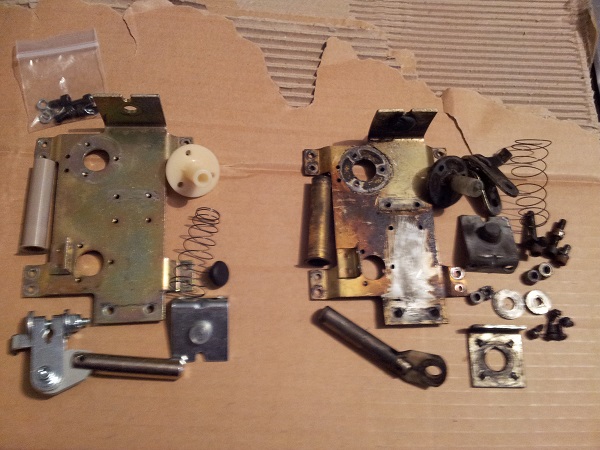
New EOS switches come with the flipper rebuild kit, but I’ve also gone out and purchased new flipper button switches and lane change switches. The others are so dirty it’s not worth my time trying to revive them. The flippers are also our primary interaction point with the game – so I want everything here to run as flawlessly as possible.
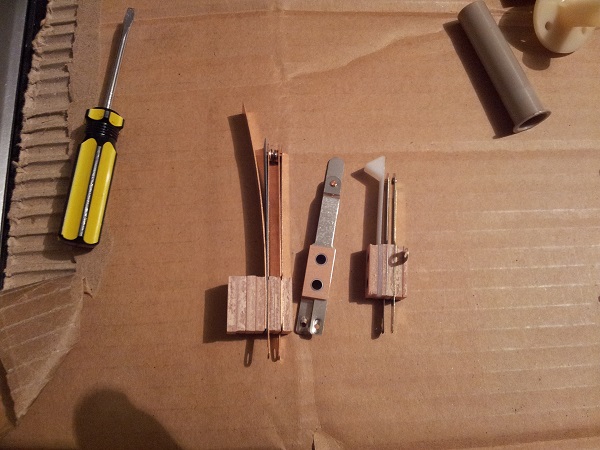
I gave the base of the playfield a bit of a rub to remove some loose surface crap and then installed the flipper back into the machine. It looks 1000 times better. I switched the game on and went into service mode where the flippers are active. The flippers tested OK and the lane change switch correctly activated.
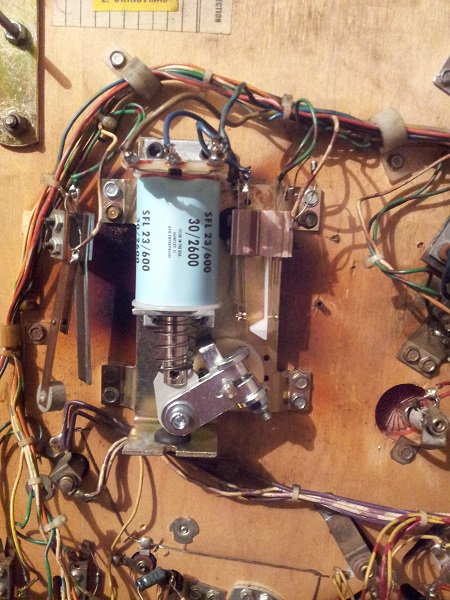
Next up is the right flipper. This one doesn’t work at all. I got my DMM out and checked the coil – it’s dead. This side isn’t as dirty as the left, but I’ll be replacing most of the parts here too.
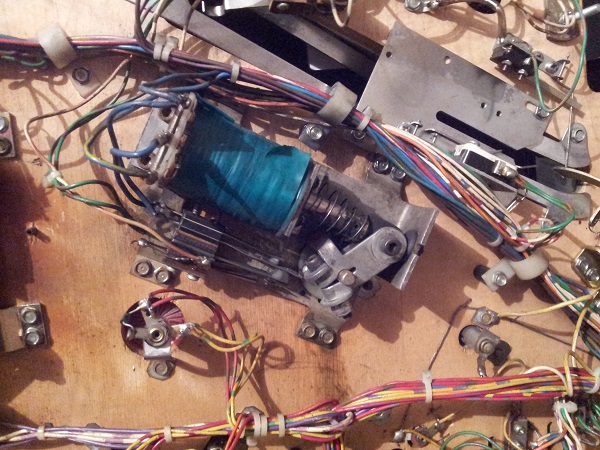
This side was basically the same as the left in terms of parts condition and new parts going in, so I won’t bore you with another set of photos on the same things. But there were a few differences. Here we can see the back of the coil has actually broken off. This machine was crying out for a new coil (..and some love).
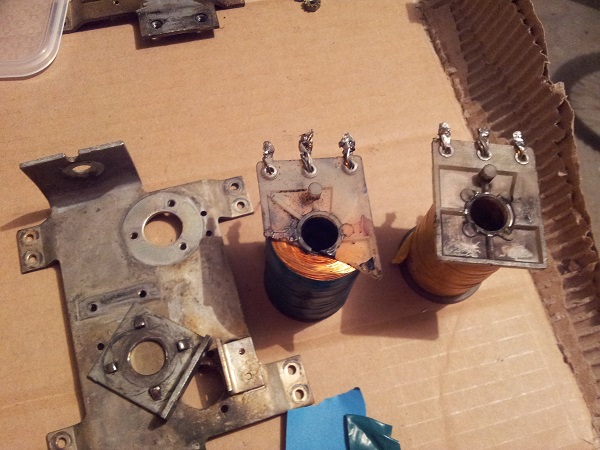
It turns out I’d need a new base plate for the right side also. The end on this one is completely bent. I could try bending it back into shape, but was keen to find something in better condition. Sadly, I didn’t have a spare one in my parts box.
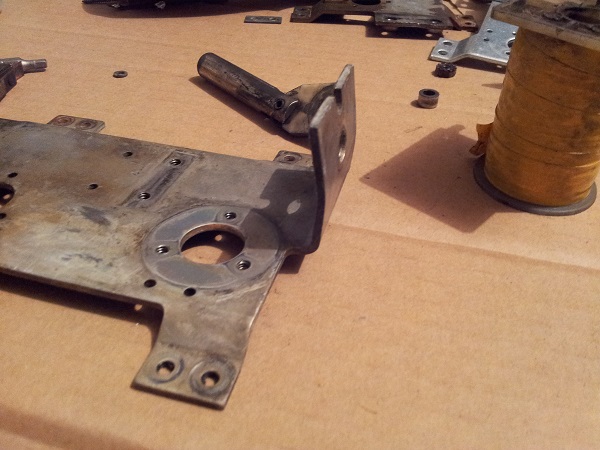
After searching online, I couldn’t find any place selling these new (or second hand). I did come across a slightly different version, which I had a few spares of. I had found people used this as an alternative, so decided I’d do the same. There are two differences here. First is it only has 3 feet and the second is the taller plate the switches attach to. Neither of these differences will be a problem.
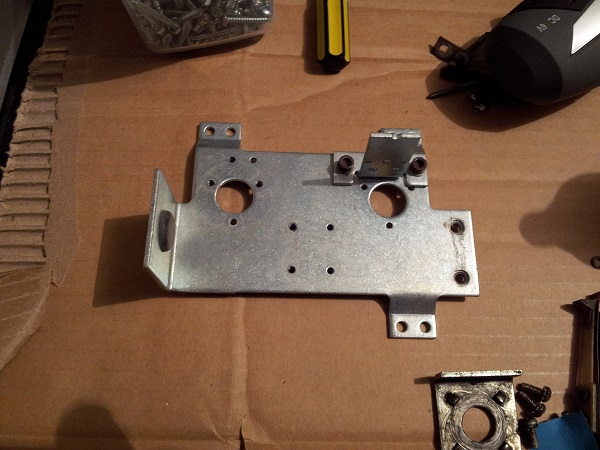
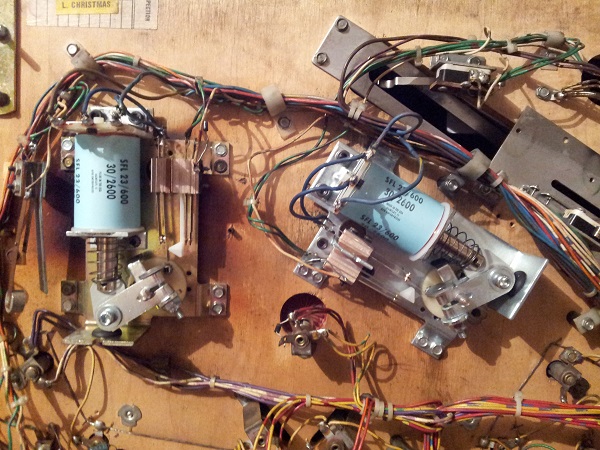
With the right flipper assembly installed back into the machine, my work on the flippers was done. It was now time to test the right flipper. As with the left, I went into service mode and tried them both out. The right flipper now worked correctly. I have to say I’m a fan of the Williams flipper assemblies over the Stern and Bally as I found them easier to tighten up (single nut) while aligning the flipper.
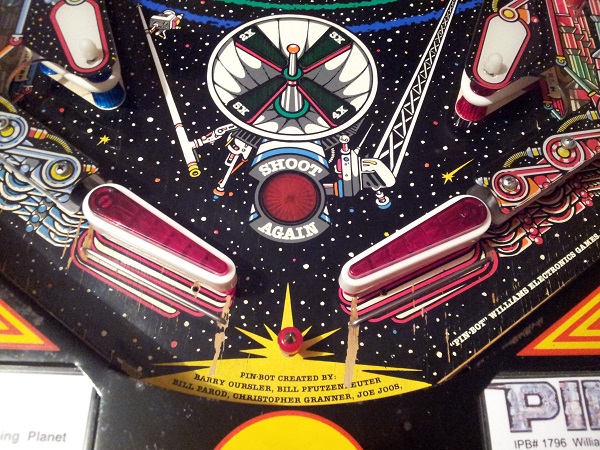
Top side, I’ve gone with some new transparent red flippers with white rubber. Basically, I’ve reversed the standard colour scheme (white flippers / red rubber). I thought the transparent red would look kind of neat being it’s a robot / space theme. The flippers also have the Williams logo on the outer ends which I like too – so it’s not some generic flipper bat.
I can now say the playfield has been completely rebuilt. Each section (top and below playfield) has been stripped, cleaned and in a number of cases, new parts installed. It has come a long way since day 1.
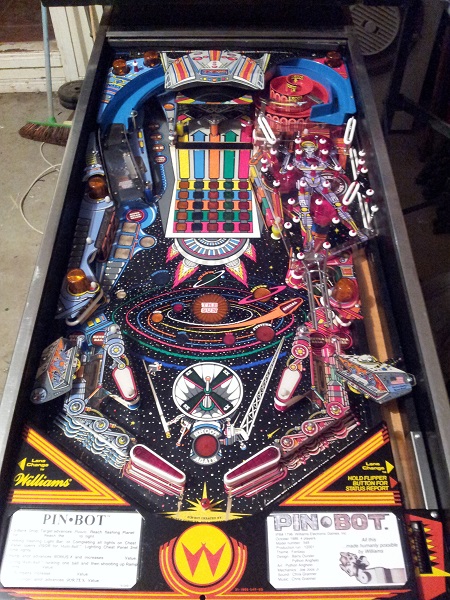
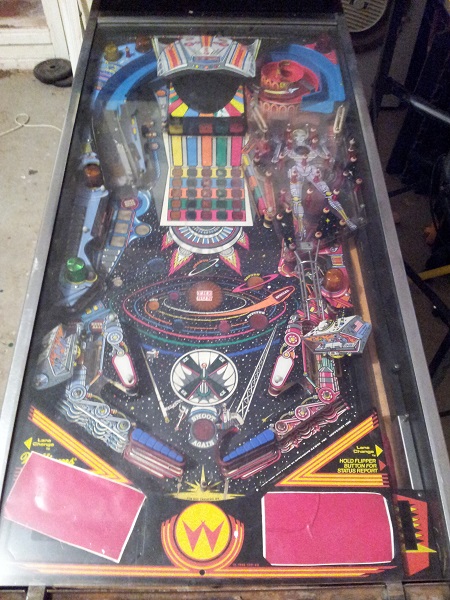
Where to now? I was going to do the playfield swap and cabinet restencil at the same time, but my urge to play the game is too great. I’m going to use the Xmas holidays to do the playfield swap and then some time in late January / February (after I’ve been able to play the game for a few weeks), I’ll patch up the cabinet and restencil. It also means I can use some time there to finish off the Fireball Classic with new tmoulding and decals. Meanwhile though, I still want to clean up the lock down bar receiver as it’s got a nice layer of crap all over it. I’ve also purchased some new ground braid which I plan to replace the old stuff with. So still lots of fun things to do 🙂
