It’s been a long time since I did any work on my Fireball Classic. I worked with a friend and had the artwork recreated over 6 months ago. It was only recently delivered in physical form. Finally. But it looks good. Really good. With my Xmas holidays about to start shortly, I figured it was time to once again give some attention to my Fireball Classic restore project and complete it. The main thing left is the side art, although there are a few other ends I want to tidy up also before I’m happy to say “I’m done”. In this update, i’ll be adding new side art to the head box. As you would have seen in previous updates, I had the side art reproduced (since it’s not actually available anywhere). A lot of attention was given to the detail of the curves and the stars, so it’s pretty accurate. The side art on my machine is very much faded and is also torn in several places. The t-moulding is also cracked and will need to be replaced.
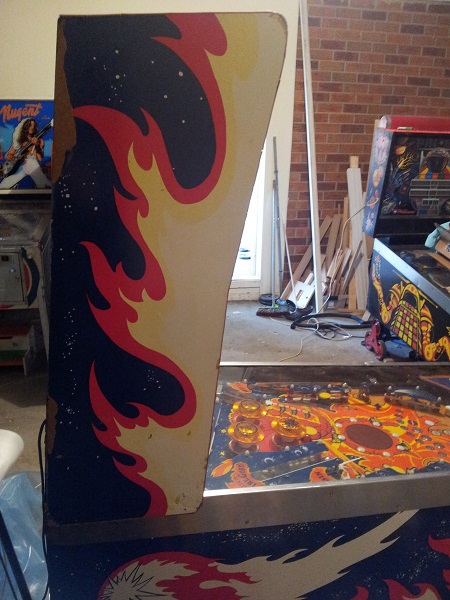
First step was to remove the old head box decals. They came up very easily and mostly in one piece. You can see here the colour difference. The good thing about getting the old ones off in a single piece is I can use them to help align the new set up as close as possible. When the artwork was made up, we used a bit of creative license on the areas outside of the side panel (translation – made up) to allow for a margin of error when applying them without it looking out of place. But I think even the toughest critic will find it hard to spot issues once installed and I wouldn’t be surprised if each original decal had some slight variation in it’s alignment anyway.
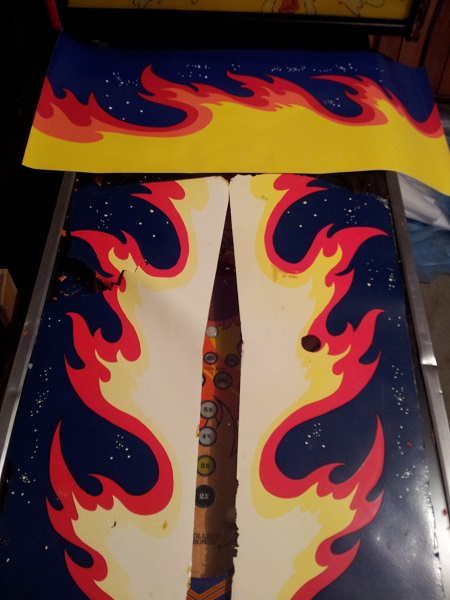
The t-moulding was a real pain to get out as it constantly cracked and chipped. Starting with the left side, I cleaned the surface and lined up the side art. This was then applied and left to sit for 24 hours to account for any shrinking that might occur.
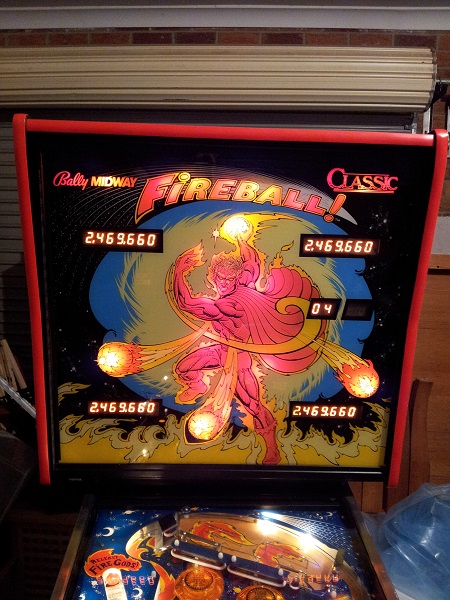
I then trimmed the edges and applied the t-moulding. I also replaced the strip of t-moulding that runs across the top of the head box at this point too. This one was easier to remove and came out in a single piece. There were a few scratches on the surrounding black paint which I touched up too. With the t-moulding colour, I went with a lighter red which matches the flipper buttons and leg protectors I purchased (these will be installed once the cabinet side art is done). The left side came up looking great!
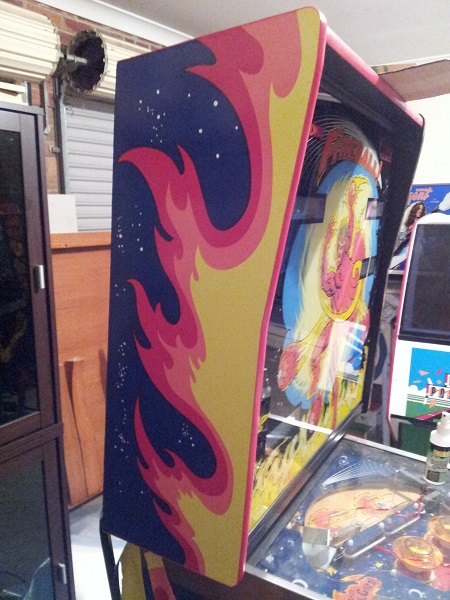
Now onto the right side. This was going to be more work. There was some damage to the upper section of the panel (front and back) which I needed to patch. I thought I had taken more photos of this to show the damage, but sadly not.
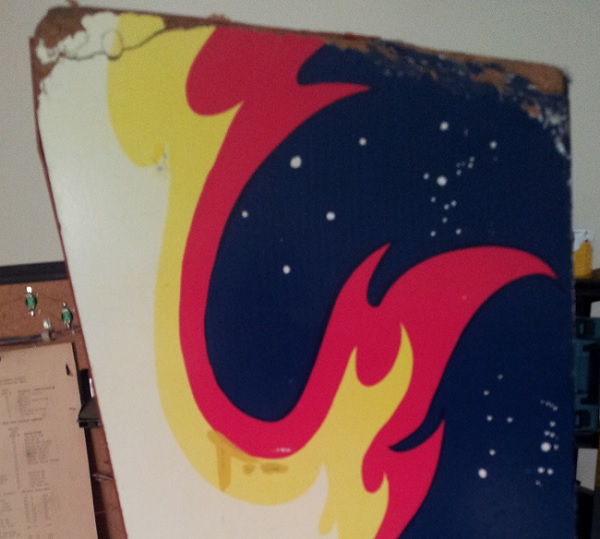
I rebuilt the affected areas with builders bog. Once the bog had dried, I sanded it back to give it a smooth surface. I had to do this twice to get the surface in to a state I was happy with. Once ready, I got my router out and cut a new slot for the t-moulding though the patched areas.
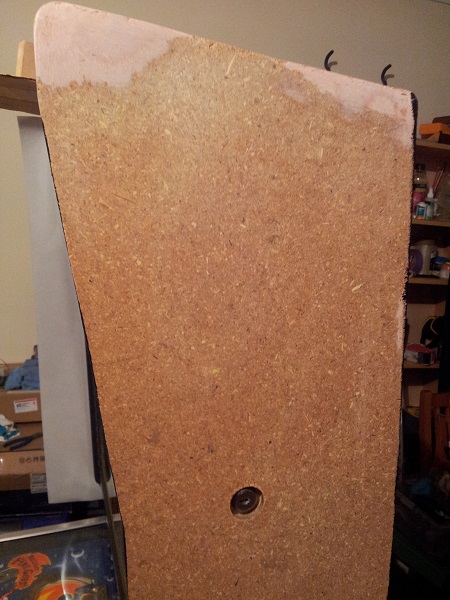
The side panel was now ready for the new artwork. As with the other side, I cleaned the surface and lined up the artwork. The decal was then applied and left to sit for 24 hours. To finish up, the edges were trimmed back and new t-moulding installed. The keyhole was also cut to complete the panel.
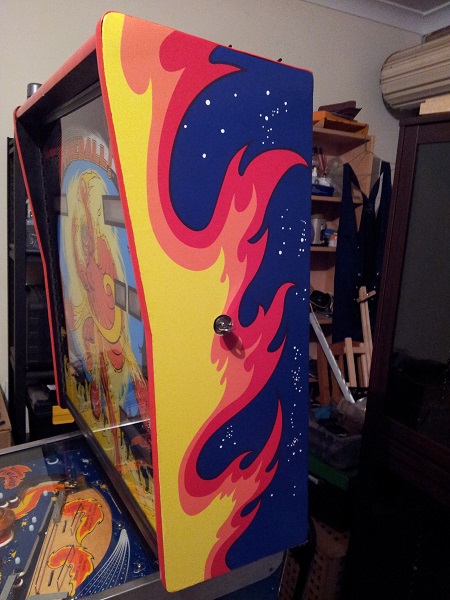
The side art is looking great. No more faded colours and the damage on the right side fixed. The new t-moulding also improves the appearance.
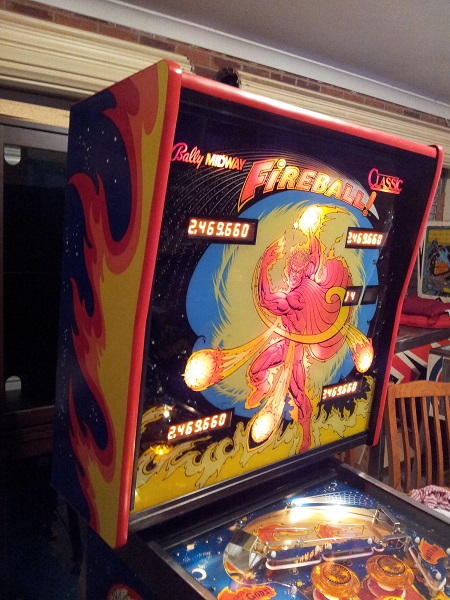
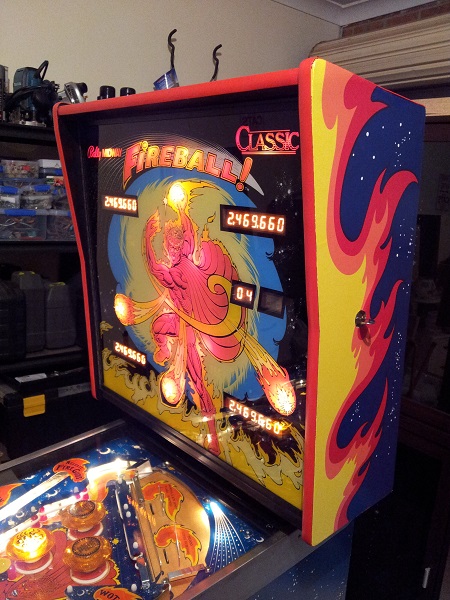
Next up will be the cabinet body. I have new side rails to install also. New red t-moulding will be installed to the front of the cabinet and the legs will be sanded and resprayed. It take some time as the cabinet sides need some patching but thankfully the holidays should afford me more flexibility to knock it over quicker.

Hello,
I’m rehabbing my Fireball Classic and need complete side art. Would love to get the exact package you used. Can you direct me anywhere? Thanks,
Jack
Hi Jack, The side art isn’t available for purchase anywhere sadly. I looked for awhile but could only find stencil sets for the original EM fireball. In the end I paid to have the artwork reproduced in vector format and then sent to a local printer.