I’m really starting to run out of things to do with rebuilding the playfield. The flippers are waiting patiently, but this update will cover the motor which drives the target bank and visor. Truth be told I have put this off. Not sure why exactly, but now is the time. I need to remove the motor, clean it up and also survey any damage to the target bank. To start with though, let’s look at that motor.
It’s in working condition, raising and lowering the playfield when required by the game. So that’s a good start. A quick inspection shows a few bits of blue tape in the area which will need to be looked at (as in – why are they there). Otherwise it just needs a solid clean. I have noticed that the target bank tends to tip to one side while being raised, but I suspect that’s more to do with the target bank assembly itself than the motor.
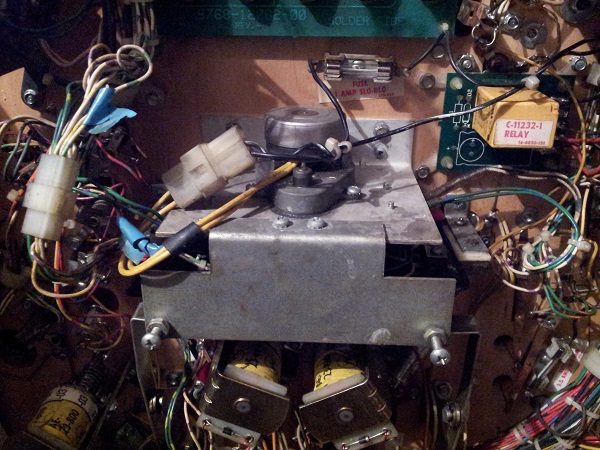
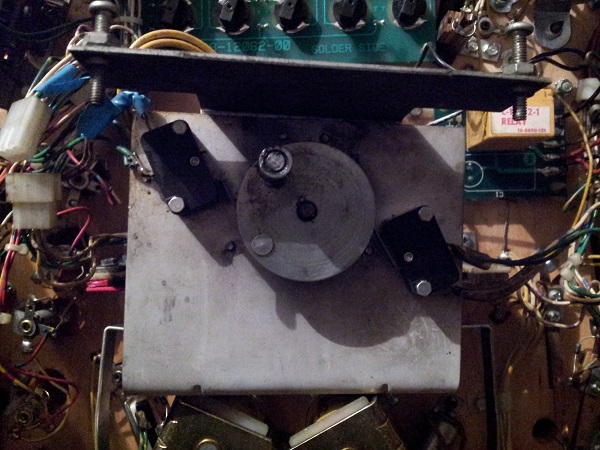
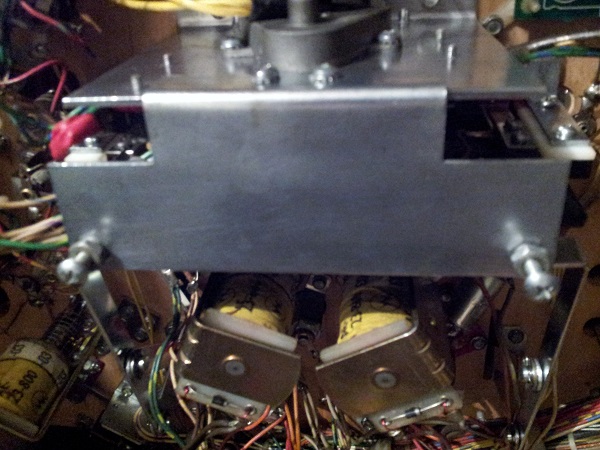
This motor has been removed before as it’s being held in place by 4 mismatched screws. I have plenty of spares so will put together 4 “correct” screws to reattach it later. On removing the motor I had a look at the reverse side. It’s a pretty simple design. A small piece sits inside the black target bank and when rolled left/right by the motor it raises and lowers the target bank. There are two switches, which I’m assuming are for the game to recognise if the target bank is up or down.
With the motor removed, I now had access to the target bank and could better examine its state. The 5 targets were all in one piece which was a good start, but things went down hill from there. A chunk has snapped off the lower right section of the black backing. The two metal arms have had screw holes drilled in the top of them to attach the target bank to the playfield while it should be attached from the rear. Looking at the rear of the assembly, both corners (where it is normally attached) have snapped off. I’ll be able to look at it closer once removed though.
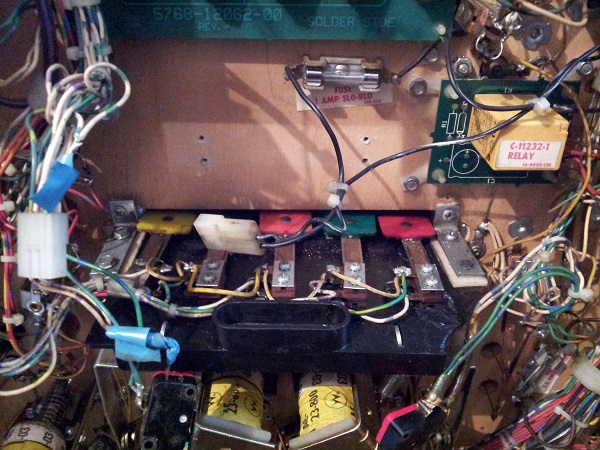
I then removed the target bank. Attached to the target bank are 2 metal arms which lead up to the plastic visor on top of the playfield. This allows the raising and lowering of the target bank to affect the state of the visor. They are quite dirty and will need a good clean.
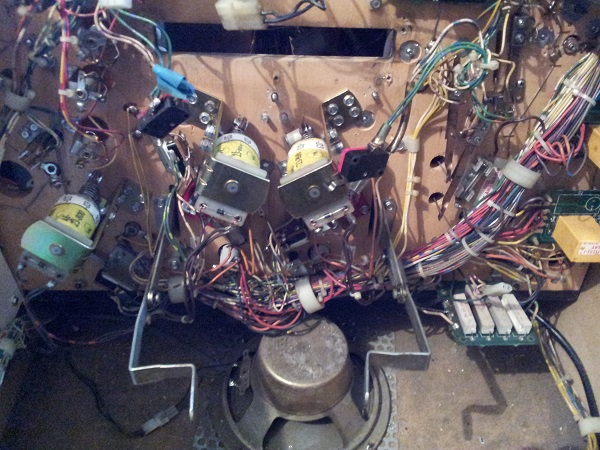
First I wanted to examine the target bank. This thing has taken a real beating. The thin black strip at the tip is missing two side pieces which are used to keep the target bank in place to slide up and down. The left and right retainers have been hacked together with some clear acrylic and red plastic (the same red plastic I found laying at the base of the cabinet many update posts ago – so this explains what it was for). Since the target bank could be raised and lowered the hack was serving its purpose, but thankfully will no longer be needed.
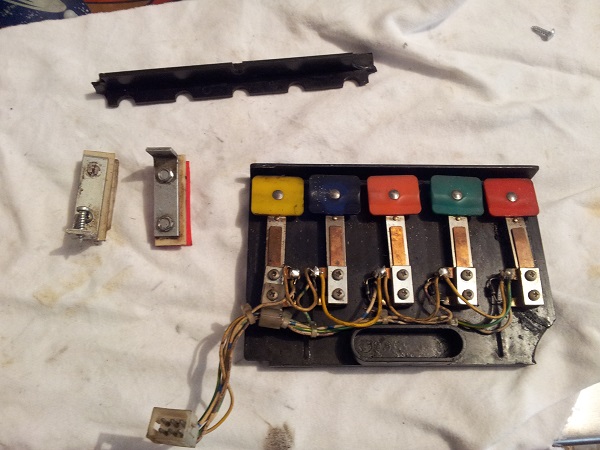
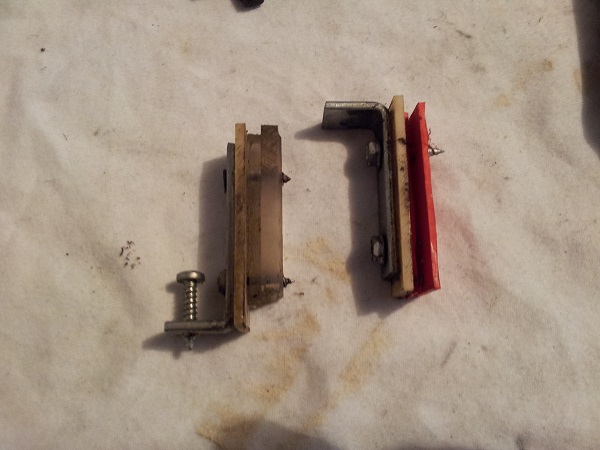
The back piece also has a very nice crack along the plastic.
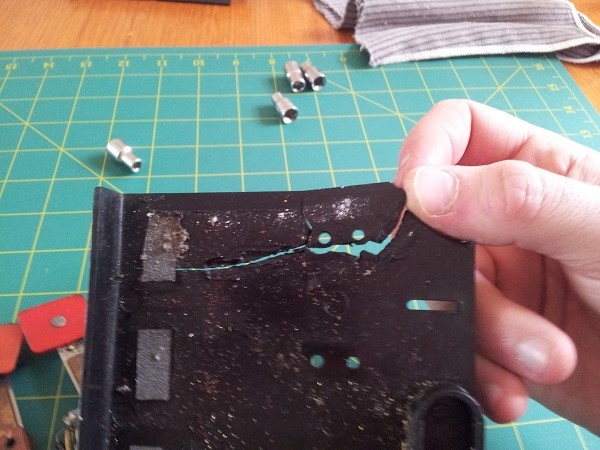
Several weeks ago there was an ebay auction with a few drop target banks and the target bank for pinbot. At the time I wasn’t sure if I’d need it, but for $10, I couldn’t pass it up – just in case for now or later as a spare part. Turns out it was money well spent. In an earlier post I covered its clean up. As you can see here, this is how mine should have looked when removed from the playfield. It is missing 1 target and another is broken, but that’s not an issue since I have a full set on mine. The target bank frame, retainers and backing were all in 1 piece. It just needed a really good clean.
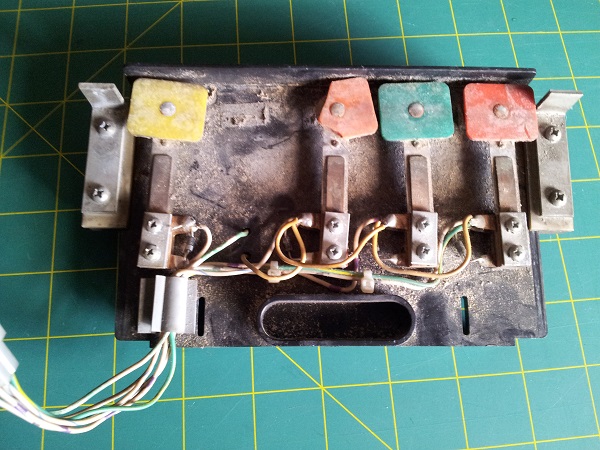
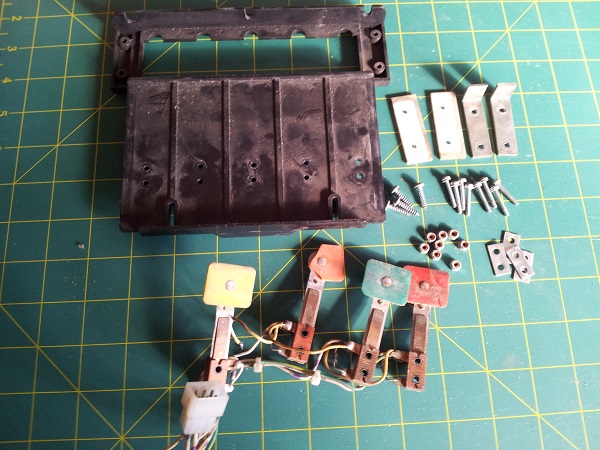
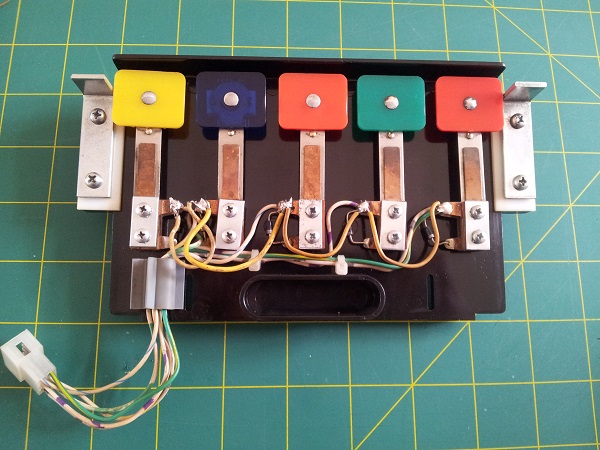
All 5 targets were cleaned up. I added new pads behind each of the targets and also added the missing blue and orange targets. Note the small slit on the lower right (there is also one hiding on the lower left) – these are where the metal arms attach, so as this target bank moves up or down, the visor is then controlled.
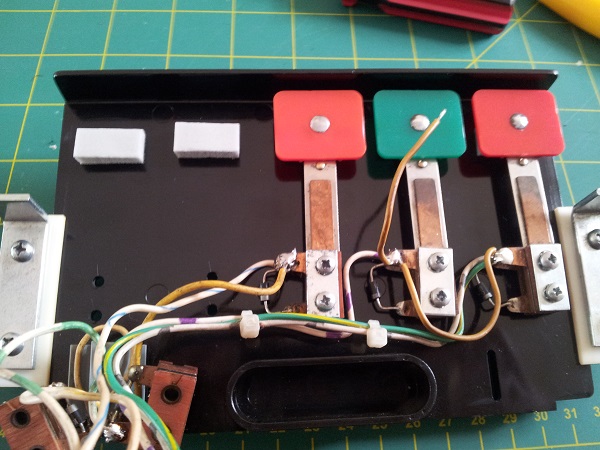
The target bank was then ready to be installed back into the machine, looking better than ever! After being stripped, cleaned and rebuilt I’m really happy with how it’s turned up.
Next I wanted to look at the arms, these were easily remove – two screws in each.
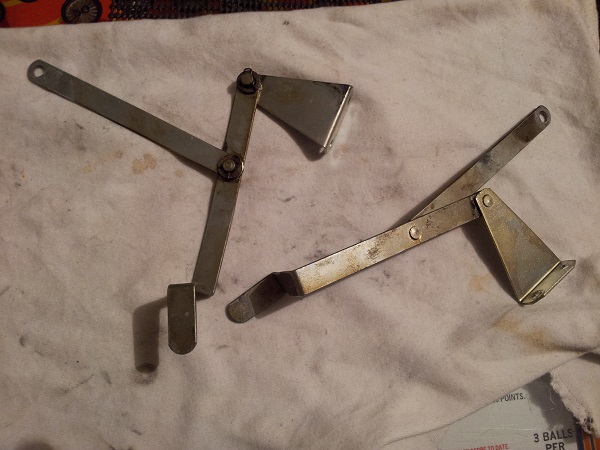
Upon removing them, I noticed that both arms were actually bent. I had two spares sitting in my spare parts box (I could kiss this sometimes, it’s come in handy so much during my work so far), so pulled these out to compare. As you can see the ends on both arms have been bent. I know which set i’ll be using going forward.
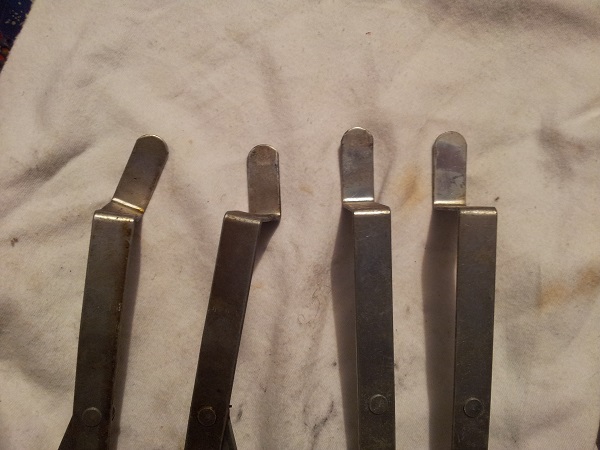
The spare set were cleaned and polished, ready to install back into the machine.
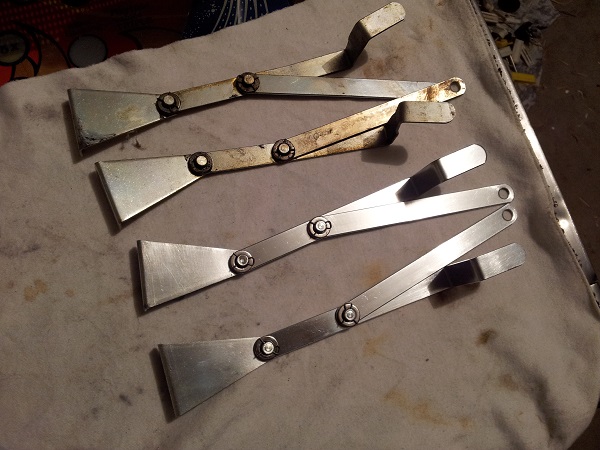
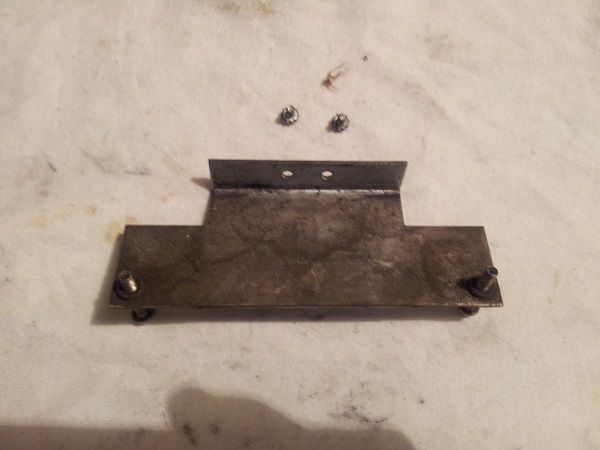
I installed the arms back under the playfield and then attached the target bank. Now it was time to turn my attention to the motor. I began to dismantle the assembly so I could clean each part. First up was the base. Nice layer of crap. The two bolts are there to allow you to adjust the height at which the target bank sits once lowered. I’ll remove these before cleaning.
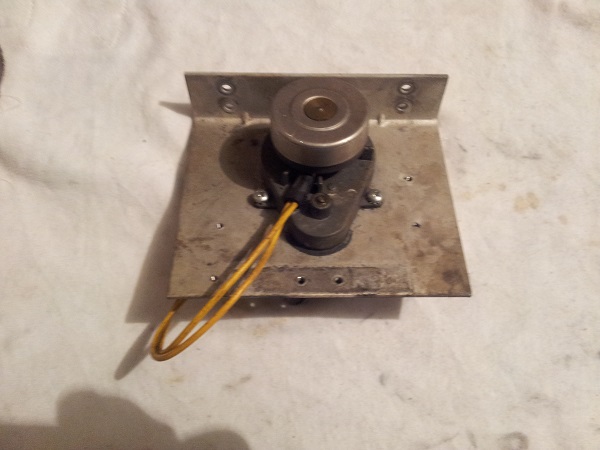
Next up to remove the motor from the assembly. Not much to it and again a lovely layer of crap covering it.
With all the parts removed I was ready to clean.
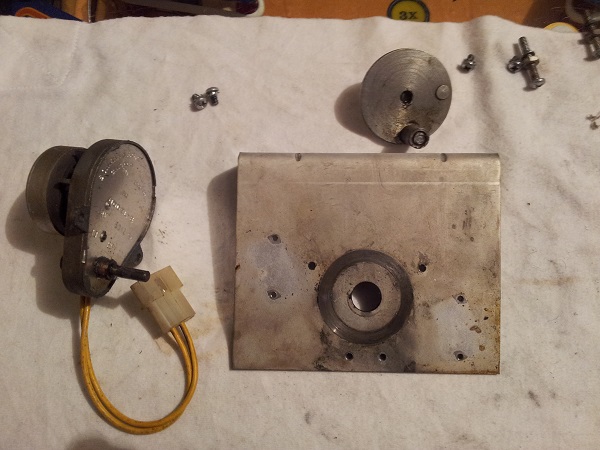
After some TLC, all parts were looking clean and ready to go back into the machine. Amazing what can be achieved with a little bit of care.
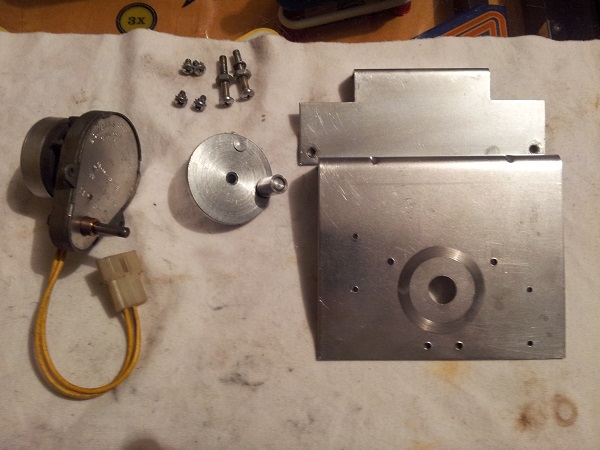
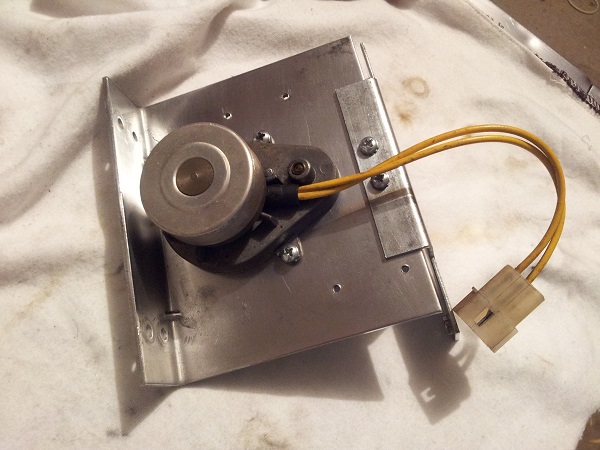
The motor was then installed back into the machine. Care needs to be taken to ensure the cam sits in the correct position to drive the target bank up and down. At this point I also cleaned the microswitches and sorted out the blue tape.
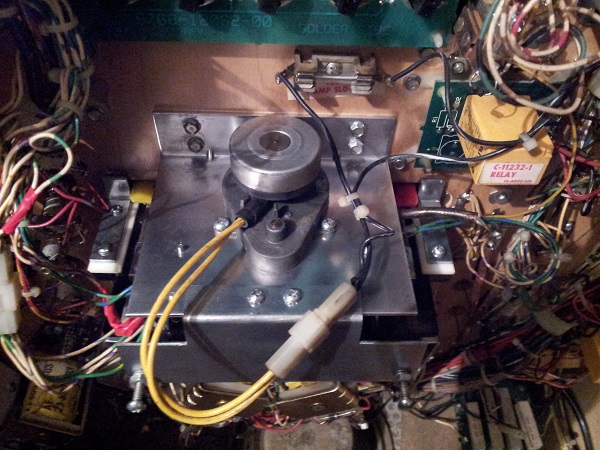
I switched the game on, entered the diagnostics menu and set it to coil test. I then had it test the motor, which raises and lowers the target bank. Everything was working nicely. I needed to adjust the height at which the target bank sits once lowered though (it was sitting too low). As mentioned earlier, it’s done by two small bolts at the base of the motor assembly. I adjusted these until happy.
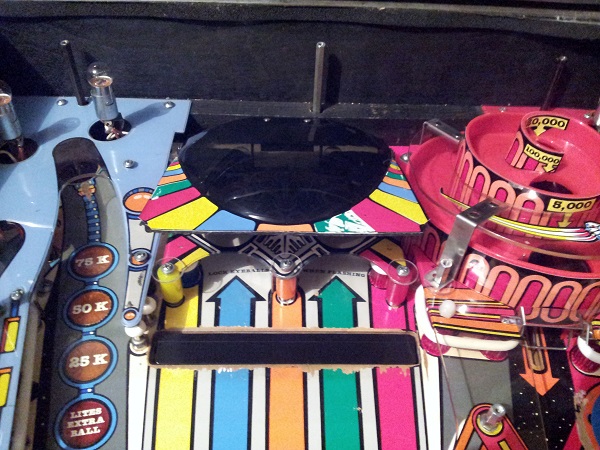
Lastly, I installed the visor again. I have a better visor put aside, but it’s missing the decal. I’m going to have the visor decal reproduced, along with the 2 decals that sit on the blue ramp, and wide decal on the very top plastic that sits over the ramp. That won’t be happening until december/january though. For now, I’ll live with the current one.
The correct pop bumper bodies have arrived, so i’m hoping to get some time on Sunday to install those and give a detailed update on that section of the playfield also. Next up is the flippers. As mentioned I’m also getting some of the decals reproduced so I may do some work on those in the coming weeks too. After the flippers are done – then it’s onto patching up the cabinet, restenciling and doing the playfield swap.
Fun times ahead 😀

Nice job on the visor assembly cleanup. I just started my rough Pinbot project and your write up will be very useful when I pull my assembly out to refurbish. Hope it’s not broken up like yours was.
Most of my decals will need to be replaced. Can you tell me who did yours or do you have scans you would care to share?
Thank you, Mike
Ditto on the request for Visor decal. (top). They sell the lane decals online, and I saw one NOS visor decal on ebay, but it became silly when the bids were $75+ for one decal.
That’s a crazy figure to pay. It’s disappointing more have not been made up as I think there is a decent enough demand for them to justify a small run at the very least.
Here are the insert and lane decals:
http://www.ebay.com/itm/Pinbot-Pinball-Machine-Insert-Decals-/230955788801?hash=item35c609aa01:m:mkA5PNGbgBf1u6F-sPj77lg
I’m not sure how your plastic helmet decal is holding up, but you can buy them from here: http://www.pinball.center/en/shop/pinball-parts/playfield-parts/insert-decals-overlays/6510/visor-decal-for-pin-bot
As you can see in the photos above, mine is quite scratched in areas. I purchased one of the new ones from pinball center, but was a little disappointed by the orange colour they used. It doesn’t match the original and is closer to the red. Still, it’s better than what I had.