It’s time to finally post another update on my Pinbot restoration. Over 2 months since my last post, and it feels like much longer. I was well underway with the cabinet restore when I encountered an issue with the stencil kit purchased from Twisted Pins. I did a detailed write up of the experience – which you can read about here: http://www.enteryourinitials.com/2015/05/07/twisted-pins-customer-service-is-horrible/. As a brief summary – avoid buying from them if you can – Travis is not worth dealing with and the stencils are not good quality. Look to Pinball Pimp and Flipper Rescue for their stencils first as the quality is much higher and the guys running those businesses are much better to deal with (especially if there is an issue). I had originally planned to make the cabinet restore a single post. But due to the issues encountered and the time it’s taking, I’ve decided to cover the cabinet restoration across a couple of posts. So time to dive in and chart the progress so far.
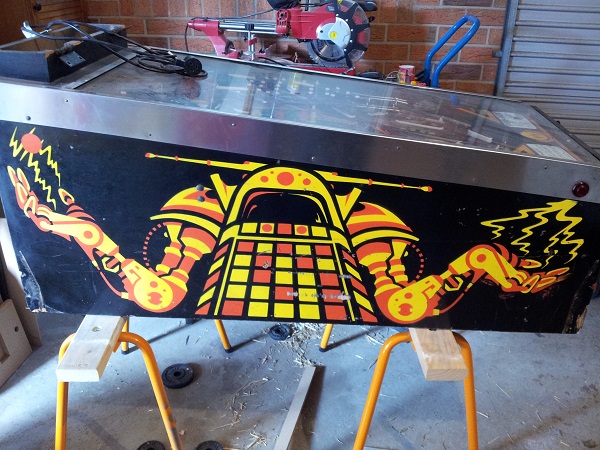
The starting point. The left side of the cabinet is the hardest hit in terms of damage. There are a few nice chunks taken out and plenty of scratches and scrapes of varying degrees. For many people, this state is more than reasonable. If it was another machine, I’d probably leave it. But this is Pinbot and a machine I love – so I’m keen to go the extra yards and make it beautiful again. The cabinet is still very solid, which is an excellent starting point. After some patching and repainting, it’s going to look awesome (I hope).
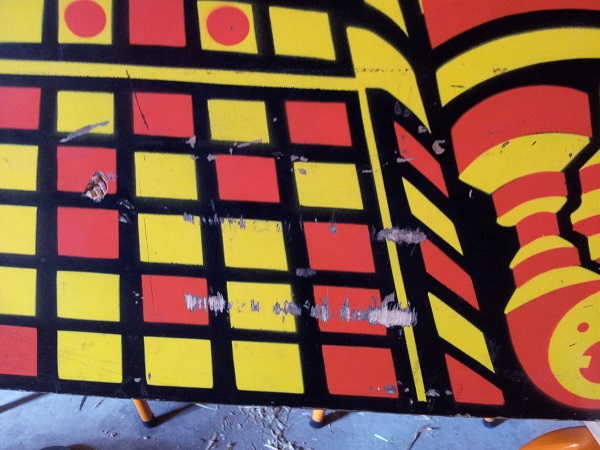
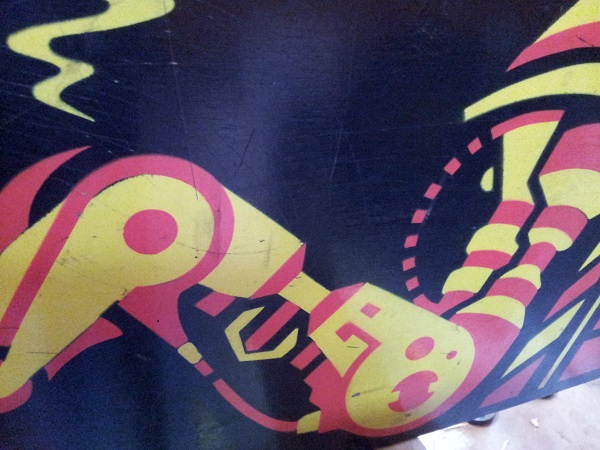
A close up of some of the damage from the left side. All of this will be filled and sanded before painting. It was interesting taking a close up look at the art, as only then did I begin to see alignment issues on the stencils used at the factory back in 1986. It’s interesting to see some of the overlap in sections too. This overlap is correctly reproduced in the Pinball Pimp stencils to mirror the original. The stencils produced by Twisted Pins don’t do this and as a result, you need to have them aligned 100% to ensure no black gaps between areas.
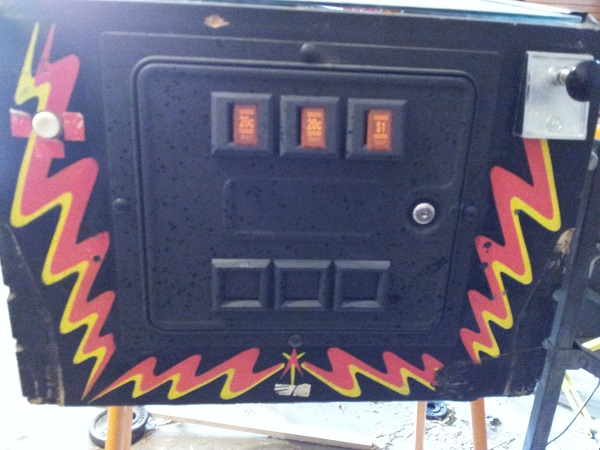
The front of the cabinet wasn’t in terrible shape. A few holes had been filled in (possibly from a coin door guard that was removed at some point) and there was some damage to the lower right side. Again, all damage will be repaired and sanded before painting. A few stickers can be seen around the start button. There is a serial number also stamped into the top left of the front panel. I won’t be filling this – it will remain.
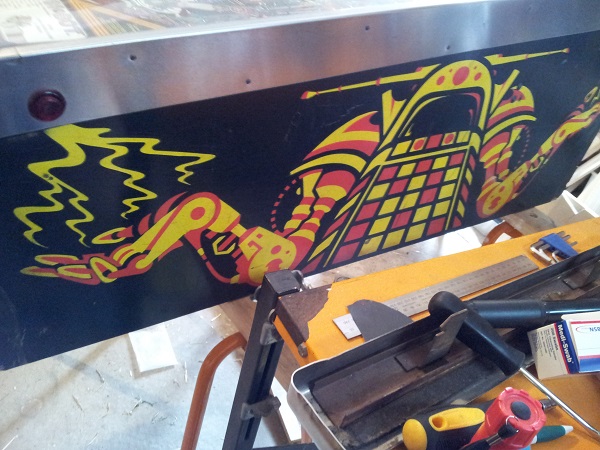
The right side of the cabinet has survived much better over the years. I noticed this with the headbox too. No chunks taken out of the wood and really just scratches and general wear.
A close up on a small area shows the sort of scratches and wear that were present across the whole panel. This will all be sanded smooth before painting.
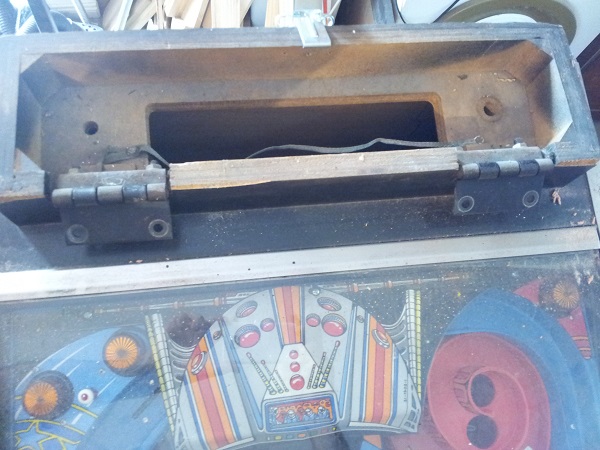
The neck had a little bit of damage to the wood at the front (on either side of the hinges). This will also be repaired. The hinges will be cleaned up before installing again.
First step was to get the side rails off. Most of the nails removed easily enough, although a few proved to be troublesome. I’ve got new nails ready to go for reassembly to replace them. The bolts that were used to attach the side rails will go into the tumbler to clean up nicely. Some nice gunk has collected under the side rails around the button areas.
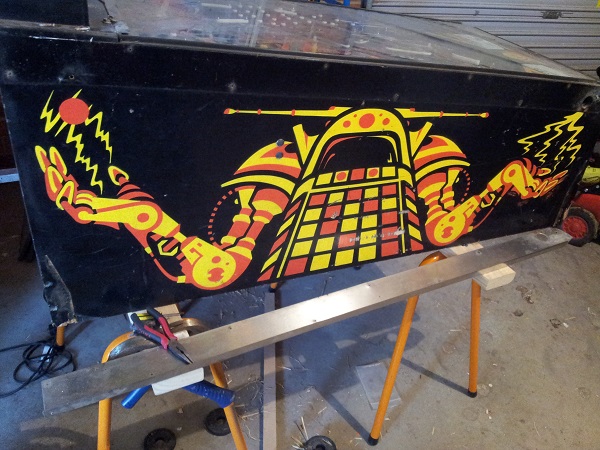
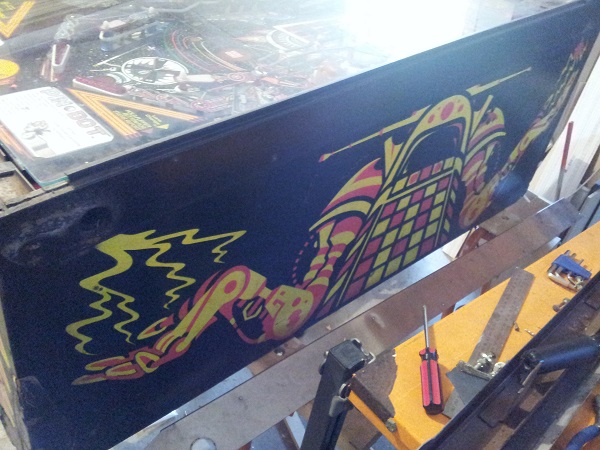
With the side rails off, I then looked to remove everything else. The metal channel for the glass, t moulding strip for the glass, hinges, coin door, playfield, bolts, etc. It’s amazing how much time is required just to get the cabinet into a position for prep and painting.
Most of the parts on the machine were removed. Anything that could be covered with newspaper was left. Once ready, I repaired damage around all sides of the cabinet and sanded smooth. Some spots were done a second time to ensure I was happy. I sanded the panels smooth (including the rear panel) and applied two coats of primer, which was then left to sit for a few days.
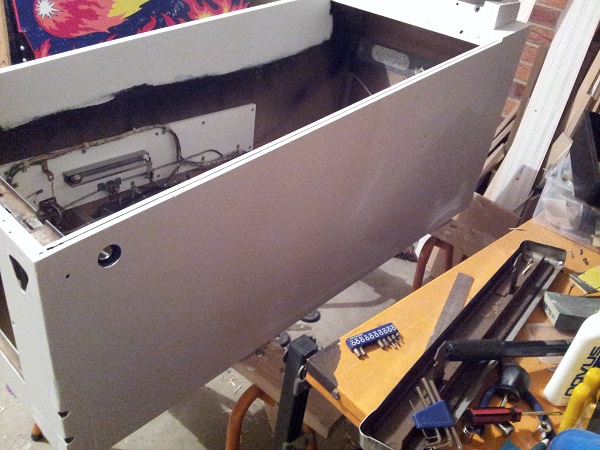
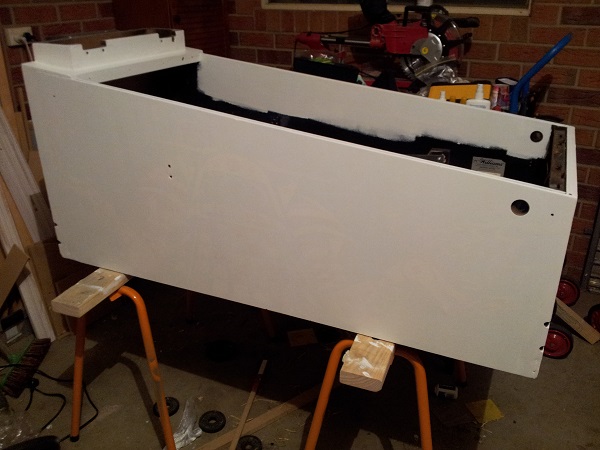
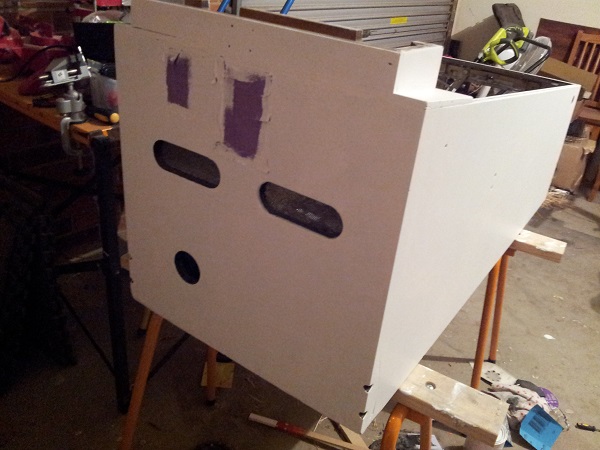
With the primer coats done, it was time to apply the base layer – black. I gave this 3 coats, with a light sand in between each.
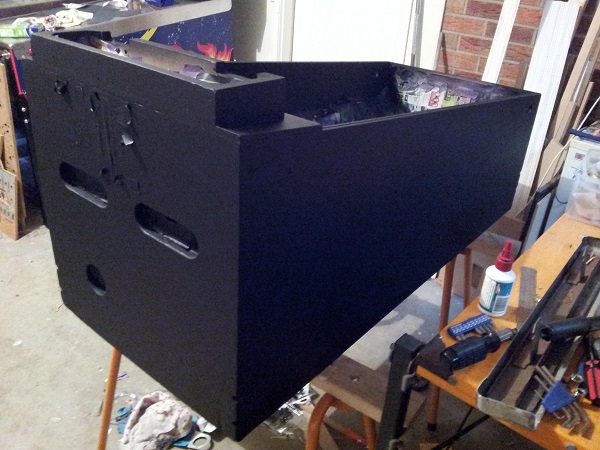
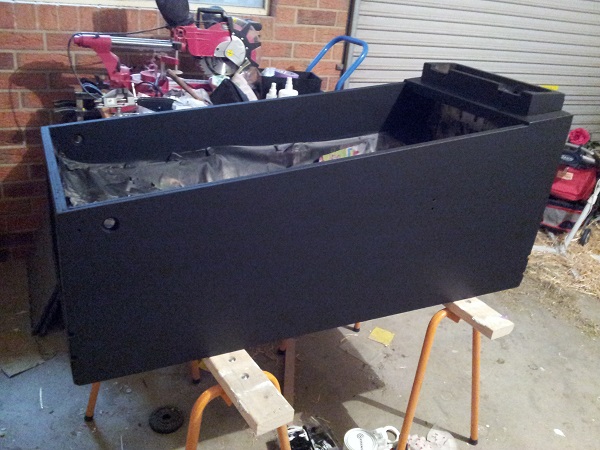
It was at this point I applied the stencil for the red layer on 3 sides (left, right & front). After applying a few light coats of the red, I removed the stencils. This was left to sit for a few days. Something seemed off about the result, but I couldn’t put my finger on what exactly. I was now ready to apply the yellow layer. This is where I ran into trouble. After walking past the machine a few times over the week, I was sure something was off about the front panel. Each stencil is labeled with a sticker indicating what is it used for. This was the stencil for the second colour – yellow.
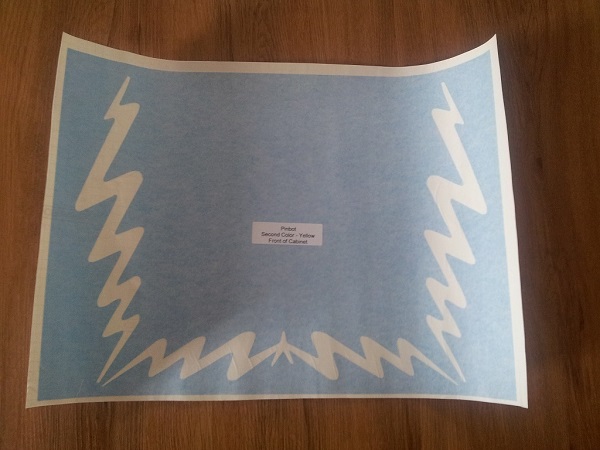
Then it hit me – This stencil is incorrectly labelled. Look at the middle bottom area of the stencil and note the 3 point arrow shape. Scroll back up at the starting photo of the front panel and note that this 3 point star should be red. Well that’s frustrating 🙁 Getting the stencils applied in the correct colours is kind of important. Makes it hard when they are labelled incorrectly. Because the two layers for the front panel are so similar, it didn’t stand out before applying the first stencil. This occurred back on April 11th. As per my Twisted Pins write up, I politely followed the issue up with them to get it sorted out. After a week (and 2 emails), I got a response to say a replacement could be sent out. After another 4 weeks passed and it was obvious no replacement would be sent and I was being ignored. This left me even more frustrated. Backed into a corner, my only two options were to create my own, or purchase a new set. Instead of sending more money to Travis, I purchased a better quality set from Jeff at Pinball Pimp. I won’t rehash the Twisted Pins experience – see the link at the start of the post for full details.
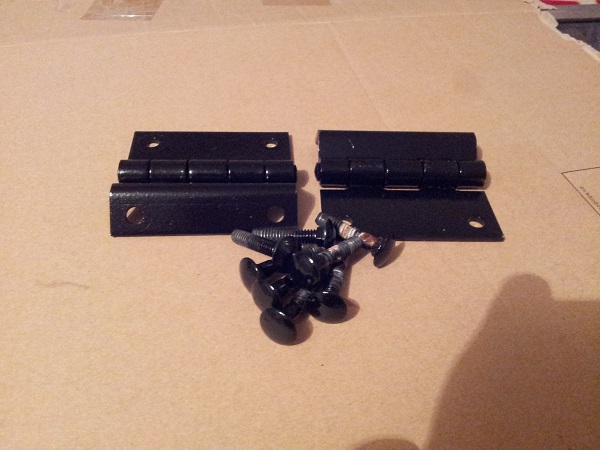
While waiting on the new stencil kit to arrive, I decided to look at a few other things on my to do list. The bolts for the playfield hinges and the headbox hinges were cleaned, stripped and repainted with gloss black metal spray paint. After several coats of black, they were finished off with a couple of coats of clear to protect them. Looking much better now, they are ready to be installed again.
The channel the playfield glass slides into needed some attention. There were a few black paint spots dropped on it from some time in the past. I noticed this elsewhere on the machine too (the old vortex ramp for one). It looks like someone decided to touch up the cabinet with black paint, but managed to drip it across some of the metal and plastic parts. To hell with masking I guess… The foam which the rear of the playfield presses up against had also fallen off.
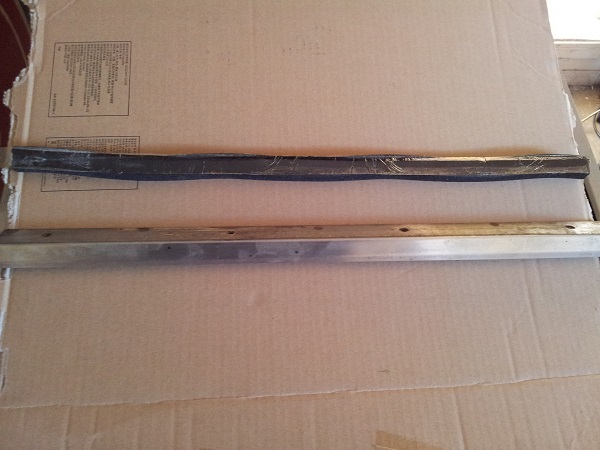
The channel was cleaned and polished. The foam padding was also reattached. I replaced the missing small foam bits that the glass pushes against to stop it hitting the rear of the metal channel.
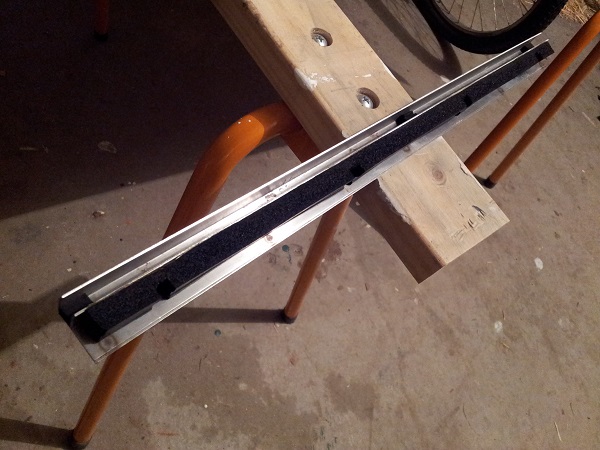
The two plastic t moulding channels for the glass were also cleaned up. These were still in one piece thankfully, so did not need to be replaced. You can also spot some of the repainted side art in this photo.
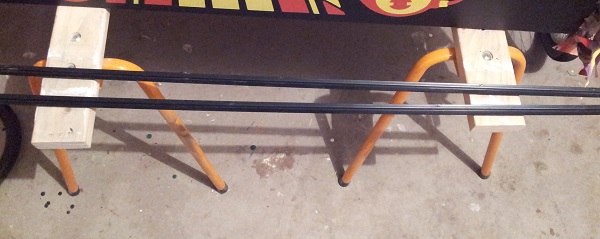
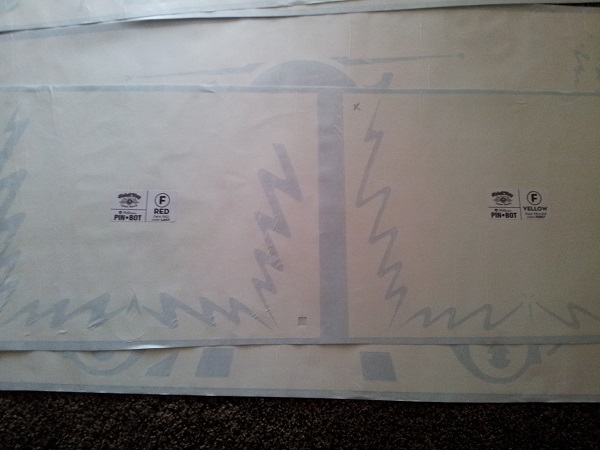
The new stencil kit arrived safely from Pinball Pimp and is currently being left unrolled for a few days before use (in a much safer place than the middle of the floor as shown here 😉 ). Good to see Pinball Pimp gets the labeling right, unlike Twisted Pins.
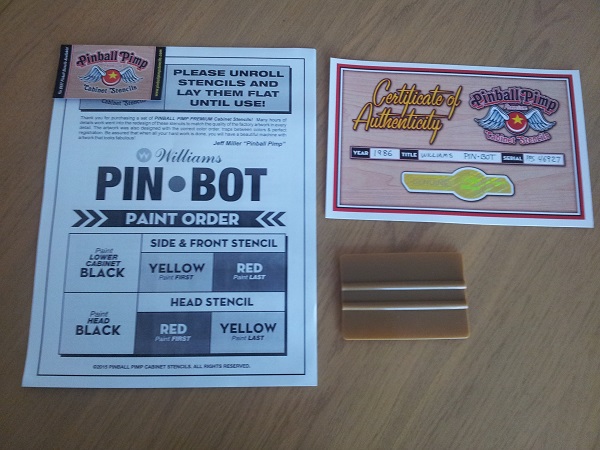
Along with the stencils comes a small squeegee to use when applying each stencil piece. A certificate of authenticity is included too – which looks pretty cool and is a nice touch. A detailed set of instructions are included, going over the paint order, recommended surface prep and also advice on how to best apply them. Before I started working on the cabinet, I did note that the paint order differed between the headbox and the cabinet body. This is correctly reflected here as shown on the front page. This is also something that Twisted Pins got wrong and assumed that red was the first layer on both the headbox and cabinet body.
I’m really happy with the look of the Pinball Pimp stencils. They have the correct bleed and traps which are poorly missing from the Twisted Pins version. You can see more details on their site here: http://pinballpimpstencils.com/?page_id=492. The Pinball Pimp stencils are about $20US more than Twisted Pins, but the quality is so much better. I wish I had known about these before getting the Twisted Pins set. Jeff (who runs Pinball Pimp) is a great guy to talk to as well and has been very helpful in answering my questions.
That’s if for now. The stencils have been out flat for a few days now and are ready for use. I’ll be applying the first layer this coming weekend and then the second on the following week. I sanded back the panels again and have reapplied a few coats of the black base colour – so it’s ready to be stenciled. Once the yellow and red layers are done, it will be finished off with some clear (as per the headbox). I also need to clean up the side rails, so they are ready to be installed again. It’s taken much more effort than I had originally thought and a delay of about 6 weeks hasn’t helped. I hope in the end, the result will be worth it.
