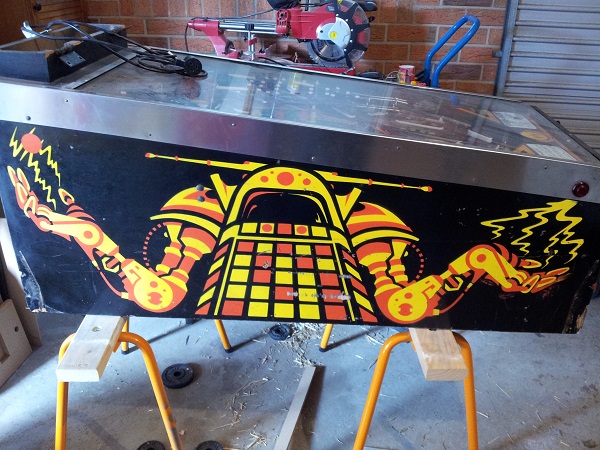
It’s time to finally post another update on my Pinbot restoration. Over 2 months since my last post, and it feels like much longer. I was well underway with the cabinet restore when I encountered an issue with the stencil kit purchased from Twisted Pins. I did a detailed write up of the experience – which you can read about here: http://www.enteryourinitials.com/2015/05/07/twisted-pins-customer-service-is-horrible/. As a brief summary – avoid buying from them if you can – Travis is not worth dealing with and the stencils are not good quality. Look to Pinball Pimp and Flipper Rescue for their stencils first as the quality is much higher and the guys running those businesses are much better to deal with (especially if there is an issue). I had originally planned to make the cabinet restore a single post. But due to the issues encountered and the time it’s taking, I’ve decided to cover the cabinet restoration across a couple of posts. So time to dive in and chart the progress so far.
The starting point. The left side of the cabinet is the hardest hit in terms of damage. There are a few nice chunks taken out and plenty of scratches and scrapes of varying degrees. For many people, this state is more than reasonable. If it was another machine, I’d probably leave it. But this is Pinbot and a machine I love – so I’m keen to go the extra yards and make it beautiful again. The cabinet is still very solid, which is an excellent starting point. After some patching and repainting, it’s going to look awesome (I hope).

