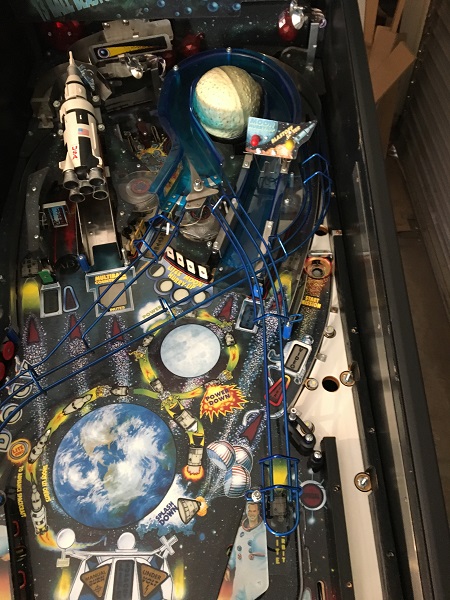
Having worked through the lower and middle sections of the Apollo 13 playfield in previous updates, it’s time to turn my attention to the upper section. There aren’t that many assemblies to get through, but quite a lot of parts to remove, clean and then install again. So it’s still a time consuming process. My first area of interest in this update will be the pop bumpers. But before I can get there, I have a few things to remove. In previous updates I had already removed a couple of the blue rails, but now it’s time to remove the rest so I can get to the pop bumpers.
pop bumpers
All posts tagged pop bumpers
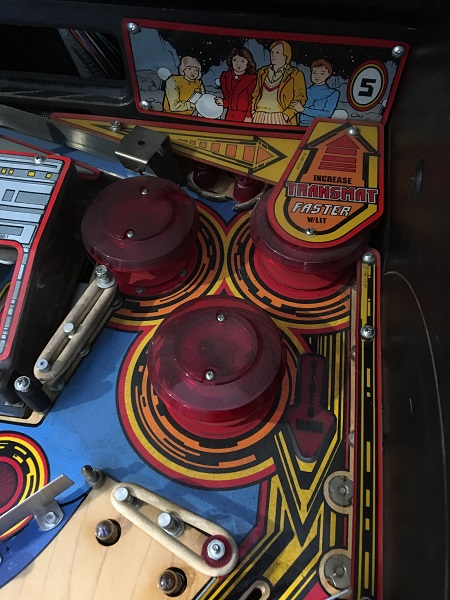
Progress on Dr Who has continued quite well over the last couple of weeks and I’m now down to the final section of playfield. This update will be focusing on the remaining assemblies at the top of the playfield – the pop bumpers and the mini playfield. My plan is to strip and clean the top playfield area (including the pop bumpers) and then move onto the mini playfield. The area is quite filthy, but nothing a good clean won’t sort out. Time to get started.
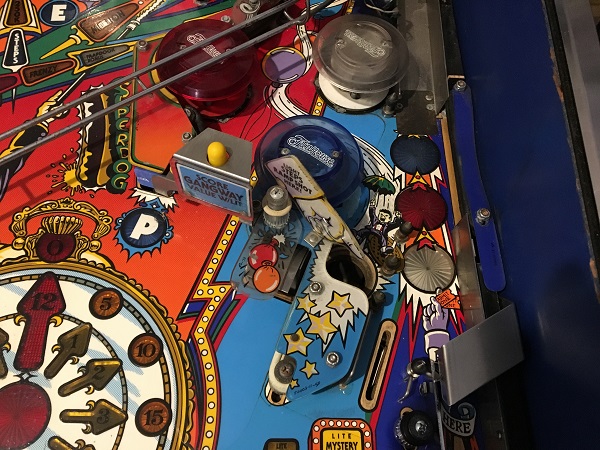
I can always tell the level of enjoyment I get working on a machine by how much it consumes my free time. Funhouse has been consuming a lot of my free time over the last few weeks which means progress has been good. So I’m back again with the third update. In this update, I’ll be focusing on the playfield area (and assemblies) in the middle stretch of the playfield. This includes the right scoop, pop bumpers and left upper flipper. There are various plastics and metal posts that will need to be removed and cleaned. There is also a ramp that runs below the playfield connecting other assemblies to the scoop which I’ll remove and clean too.
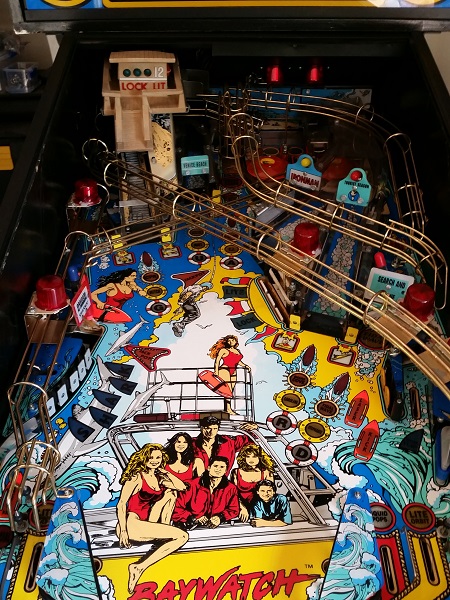
It’s time to get into some heavy duty cleaning on Baywatch. The only way to do that, is get everything off the playfield so I have unrestricted access to the lot. People can underestimate how long this process takes, especially on DMD era machines. Pulling a playfield down can be quick, but cleaning everything and getting it all back on (in the correct layout and order) takes up more time than you expect. As always, it’s best to take a lot of photos along the way with this process. I prefer to do the playfield areas in smaller batches, but due to the number of ramps and rails, it isn’t possible here. The lower playfield area and apron have been dealt with in previous updates, so now I have the top two thirds to contend with. Although the machine is dirty, it’s going to clean up nicely.
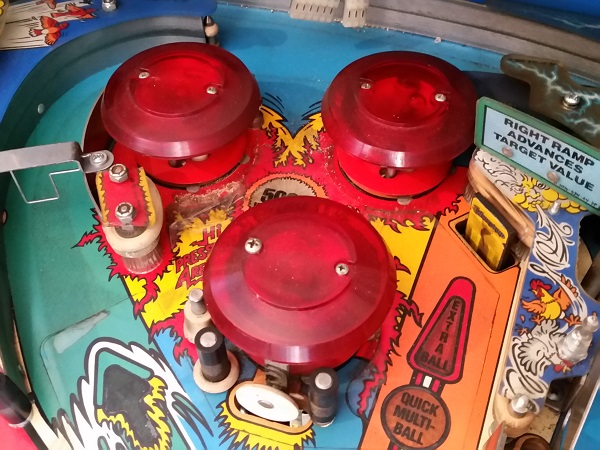
Having a set of pop bumpers on the playfield is almost mandatory for me when looking at pinball machines to play. The designers of Whirlwind must really have loved pop bumpers. Why have just one set on the playfield when you can have two? The only down side to pop bumpers is disassembling them as it cam be fiddly, especially those lamp sockets. The end result though after working on them really improves their performance, along with the presentation of a machine. It also makes them sound great too. The set I did in my previous update came up really nice and now it’s time to rebuild the second set. This update will be covering the final assemblies in the machine I need to look at, all of which are located at the top of the playfield. I’ll be starting first with the pop bumpers though.