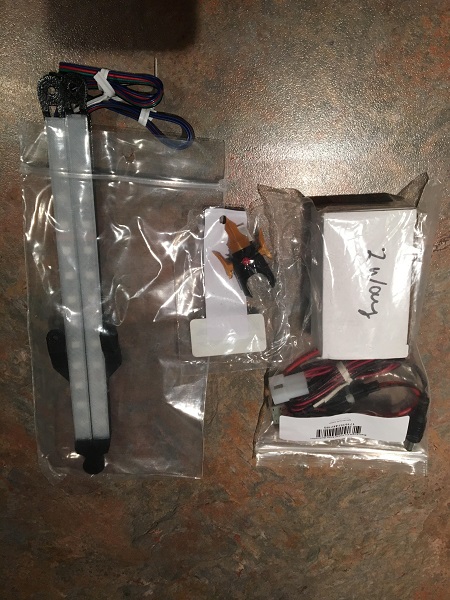
I’ve been having a lot of fun playing my Black Knight since it arrived. Normally I’m doing repairs and servicing posts, but this one will be different as I’m focusing on mods and upgrades I’ve made to my Black Knight Pro. I’ve had some fun adding extra bling that the PRO version was lacking 🙂 It already has a shaker motor, which I had installed when purchasing it. But I wanted to do more. I’ve since continued to add to my PRO with some mods from Mezel Mods, Tilt Graphics, Retro Refurbs and Titan Pinball. First up, I ordered a flail cover and ramp LED kit from Mezel Mods.
titan
All posts tagged titan
With four weeks off over the Christmas break, it is the perfect opportunity to continue with the overhaul of my Bride of Pinbot 2.0. The plan was to try and do the next few phases of the overhaul in smaller chunks, avoiding the downside of having the game off line for long periods. But this update turned out to be much bigger than expected and has been split into two updates. This happened mainly because getting the top layers off the playfield was a pain and having to put them back on only to remove a few days later for the next phase would create a whole heap of extra work. So once I realised I was in up to my elbows, I decided to keep going. Starting off small though, the first assembly on my hit list for this update is the shooter rod.
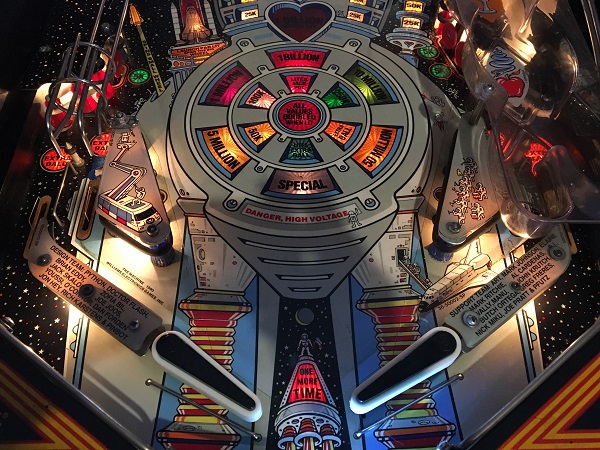
Over the last two weeks I’ve been waiting on the arrival of a parts order from Marcospec so I can continue on with my work on Funhouse. The upside to the wait is it allows me to get more done on my BoP 2.0 until that arrives. This update will be focusing mainly on the lower playfield area, with a few extra things thrown in. So assemblies like the flippers and sling shots will be rebuilt. The playfield area will also be cleaned up and any metal parts like the ball guides and mini posts will head to the tumbler. I have coloured Titan rubbers to install and also LED’s from Pinball Life. Let’s get started.
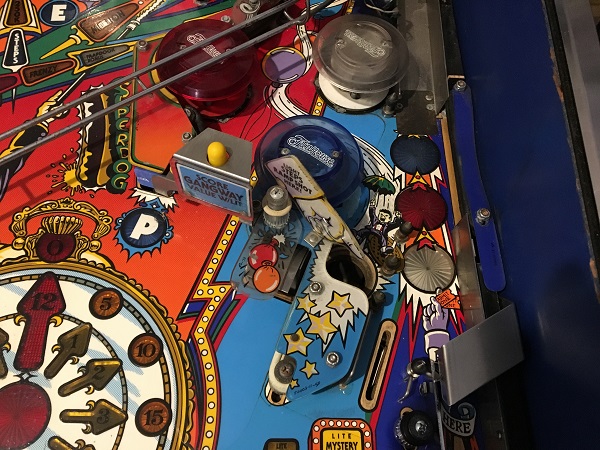
I can always tell the level of enjoyment I get working on a machine by how much it consumes my free time. Funhouse has been consuming a lot of my free time over the last few weeks which means progress has been good. So I’m back again with the third update. In this update, I’ll be focusing on the playfield area (and assemblies) in the middle stretch of the playfield. This includes the right scoop, pop bumpers and left upper flipper. There are various plastics and metal posts that will need to be removed and cleaned. There is also a ramp that runs below the playfield connecting other assemblies to the scoop which I’ll remove and clean too.


