
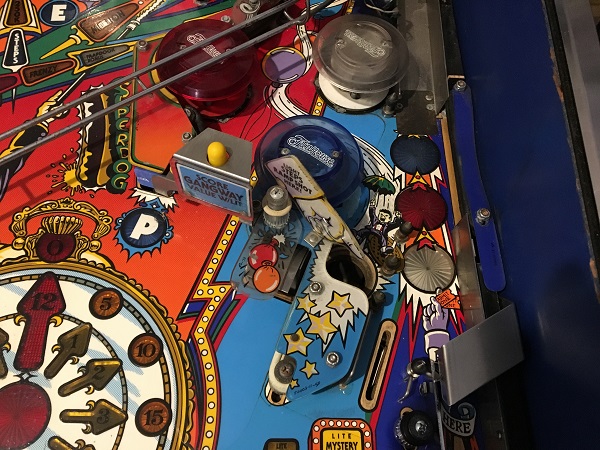
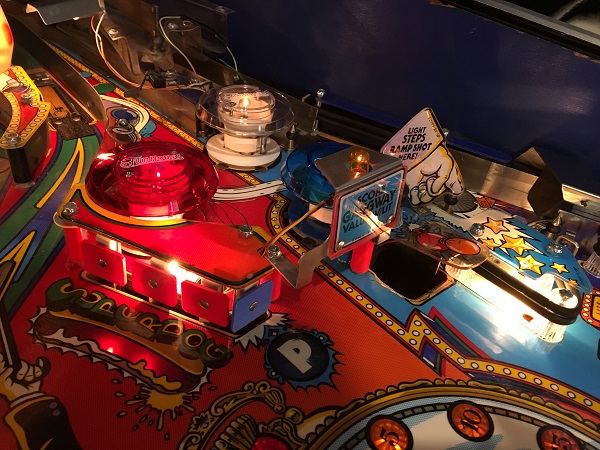
I can always tell the level of enjoyment I get working on a machine by how much it consumes my free time. Funhouse has been consuming a lot of my free time over the last few weeks which means progress has been good. So I’m back again with the third update. In this update, I’ll be focusing on the playfield area (and assemblies) in the middle stretch of the playfield. This includes the right scoop, pop bumpers and left upper flipper. There are various plastics and metal posts that will need to be removed and cleaned. There is also a ramp that runs below the playfield connecting other assemblies to the scoop which I’ll remove and clean too.
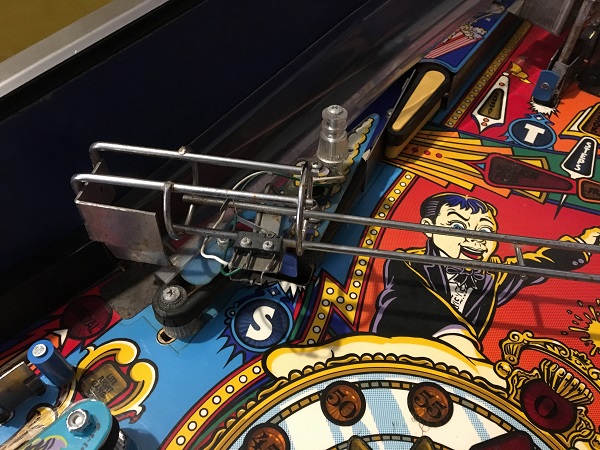
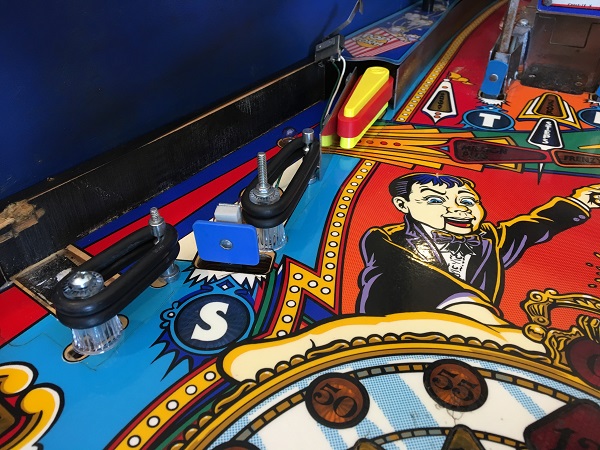
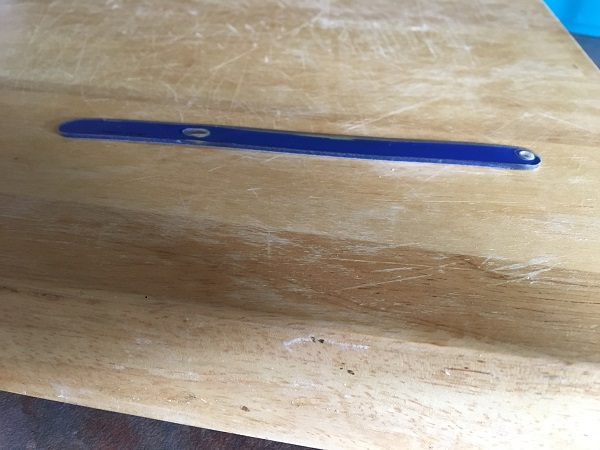
A long metal rail runs the ball to the left out lane / second shooter lane which will need to be removed and I’ll set this aside for cleaning at a later time. No point putting it back on at the end of this update as it will have to come up for when I advance to the upper playfield in the next update. I will also need to remove the stairs ramp on the left side of the playfield. Interestingly, it’s missing the 2 screws which attach the entry of the ramp to the playfield, so I will replace these when the time comes to install it again.
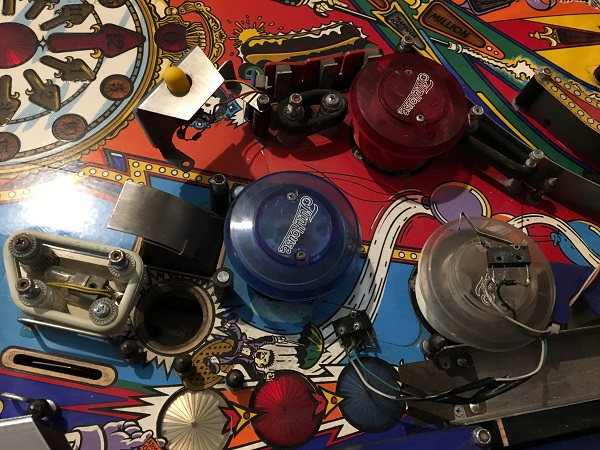
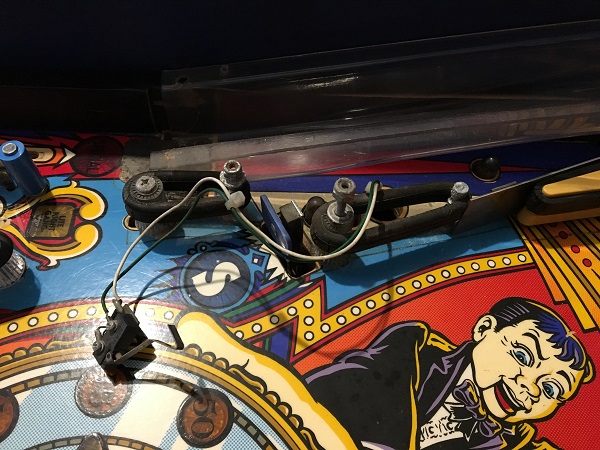
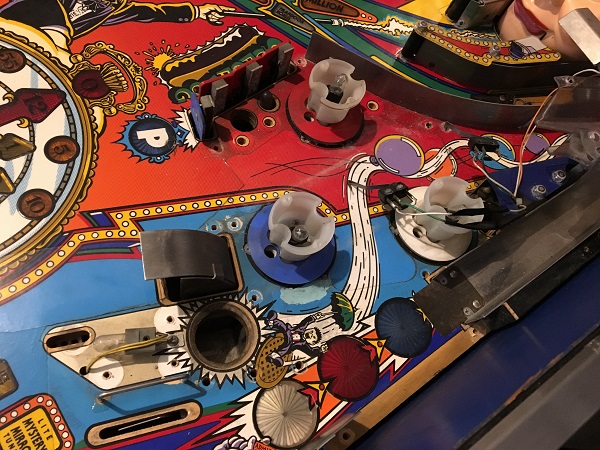
With the metal rail removed, I now had access to the pop bumper assemblies and the many metal posts in the area. These will all be completely removed for cleaning. The pop bumpers will be rebuilt with brand new parts and plastics cleaned before I’m done. The plastics were also removed for cleaning. Lot’s of filth to clean up – just how I like it 🙂
On the other side of the playfield, the plastics were removed also, showing a similar level of filth to clean. I’ll make removing the clear ramp my next step so I can get to the flipper, rubbers and lamps easier.
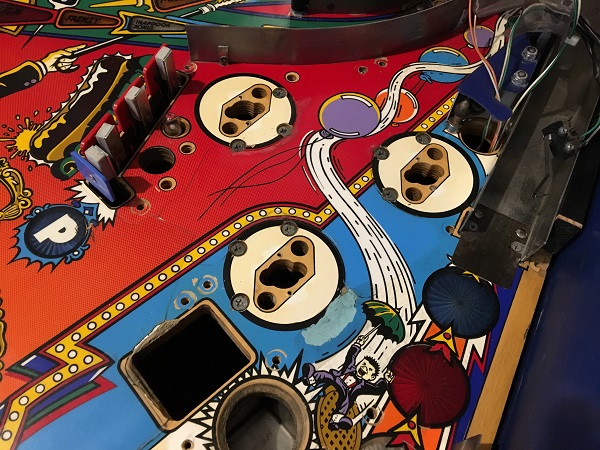
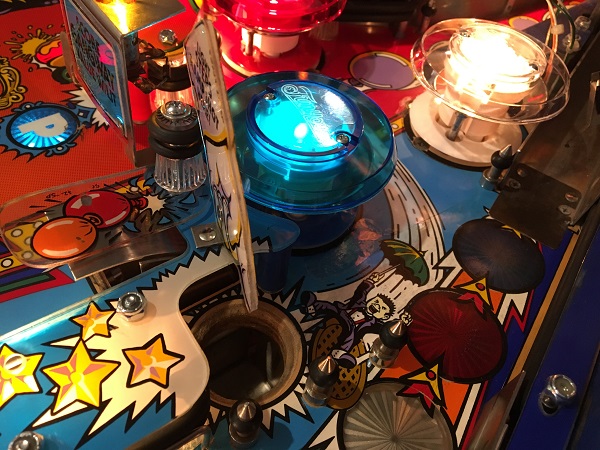
Back at the pop bumper area, the metal and clear posts were all removed, leaving behind some tired pop bumper bodies and skits. There is a touched up area around the blue pop bumper – the mismatched blue makes it stand out a mile away. I’m no playfield touch up expert, but I want to improve this before I’m done.
There is a clear ramp that sits below the playfield, which carries the ball from multiple locations down to the scoop. Now seemed like a good time to remove it as it was in the way of the pop bumper assemblies below the playfield. These ramps are always filthy as they rarely get cleaned and are a great collecting spot for filth that gets pushed around the collected by the ball.
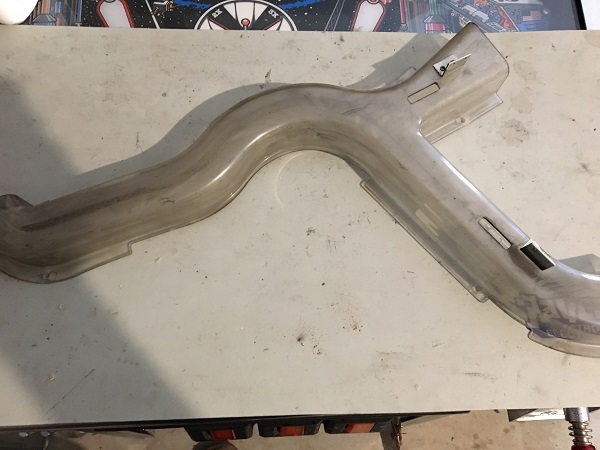
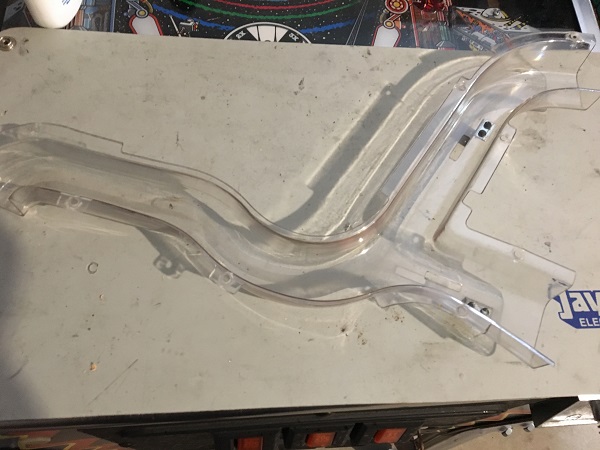
With a rag and some nifti, the ramp cleans up nicely. There are no cracks or breaks in the ramp, so it’s good to go back into the machine. I’ll sort out the pop bumpers first and then screw it back in to place.
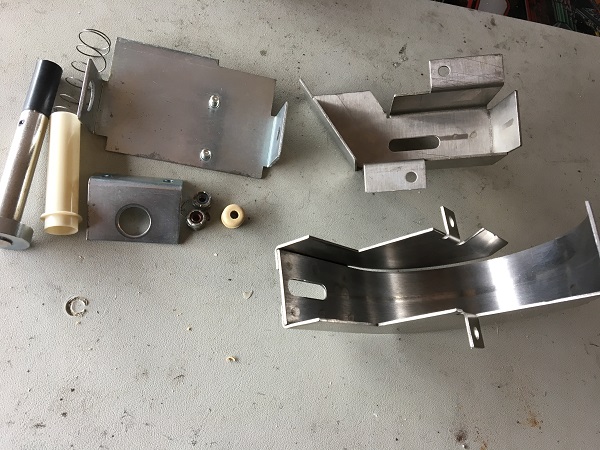
First up before the pop bumper assemblies though is the scoop assembly. I’ll include the drop hole as part of this as it has a small metal guide that leads to the scoop assembly. It comes apart in three pieces, which were removed for cleaning. This includes the frame for the coil and kicker that launches the ball out the scoop.
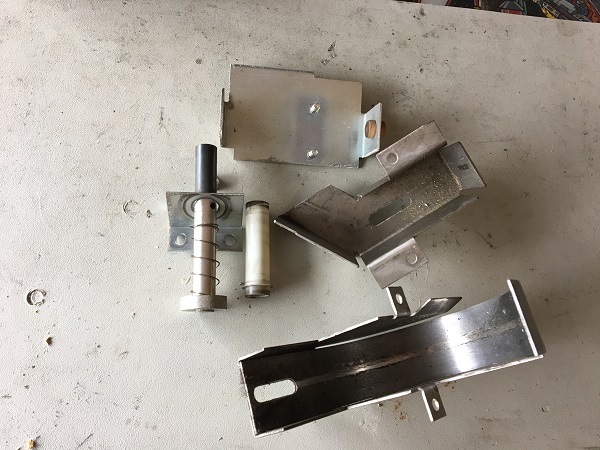
The filth and crap that had collected on the metal pieces was scrubbed away and a new coil sleeve and rubber gommet sourced to be installed. Everything was cleaned up and ready to go back into the machine.
The upper flipper assembly was removed from the playfield and is in a similar condition to the lower ones.
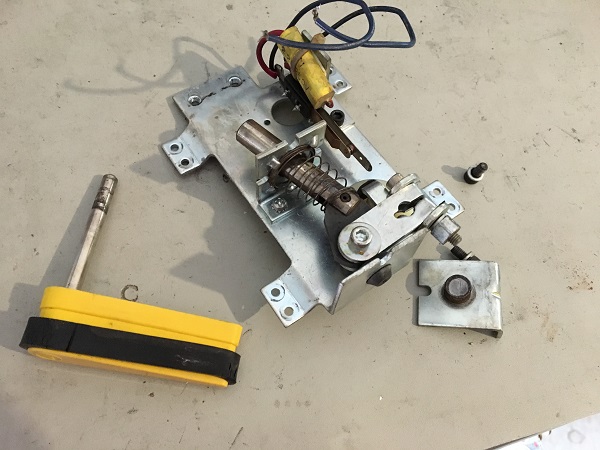
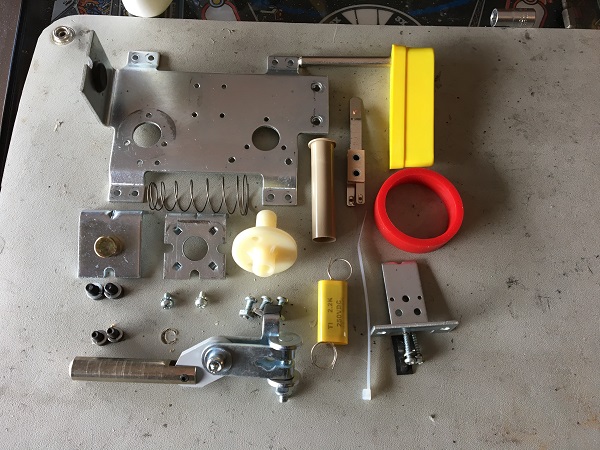
Again, a rebuild kit was used to replace most of the parts. A new flipper bat was also sourced and a red rubber ring from Titan.
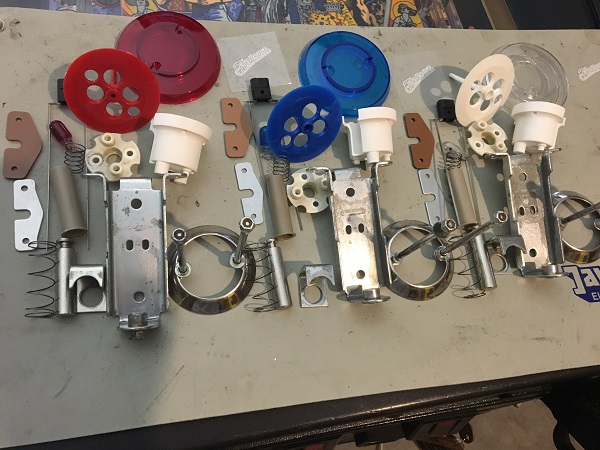
Ok, now on to those pop bumper assemblies. The coil frames and parts were removed from under the playfield and set aside for cleaning. One of the metal yokes had snapped in two, not to worry though as I had intended to replace all the yokes anyway – same goes for the coil sleeves. The rest can be cleaned up.
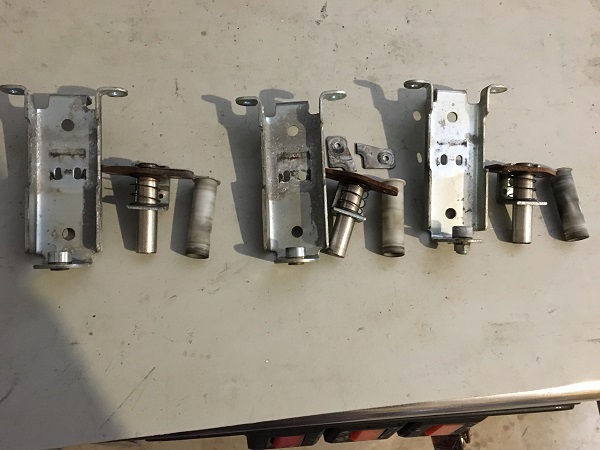
The bodies were removed from the playfield next. These have well served their purpose and will be replaced with new ones. Same goes for the skirts and caps. I was in two minds about replacing the caps as you need to purchase the decals for them too – but old pop bumper caps have an ugly frosty look to them – so new ones it is!
With everything off the playfield in the middle section, I gave it a proper clean and then polish. The target limits were replaced as the old ones had gathered a lot of rust and new target pads were also installed. The target faces were cleaned up too and polished with some novus.
At some point in the past, the paint around the blue pop bumper had been touched up and then covered in mylar. The blue was way too light and stood out a mile away. it also covered part of the black ring around the pop bumper and looked ugly. I’m not a playfield touch up pro, but pretty sure I can do better.
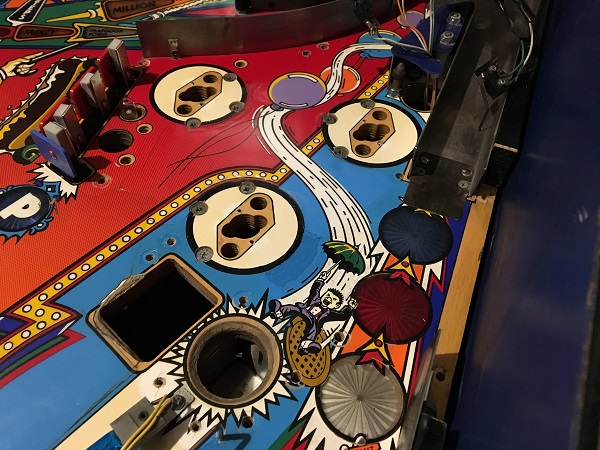
I removed the mylar over the touched up patch and matched up a better blue. I also fixed up the black ring section too so it was neater. It’s not perfect, but it’s much better than it was and stands out far less. Once everything is back on the playfield it will be even less noticeable.
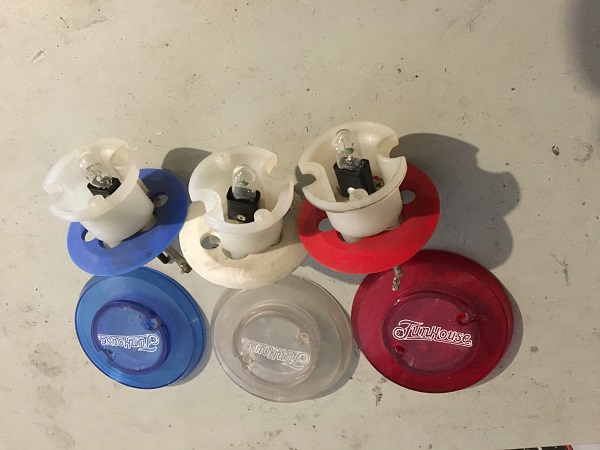
All the metal pop bumper parts went through the tumbler. New body parts were purchased, along with new yokes, coil sleeves and lamp sockets. I’m going to use coloured bulbs in the pop bumpers to help with the colour that shines through the caps. I have however kept the original pop bumper base pieces as they sit hidden below the skirt – so are never seen. I only replace these if they are broken (which is sometimes the case). New decals are ready to go on the new pop bumper caps too.
The pop bumper bodies were installed back on to the playfield, along with the clear posts. All the metal posts when through the tumbler and then back on to the playfield. New rubbers were installed. Again, keeping with black as per the owners request. Coloured post sleeves were used though. The scoop assembly was also reinstalled back under the playfield.
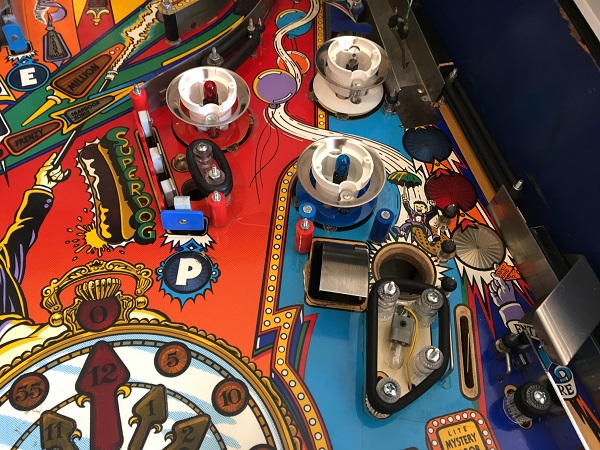
On the other side of the playfield, new clear posts and rubbers were installed. The cleaned metal posts were installed along with new bulbs. The flipper was installed back on to the playfield and the metal guide behind the flipper was cleaned and reinstalled too. You can actually see a reflection in it now.
With the assemblies, lamps, posts and rubbers back on the playfield the last thing to do was clean up the dirty plastics. One plastic piece (that sits to the right of the pop bumper area) was quite warped and will need to be flattened out.
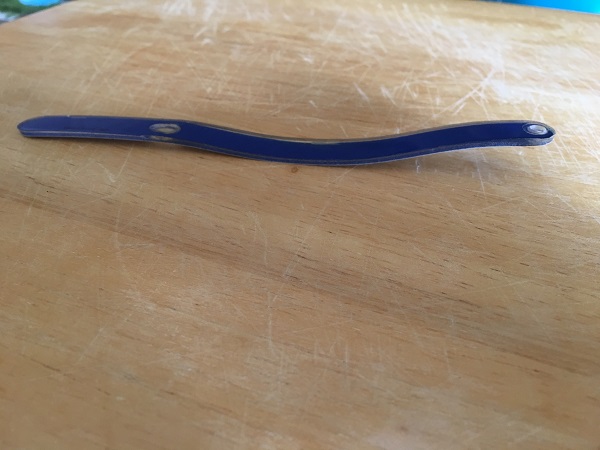
After applying some heat and sandwiching it between 2 small sheets of glass to cool, the piece was looking better.
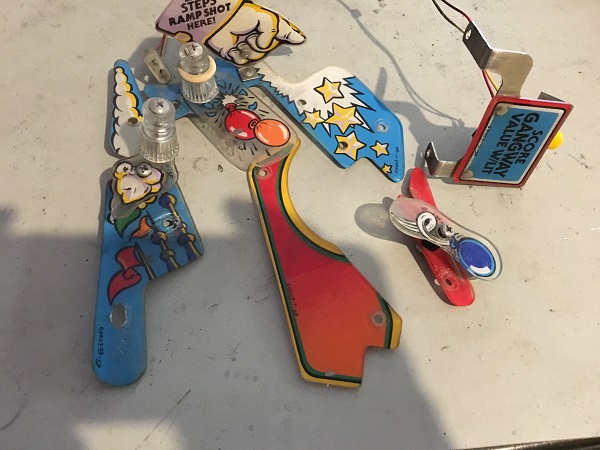
The other plastic pieces were set aside ready to be cleaned. I’ll remove the bolts so each piece can be individually cleaned. I’ll also replace the clear posts with new ones.
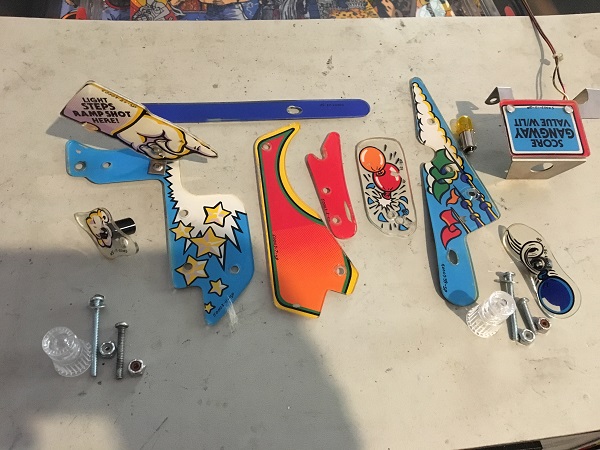
Each piece was cleaned, the bolt heads were cleaned and new plastic posts were sourced. I also replaced the yellow condom covered lamp with a yellow globe. The covers look tacky in my opinion and either a LED or coloured globe look better. Now to get them back on to the playfield to complete my work on this section of the playfield.
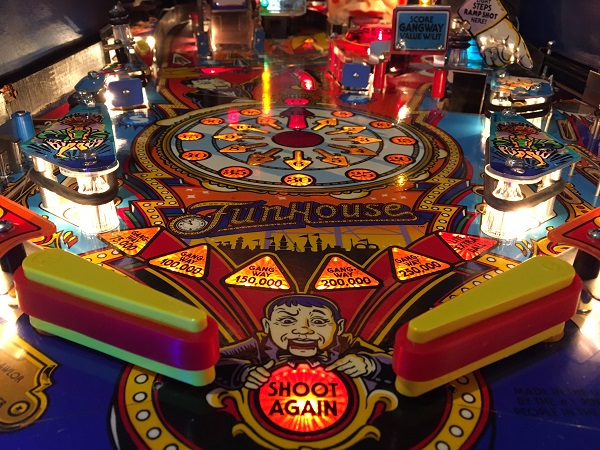
The plastics were installed to complete the final step. The middle stretch of playfield was completely back together and looking much better. I still need to clean and install the ramps, but that will be done later at the end.

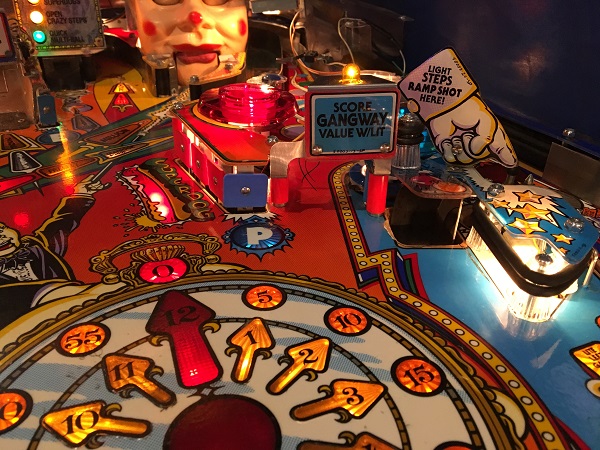
It’s going to be much nicer to play on once complete 🙂
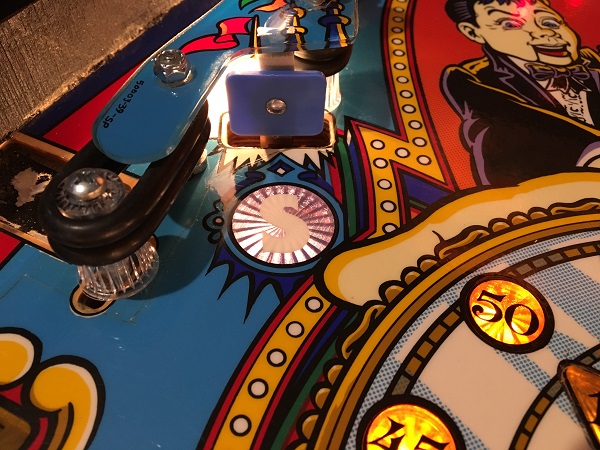
The area touched up beside the blue pop bumper can barely be noticed now, so was well worth giving attention to.
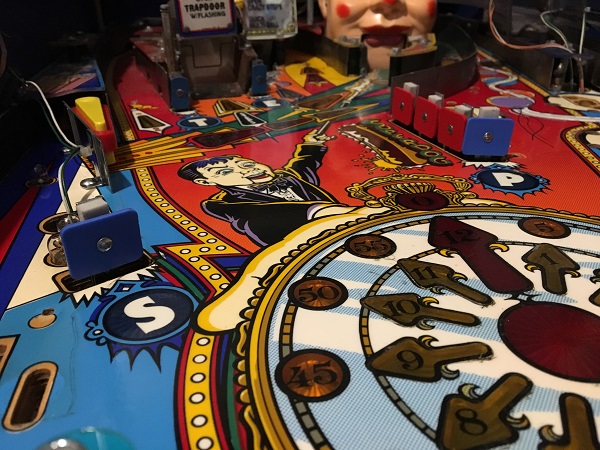
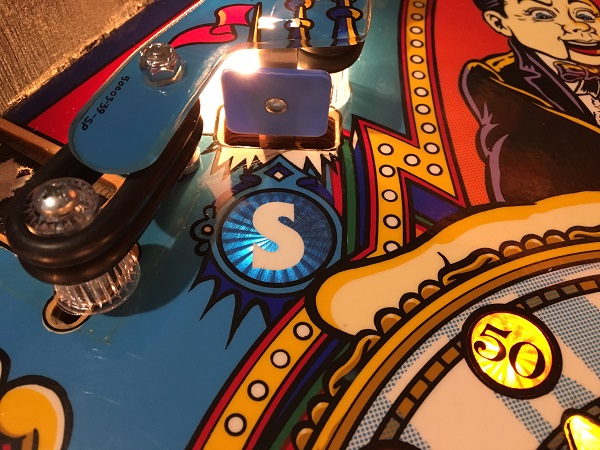
One last thing I wanted to do was improve the colour shown by the blue inserts around the playfield. The blue looked really washed out when lit up.
Since the owner wanted to stick with bulbs instead of LED’s, I switched the bulbs under the blue inserts to coloured bulbs.
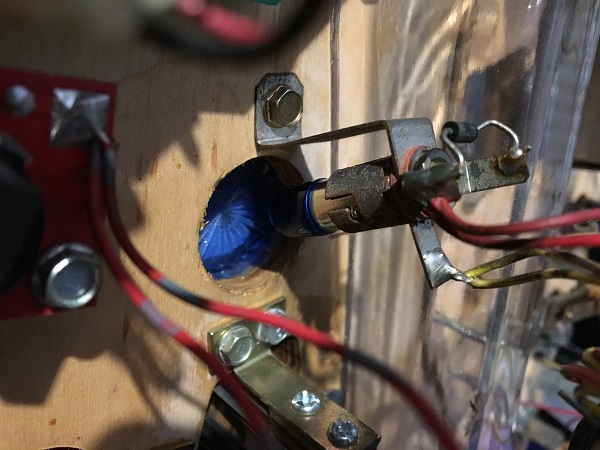
This gives the insert a deeper blue colour when lit up. It’s not as bright, but the blue looks much nicer when lit.
Another update comes to an end. I’m about half way through the machine now, although there is still plenty left to be done. The next update will be focusing on the upper playfield area. This may get split into 2 updates – but will see how progress goes. I may also try to include the coin door clean up in the next update too – will see how I go. I’m really looking forward to having the game completed and back together for testing.
awesome work im doing all this to mine and using this as reference!