Now I feel like i’m getting back into the swing of pin updates 🙂 Progress on the Funhouse has been moving along smoothly this week, so I am keen to get another post up. For this update, I wanted to focus on the lower playfield area. In general, everything just needs a really good clean, although the sling shot plastics will be replaced. Some of the screws used on the clear posts are not correct and these will be replaced too. All up though, it’s a solid base to start with.
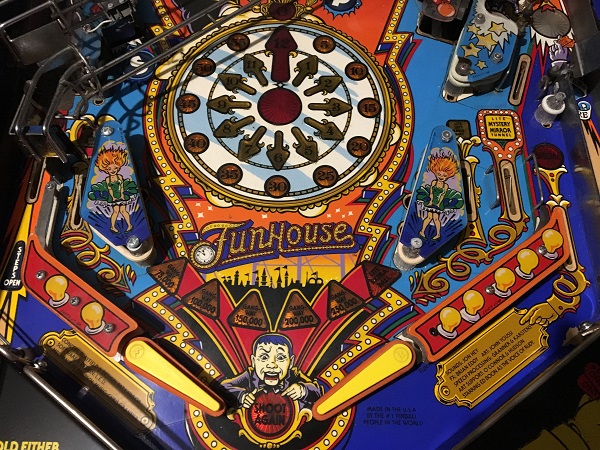
The begin, the metal rail that runs to the left return lane had to be removed. This was set aside for cleaning at a future time. I could then get the sling shot plastics, return lane plastics and posts off the playfield. The sling shot and flipper assemblies were then removed from the playfield and set aside for rebuilding. The lower playfield area was now free to clean. I was sure I took a photo of this stage, but could not locate it for the write up 🙁 No nasty surprises, just a playfield in need of a clean.
The left and right sling shot assemblies were first to be rebuilt. Both were completely disassembled, cleaned and the old coil sleeves replaced with new ones. One cam mounting bracket needed to be replaced as the pin was quite loose. The assemblies were now ready to go back into the machine.
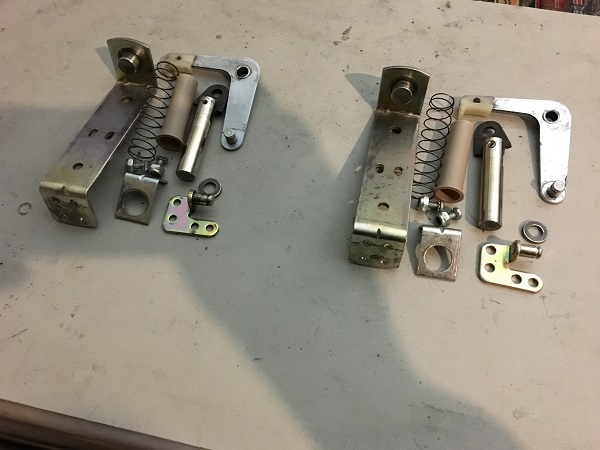
The flipper assemblies were up next. For now I’ll focus on just the lower the flippers, with the upper left flipper will be done at a later time (probably update 3). The flippers were overdue for a rebuild. When removing the bushing from the assembly, always remember to remove the nut on the underside of the base plate first.
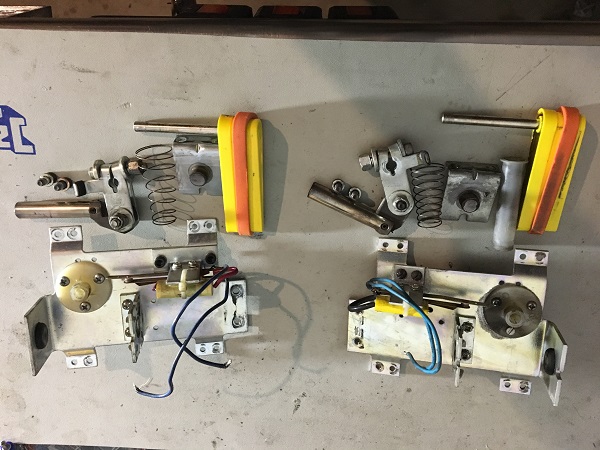
The flipper assemblies were disassembled and a number of parts replaced via a flipper rebuilt kit. The bushings are not included in a rebuild kit, so these were purchased separately. New flipper bats were also purchased, along with red rubber from Titan pinball. The assemblies were ready to be put back together and installed.

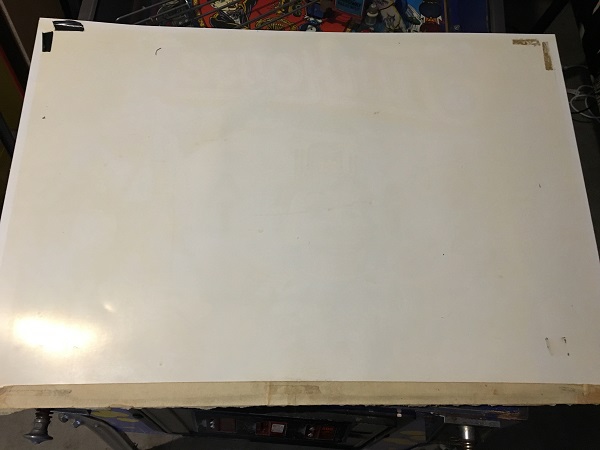
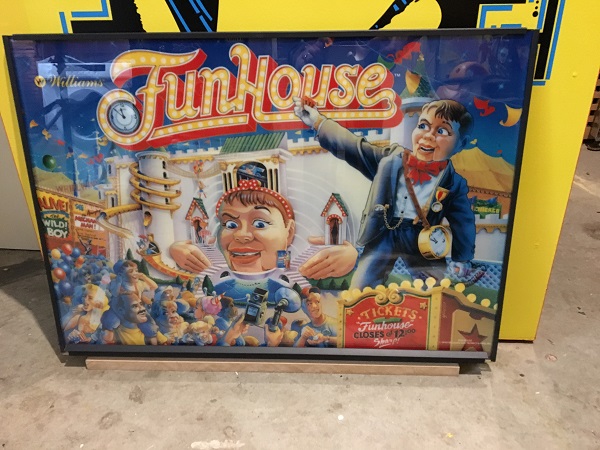
Switching gears for a second, I thought I would get the translite sorted out so it wasn’t laying around getting in the way. The safest place for the translite (and glass) is in the machine. I had a chance to sort out some new glass and a new trim set for the translite during the week. Before installing it to the glass though, I wanted to clean off the layer of filth that was on the reverse side.
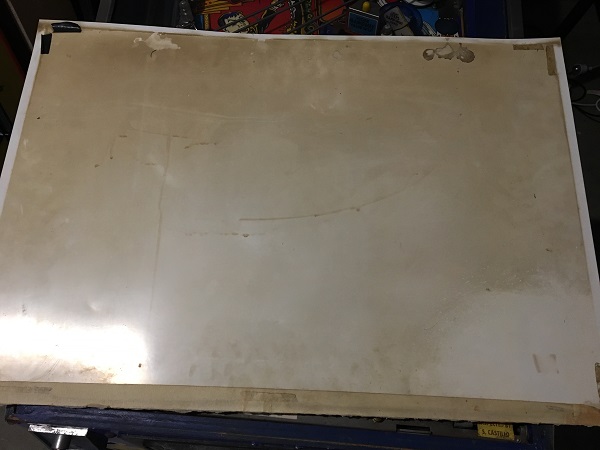
After a gentle wipe down, it made a hude difference.
The last step was to install the translite onto the glass with a new trim set, ready to be put into the game.
The bulbs in the headbox GI were quite filthy and the panel itself had some markings around the bulbs from the years of use.
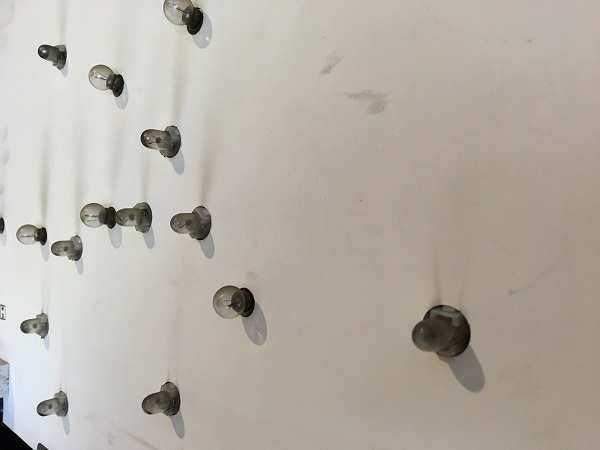
The bulbs and panel were cleaned up, and the few bulbs that no longer worked were replaced. Note that the bulbs not on in the photo are #455 blinkers.

Alright, back to the lower playfield area. With everything off the lower playfield it could be cleaned. The apron had been removed so I could access a couple of screws to remove the metal panels around the shooter lane. All the small metal pieces went for a visit to my tumbler while the larger pieces were hand cleaned. All the filth on the lower playfield are was cleaned away and then polished with Novus. Running a finger along the playfield, you can feel the difference as the upper area is rough and sticky. The game will play much faster once the clean is complete.
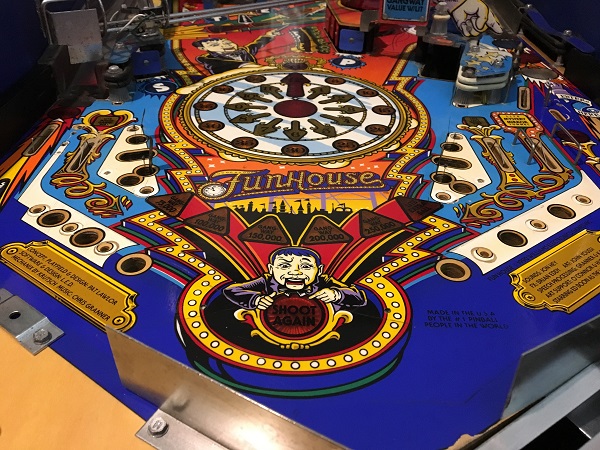
I could now begin to get parts back onto the playfield. The metal rails around the shooter lane were reinstalled, along with the metal posts, clear posts, return lane pieces, flipper bats and sling shot assemblies. New bulbs were installed too. The owner wanted black rubber, which was also installed. I did however use a light blue post sleeve of the left return lane – I tend to use colours on these and not plain black. There is a small damage patch on the left return lane where the ball drops in from the metal rail, which I put a small mylar patch over to add some protection.

Finally, the remaining pieces and plastics were installed. Clear washers were installed on the sling shots to protect the new sling shot plastics. The correct post screws were installed and new lock nuts were also installed. The lower playfield area is looking much cleaner now and lit up makes a big difference.

That’s it for the second update, with a few more things ticked off to the to do list. Next up I’ll be looking at the scoop hole on the right side of the playfield, along with the pop bumpers, stand up targets and left upper flipper. There is a clear ramp that runs under the playfield and I’ll also remove that for cleaning too. My goal is to have the machine back to the owner before Christmas and so far it’s coming along to plan.
