
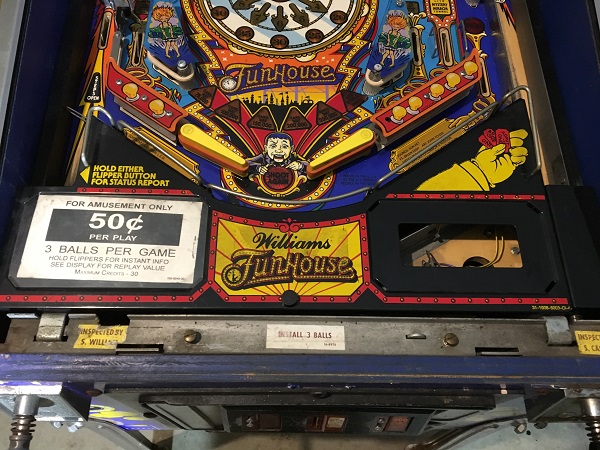
My recent pinball updates have been infrequent, which isn’t common for me as I like to keep on top of them. Usually my updates sit around 1 -2 weeks behind my actual progress. The Sopranos machines have been coming along well and I have plenty of content to get more posts up – I’ve just been a little slack in writing. Not slack on the actually physical side though and have been going non stop on doing various pinball things for people. To help get back into the swing of regular updates again, I’ve decided to start tracking the next machine in the queue since it’s so fresh in my mind. This next machine I’m working on is one I’m extremely excited about. This time I’ll be doing a repair & service on a “Funhouse” from Williams pinball. Released at the end of 1990 and over 10,000 units made, it’s a game I’ve been really looking forward to working on since the owner mentioned it to me a few months back. As with a number of my previous write ups, this isn’t a fancy restoration, nor a basic service as it sits somewhere in between. I’ll be working my way through each assembly and playfield part on the machine, cleaning and repairing as I go. Various things will get a face lift while staying within a budget. The game is quite dirty (although I have seen much worse) but is in a mostly working state.
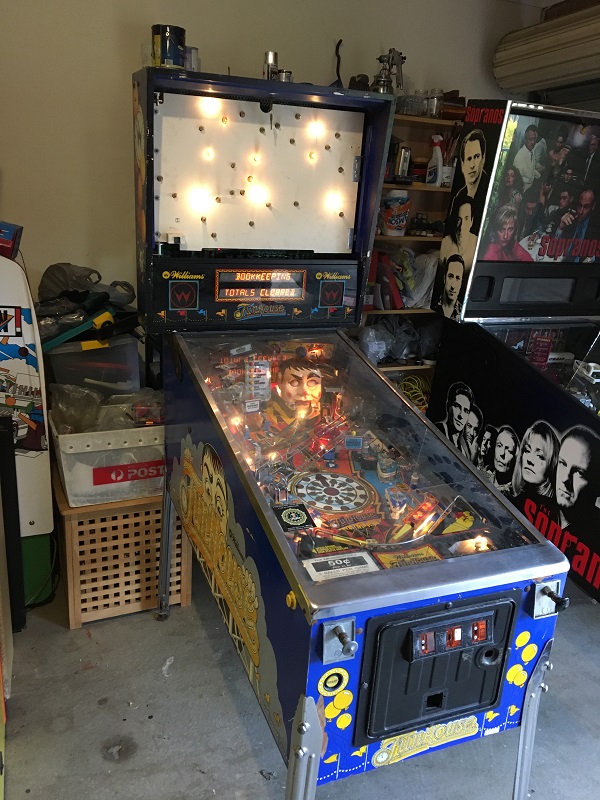
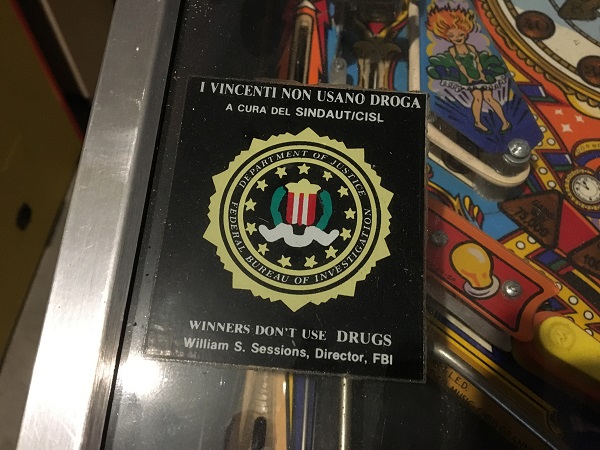
There is currently no backglass on the machine, although the owner has sourced a translite for me to install. I’ll sort out some glass and new edge trim for it shortly. The game was imported from Italy in a container a few years back, with an important message for the players from the Director of the FBI, stuck onto the playfield glass.
When the owner dropped the machine off, he spoke about an issue with the volume and I figured this was a good thing to start with. Inside the coin door you can control the volume (up or down) via the service panel buttons. Problem was that it would not go below a certain volume level, with the volume bar refusing to drop after a certain point. This is actually a ‘feature’ of the machine. Within the adjustment menu is a setting called “Min Volume Override”, which you need to set to ‘Yes’. Once the override value is set to yes, you’re able to lower the volume as low as you like.
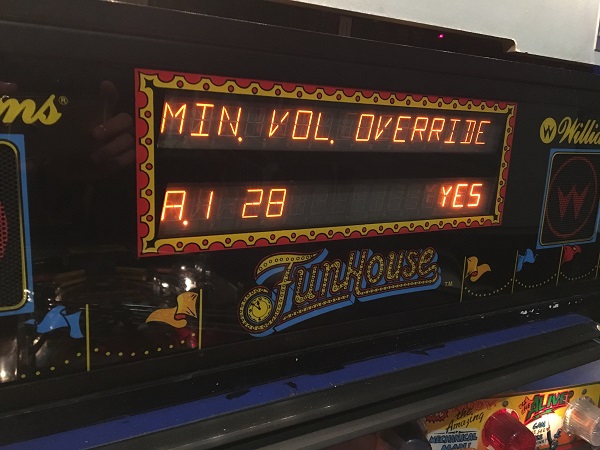
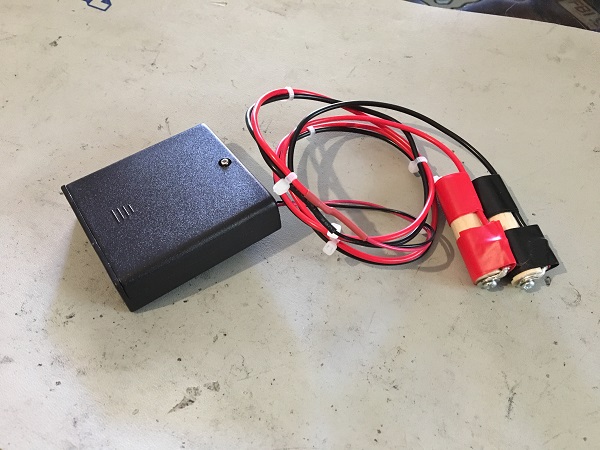
I find this a bit backwards, as (to me) it makes more sense to limit how high it can be without setting the override. Anyway, a simple issue to solve and something that has caught people out multiple times before. There were no batteries installed in the headbox, so I made up one of my remote battery packs, which install directly to the AA battery holder on the board.
With the battery pack installed, the game set to free play and volume override set, I was ready to continue. Next, I wanted to run through the test menus to highlight any lamps, switches, flashers or coils that are not working. I always find this to be good starting point so the machine can be in a fully working state before I get to work on it. The lamp test showed 12 insert lamps were not working. Most of these were around the clock inserts and simple enough to replace. This is a good opportunity to clean the working lamp bulbs and underside of the inserts too, which helps more light to shine through when lit.
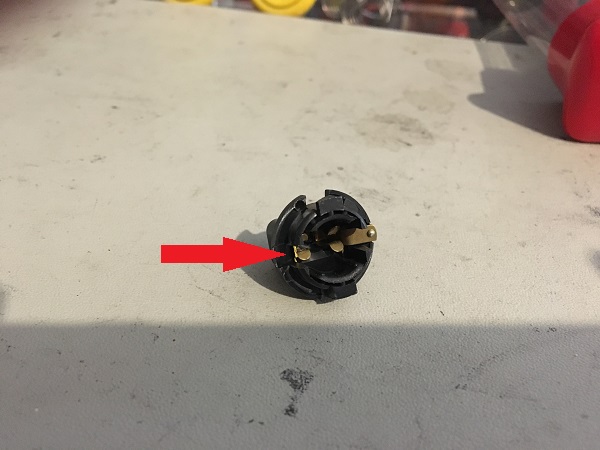
One lamp failure was not the bulb itself, but an issue with the twist socket. An arm on one side had broken off, so it needed to be replaced. I like to highlight these sorts of issues as they are not always obvious and can easily be overlooked, while you waste time searching for a non existing bigger issue.
The switches were looked at next and all registered correctly when pressed. A couple will need a slight adjustment and were marked on my switch matrix print out to receive a bit of extra attention when I got to their respective assemblies. The flashers and coils were last to run through. A very small issue on the flashers was the red and blue flasher domes at the back of the playfield installed in the wrong spots. The correct flasher bulb would light up, but the red and blue domes had been put into the wrong spot at some point in the past. They are the twist kind, so easy to swap back to the correct location in a matter of seconds.
Now, to begin going through the machine. I’m going to start with the apron area and the assemblies which form this section of the machine. I prefer to work in sections, rather than just take everything off to start with. It’s easier to deal with and you can test as you go.
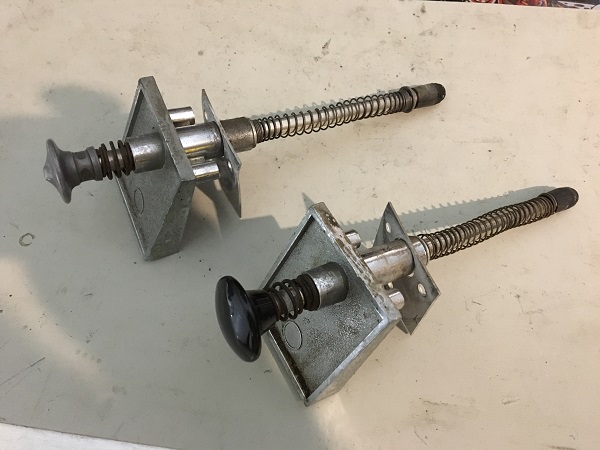
First assemblies to look at will be the shooter rods. Funhouse has two plungers, one for the normal ball launch and a second of the left side of the playfield. These were in need of a proper clean as their movement was sticky and the barrel springs were on their way out.
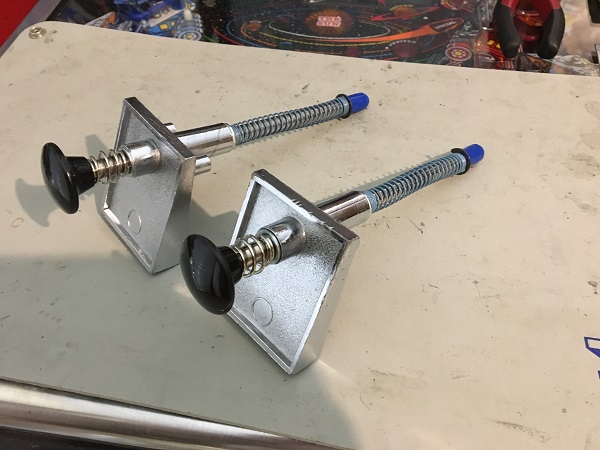
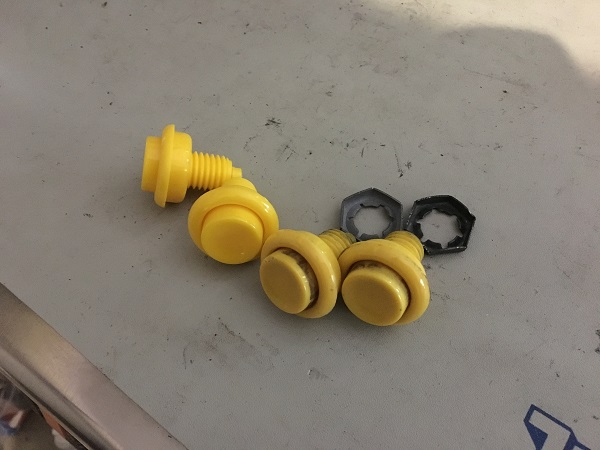
Both plungers were dismantled and cleaned. The odd plunger replaced with a brand new one. New coil sleeves were installed, along with new springs and a blue rubber tip from Titan Pinball. The metal housings were both cleaned up too, leaving the plungers looking much better than before.
While I was in the area, the flipper buttons may as well get swapped over too. The old ones could be cleaned up, but the yellow is looking old, so may as well put a nice new set in.
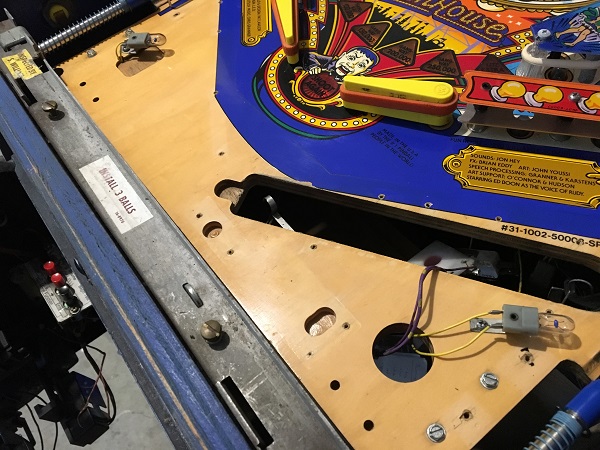
Under the apron, the playfield wasn’t as filthy as I had expected, but it will certainly benefit from a clean. The trough has seen better days though and will need a really good clean.
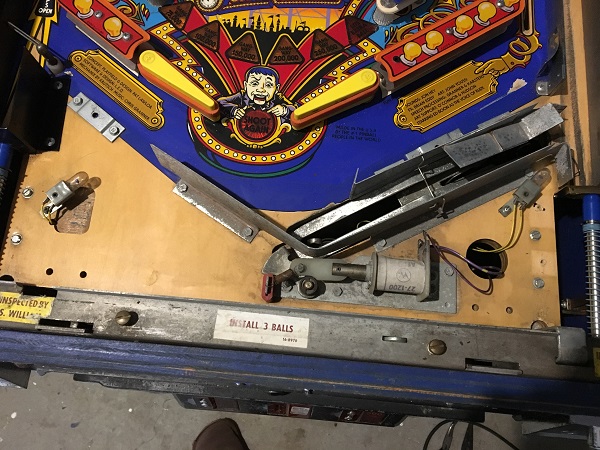
I removed the outhole kicker assembly and also the trough walls.
The ball trough (plate) and ramp are in dire need of a clean.
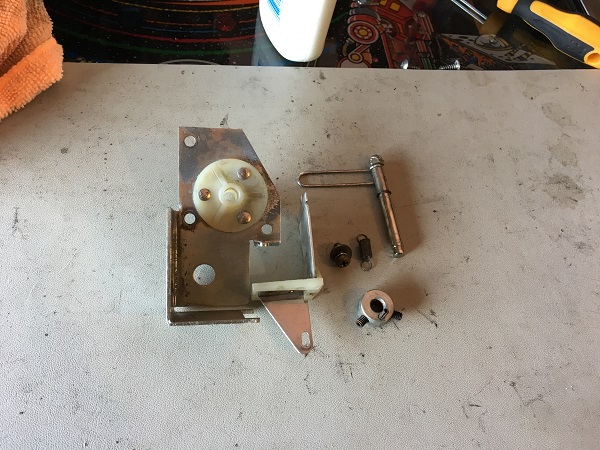
With the apron area stripped for cleaning, now was a good time to rebuild the out hole kicker and ball serve assemblies. Both were removed from under the playfield, stripped and cleaned. New coil sleeves will be installed. The cam from the ball serve assembly was replaced as the pin was loose and on its way out. Both assemblies were now in a much cleaner state – especially the outhole kicker.

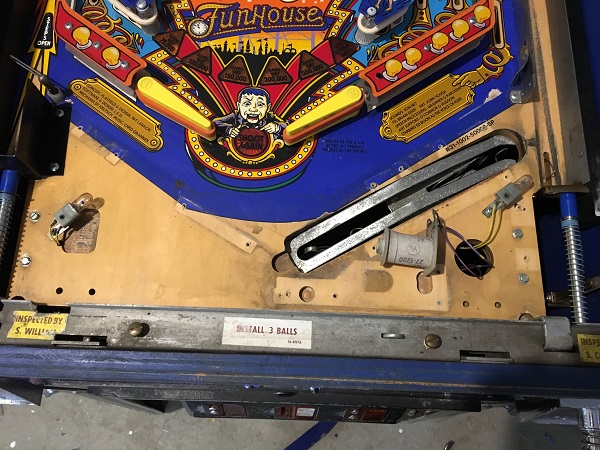
Before reinstalling the assemblies and ball trough, the playfield area around the trough was cleaned, leaving it looking much nicer.
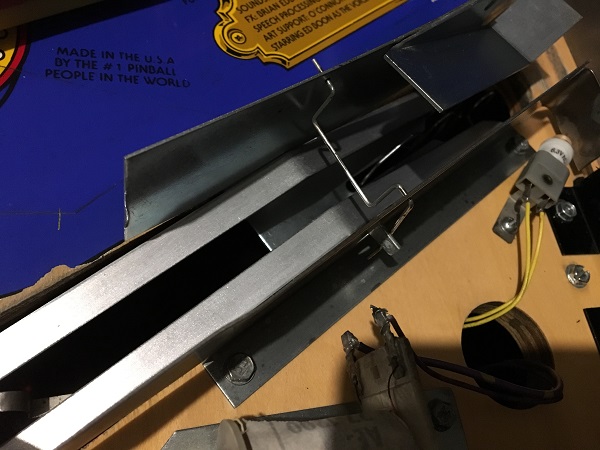
The metal parts that make up the ball trough area were scrubbed clean, removing all the crap that had collected on them over the years. The metal apron clips were also cleaned up, leaving the area much better.
All the filth and crap that had collected in the ball trough has been scrubbed away, leaving it looking 100 times better than before.
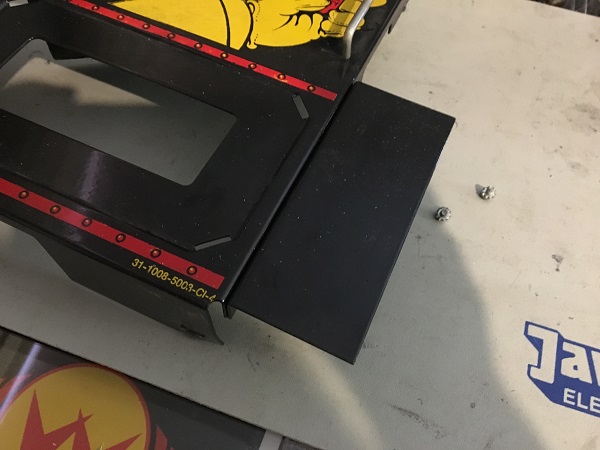
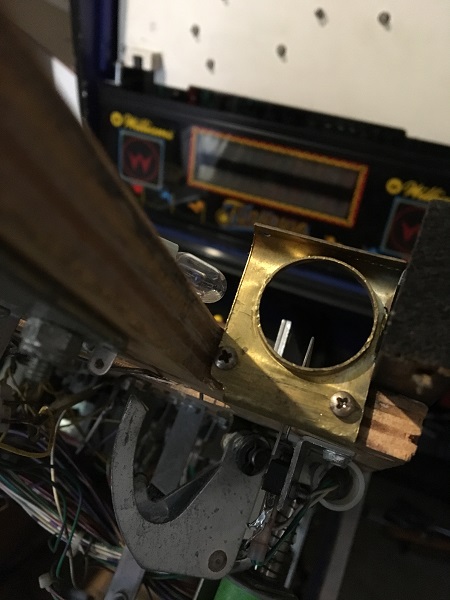
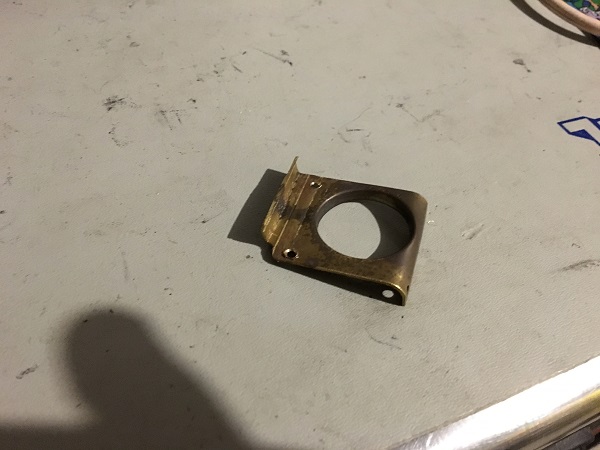
Something I noticed when removing the apron was a hack for the shooter lane. Normally, the shooter lane cover would have the classic power gauge art printed on it and slot to view the plunger depth. On the apron was a plain black covering with no slot or artwork.
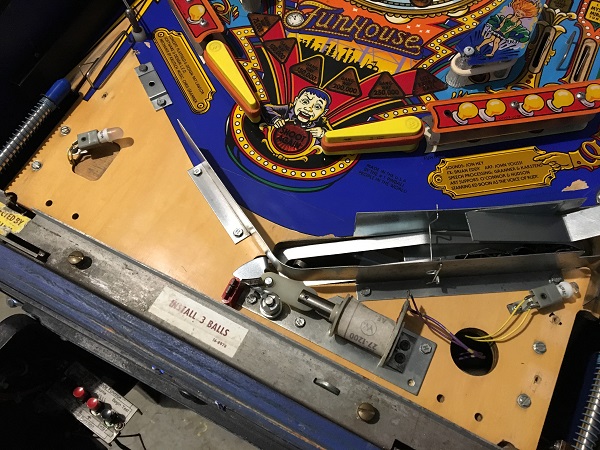
Installed on to the playfield, looks like part of a tilt mechanism, which the ball can rest against.
Not sure what happened to the original shooter lane cover. Maybe it was pinched for another machine? Who knows. I happen to have a spare shooter lane cover from when I worked on my Pinbot. It’s not perfect, but the colours match and will get the machine looking closer to what it should be. I will install this once it’s time to get the metal apron back on.
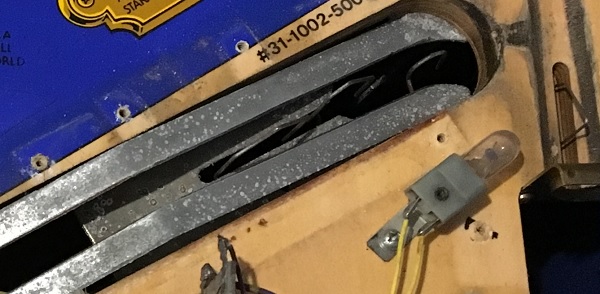
The last assembly to look at in the lower playfield area is the ball gate on the left side of the playfield. This switches the ball from draining or going into the left plunger lane. The assembly was removed from the playfield and dismantled for cleaning. I noticed that the gate would sometimes get stuck when manually moved. After cleaning, it now has free movement and returns to it’s closed position correctly.
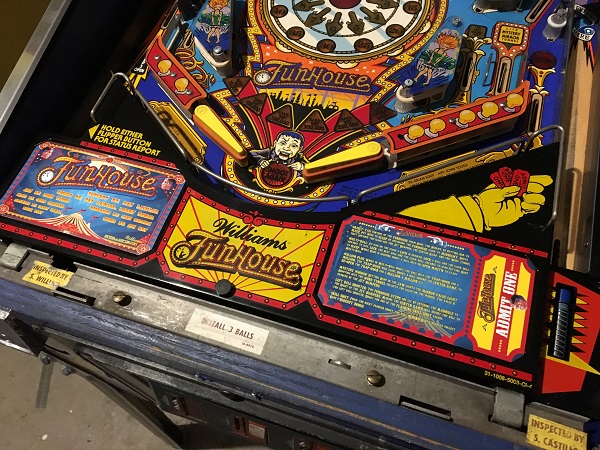
With the assemblies all done and parts under the apron installed again, the metal apron was ready to be cleaned up. A layer of filth was removed, along with a patch of left over sticker goo. The replacement shooter lane cover was installed on to the playfield. The metal bar that runs along the apron was removed and cleaned. New apron cards were printed up and installed (thanks to pinballcards.com) to complete the work on the apron area.
That’s it for the first Funhouse update. Next up i’ll be working on the lower flippers and sling shots as I progress my way up the playfield. I should have the glass and trim sorted for the translite too. Hopefully, getting back into regular updates will push me to get the missing Sopranos updates posted 🙂