With four weeks off over the Christmas break, it is the perfect opportunity to continue with the overhaul of my Bride of Pinbot 2.0. The plan was to try and do the next few phases of the overhaul in smaller chunks, avoiding the downside of having the game off line for long periods. But this update turned out to be much bigger than expected and has been split into two updates. This happened mainly because getting the top layers off the playfield was a pain and having to put them back on only to remove a few days later for the next phase would create a whole heap of extra work. So once I realised I was in up to my elbows, I decided to keep going. Starting off small though, the first assembly on my hit list for this update is the shooter rod.
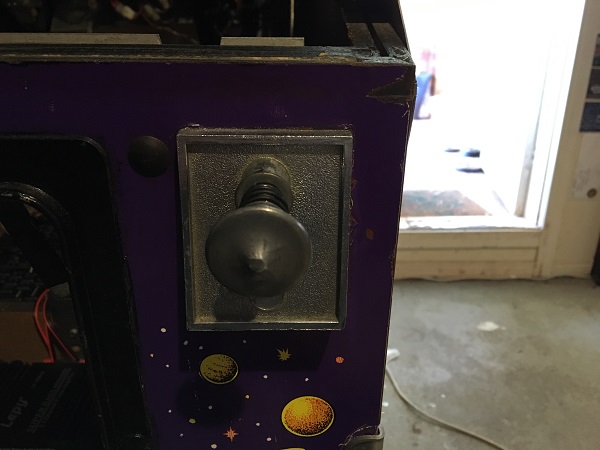
The shooter rod assembly was removed from the game to be cleaned and rebuilt. The barrel spring is in need of replacement and there was a lot of stickiness in the movement of the rod. It didn’t feel good when launching the ball. This stickiness restricts the movement of the rod, but I had become use to it and could comfortably dial up a Super skill shot in 2.0. After the clean, I’m going to have to adjust my ball launch to dial that skill shot in again, but it will at least be in a much better state and move freely.
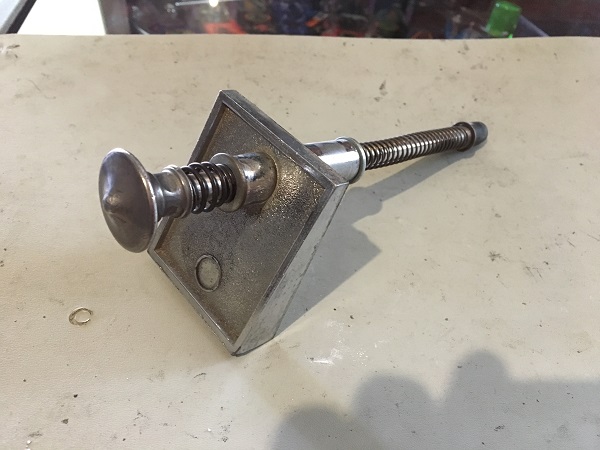
The assembly was stripped down and the metal housing cleaned and polished. The rest of the assembly was replaced. I opted to go with a clear handle, to work in with the clear (purple lit) flipper buttons. I’d love to get a transparent purple shooter rod handle as I think it would look great, but couldn’t source one. I know the shape of the handle isn’t a match for the original, but I don’t mind changing some things where I feel the presentation of the game is improved. I had ordered a purple shooter tip from Titan Pinball, but my order arrived with a red one. I’ll install it with a red one for now, but include a purple tip on my next order. Swapping the rubber tip over is a 5 second job in the future anyway, so it’s not an issue I’m worried about.
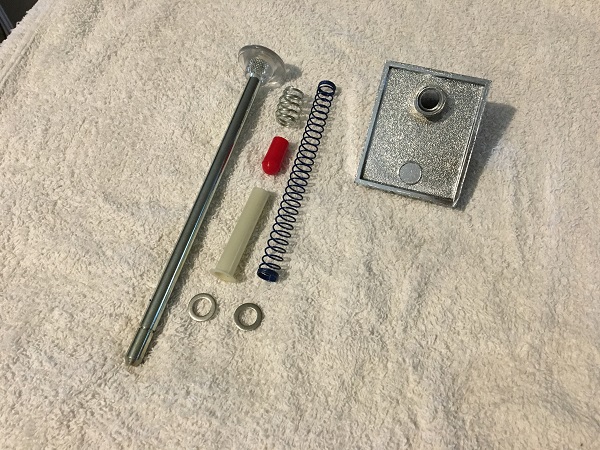
The shooter assembly was rebuilt and installed back into the game. The position of the assembly was tweaked a few times, to ensure it made sweet contact with the ball for the skill shot. The movement of the rod was so much better now and it felt and sounded nice when launching the ball. A small issue I noticed that had worked its way into the game was the skill shot flasher no longer worked. This flasher sits just below the kicker, that launches the ball back into play after the skill shot is complete. A quick inspection of the socket revealed the issue. One of the wire tabs had snapped off. It sits right next to where the playfield support arm rests, so most likely got caught at some point when the playfield was lifted.
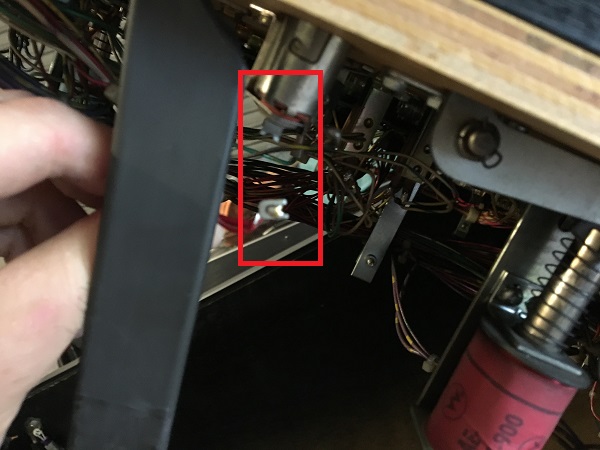
There was still enough of the tab remaining on the socket, so I was able to resolder the wire onto it to get the flasher working again. A nice simple issue to sort out. Now to move onto something larger – the right side of the playfield. This is a much bigger task as I will look at the skill shot assembly, right loop, heart beat ramp, mini playfield and pop bumpers. That’s a lot to get through. One small issue I was aware of on this side was the 50K skill shot lamp. At times, this lamp stops working and then is fine a few minutes later. I know the LED is good – so when I get the lamp board out, i’ll take a look and see if there is an issue there or with the connector.
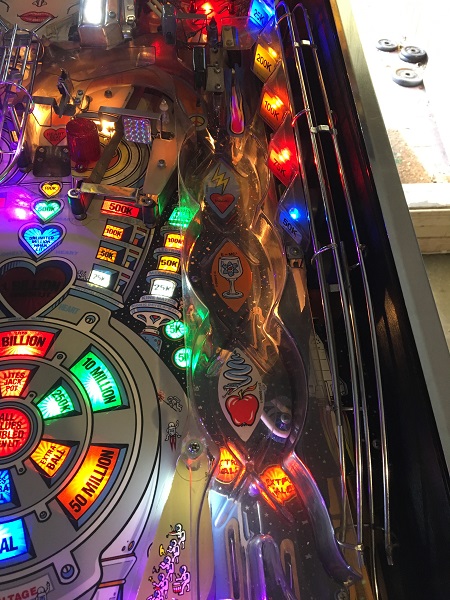
Getting access to everything on this side isn’t so easy though. You have to remove the clear plastic at the top rear, followed by the helmet. Getting the helmet out wasn’t so straight forward as there are a couple of large IDC connected to it, which need to be pushed out a gap at the back of the playfield and then moved around a few playfield pieces. With the helmet removed though, I had better access to everything. My plan was to complete the skill shot and heart beat ramp and then put the helmet back on, but decided to hold off and work my way through the entire top playfield section. It means the game will be in pieces for a few weeks, but once done I don’t have to have the game offline until the playfield swap & cabinet decal phases (planned for later this year). The upper playfield area is in dire need of a clean.
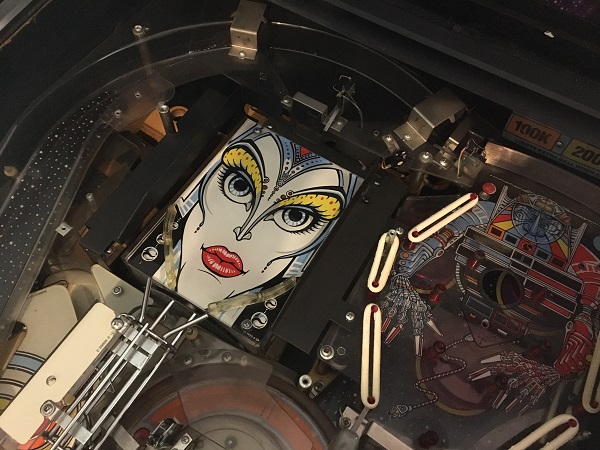
With the brides helmet removed, I figured I’d work on it now. An issue I found on arrival was the two flashers did not work. I suspected it was most likely blown bulbs as they aren’t the easiest to get at and swap. The helmet has some cracks around where it connects to the playfield. I’d love to replace it, but sourcing a new one isn’t so easy. I believe someone (or a company) did a run of them in the last few years, so I will keep my eyes out for one.
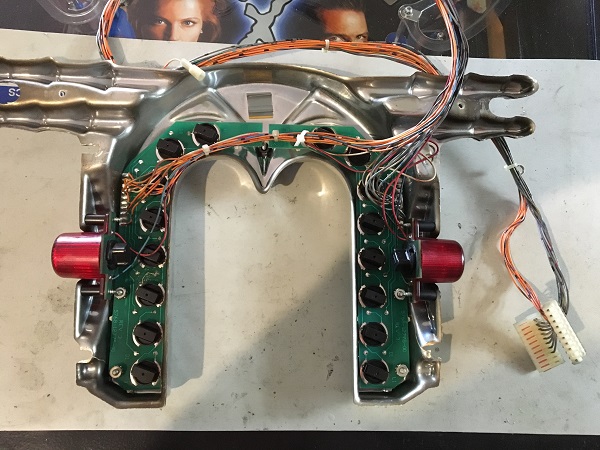
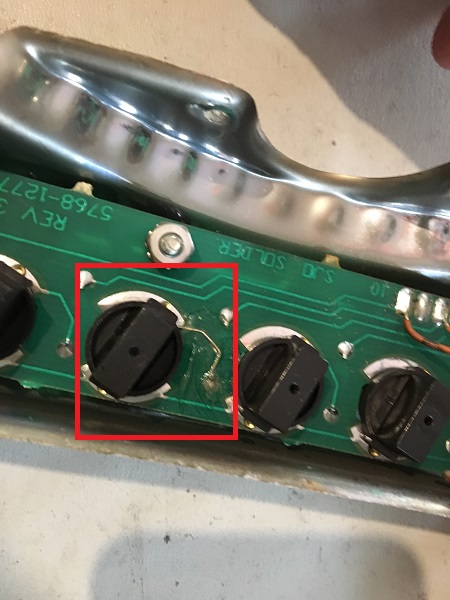
Someone has been here in the past though as there has been some work done on one of the lamp boards. All lamps on the brides helmet are working though, which is good.
The helmet was dismantled and cleaned. New red flasher domes were purchased, along with new red #906 LED flashers. New LEDs for the CPU controlled lamps were also purchased and i’ll be going with purple, blue and green to add some colour around the helmet.
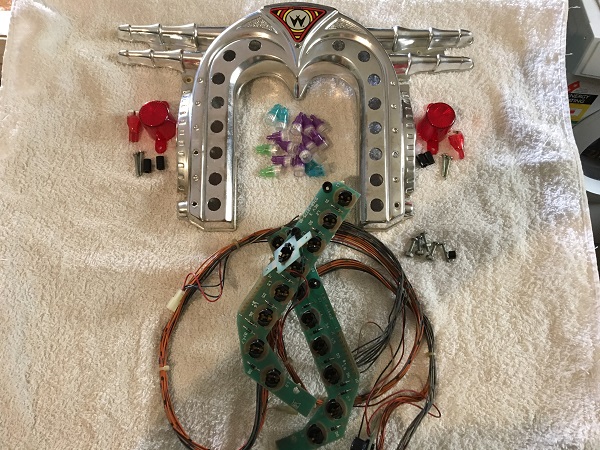
The brides helmet was rebuilt and set aside with other parts to be installed when ready. Now I will focus on getting everything off the right side of the playfield. The heart beat ramp was removed and set aside. It has some serious cracks I wasn’t made aware off and also some small metal posts installed where the ramp plastic should be to prevent the ball getting behind the ramp. I’m in two minds about replacing the ramp completely as the entry gate is also screwed into one of the playfield plastics – lots of hackery on this ‘tidy’ game..
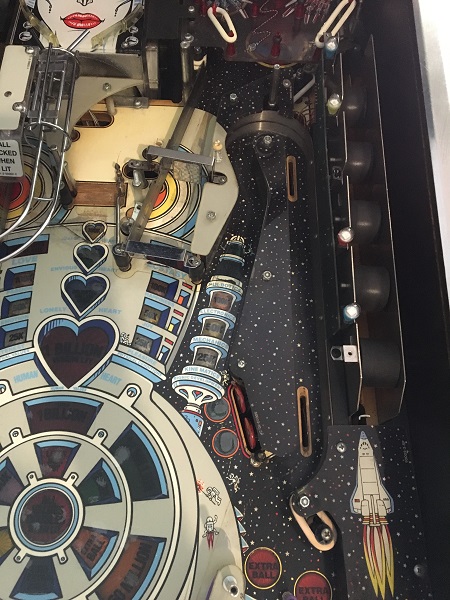
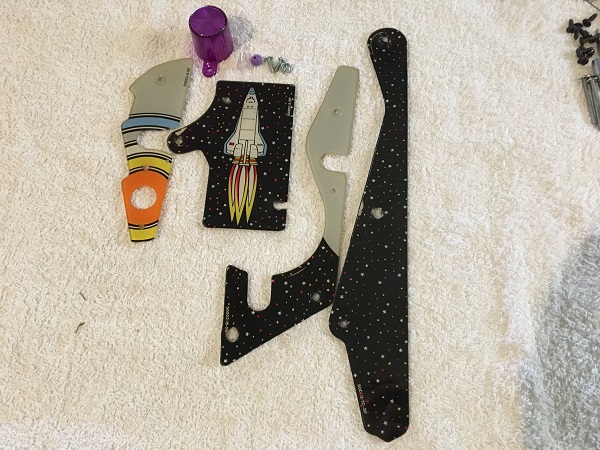
The plastics were removed and set aside. Everything here needs a good clean.
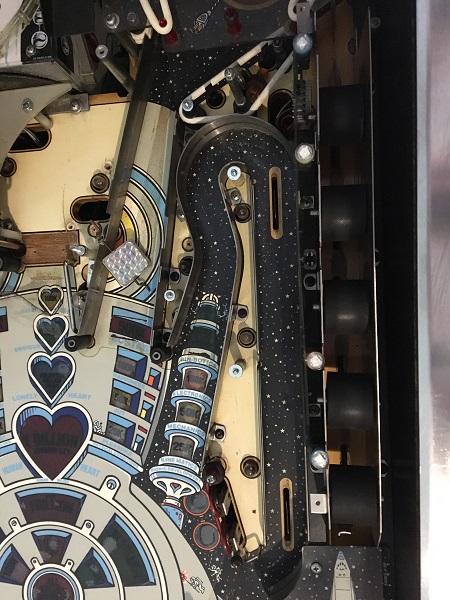
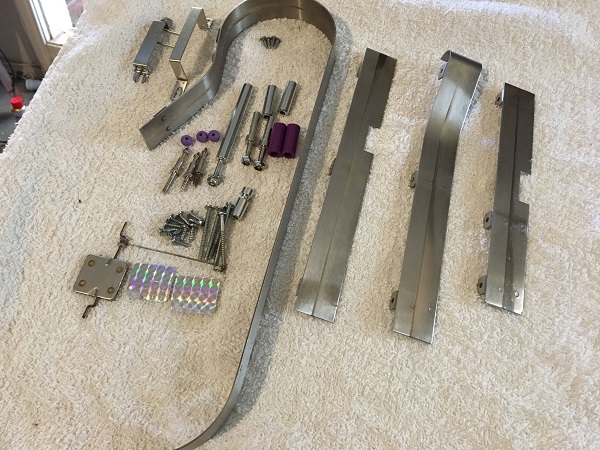
The skill shot assembly and lamp board were removed, along with the metal rails, star posts, lamps and spacers.
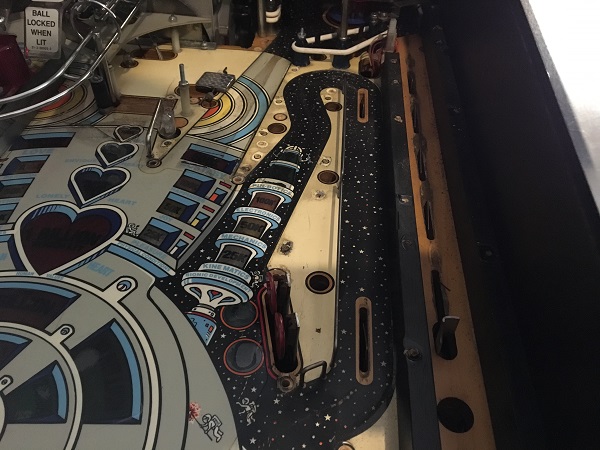
As mentioned earlier, a small problem I noticed with the game from arrival was the 50K skill shot lamp. Another problem I wasn’t told about. During the skill shot (and attract mode), this lamp would sometimes not light up. It happened quite frequently and was noticeable, especially during the skill shot where the lamps cycle for the super skill shot award. I was confident it wasn’t an issue with the globe or LED. Now that I had the lamp board removed, I could inspect the connector pins and socket. Tracing the track from the 50K socket to the connector pins, I found the header pin had a cracked solder joint. Just the sort of problem that can result in intermittent lamp issues.
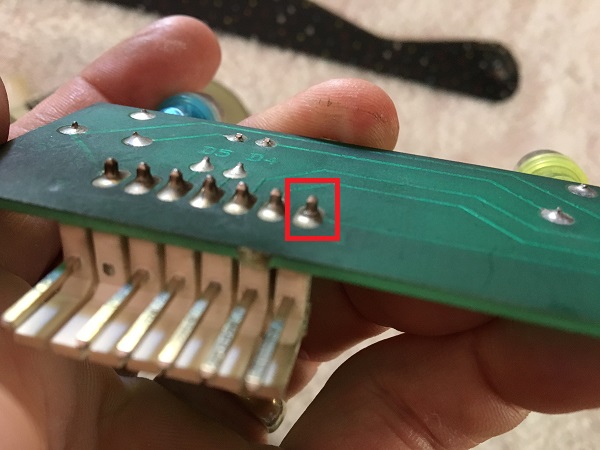
I reflowed fresh solder across all header pins, which should resolve this issue. Looking at the other sockets on the skill shot lamp board, I noticed two more cracked solder joints. No issues had shown (yet) with these two lamps, but better to fix those joints now.
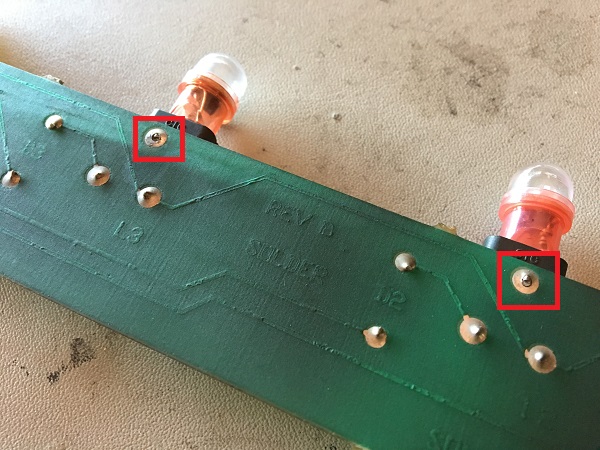
Again, the joints were heated and fresh solder applied. The lamp board was set aside with other parts, ready to be installed back onto the playfield when the time was right. With all the parts off the right side of the playfield, it was time for cleaning. Any small metal parts that could go through the tumbler did so. Larger metal parts were cleaned by hand. Purple rubbers and post sleeves were sourced to go with the purple theme I’m using across the game. The old worn spinner decals were removed and new spinner decals purchased to install.
The plastics were cleaned up and the red flasher dome replaced with a purple one.
Now to look at the skill shot assembly. This was dismantled for cleaning. I’d have loved to replace the 5 rubber wheels, but they are no longer in stock anywhere.
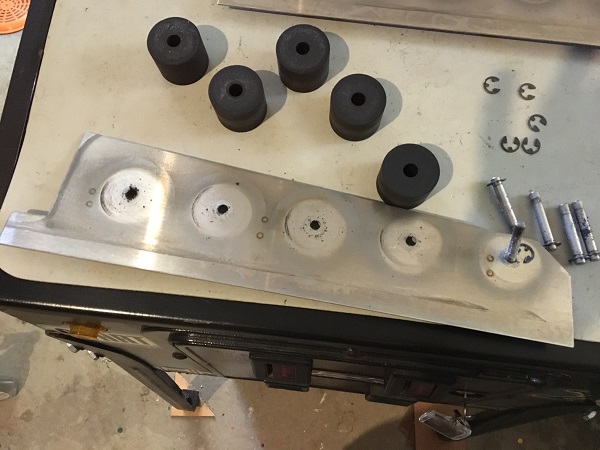
The kicker arm assembly that launches the ball back into play after the skill shot it complete was removed for cleaning.
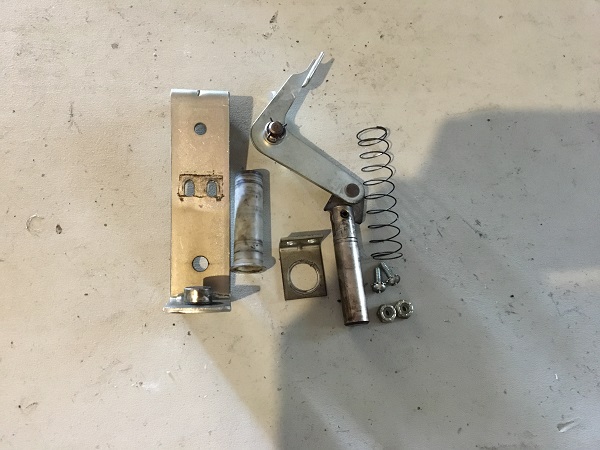
Any small metal parts went into the tumbler, while the larger parts were cleaned by hand.
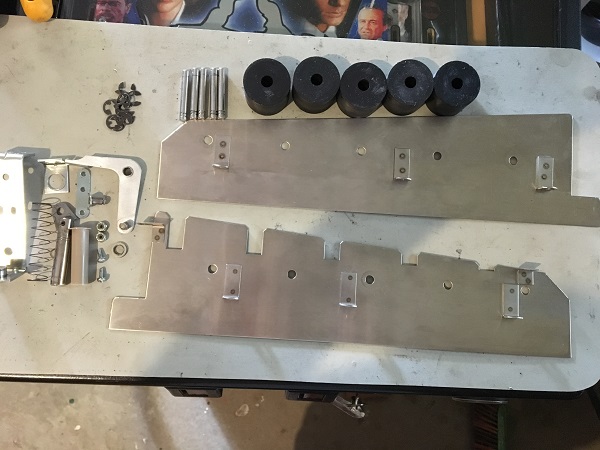
The skill shot assembly was rebuilt and set aside until I was ready to install it. Now to look at the mini playfield. The post configuration here is wrong and it’s incredibly easy to get the ball down the right exit and have it return to the shooter lane.
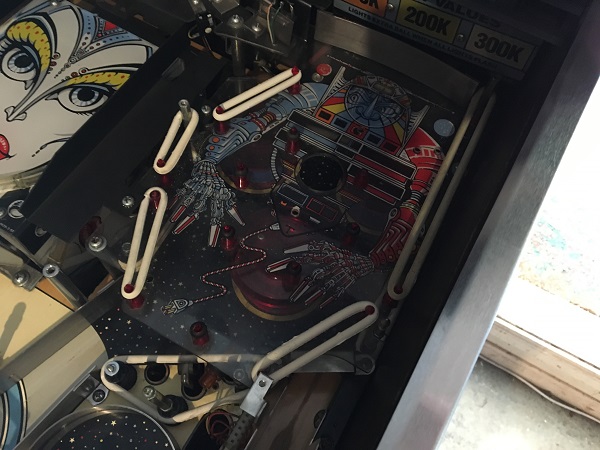
The mini playfield was removed and set aside so I could access the pop bumpers. Lots of filth here, ready to be cleaned away.
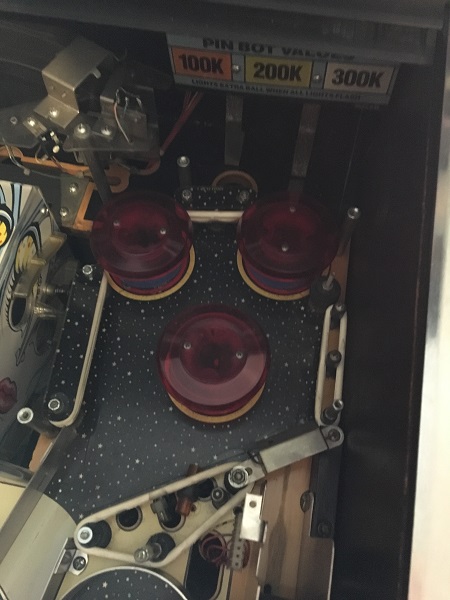
The pop bumper assemblies were removed from the playfield to be rebuilt. One of the metal yokes had snapped in half, so i’m glad to be working on this now before the issue became larger. These assemblies are filthy.
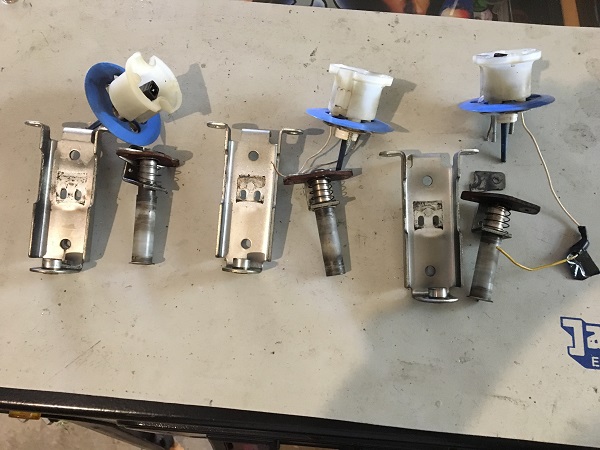
The playfield area had a lot of built up crap from years of use. There is the original mylar patch over the playfield section, so playfield wear has been kept to a minimum.
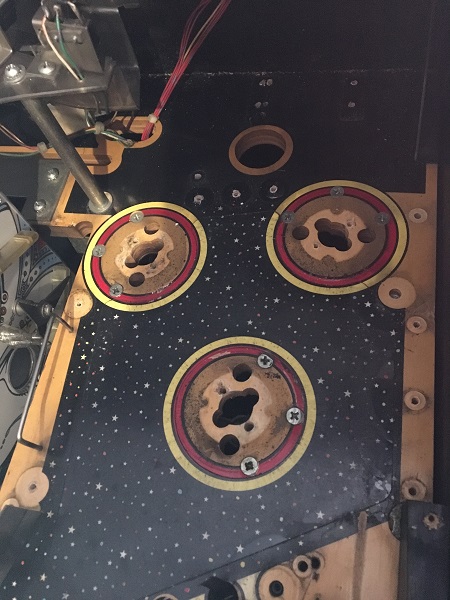
There were a few marks around the base of two pop bumpers I couldn’t remove, the rest cleaned up OK though.
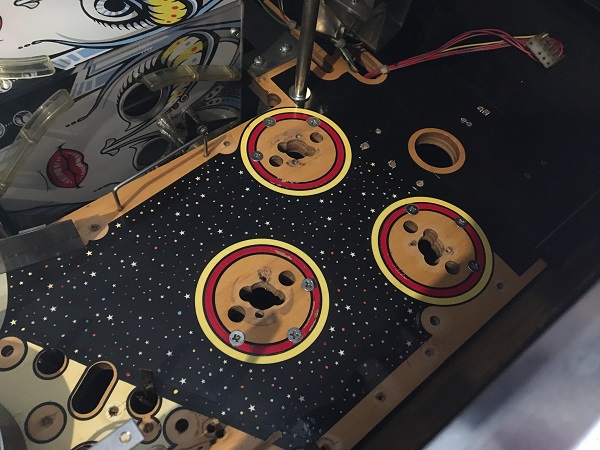
The pop bumper assemblies were cleaned up. I’m going with purple skirts and LEDs. I want to use clear pop bumper caps (instead of red) to give the area a brighter, cleaner feel. Purple star posts and titan rubber will be used on the sling shot assembly that makes up the pop bumpers. All metal parts were cleaned up and new bodies, sleeves, lamp sockets and yokes were purchased for the rebuild.
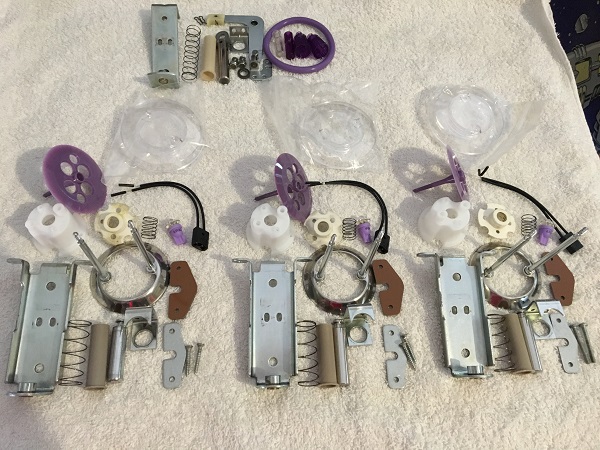
Other small metal pieces in the area went through the tumbler. The values plastic was removed and cleaned. New purple star posts and rubbers were purchased. LED’s were purchased for the values sign.
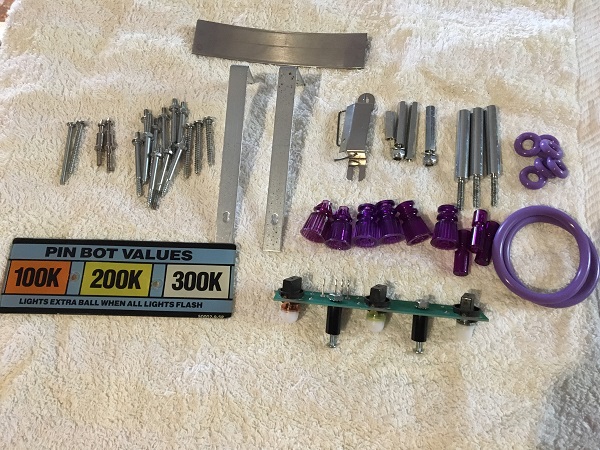
The ball guides, posts, sleeves and star posts were installed around the right loop. The two red targets were cleaned up and new foam padding installed. The old bulbs were replaced with frosted LED’s, leaving the right side looking so much better.
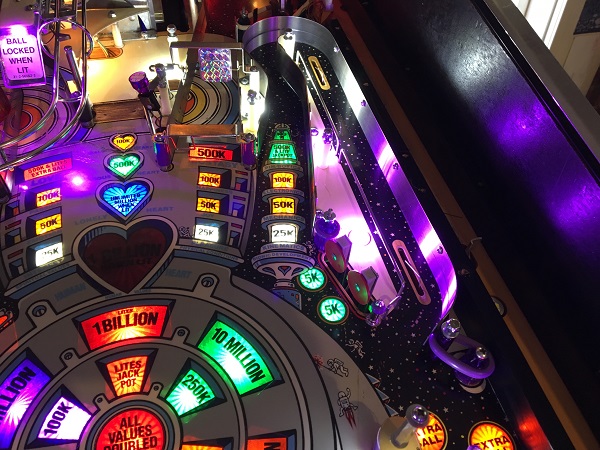
I wanted to add a bit more light around the pop bumper area, so purchased a few LED strips in various colours. It’s much cheaper to make your own and really easy to do. The wires then run to one of the GI sockets under the playfield.
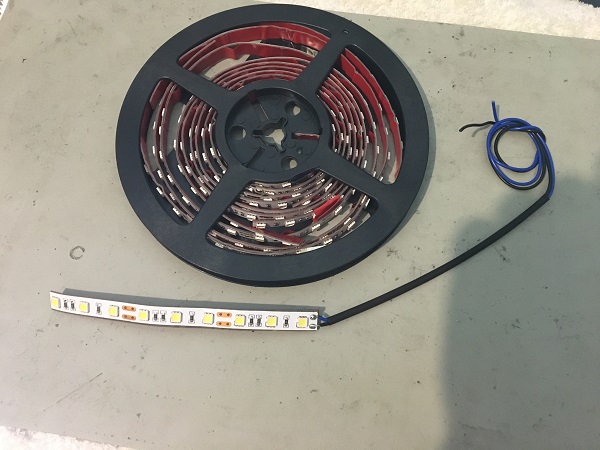
The pop bumper assemblies were installed onto the playfield, along with the star posts and rubbers. New lock nuts and clear washers were also added. I added a white strip to the back panel behind the pop bumpers and also a purple strip behind the sling shot. The white turned out a bit too bright. I used 9 LEDs on the strip, so I think i’ll cut this back to 6 or 3.
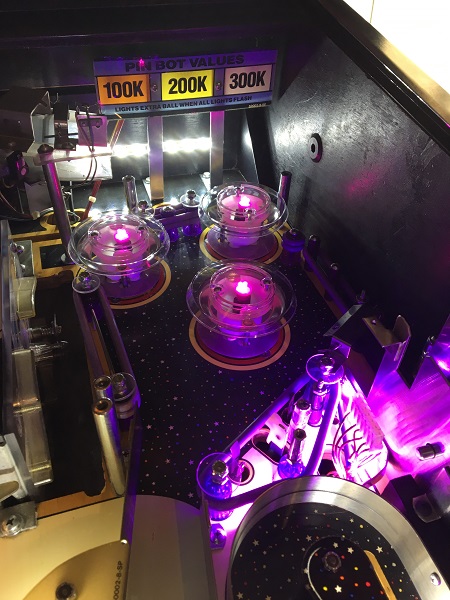
Plastics were installed back on to the right side of the playfield, with new washers and lock nuts to secure them.
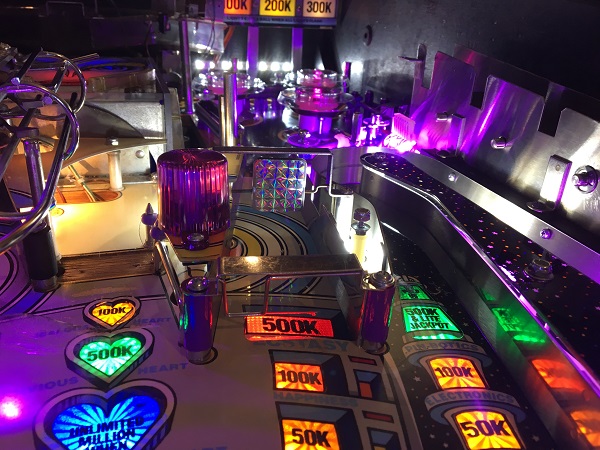
Now onto the mini playfield that had been set aside earlier. Many of the mini red star posts were missing and a couple were broken.
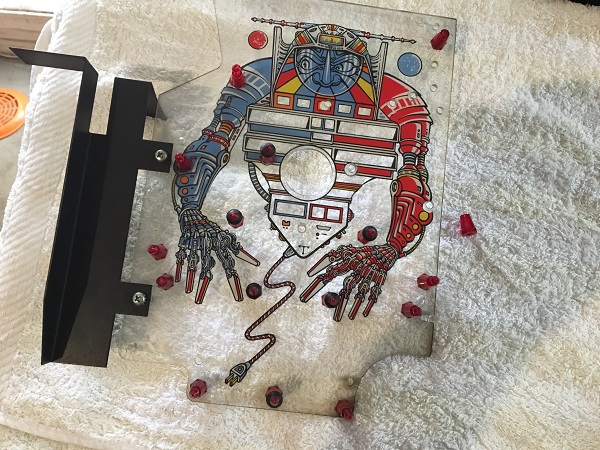
I purchased a new mini playfield to install as the old one was average. The new mini playfield was rebuilt with new red mini star posts and red titan rubbers. The layout was corrected, which will make getting the ball down the right exit (which returns it to the shooter lane) more of a challenge. An interesting thing to note was one star post hole was missing on the reproduction mini playfield (the one at the very lower right). The position was lined up with the original mini playfield and a hole marked and drilled.
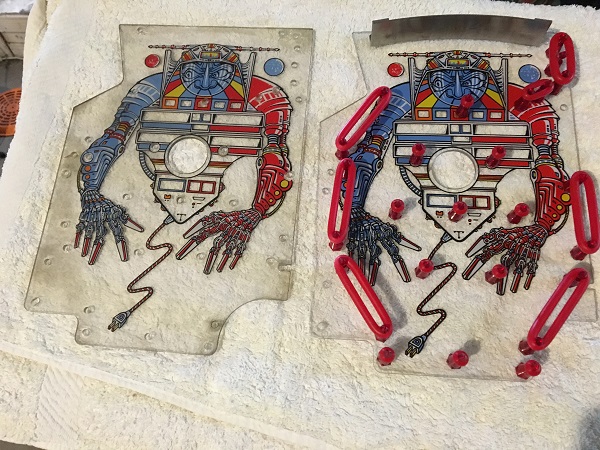
The mini playfield was installed back into the game. I’m still of the opinion 9 LEDs is too bright on the strip at the back, so i’ll trim that back and may change its position slightly. When the brides helmet is installed again it will dampen some of the brightness too. To test, i’ll put some black tape over the LEDs and see how the change in brightness appears before trimming. I’m thinking though that 3 will be enough. Otherwise though, I’m happy with how much clearer and cleaner this area is.
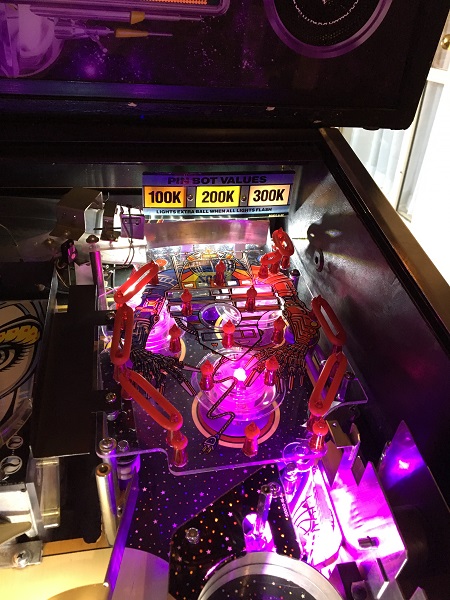
That’s it for another update. Having the game in parts (and an unplayable state) for the next few weeks wasn’t the initial plan when I started on this update. But it’s a pain to get the brides helmet on and off, so I may as well do it all now. Next up I’ll be working my way through the left side of the upper playfield and also the assemblies inside the brides head (eyes & mouth). I’ve ordered a set of Cliffy protectors for the ramp entrances, along with a new heartbeat ramp as the existing one had some hacks I wasn’t aware of and I’d like to get rid of them. The shuttle ramp has some damage too, but the cliffys will cover it, so may not bother swapping it over (at least for now). Still more to come though, so stay tuned 🙂
