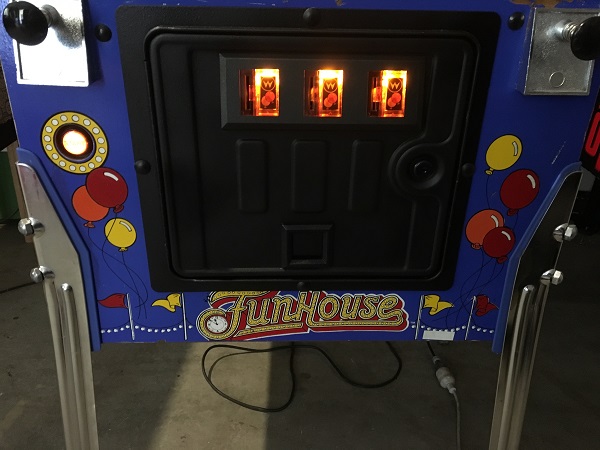
I had the goal of finishing off Funhouse in time for Christmas. I didn’t quite make it. I’ve been keeping myself busy on the repair & service over the last week and am on the final stretch. First thing to look at for this update is the coin door. It’s been on my to do list for awhile now and no more putting it off. The red and orange have long since faded from the artwork and the coin entry housing is a bit scratched up. There is also a section of the decal ripped at the lower left corner of the front panel. When dropping the machine off, the owner asked me to touch this up and possibly paint the red flags and balloons to give it a bit more colour. It’s also missing the coin return housing, which I will need to source.
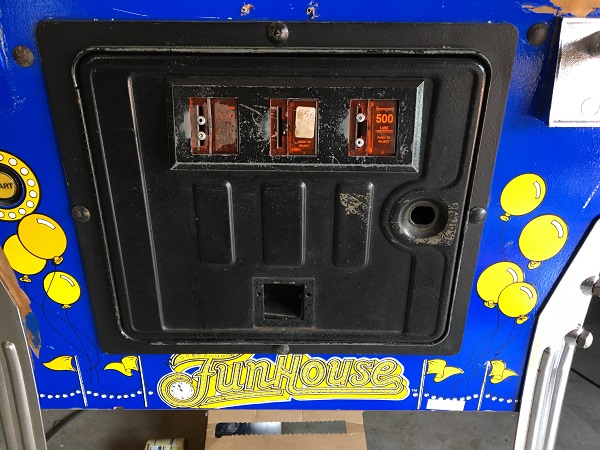
The 4 bolts holding the coin door to the cabinet were undone and the door removed for prep and spraying. Under the coin door bezel, the very last of the original red could be seen.
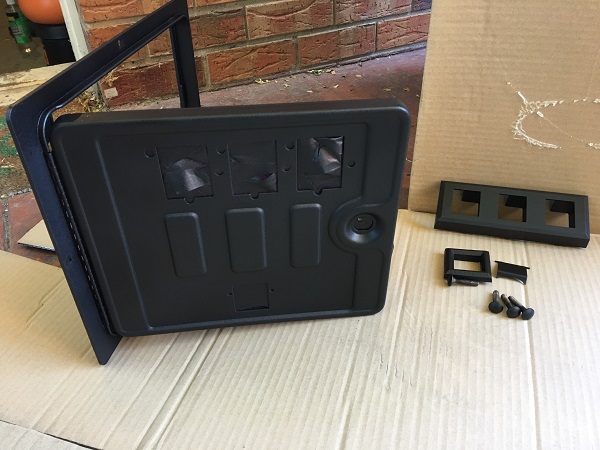
The scratches and marks were smoothed out. Then the door, coin entry housing and bolts were resprayed in satin black. A replacement coin return housing and flap were source and also sprayed.
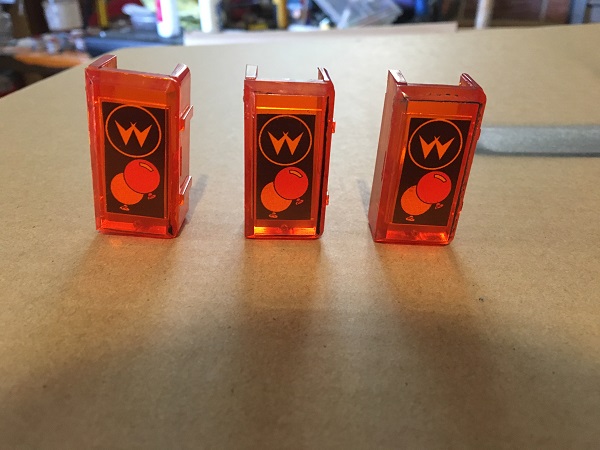
Next up I wanted to replace the old foreign currency pricing plates with something a bit nicer. I made up some custom inserts containing the Williams logo and Funhouse balloons. The orange buttons were cleaned up to remove old goo and marks.
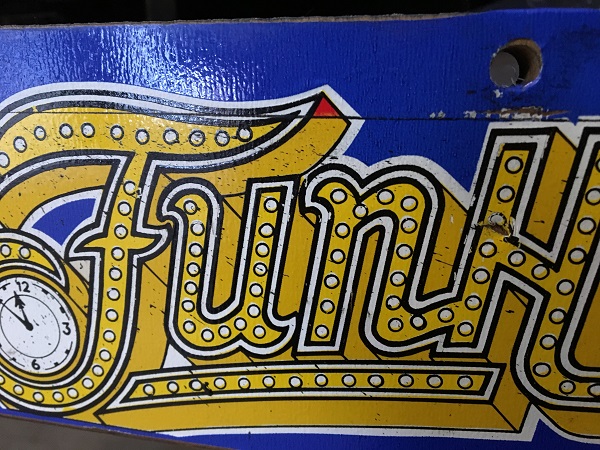
The front panel was touched up with fresh orange, red and black. The ripped section was cleaned, primed and then touched up with blue. New pincab protectors were installed behind the legs. They don’t cover the decal damage fully, but it helps blend the paint touch up in well. The 3 globes behind the coin entry plates were replaced with LED’s to help brighten the coin door. The remaining two bolts were repainted black and I also went the extra step and repainted the red on the Funhouse text, which really helps lift the look of the front panel. The colours aren’t a 100% match, but short of applying new decals, it’s been given a huge face lift. While I had the legs off, I scrubbed them with steel wool and also installed new leg levelers as requested by the owner. Looking back a few photos, the difference is huge.
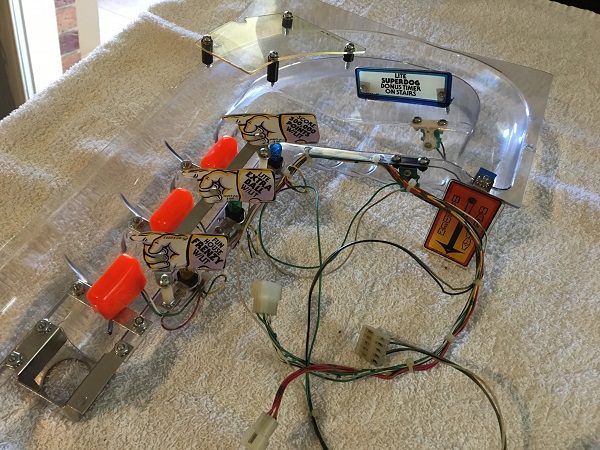
Now on to the ramps. The first ramp to look at is the stair case. The ramp isn’t broken anywhere, although does have a few small marks of black paint and what looks like super glue from a careless operator many years ago. It’s minor stuff though, so most people won’t even notice it.
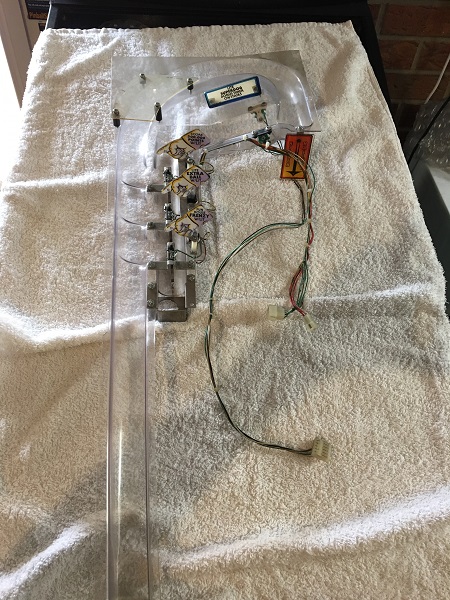
The ramp was fully disassembled, with each piece removed and cleaned. Small metal pieces went through the tumbler, plastics were cleaned and polished, as was the ramp. The missing blue rubber and bracket were put together, ready to install.
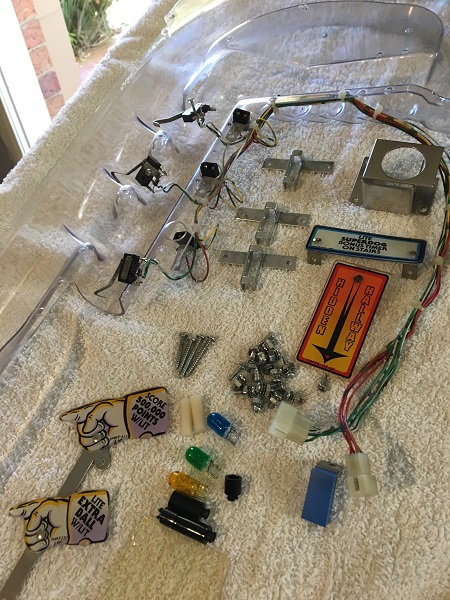
The staircase ramp was then fully rebuilt, with the missing orange switch covers purchased and installed. Any screws and nuts that didn’t clean up well were replaced with new ones. Different coloured bulbs were installed under the stair features to help differentiate them when lit. It was now ready to install and set aside until it was time.
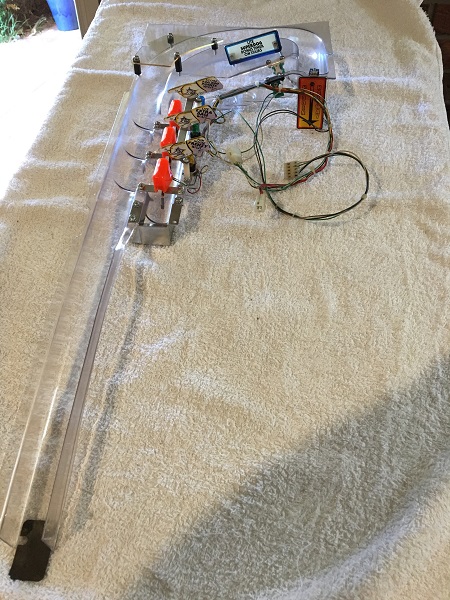
Next up was the diverter ramp. There is a small crack along where the the lamp shade sits and also the diverter arm has opened a small section on the side of the ramp.
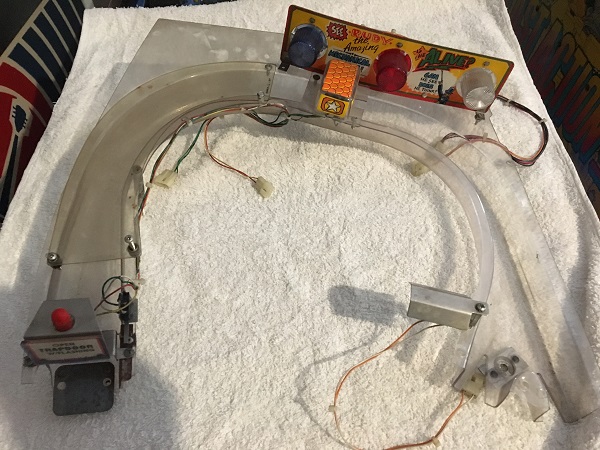
Both sides of the ramp entry are showing battle scars from years of use. In the past, an old operator / owner has patched up the right side with clean filler and a metal bracket. The left side remains exposed and a huge chunk is missing. I plan to craft and install a metal plate to protect this.
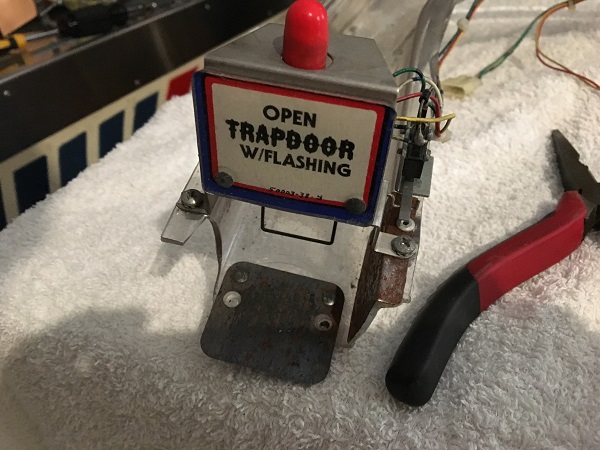
The ramp was completely disassembled for cleaning. New flasher domes will be installed. All the small pieces were put through the tumbler and the plastics and ramp were cleaned and polished.
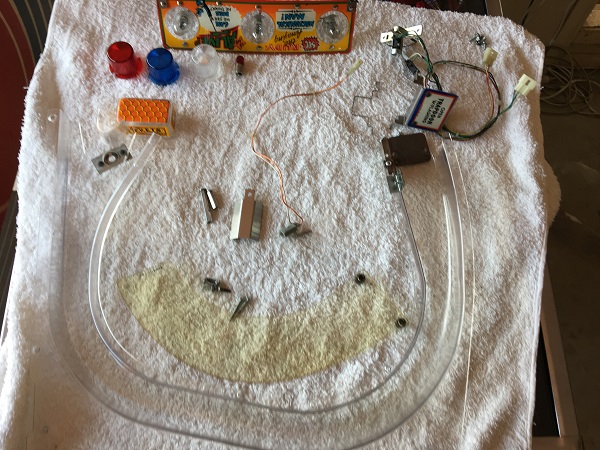
The ramp was then rebuilt, ready to be installed back onto the playfield. A metal guard was crafted from an old shooter lane guard to protect the left entry of the ramp. Any screws that didn’t clean up well were replaced with new ones. The ramp was set aside with the other until it was time to install them again.
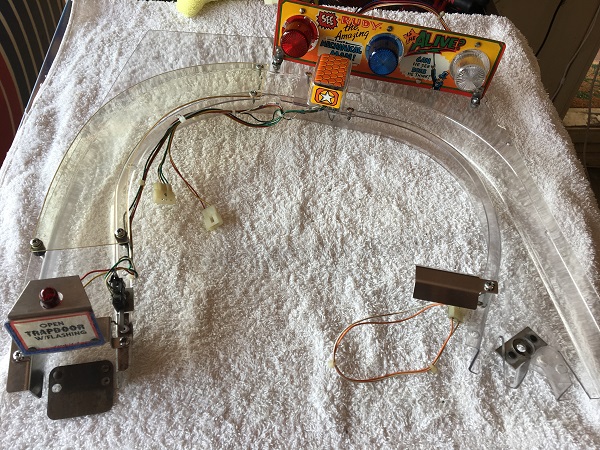
With the two ramps completed and ready to go back onto the machine, I just needed to clean up the metal rails. Part of these rails is a plastic protector piece which attaches over them to prevent the ball bouncing / touching where it shouldn’t.
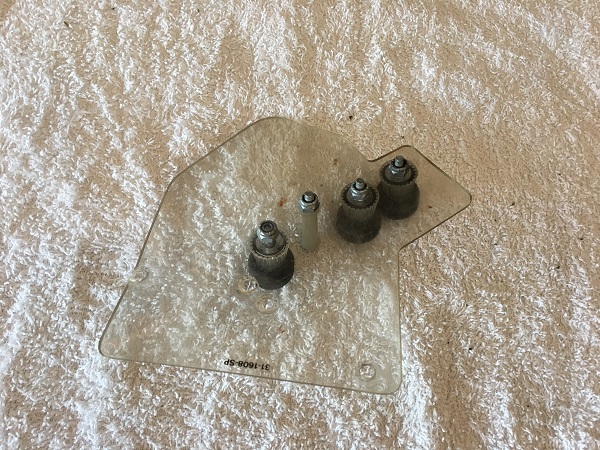
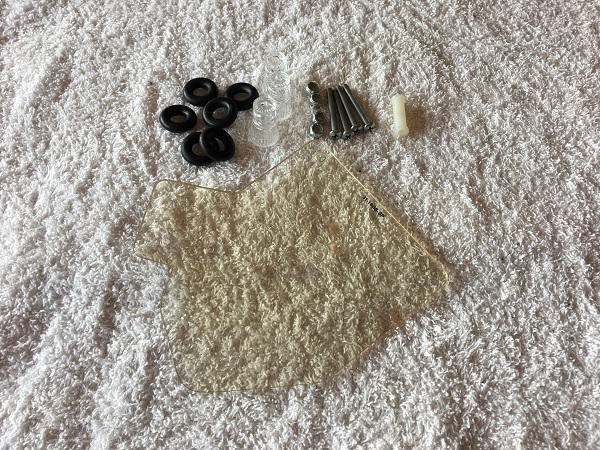
It was disassembled, new double star posts sourced, along with new rubber. The plastic was cleaned up, although has yellowed from age.
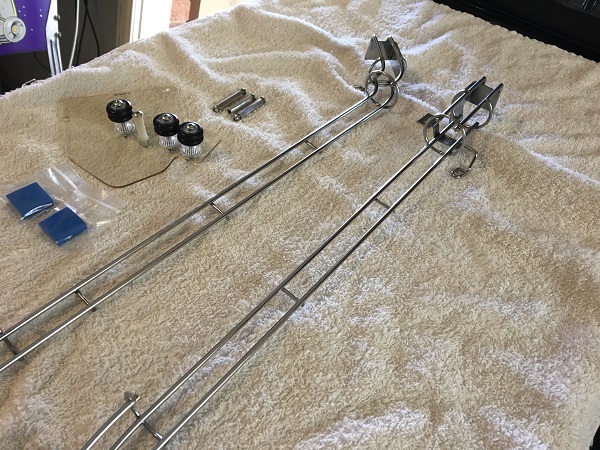
The metal rails were scrubbed clean with steel wool and a steel brush. The metal spacers went through the tumbler for cleaning. New blue rubber pads were purchased to be installed too.
Now that the ramps and rails were cleaned and rebuilt, the last thing to do was service the trap door assembly. This comes apart in several pieces and is quite fiddly to remove.
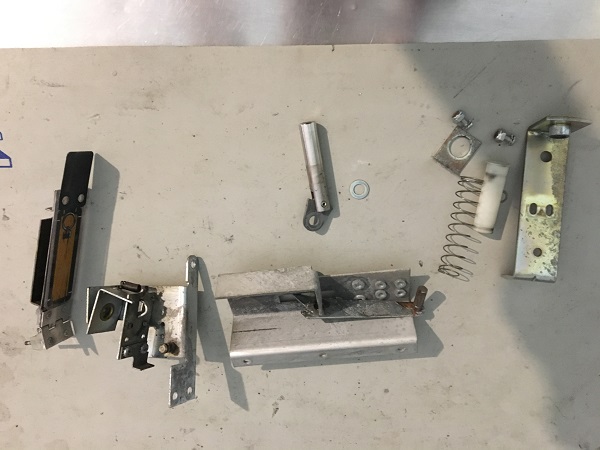
The old coil sleeve will be replaced with a new one. The metal parts are showing quite a bit of wear, but are still strong. Any surface level crap that had collected on them was cleaned away.
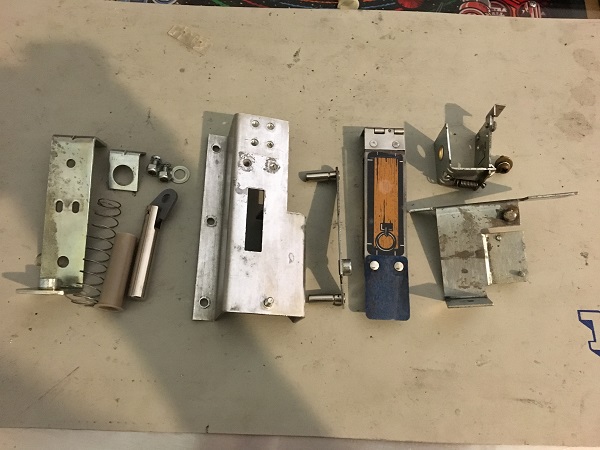
The trap door assembly was installed back onto the game (with great difficulty – it’s a really annoying assembly to remove and install. It was now time to get the ramps and rails back onto the playfield. All pieces were installed once again, finally getting the playfield back together for the first time in weeks. Old washers and lock nuts were replaced with new shiny ones. The playfield and inside cabinet were given a vacuum to remove anything loose. I ran through the lamp, switch, coil and flasher tests to ensure all were working. Everything checked out and the game is now ready for testing!
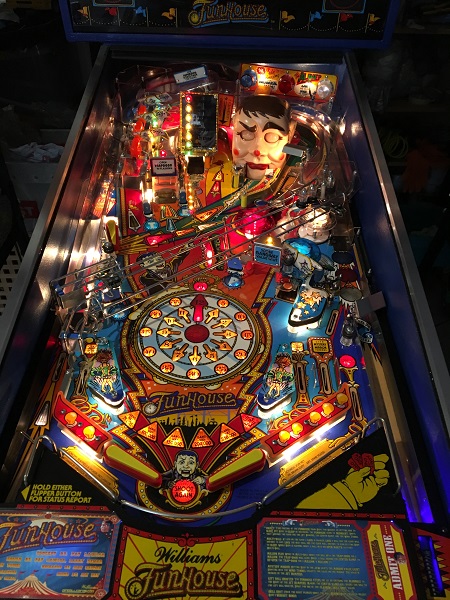
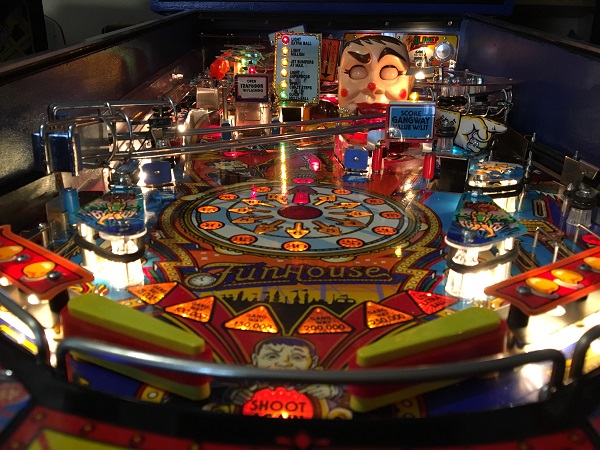
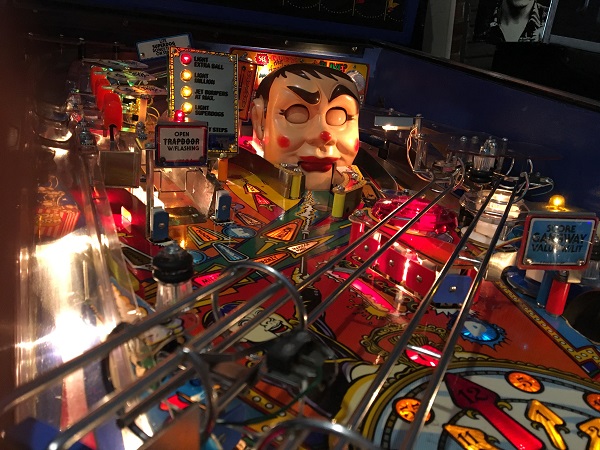
Work on the game is now complete and I’ll be testing it over the next few days to ensure everything is working and it plays well. After that, the owner can come and collect it. Funhouse is a really enjoyable game to play and it has some excellent shots and the ‘just one more go’ factor. The game has cleaned up really nicely from where it started when dropped off and I know the owner is looking forward to getting it back into his line up. If anything comes up during testing, I’ll post an update. Otherwise, it’s another game complete. I won’t have long to rest though as the next game in the queue will be here shortly 🙂
