Just before I was finishing up the previous Bride of Pinbot post, an important parcel arrived from the USA. It contained the BoP ramp entry protector set from Cliffy! Due to the issues with the heart beat ramp, I was in some ways forced to replace the ramp (or leave the various hacks that had been put in place for it). I had no intention of putting the new ramp in until the protectors arrived – so I was glad to see these.
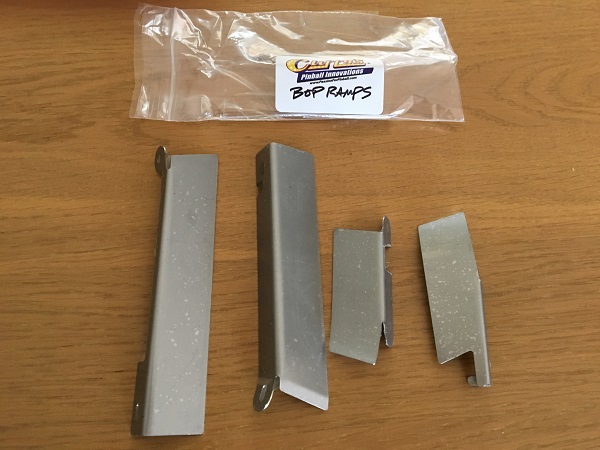
Now, on with the left side of the upper playfield. The shuttle ramp is also smashed around the entrance on both sides, although at least the gate is still attached correctly. The Cliffy protectors will install properly over the damage, so I’m less worried about replacing this ramp right now. I do plan to in the future, simply because of all the work gone into the game to bring it up to a tidy state. If I don’t install it until the playfield swap, I’m not too worried.
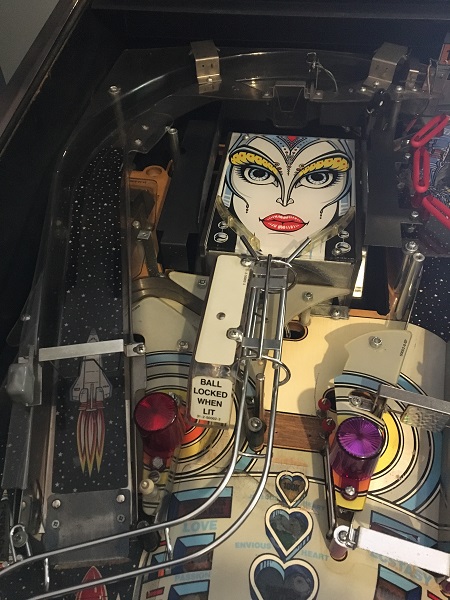
The ramp removed easily enough and was set aside. Underneath there is a small amount of wear at the saucer exit, which isn’t really surprising considering how fast the ball shoots out of there.
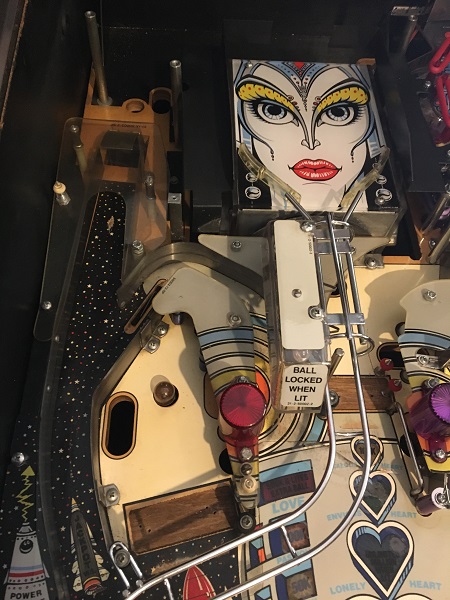
This is the sort of hack fix I hate. The plastic that the flasher dome connects to has broken in half sometime in the past. It’s an easy piece to break as it’s not that strong and a careless knock could easily snap the thin section around the flasher. It’s been glued back together with a cut out piece attached below – which is fine as I’ve done that myself and does give strength to support the broken section. The problem here though is the glue has stuck it firm to the metal post. It was impossible to get the plastic and flasher socket off the post without the plastic breaking again. A new hole had been cut through the plastic with a support post added – which really could have just used the existing hole in the plastic where the flasher dome attaches.
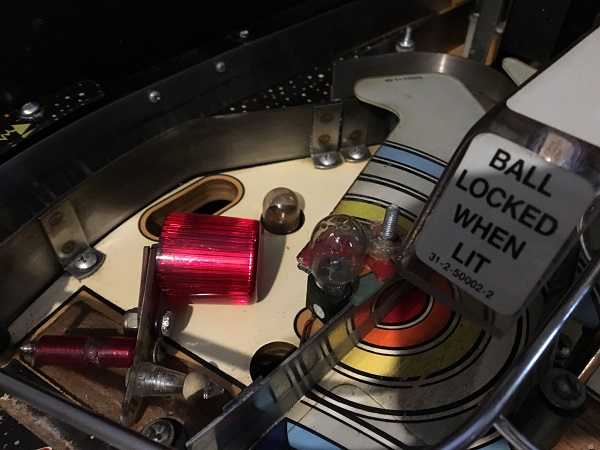
I continued on and removed everything off the left side of the upper playfield. There is a heavy amount of ball trails around the loop and the usual filth in the areas you can’t get to clean.
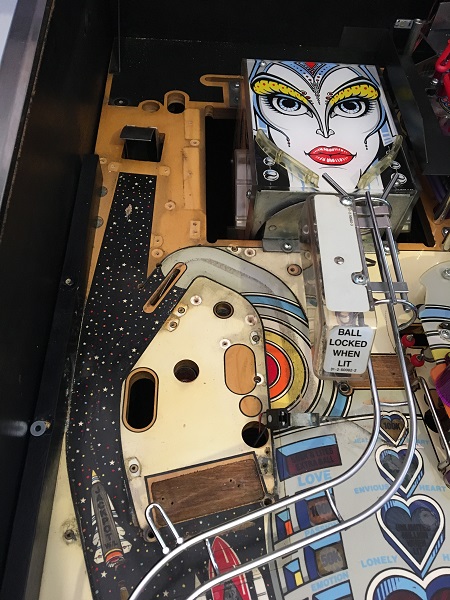
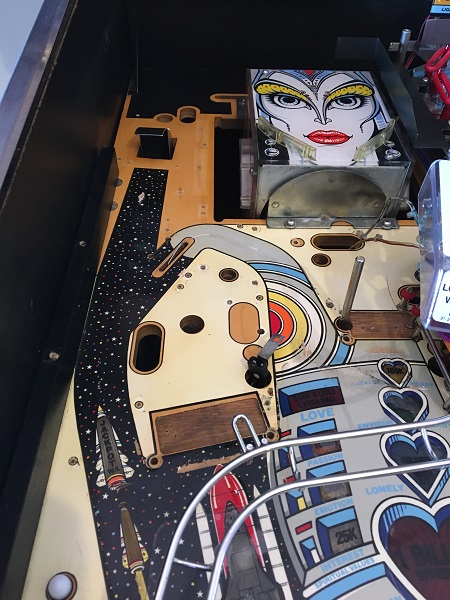
With a little effort, the playfield was cleaned. There was a small amount of playfield wear in the area under the ball trails as this section isn’t covered by mylar. It’s not terrible though and I think the playfield would make a great candidate for repair and clear coat in the future.
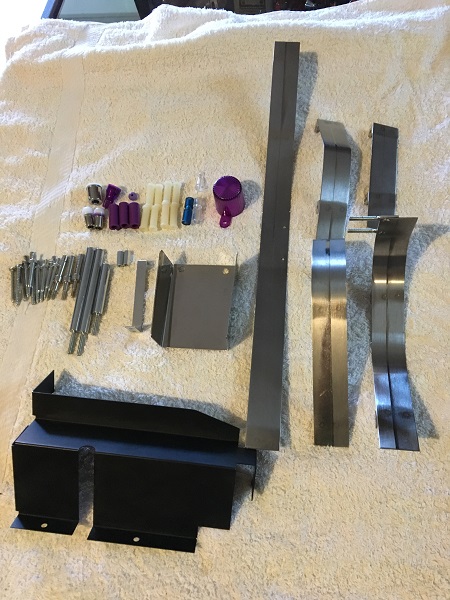
Meanwhile, the large metal pieces were all cleaned up by hand and the smaller ones sent through the tumbler. A purple flasher dome will replace the red one, along with purple sleeves, rubbers and star posts.
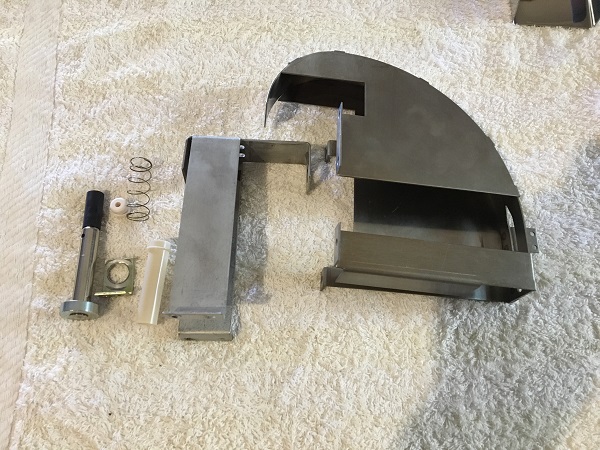
The next assembly to deal with is the scoop kicker. I was surprised how large this thing was to be honest.
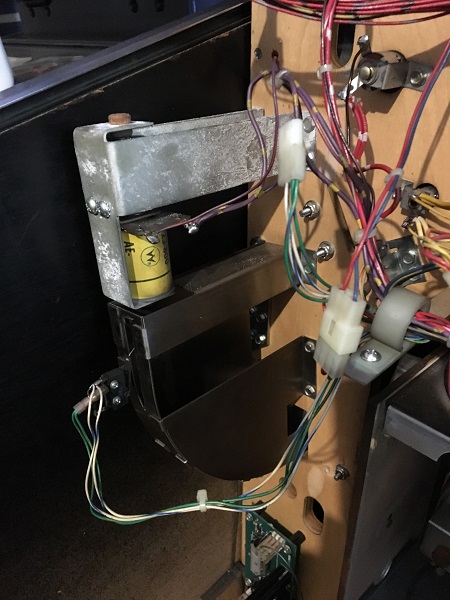
The entire assembly was removed and cleaned. A new coil sleeve and rubber grommet were purchased.
Now to look at the brides head. There are 3 small assemblies inside the face – left eye, right eye and mouth. Originally there were globes here, but I had replaced them with LEDs a few weeks back. The switch arms and kickers need a really good clean. I also plan to swap the roller switch that sits at the top of the brides head assembly. This allows the game to track which face is currently selected. The main reason for wanting to swap this over is the switch gets a lot of use and I had noticed during 2.0 play, the head would sometime rotate when it shouldn’t. It’s not common, but has been seen a few times – enough for me to look in to it.
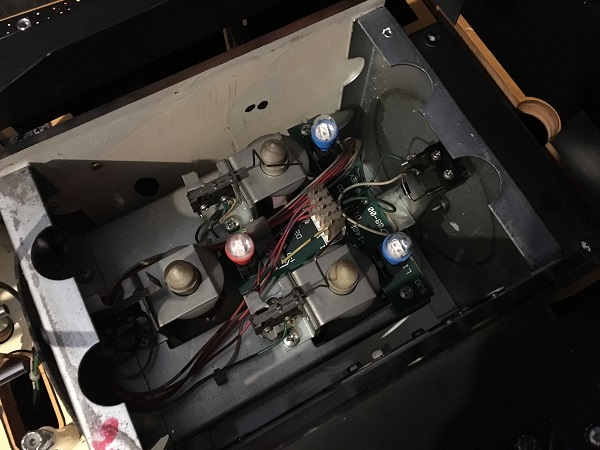
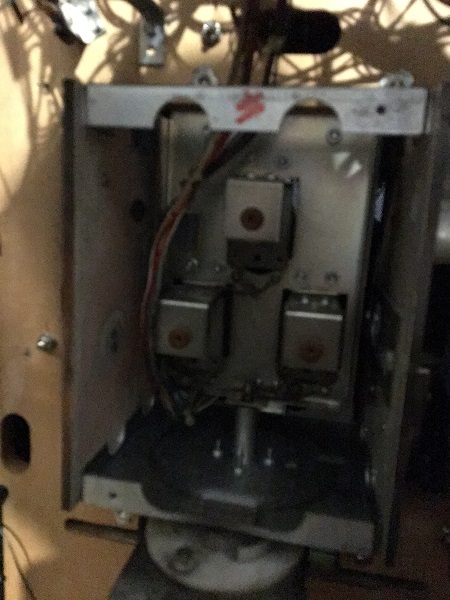
To get the assemblies out, it’s not as simple as it should be. You have to remove the face panel from under the playfield too so you can undo the assemblies from the top and then feed them down below the playfield where you can remove them. You’re best to remove the face plate below the playfield first as the assemblies, although small, have weight and when the drop through could easily smash the brides face plate.
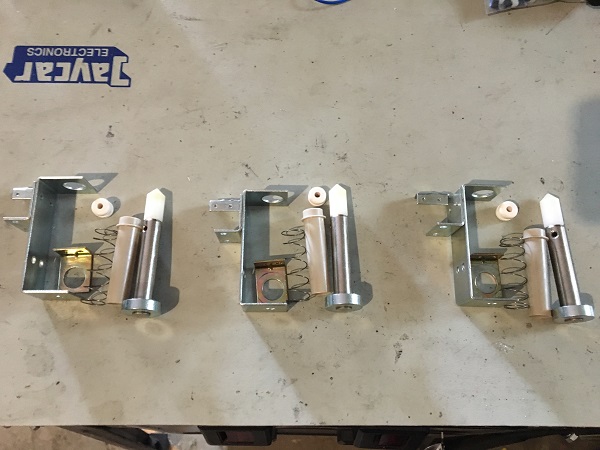
The three assemblies were removed from the head and each was cleaned up. A new coil sleeve and rubber grommet was purchased for each. The kicker heads are a lot cleaner now and ready to install back into the game. I also swapped over the roller switch in the brides head now, which I hope will fix that random rotation during play.
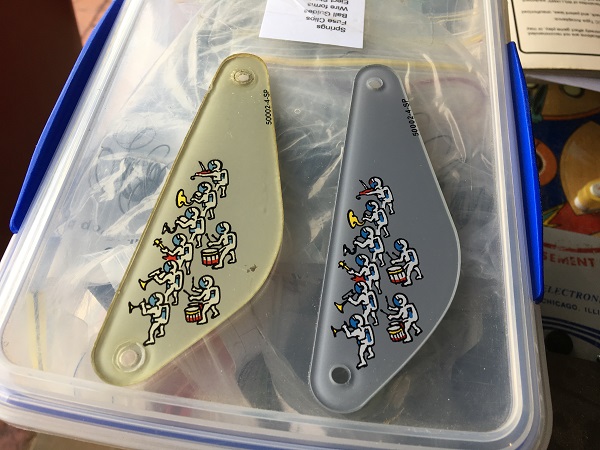
I had been considering getting a replacement plastic set for the game, but then was more inclined to just replace a handful of pieces since it would/should work out cheaper. I was looking at replacing the sling shots, flipper return, triangle piece (sits below rail – this one had screw holes added as a hack to help fix the heart beat ramp) and the broken again left loop plastic. As it worked out, with postage added to the pieces I could get overseas, there was less of a difference between a complete brand new set locally than I had thought. So a new set it is.
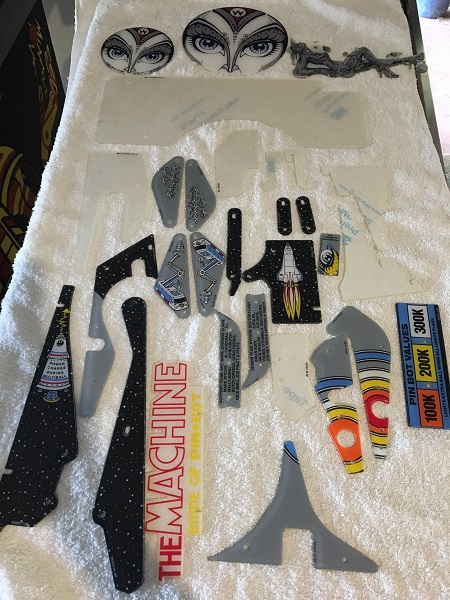
It wasn’t until I lined up the new plastic against the old that the difference really stood out. It’s an added cost to the overhaul, but there is a noticeable difference making it worthwhile in my eyes.
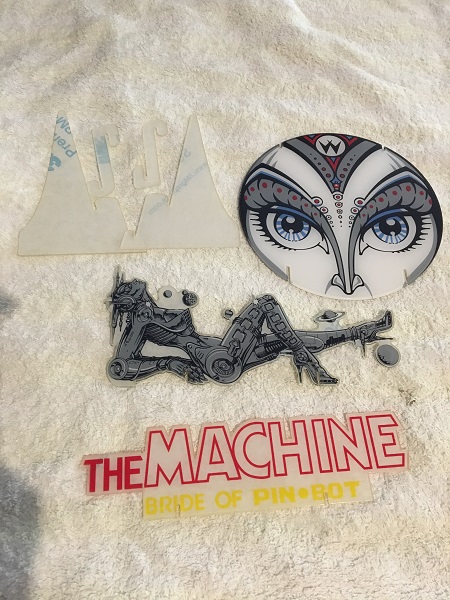
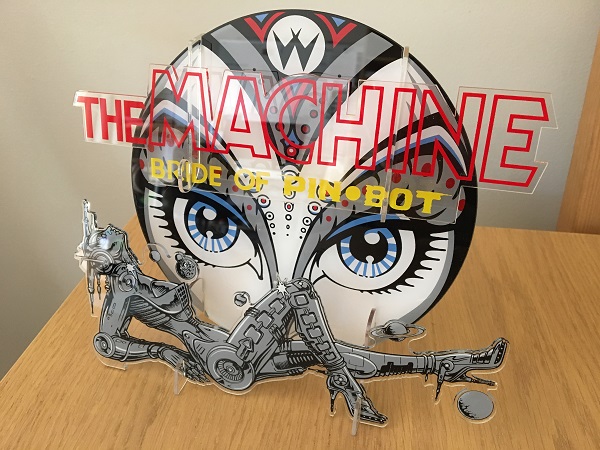
As part of the CPR plastic set, you get a small 3D desk display, which is pretty cool – although could be dropped in order to lower the cost of the set in all honesty. It comes in several pieces which you assemble.
I’m considering having this as a topper on the completed game. Maybe adding a small amount of lighting – not sure yet. But it’s too good to waste on my desk and I love seeing toppers on games.
The metal rails, posts and lamps were all installed back on to the left side of the playfield. New washers and lock nuts were installed on the plastics. I also went back through other areas of the game and swapped in the new CPR plastic pieces. I also added a red LED at the entrance of the scoop and a white LED strip at the back. Just like on the right side, I think this one is too long also and I’ll be cutting it back to probably 3 LEDs on the strip and moving it lower. It’s all a bit of experimenting to work out what works well and what doesn’t. The key thing for me is to light up the rear of the playfield more. The strips are also reusable, so when I cut off a section, I can then solder wires to it and use it in another spot or machine.
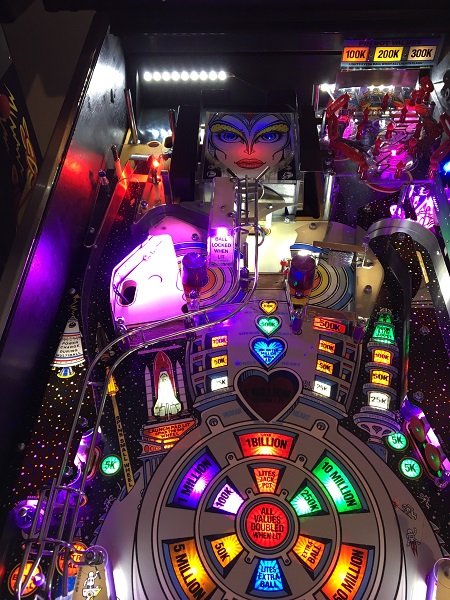
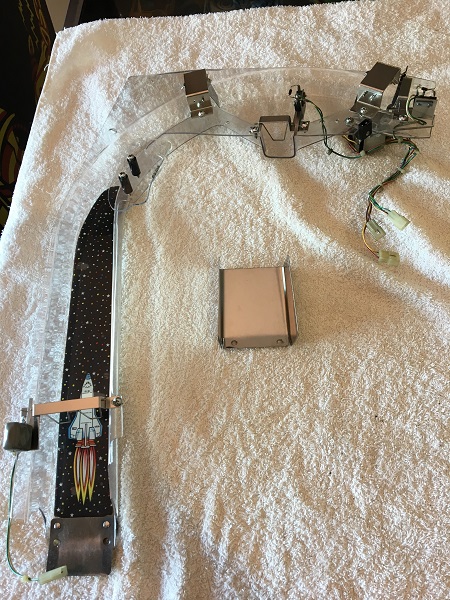
Time to work on the shuttle ramp. It’s quite filthy, but nothing I can’t clean up.
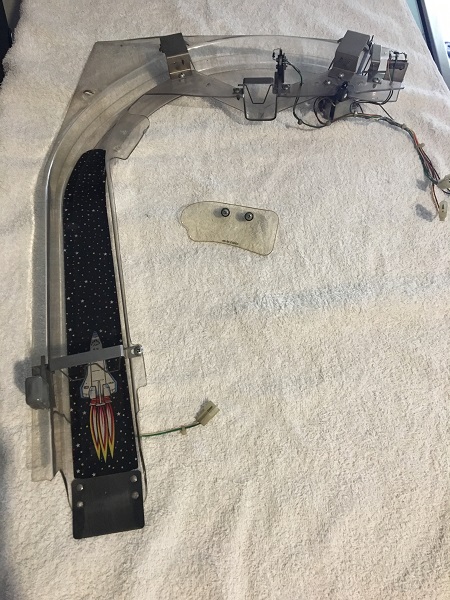
One thing I noticed was a lamp socket at the top of the ramp was busted, with a section of the plastic broken off and the metal prongs exposed. I will be replacing this.
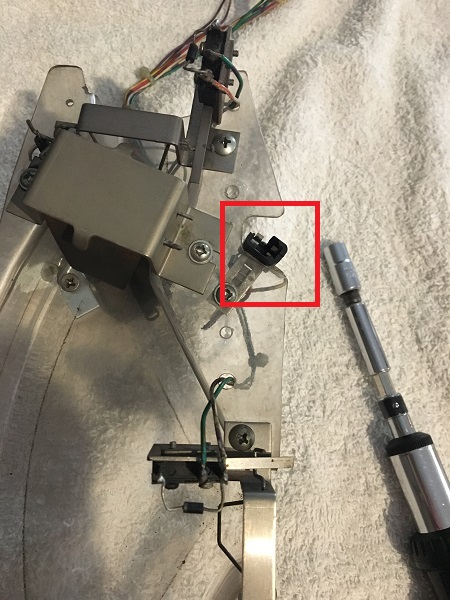
The ramp was completely disassembled. All small metal pieces went through the tumbler. The large metal piece sits under the ramp entrance and it looks like some sort of after market or home made bit to help support the damage at the ramp entrance. This sort of fix is something I like as it’s completely removable and installs without any permanent changes required. Although I’m installing the cliffys, I’ll be keeping this installed.
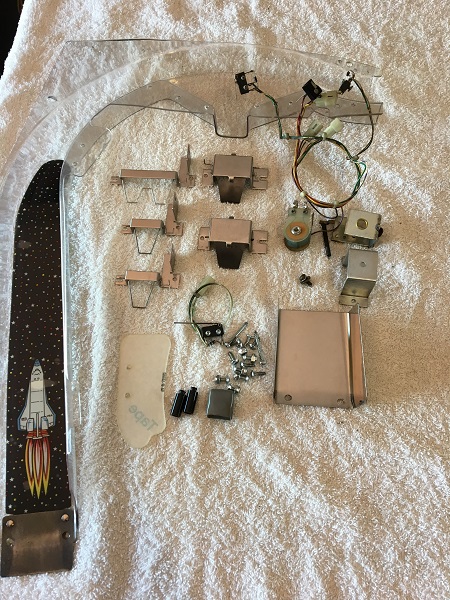
The ramp was put back together, ready to go back into the machine. I also cut up 2 small 3 LED purple strips, which I plan to install on the left and right of the lower exit on the this ramp. I want to create might lighting around the brides face and I think this will work well.
The two white LED strips at the read of the playfield were cut back to 3 LEDs and repositioned, which I think allows them to give off enough light, but not too much. I also added to small 3 LED strips to the apron, giving off a nice purple glow at the drain hole.
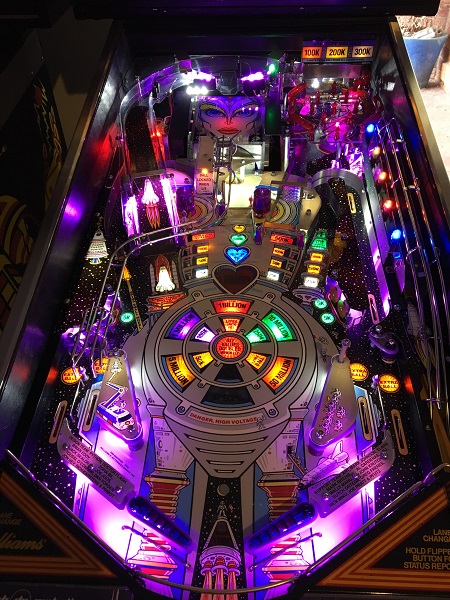
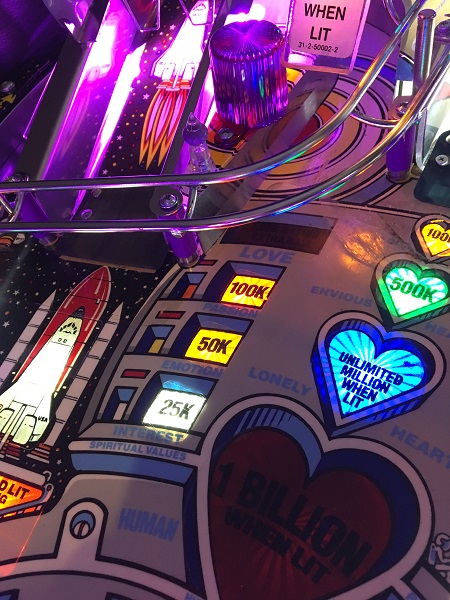
Before I went any further, now was a good time to look at an intermittent issue I had noticed for weeks. It was to do with one insert on the left loop. It would sometimes work, and other times not. Seeing the issue with the skill shot lamps (cracked solder joints), I suspected it would be a similar issue here. I had put off looking at it until it next occurred – which was now.
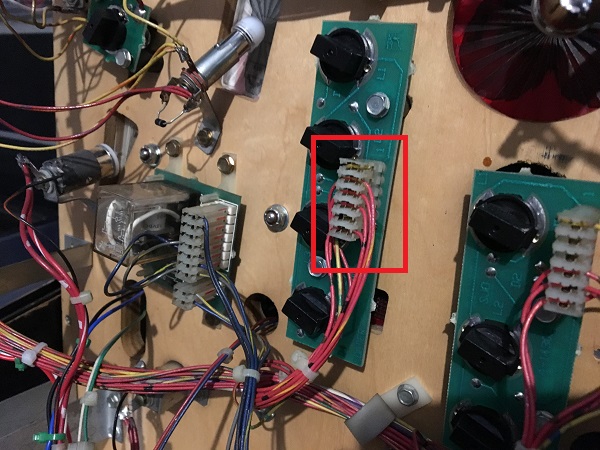
With the playfield lifted up, I gently pressed on the connector and found the LED lit up. Removing my finger, the LED switched off. I disconnected the IDC, removed the lamp board and flowed fresh solder across the header pins. The problem went away and has not come back.
Next up, the heart beat ramp. This thing is filthy and falling apart in multiple places.
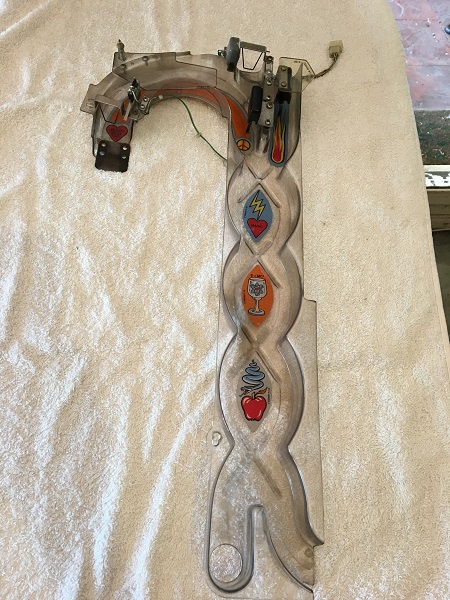
The entrance has been smashed with various repairs done. The gate is screwed on from the left into one of the playfield plastics and the right side is broken and reattached. Someone had also installed two mini posts on the playfield to guard where the ramp was broken.
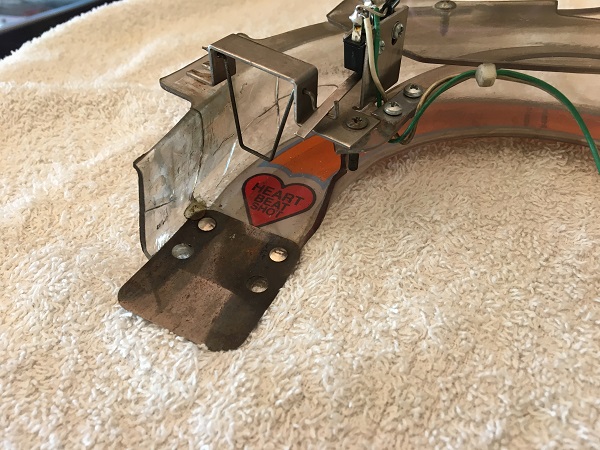
The ramp was disassembled and the small metal pieces sent to the tumbler. Other parts were cleaned up, ready to go on the new ramp.
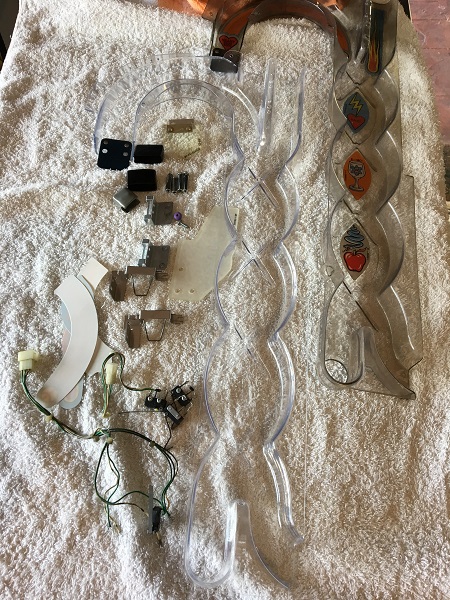
One of the last things to do was the skill shot plastic. I had originally not planned on replacing this, but because there was this lovely crystal clear heart beat ramp now installed, having a weathered skill shot plastic above it would look wrong. It’s pretty cheap to replace, so went for it. I’m glad I did as the difference is noticeable.
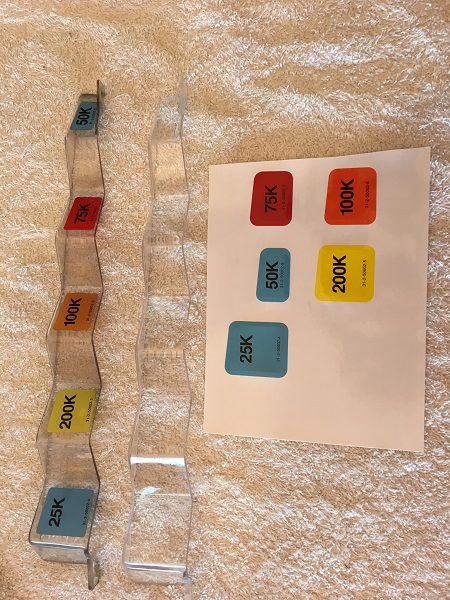
Before I install the helmet, I wanted to clean the face panels. They were removed in pairs for cleaning, with the ball guides removed and cleaned too. The metal pieces were put through the tumbler. For some reason I only took a photo of these panels and not the other two. Both received the same treatment. You can buy repro panels with new clear ball guides – but I’ve got no plans to do it at this point as there isn’t any damage on these.
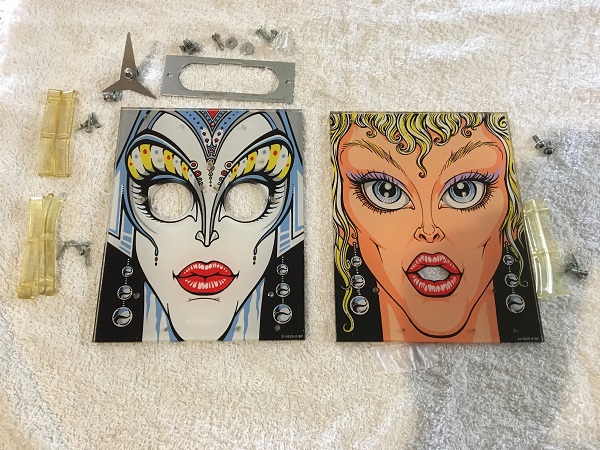
The face panels were installed back onto the head assembly. The helmet was also installed along with the final clear plastic pieces to complete work on servicing the playfield. Looking back at a day one photo for comparison, you can see how far the game has come.
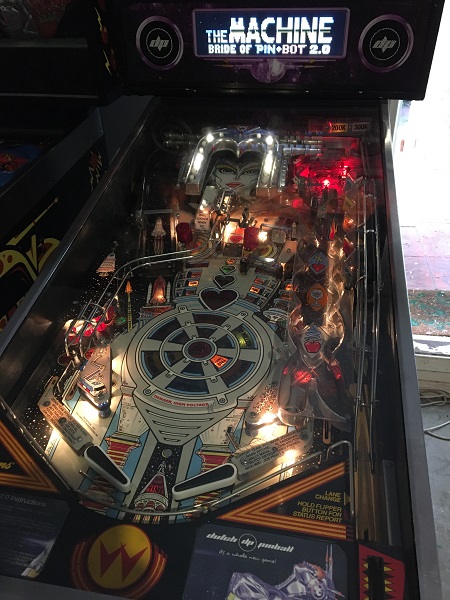
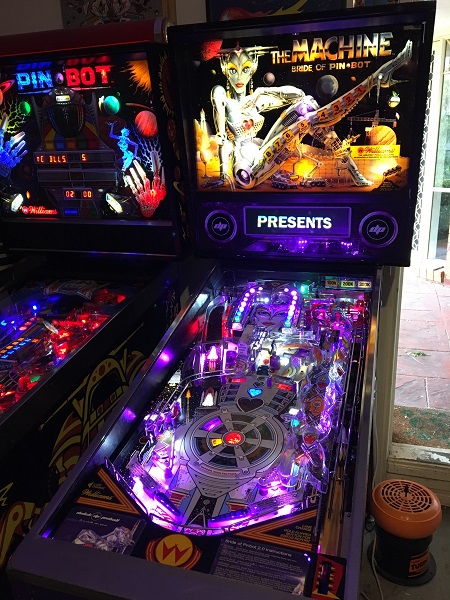
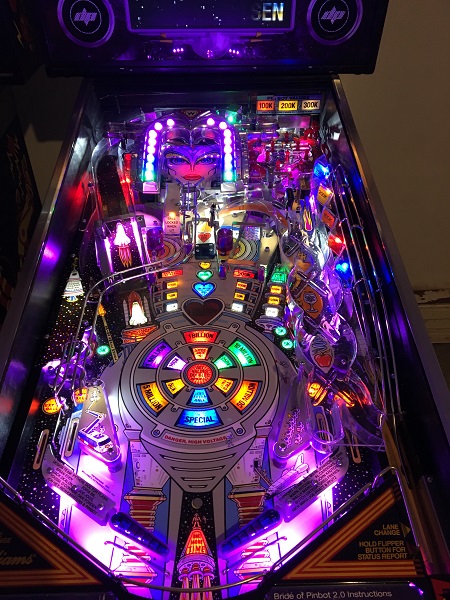
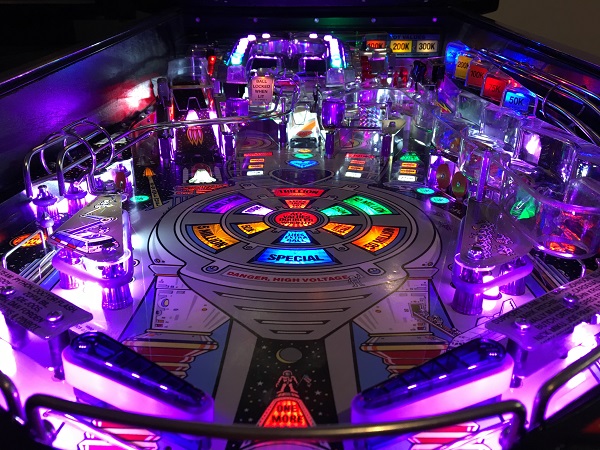
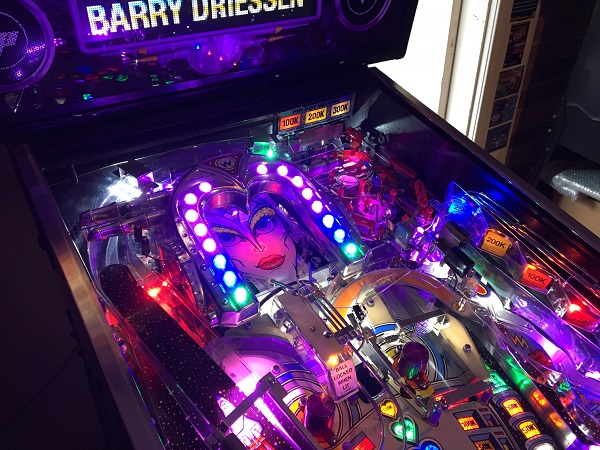
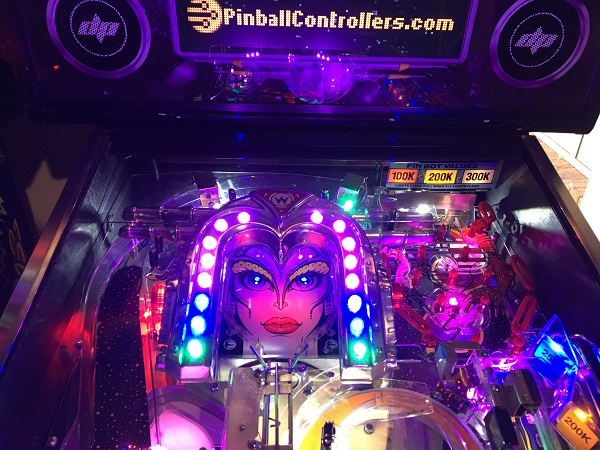
It’s good to have the game back in a playable state again. I’ve missed playing both BoP 2.0 and original BoP over the last few weeks. The game is playing really nicely right now. I’m not done yet though. I still want to do some clean up and improvement to the coin door and also clean the knocker assembly. Later in the year, I’ll be doing a playfield swap and I also have plans for new decals on the cabinet. I’ll probably do the coin door at some point over the next few weeks just to get it out of the way, but the larger tasks will wait.

hello there
i‘m restoring my bride of pinbot, too.
would be great if you could help me out with this little problem:
do you know what post (part number) is used to hold the left ramp (the one in the back on the left side)? mine is missing.
thanks for an answer in advance.
Hi,
The metal post part numbers are listed on page 2-30 of the manual. Pretty sure the one you’re after will either be 02-4322-1, 02-4322-8 or 02-4322-19. They will all be the same style, just different lengths. I’m not sure which one is required for that specific spot however. The manual also lists the number of posts used in the game for each of the part numbers. So if that’s the only one missing from your game, you can count the other posts and compare to the manual to see which one it is.
Regards,
Andrew.